This post contains affiliate links. As an Amazon Associate I earn from qualifying purchases, at no extra cost to you. Thank you for supporting Diynify!
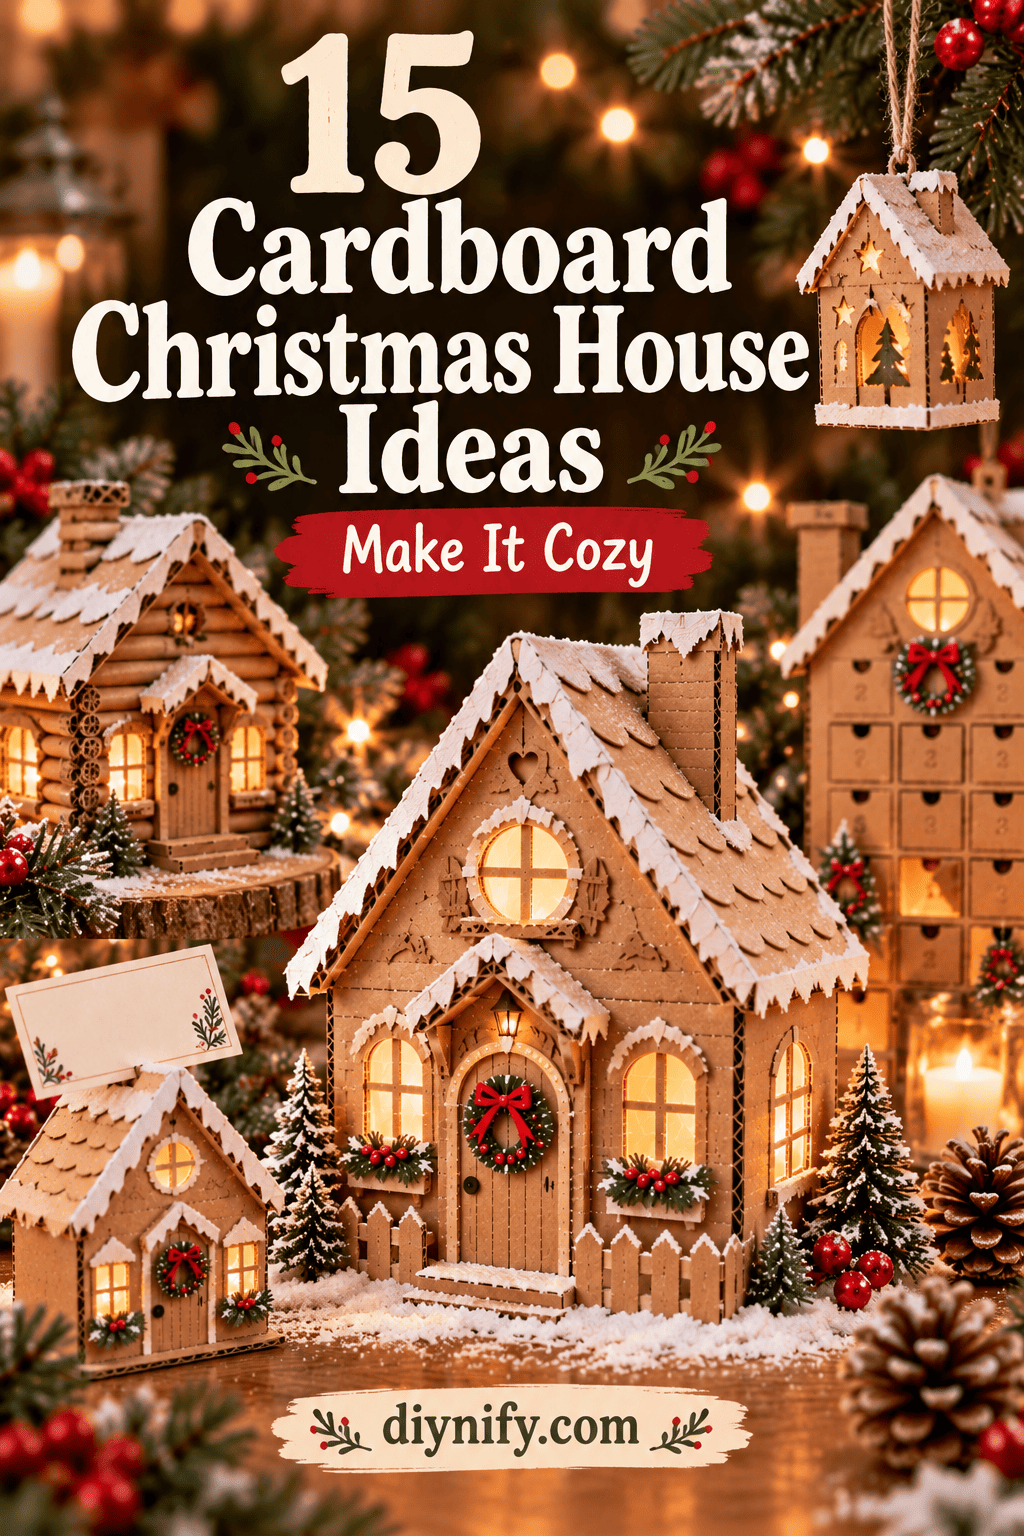
Cardboard Christmas house ideas can turn ordinary shipping boxes and packaging board into holiday decor that feels warm, dimensional, and surprisingly polished. The best projects use cardboard for what it already does well: standing upright, holding a fold, building thick layered edges, and creating sturdy little structures for mantels, shelves, tables, and Christmas villages.
Start with clean, dry cardboard, a metal ruler, a cutting mat, a sharp craft knife or sturdy scissors, and paper-safe glue. Thin cereal-box board is better for tight folds and small details, while corrugated cardboard gives larger houses the stiffness they need. A few ideas below also use vellum, twine, small magnets, or a cool battery-powered LED, so choose the project by function before adding snow, trim, windows, and other decorative layers.
1. Layered Corrugated Alpine Chalet
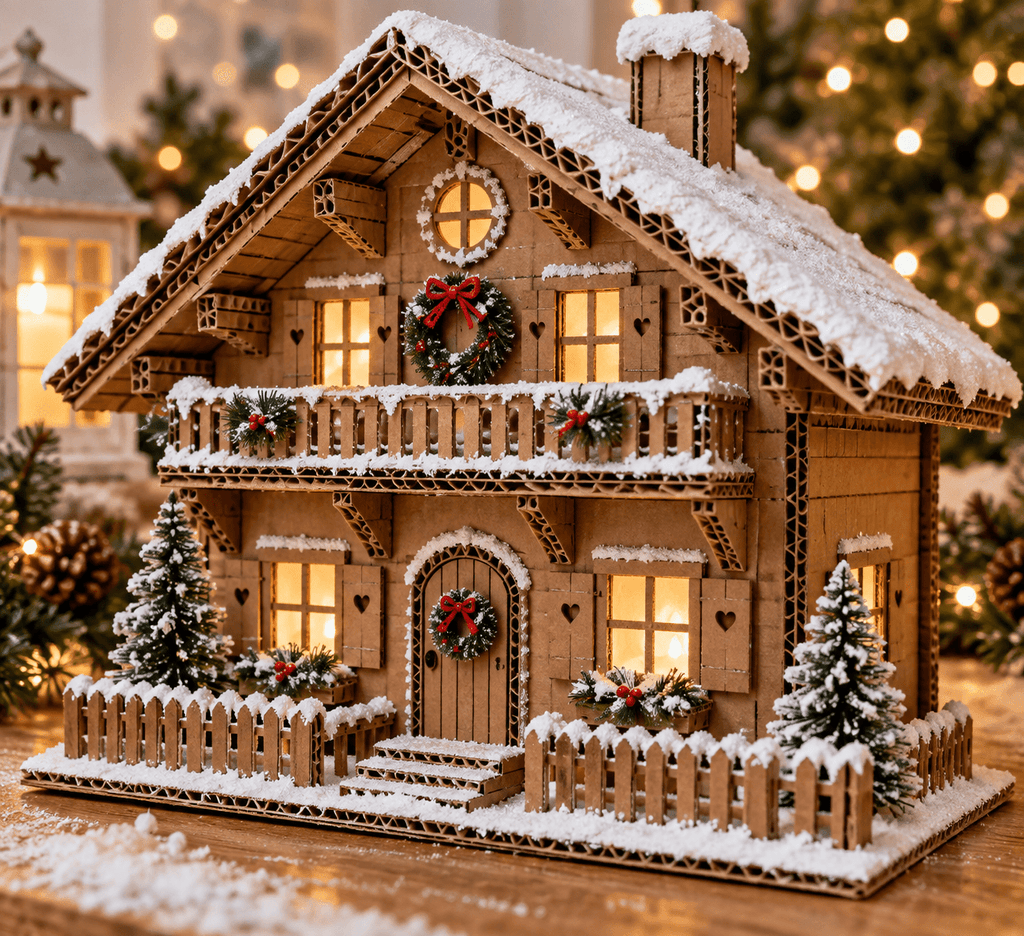
Cut a simple chalet silhouette from sturdy corrugated cardboard, then laminate a second layer behind the front wall so the window openings and roofline gain visible depth. Add separate roof panels with generous overhangs rather than trying to fold the whole house from one piece. The exposed corrugated edges can stay visible around the eaves for a rustic look, while white paper, paint, or lightweight modeling paste creates the impression of snow. A wide base strip under the walls keeps the chalet stable enough for a mantel without needing a heavy foundation.
2. Glowing Vellum Window Christmas House
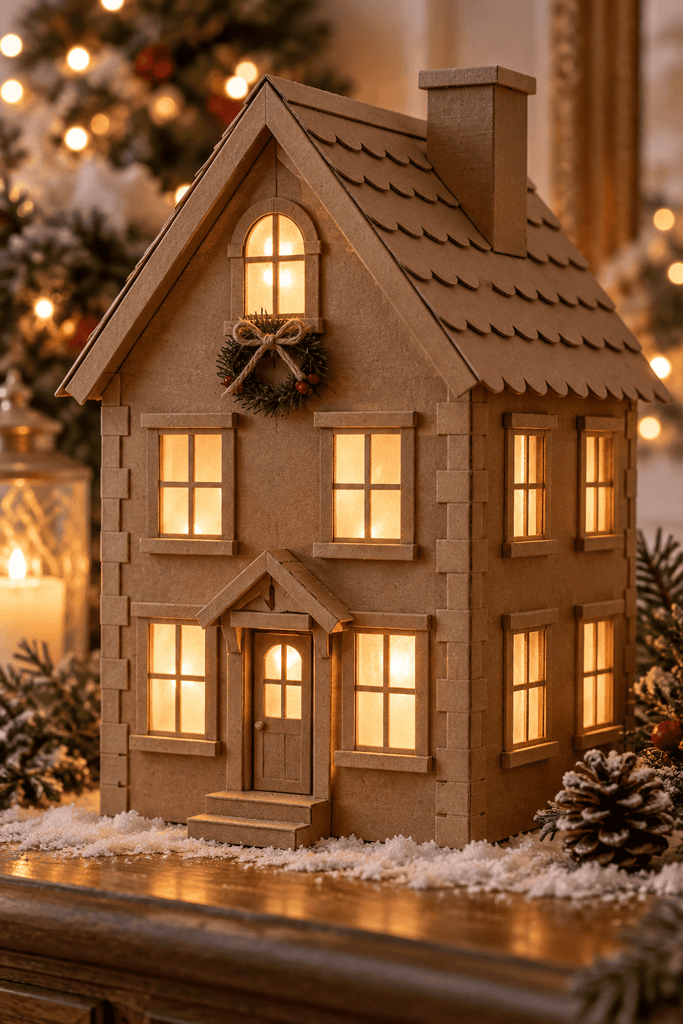
A small cardboard house becomes much more atmospheric when the windows do the decorating. Cut several generous openings before assembly, back them with vellum, and build the walls around an open bottom so a battery-powered LED can be placed inside after the house is finished. Keeping the light removable matters more than hiding every seam because you need access for the switch and battery.

Use thinner cardboard around delicate window patterns and reinforce only the corners, roof ridge, and lower wall edges. Heavy double-wall board can make small window frames look clumsy and block more light than expected.
Light Safety: Use only a cool battery-powered LED inside a cardboard house. Leave the base open or create a removable access panel so the light can be switched off without pulling the structure apart.
3. Slot-Together A-Frame Cottage
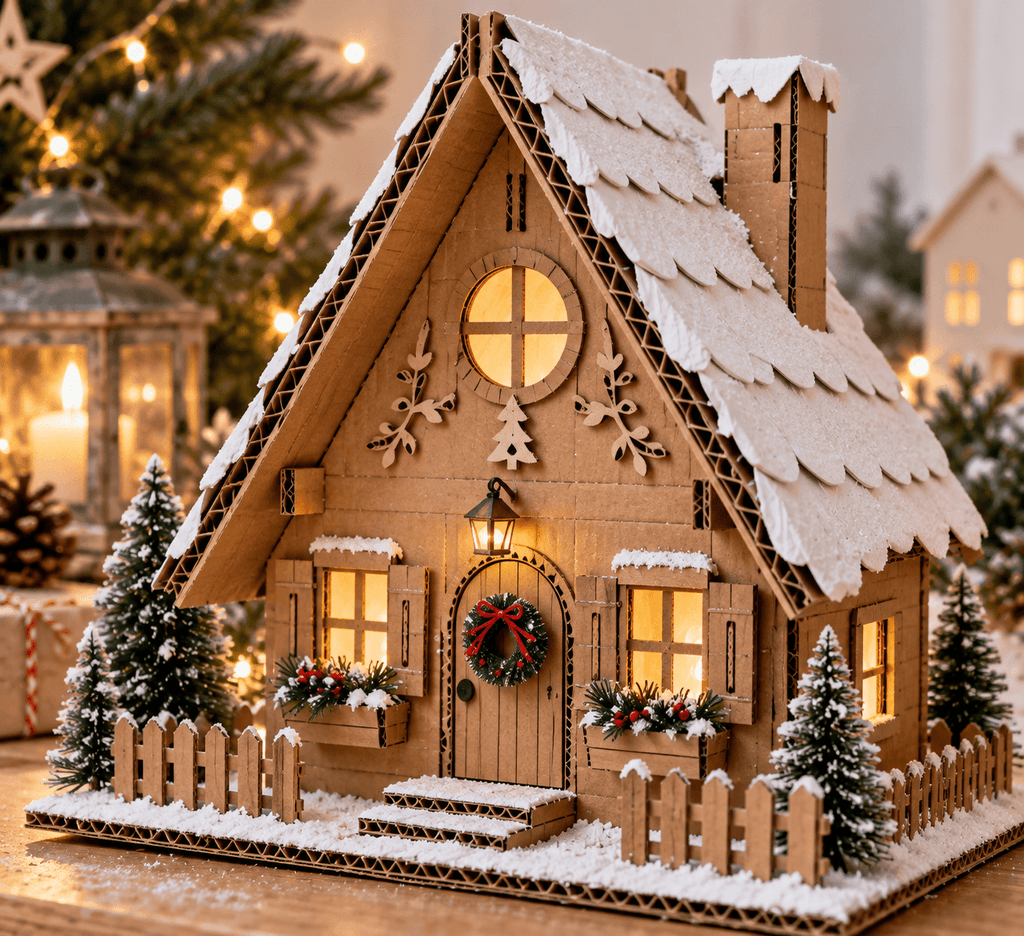
For a house that stores flat after Christmas, build the structure around slots instead of permanent glue. Two matching side panels can cross through a central slot, while separate roof pieces lock over the top and help square the frame.
- Cut the two main wall profiles from the same template so their roof peaks match.
- Add centered slots that are only as wide as the cardboard thickness.
- Test the cross-joint before decorating; a loose slot will make the whole cottage lean.
- Fit the roof last and use small locking tabs or shallow notches to stop the panels from spreading.
When the fit is correct, the cottage can be taken apart into flat pieces and packed with other seasonal decorations instead of taking up the volume of a finished model.
4. Removable-Roof Christmas Gift House
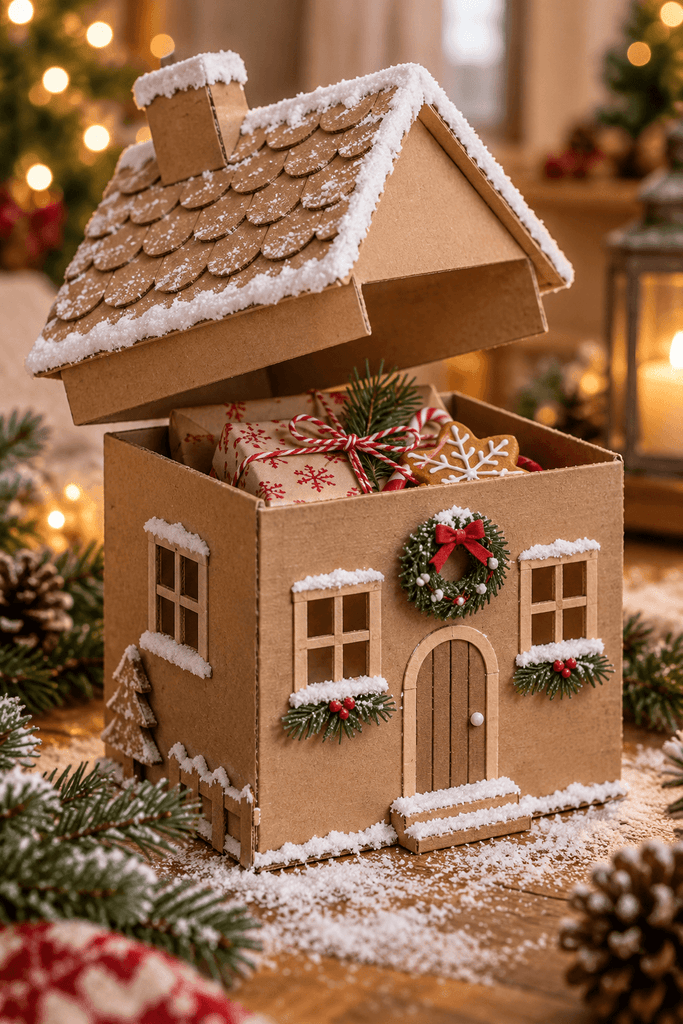
Turn the roof into the lid rather than gluing it permanently to the walls. Build a square or rectangular box first, then make a shallow roof cap that overlaps the upper edge of the walls by about half an inch. A second inner strip glued under the roof can act as a collar, keeping the lid centered when the house is picked up.
This version works especially well for lightweight gifts, wrapped candy, or a small ornament because the contents stay hidden without requiring a separate gift box. Keep dimensional snow, chimneys, and trees away from the roof seam so the lid can lift cleanly.
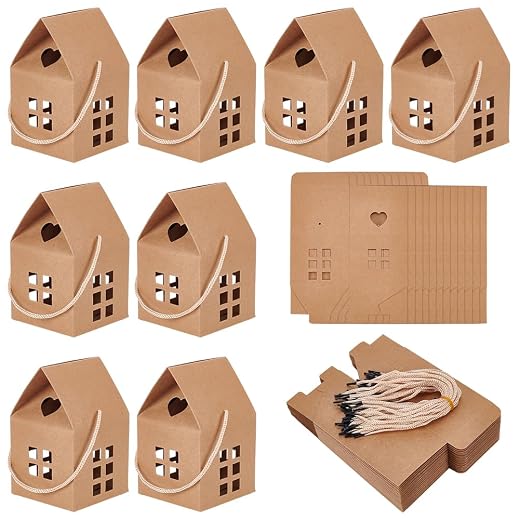
Fit Test: Before decorating, lift the finished box by the walls, remove the roof three times, and set it back in place. If the lid catches or slides sideways, adjust the inner collar before adding trim.
5. Tiny Hanging Cardboard House Ornament
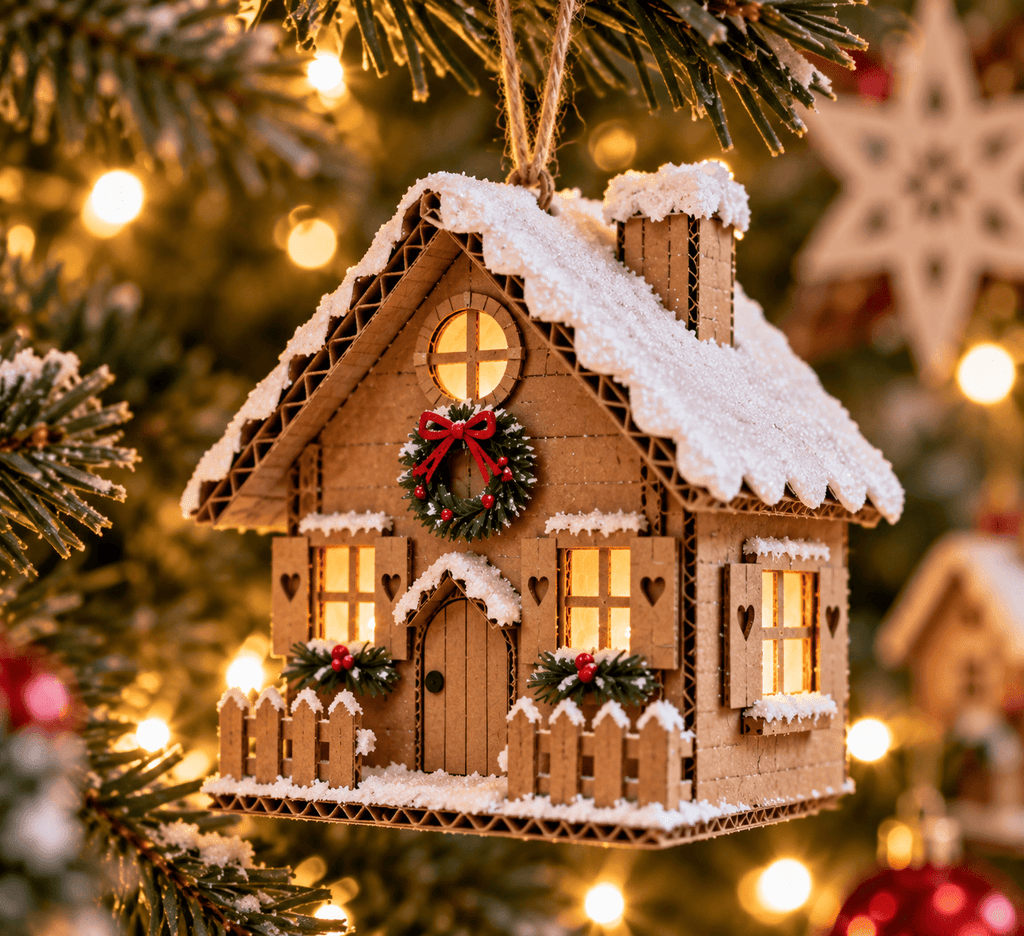
At tree scale, keep the house hollow and simple so it does not become too heavy for the branch. A small folded body with a separate gable roof gives enough space for a door, two windows, and a snowy edge without turning the ornament into a miniature construction project.

Trap the hanging loop between doubled roof-ridge layers instead of punching a hole through a single thin panel. Then lift the unfinished house by the loop and check whether it hangs level. If it tips forward, move the attachment point slightly toward the back before the glue sets.
6. Interlocking Mantel Village Row
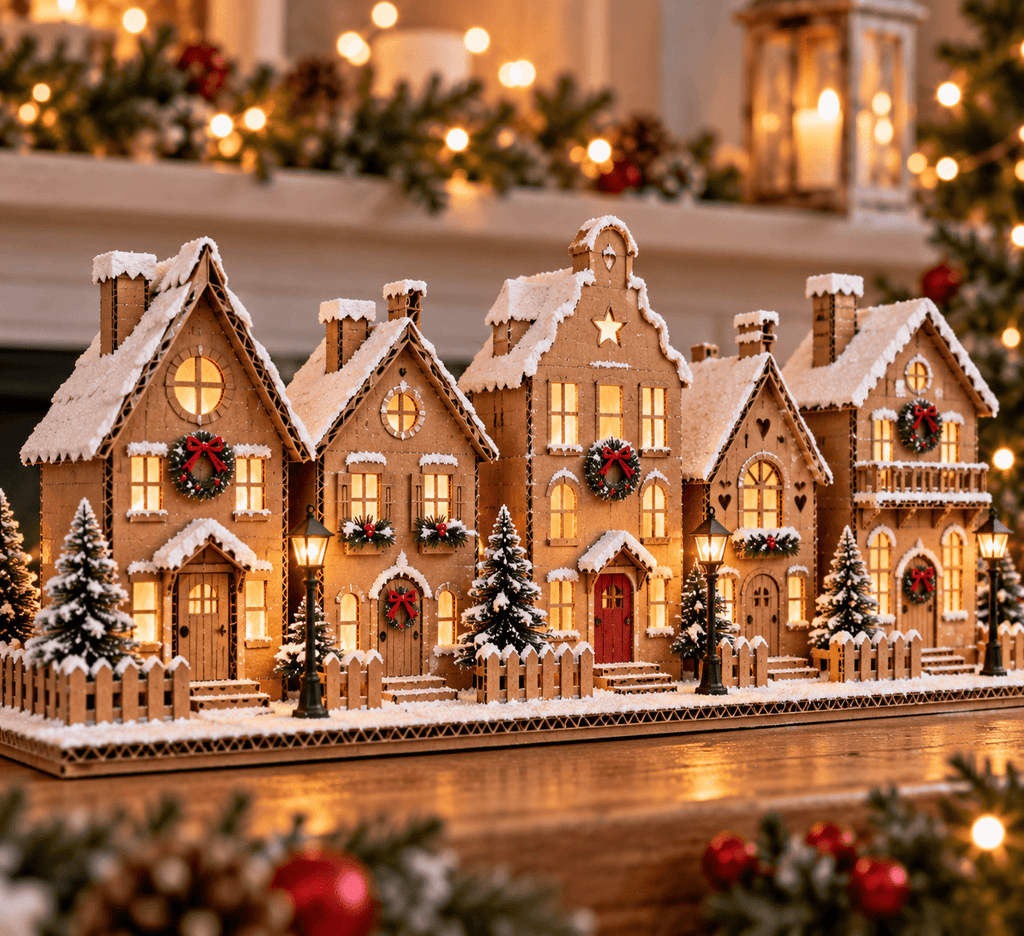
Instead of making five unrelated houses, cut a shared cardboard street base with narrow slots positioned along the back edge. Each house slides into its own slot with a matching tab under the floor, so the village reads as one continuous display but the buildings can still be removed and rearranged.
Vary roof heights, front widths, and window placement while keeping the door scale and base depth consistent. That gives the row character without making one cottage look accidentally twice as large as its neighbor. Trees, lamp posts, or snowbanks can use the same tab system in smaller slots.
For storage, the base stays flat and the houses can be packed separately. For display, the shared footing prevents the frustrating little gaps that appear when freestanding houses shift every time the mantel is dusted.
7. Advent House With Pull-Out Drawers
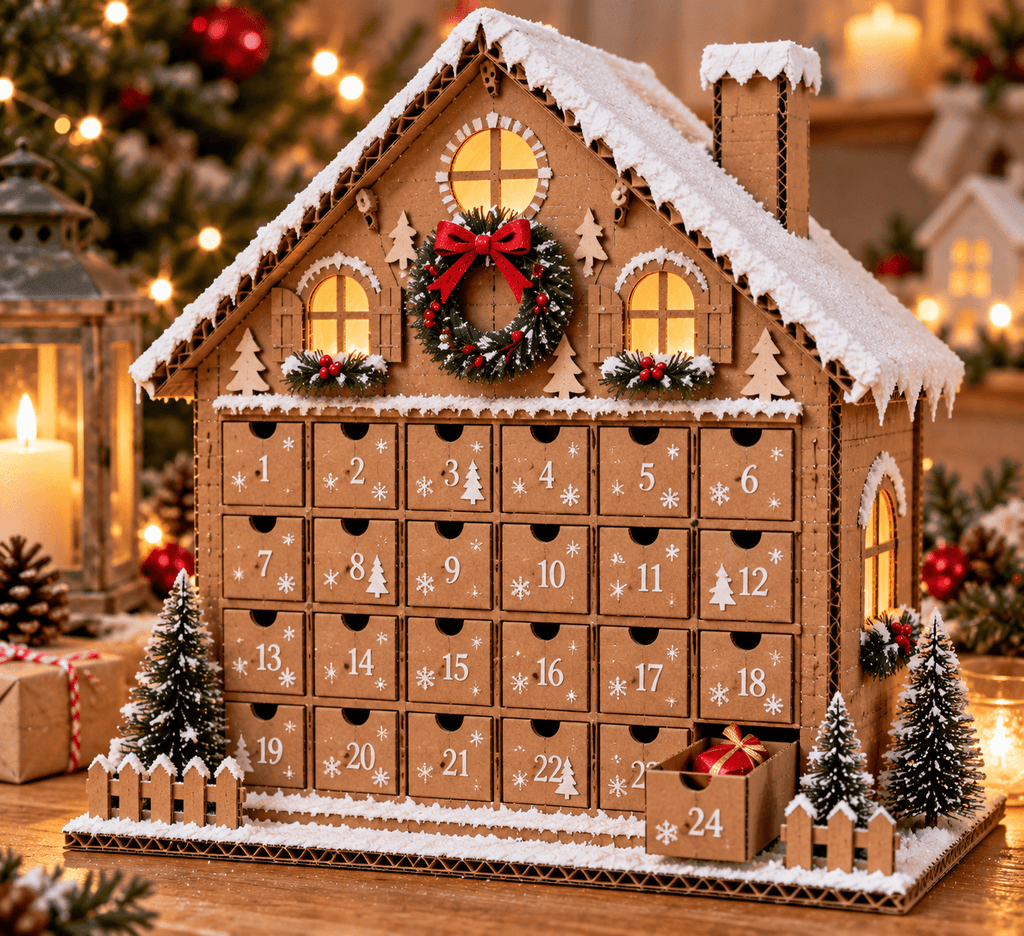
A cardboard advent house needs more planning than a decorative shell because every drawer has to move after the front facade is attached. Build the drawer grid first from thin chipboard or firm packaging board, then wrap a house-shaped outer shell around it. The roof can be purely decorative; the grid inside is what carries the load.

Make every drawer slightly smaller than its opening. Even a neat paper wrap adds thickness, and twenty-four tight drawers can turn into twenty-four stuck drawers once glue and paint are added. Small ribbon loops or folded paper tabs are lighter than knobs and put less stress on the drawer fronts.
Number the drawers only after testing the full grid in the upright position. A drawer that slides smoothly on the table may rub once the shell is standing and the lower rows carry more weight.
Drawer Clearance: Test each compartment with the final paper or paint finish on both the drawer and opening. If you have to pull hard with two fingers, the fit is too tight for a reusable advent piece.
The finished house becomes a single compact countdown display rather than a scattered set of mini boxes, which makes it easier to place on a sideboard or shelf.
8. Open-Front Christmas Cabin Diorama
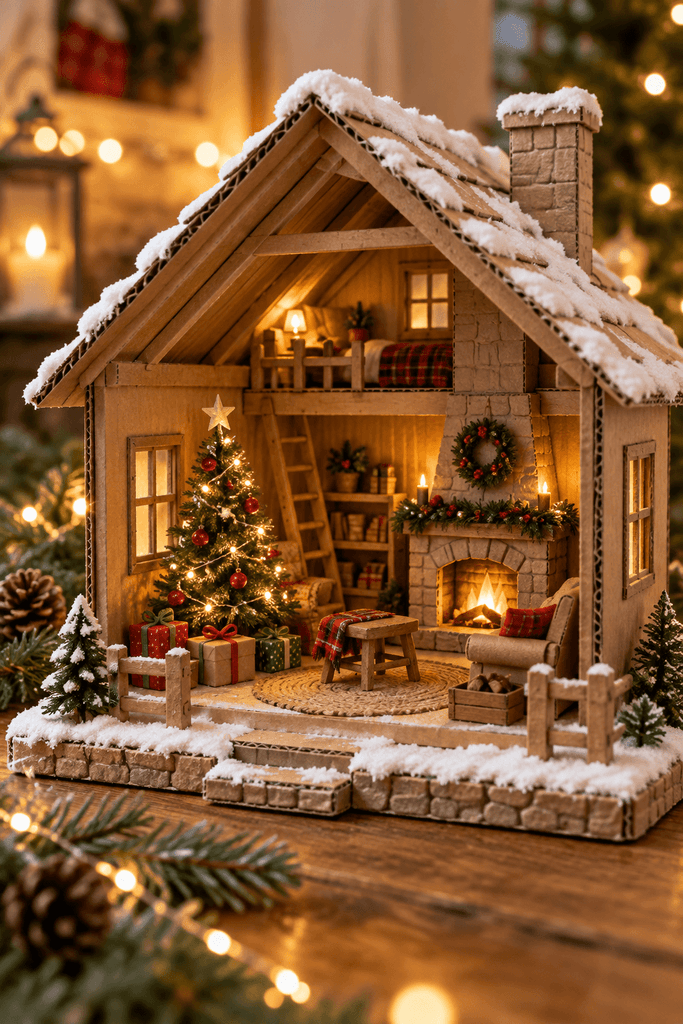
Build a shallow cardboard cabin with one wall intentionally missing, then treat the open side like a tiny stage. The back wall can hold a paper fireplace, window scene, or Christmas tree silhouette, while short side walls create enough depth for small layered furniture or wrapped-paper presents.
A deep box is not necessary. Two or three inches of interior space is enough to create convincing foreground, middle, and background layers without making the piece bulky. Raise one or two objects on folded cardboard spacers so the scene reads clearly from across the room.

The open front also solves the access problem: you can adjust the interior after assembly instead of sealing details inside a finished house.
9. Nordic Layered Facade House
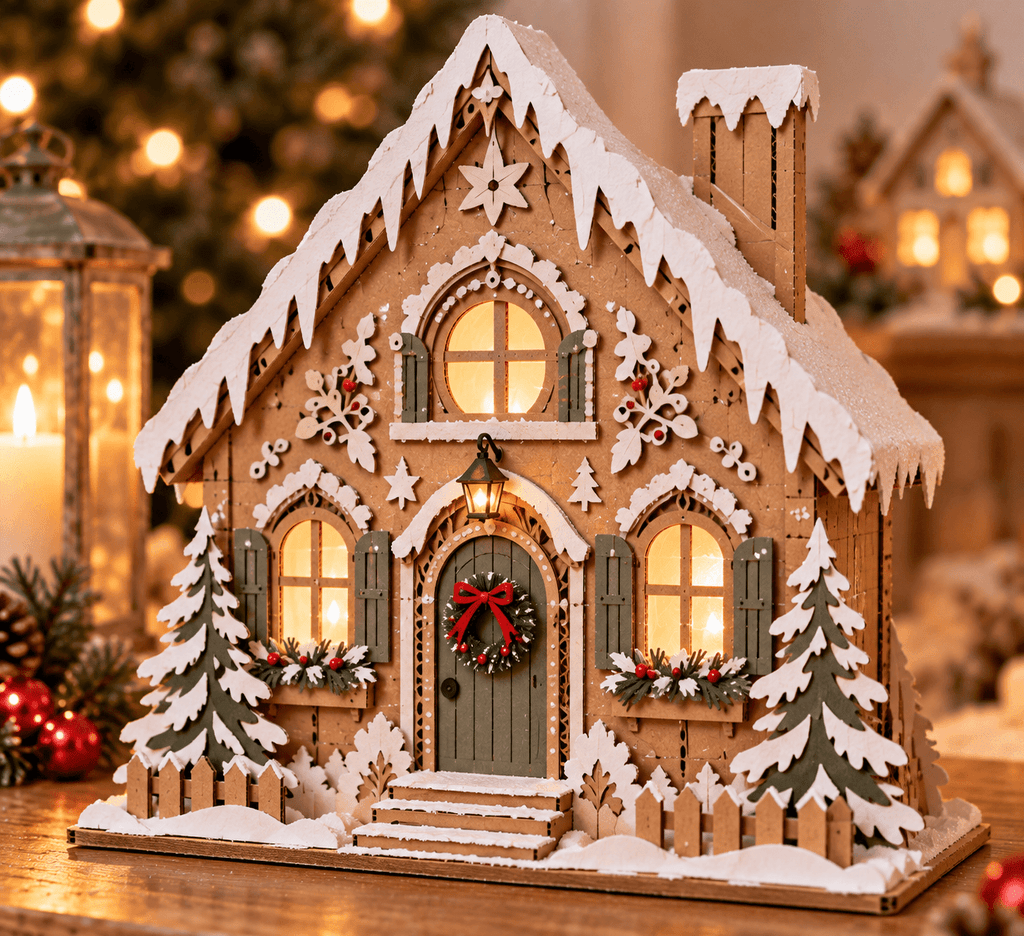
Use cardboard as stacked graphic layers rather than as a full four-wall model. Start with a simple house silhouette, then add a slightly smaller facade on top so windows, doors, roof trim, and snow lines sit at different depths. A folded easel support on the back lets the piece stand like a framed decoration.
Keep the palette restrained and let shadow lines between the layers create most of the detail. This is a useful option when you want the look of a Christmas house but do not have room for a full village.
Good Details for This Style
- Deep window recesses cut through two layers
- A contrasting door panel
- Narrow roof trim
- One raised wreath or star
- A clean fold-back stand hidden behind the silhouette
10. Faux-Log Cardboard Christmas Cabin
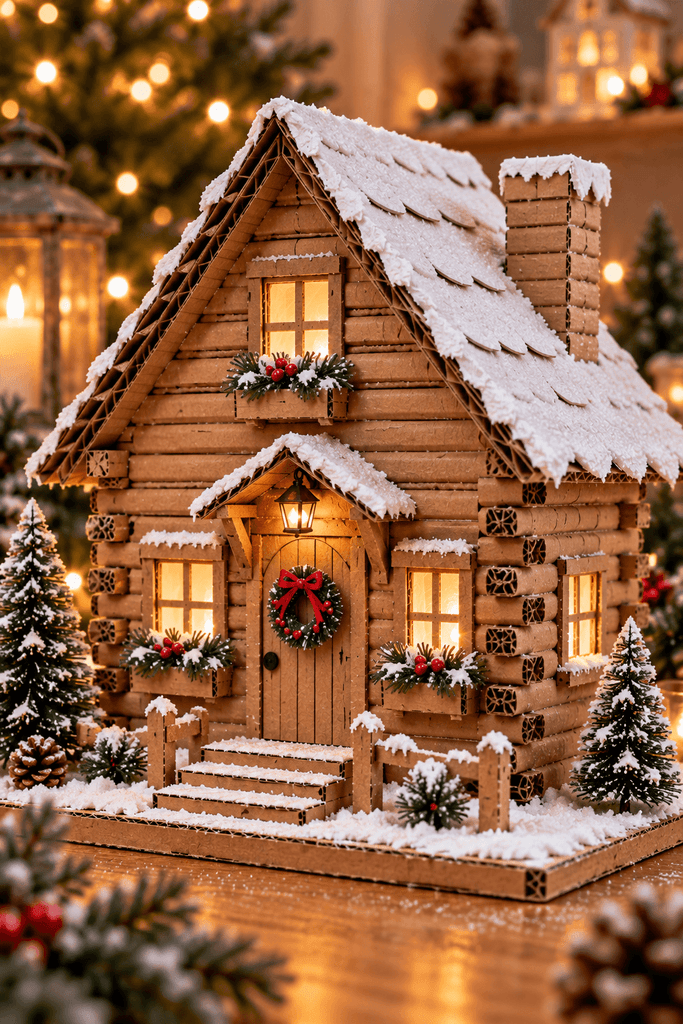
A plain rectangular cardboard shell can become a convincing cabin when the wall surface is built from narrow corrugated strips. Cut the strips to equal width, round the exposed ends slightly, and stack them horizontally over the shell so the layered edges suggest logs without needing actual round tubes.
At the corners, alternate which wall’s strips extend past the edge. That small change gives the cabin the visual rhythm of interlocking logs and hides the boxy seam underneath. The roof should stay comparatively simple because the wall texture already creates a lot of shadow.
Use a firm inner shell even if the outer strips feel substantial. Decorative “logs” add surface thickness, but they do not automatically stop a tall wall from bowing.
Corner Check: Dry-fit three or four strips on both adjoining walls before gluing the whole side. If the extensions collide, shorten every second strip now rather than trimming a finished corner later.
11. Christmas House Holiday Card Holder
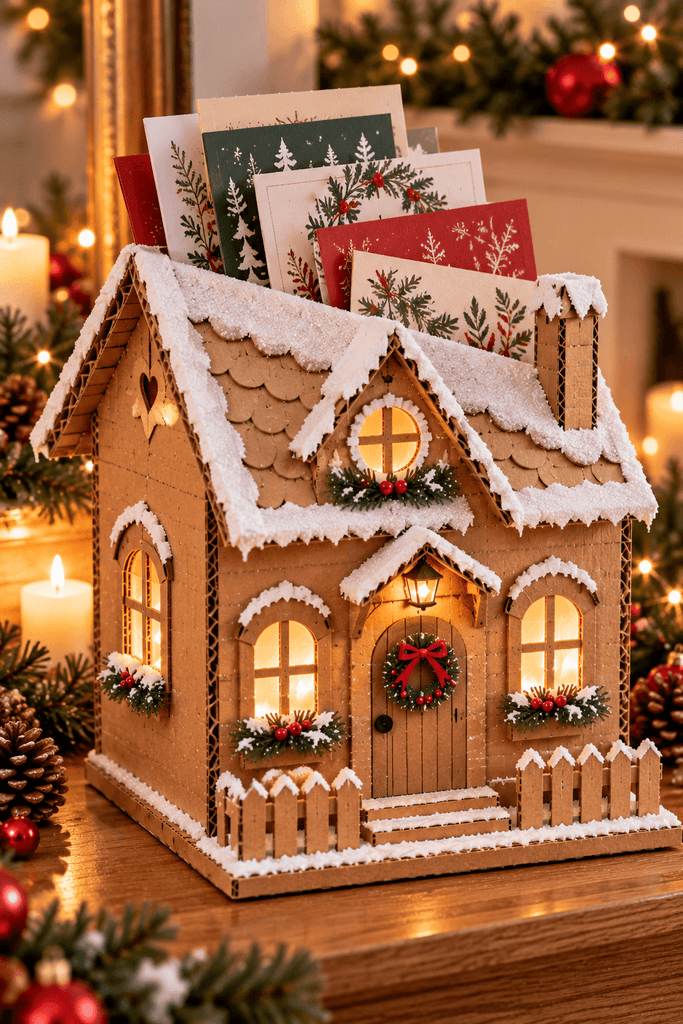
Make the house work as storage by building a tall open box behind the facade and cutting a wide slot into the roofline. Greeting cards slide down through the opening and stand upright inside, while the front still looks like a snowy Christmas cottage.
The key is access. Either leave the back panel removable or make the roof hinge upward so cards can be taken out without shaking the house upside down. A broad cardboard base is more useful than extra decorative weight because a growing stack of cards can make a narrow structure top-heavy.
12. Cardboard House Wreath Centerpiece
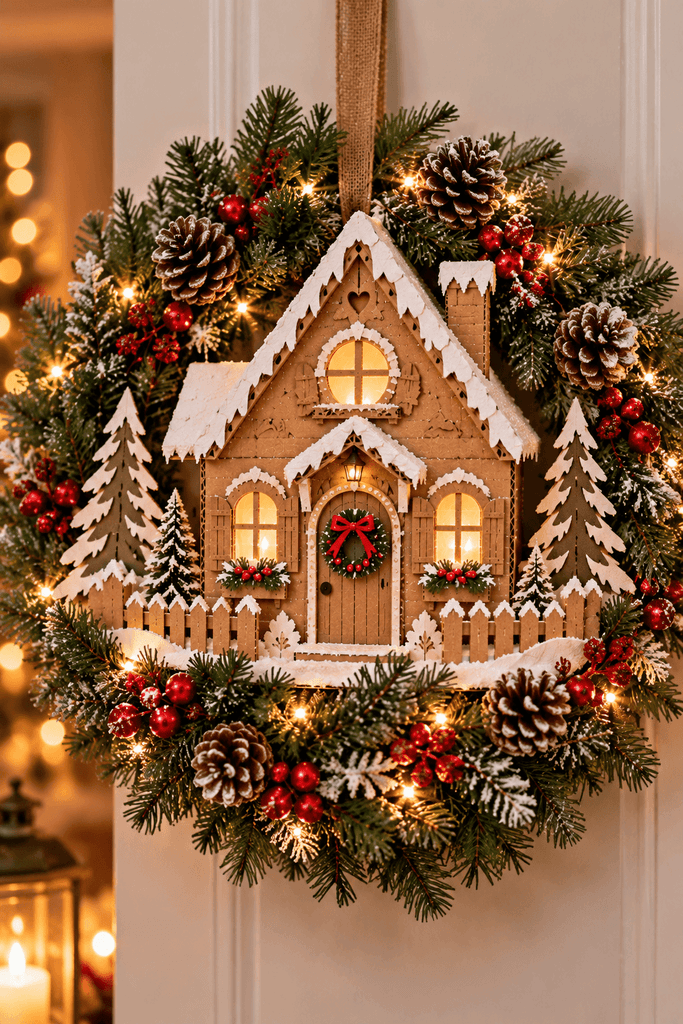
A shallow cardboard house can become the focal point of a wreath without making the wall piece too heavy. Build only the front facade and short side returns, then glue that lightweight shell to a rigid cardboard backing that spans several points of the wreath base.
Add trees, stars, or layered snow directly to the backing rather than hanging every element from the house. This spreads the load and keeps the facade from peeling forward.
- Position the empty house first and mark its contact points.
- Reinforce those points with extra backing patches.
- Attach the house before adding bulky greenery or paper embellishments.
- Hang the wreath temporarily and check that the house stays vertical.
Wall Weight Check: If the center section tilts away from the wreath when it hangs, reduce the front weight or widen the hidden backing plate instead of adding more glue to one small area.
13. Mini Place-Setting Christmas House
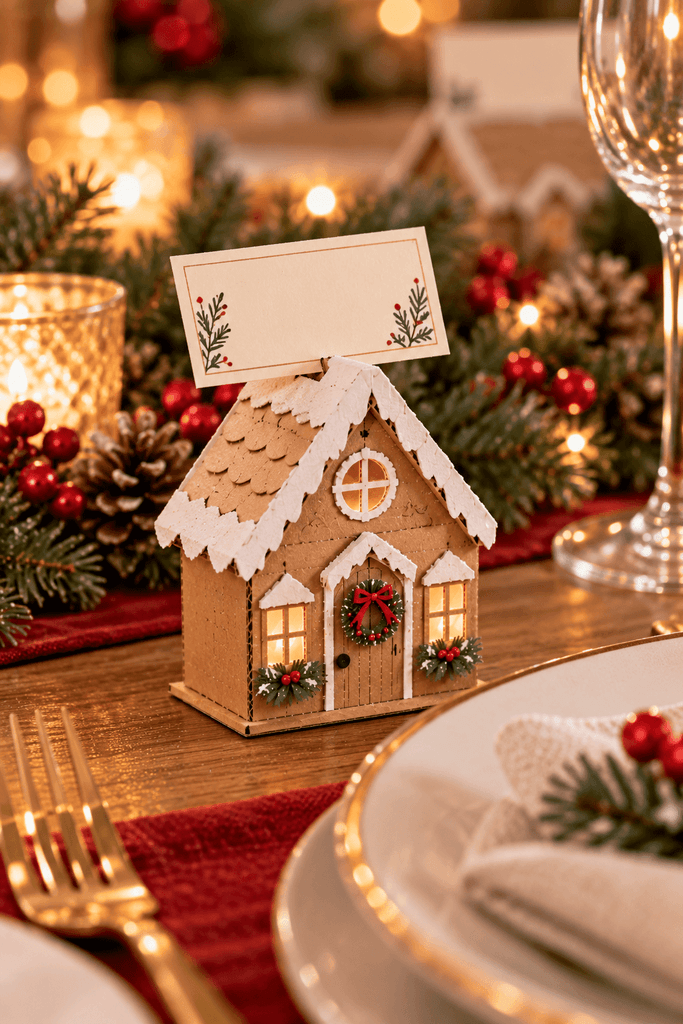
For a dinner table, shrink the idea down to a simple folded house that holds a name card at the roof ridge. A narrow slit in the roof can grip a small paper tag, while the hollow body stays light enough to move with the place setting.
Keep decorations flat so neighboring glasses and napkins do not bump into them. A tiny door, two windows, and one snowy roof edge are enough to make the piece read as a house from across the table.
14. Nesting Cardboard House Trio
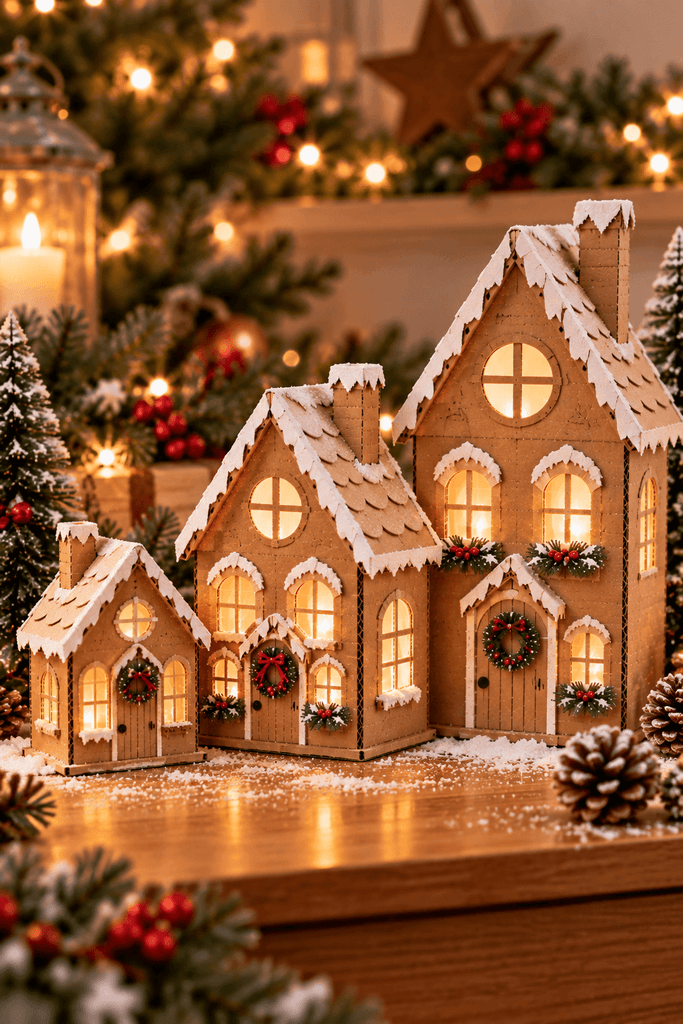
Three houses in graduated sizes can look like a small village during December and pack into nearly the volume of the largest house afterward. The trick is to build them as open-bottom shells with enough clearance between each size for roof slopes, wall thickness, and any permanent trim.
A tight nesting set looks efficient on paper but becomes frustrating once decorative layers are added. If the smallest house is 4 inches wide, make the middle one noticeably larger rather than adding only a fraction of an inch. That extra breathing room also creates better visual rhythm when all three are displayed side by side.
There are two good ways to finish the set. Keep the same window pattern on all three for a coordinated Scandinavian look, or change the architecture while keeping the same roof angle and color palette. The first feels calmer; the second reads more like a true miniature street.
Before final decoration, nest the bare structures completely and pull them apart again. Anything that scrapes now will scrape even more after paint, paper, or snow texture is added.
15. Reusable House With Slide-In Seasonal Panels
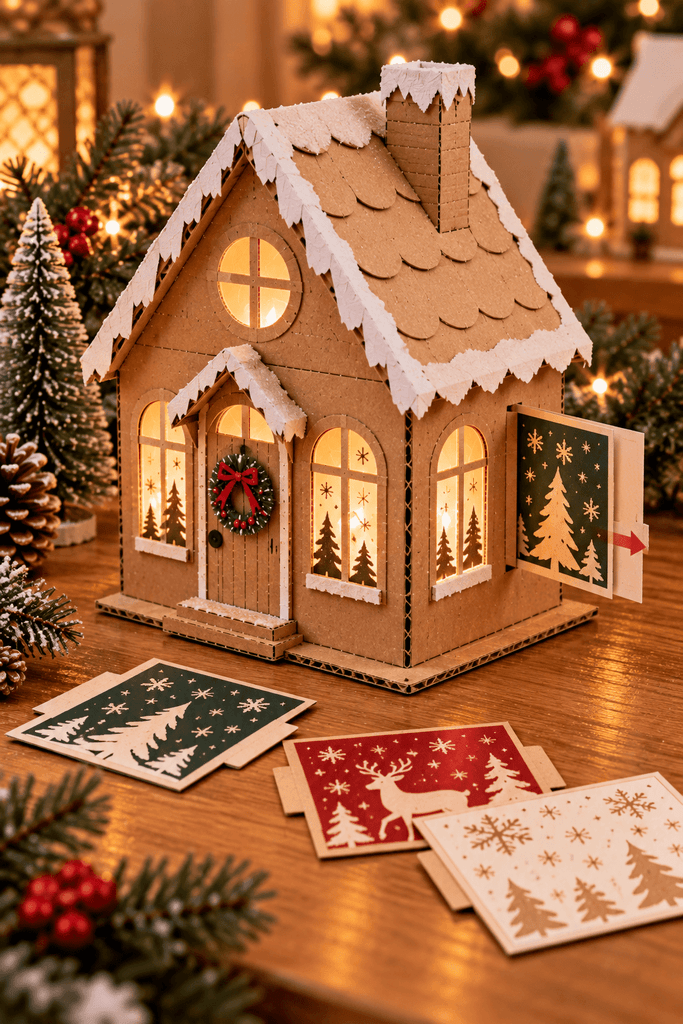
Build one sturdy cardboard house shell, then cut shallow channels behind the main window openings so decorative inserts can slide in from the roof or back. Christmas panels might show frosted windows, tiny trees, stars, or a warm paper glow; after the holidays, those inserts can be removed while the base structure stays intact.
This design works best when the removable pieces do not carry structural weight. The house should stand securely with every insert removed, and the channels should be just wide enough for cardstock to move without bending. A removable back panel makes it easier to clear a stuck insert or change the display without reaching through a tiny window.
The result is less disposable than a one-season craft and gives you a reason to spend more time on clean roof joints, strong corners, and a finished base. Make one set of Christmas panels first, label the backs, and store them flat inside the house when the season ends.
Frequently Asked Questions About Cardboard Christmas Houses
What cardboard works best for Christmas houses?
Thin packaging board is easiest for small houses, tight folds, and detailed windows. Corrugated cardboard is better for larger freestanding pieces, layered facades, and roofs that need more stiffness.
How do you make a cardboard house stand straight?
Square the walls before the glue sets, keep the bottom edges level, and add an internal floor or base strip when the structure feels flexible. Large houses often benefit from corner tabs or small triangular braces inside.
Can you put lights inside a cardboard Christmas house?
Yes, but use a cool battery-powered LED rather than a candle or other open flame. Design an open base or removable access panel so the light can be switched off and removed easily.
What is the easiest cardboard Christmas house for beginners?
A layered facade or simple folded A-frame is usually easier than a house with drawers, moving parts, or a fitted removable roof. Both beginner options use fewer joints and are easy to test before decorating.
How can I make cardboard look less like a shipping box?
Use the brown kraft surface intentionally, cover only selected areas, or add consistent layers such as white roof trim, window frames, paper siding, and snow. Clean edges and repeated details matter more than covering every inch.
How do you store cardboard Christmas houses after the holidays?
Flat-pack and slot-together designs are easiest to store. For permanent houses, use open-bottom nesting shells, removable roofs, or sturdy boxes that prevent the roof peaks and decorative edges from being crushed.
Build the Structure Before the Snow
The strongest cardboard Christmas house ideas start with a clear job for the finished piece. Decide whether your house needs to glow, open, hold something, hang, store flat, or simply create a cozy focal point. Once the structure works, the holiday details become much easier to add without covering weak joints or blocking moving parts.
A good first project is the layered chalet or mini place-setting house. If you want something more ambitious, the advent house, nesting trio, and reusable panel house reward careful measuring because the construction itself becomes part of the finished display.