This post contains affiliate links. As an Amazon Associate I earn from qualifying purchases, at no extra cost to you. Thank you for supporting Diynify!
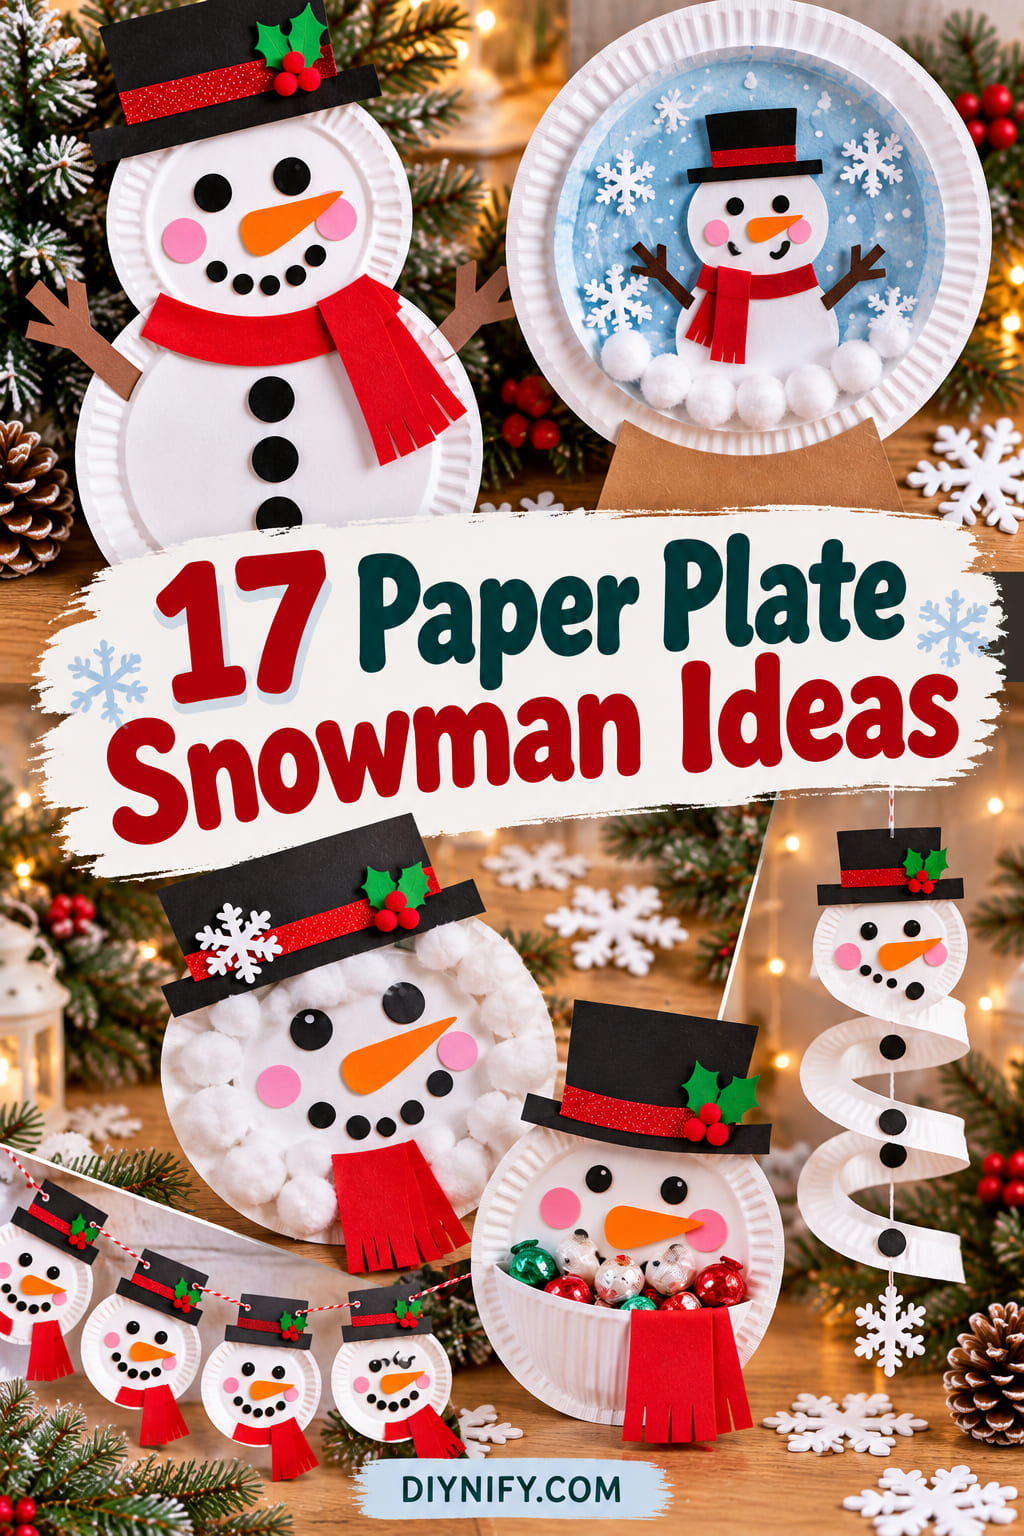
Paper plate snowman ideas are an easy way to turn basic craft supplies into cheerful winter projects. A few plates, paper scraps, glue, markers, yarn, or cotton balls can become snowmen that hang, stand, spin, hold treats, or decorate a classroom wall.
The projects below use different construction methods rather than repeating the same face with new colors. Choose a quick flat craft for a short activity, or try one of the moving, laced, hanging, or standing versions when you want a little more hands-on making.
1. Classic Two-Plate Snowman
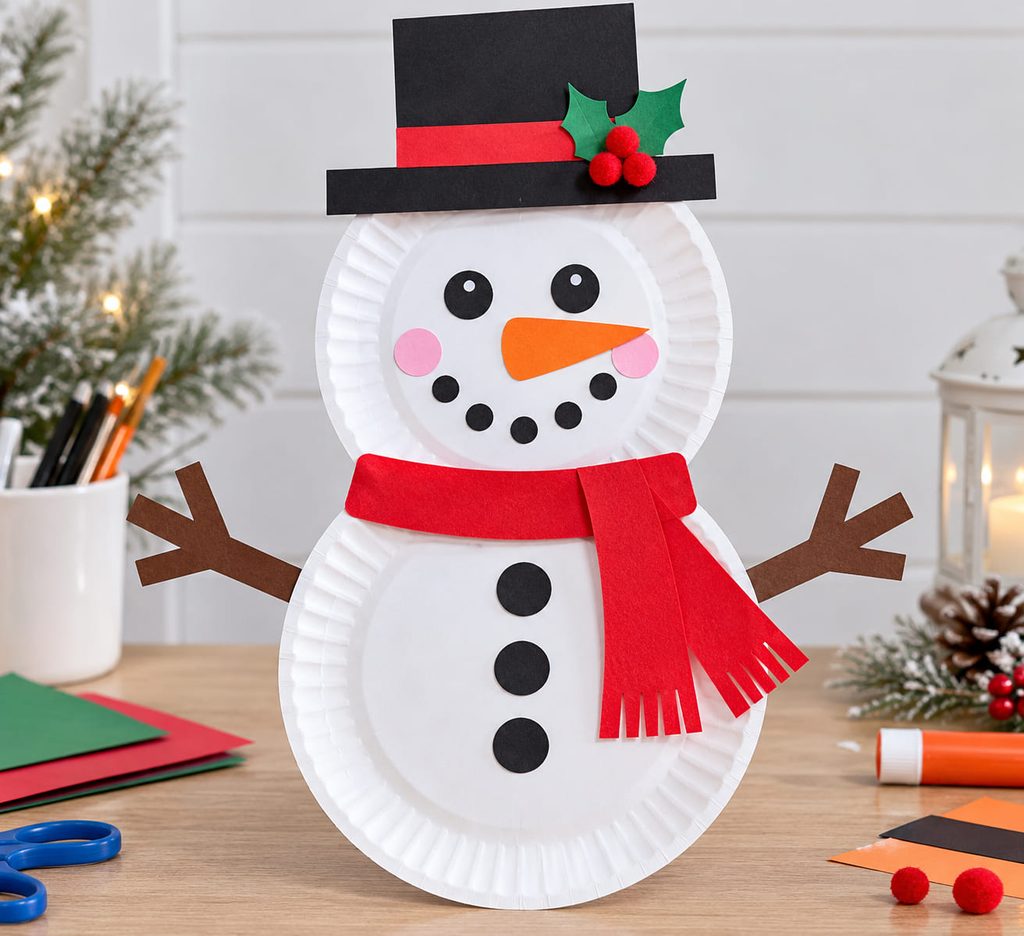
Stack one smaller paper plate above a larger one to build the familiar head-and-body silhouette. Tape the overlap from the back first, then add glue if you want a cleaner front. A paper carrot nose, coal-style dots, and a scarf across the join help the two circles read as one figure.
For a stronger wall decoration, keep the hat and arms lightweight and attach them to the back edge instead of loading the front with heavy pieces. If the snowman bends at the neck when lifted, add a short strip of cardstock behind the overlap as a hidden brace.
2. Paper Plate Snowman Face
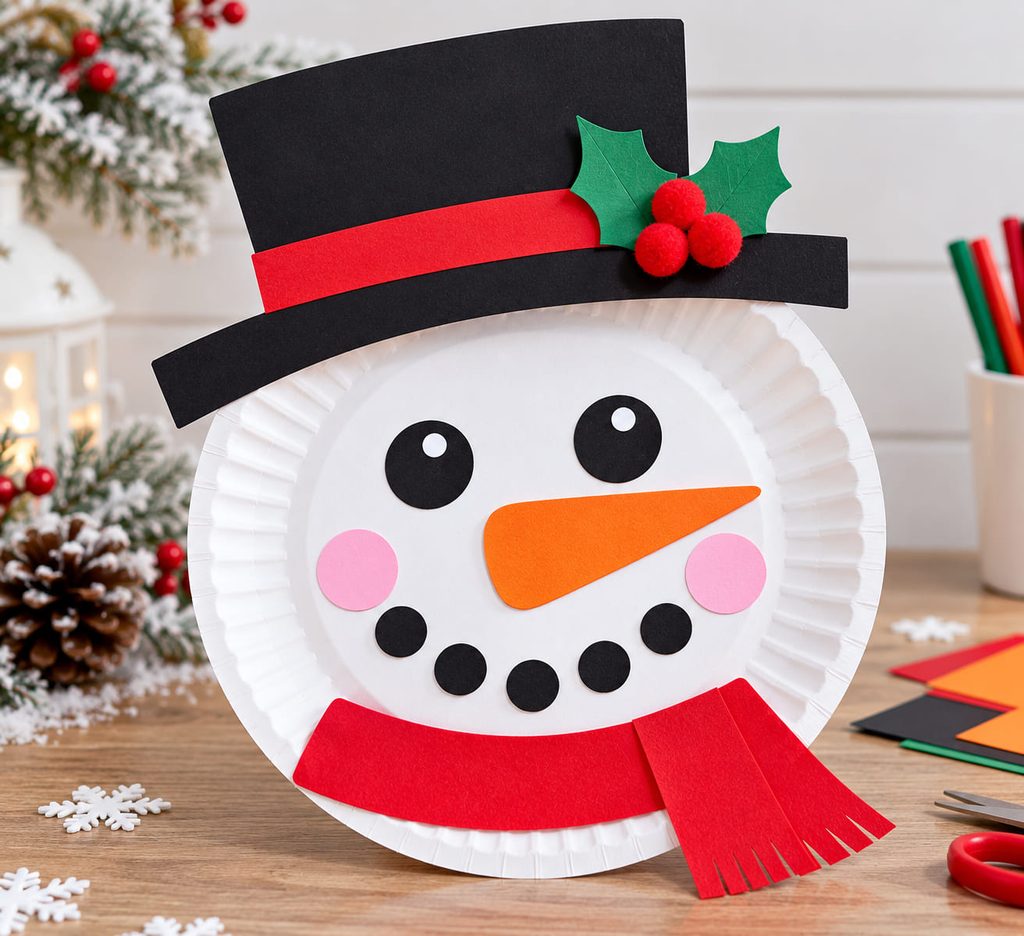
Use one plate as an oversized snowman face and let the rim act like a natural frame. Place the eyes slightly above center so there is room for a long orange nose and a curved dotted smile. A paper hat can overlap the top rim, while a short strip of patterned paper can become a hatband.
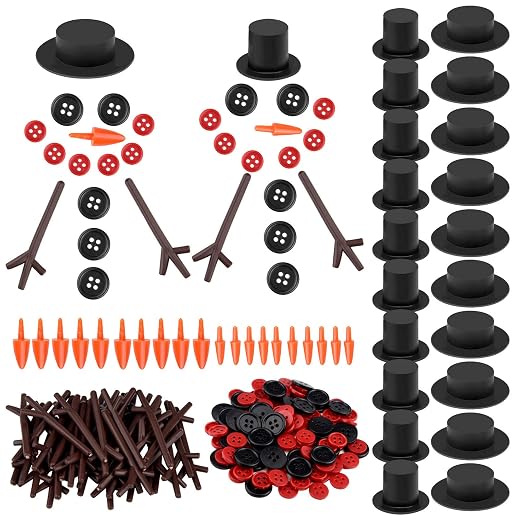
A simple supply set keeps this version quick:
- 1 paper plate
- orange and black paper
- glue
- marker or crayons
- optional pom-poms or buttons
Keep bulky decorations away from the lower edge if the finished face will be displayed upright; an even weight distribution helps it stay flat against the wall.
3. Hanging Snowman Spinner
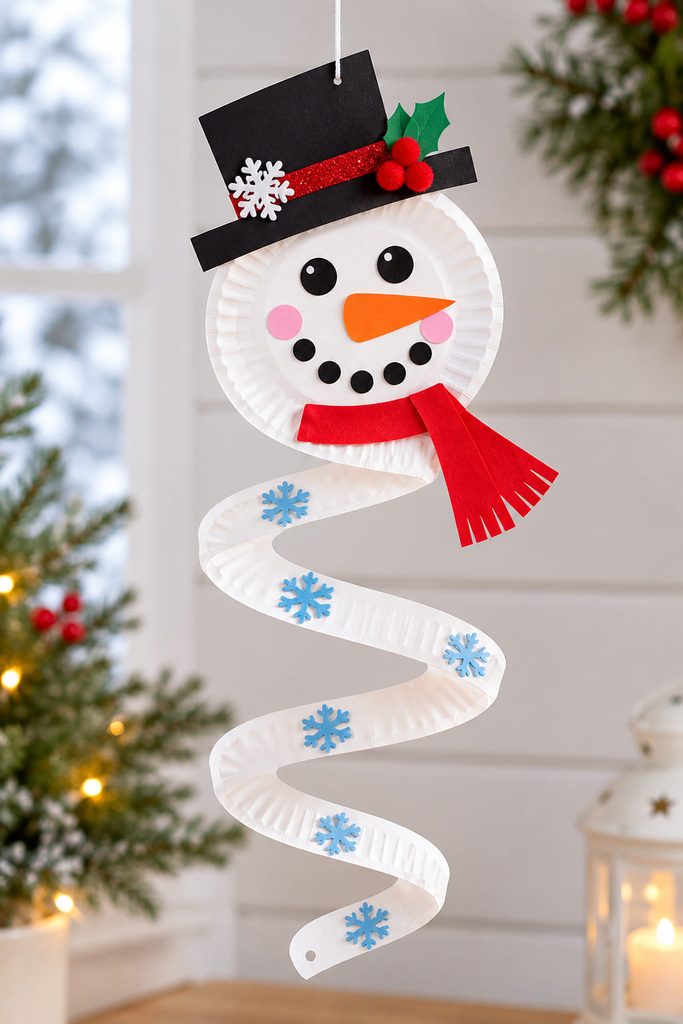
Turn a plate into a spiral hanger by drawing a wide spiral from the outer rim toward the center, then cutting along the line. Decorate the center as the snowman’s face before cutting so the features stay grouped together.
- Draw and decorate the face in the middle.
- Sketch a wide spiral around it.
- Cut slowly along the spiral.
- Punch a hole near the outer end.
- Add string and hang it where it has room to turn.
The spiral needs clearance to move freely. Keep the hanging point centered over open space so the paper does not catch on a wall or nearby decorations.
4. Snowman Wreath Plate
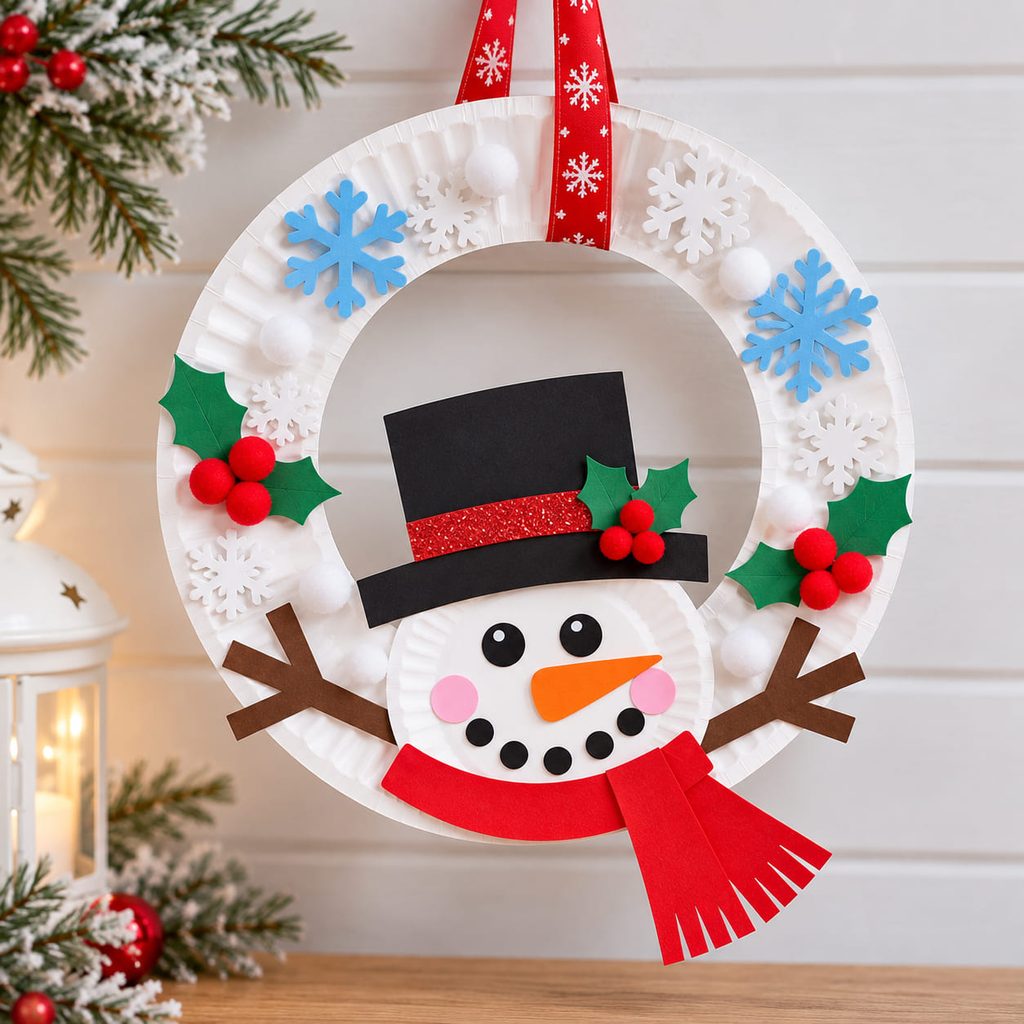
Cut the center from a paper plate and use the remaining ring as a snowy wreath base. Add a small snowman face at the bottom or side of the ring, then build a hat and scarf around that focal point instead of covering the entire circle.
This design works especially well when the wreath stays lightweight. Paper snowflakes, tissue-paper tufts, or small cardstock circles can fill the ring without pulling it out of shape. If the cut plate starts to buckle, glue a second ring behind it before adding the hanger.

5. Waving-Arm Snowman
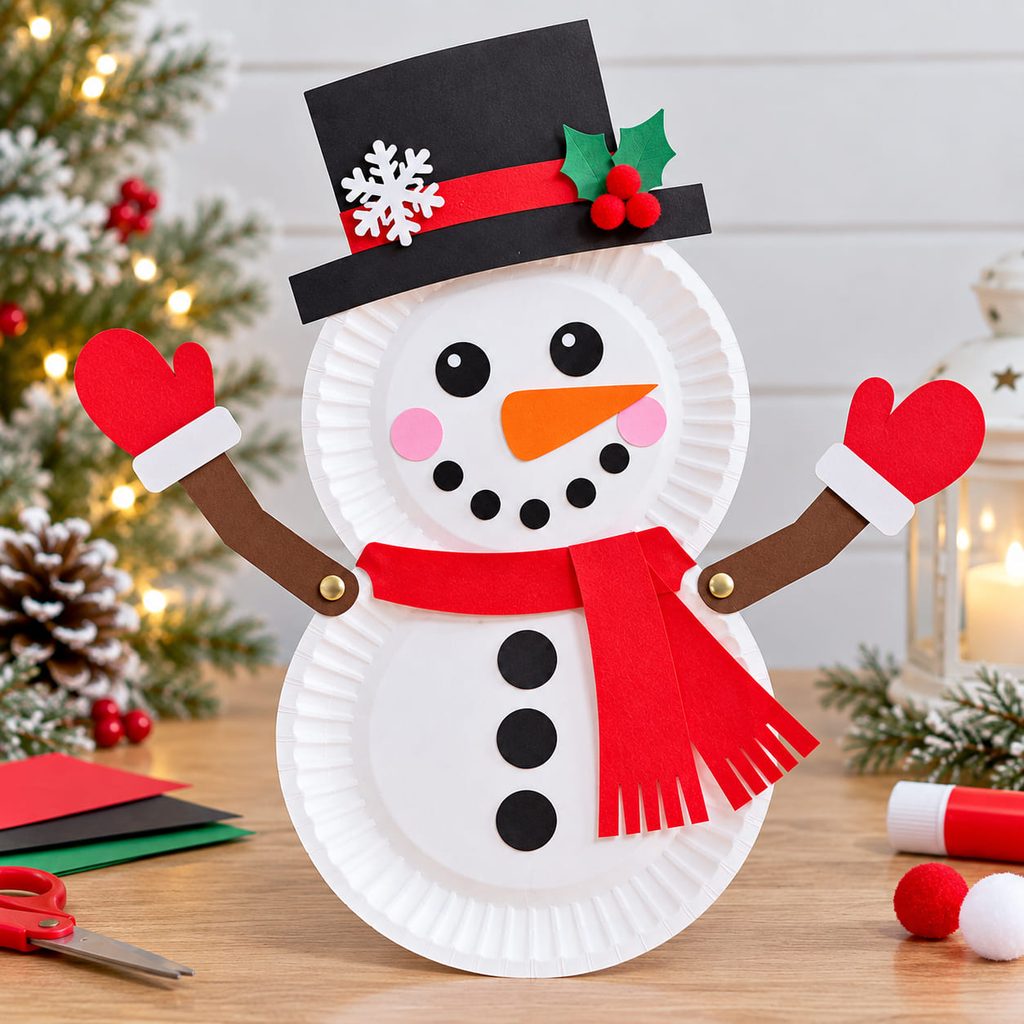
Make the snowman interactive by attaching cardstock arms with paper fasteners so they can pivot. The arm joints should sit inside the edge of the body plate, leaving enough paper around each hole to resist tearing.
If an arm droops, the joint is usually too loose or the arm is too heavy. Shorten the cardstock arm, move the hole closer to its base, or place a small cardstock reinforcement patch behind the plate. For young children, an adult should handle sharp hole-punching or metal fasteners.
6. Cotton-Ball Snowman
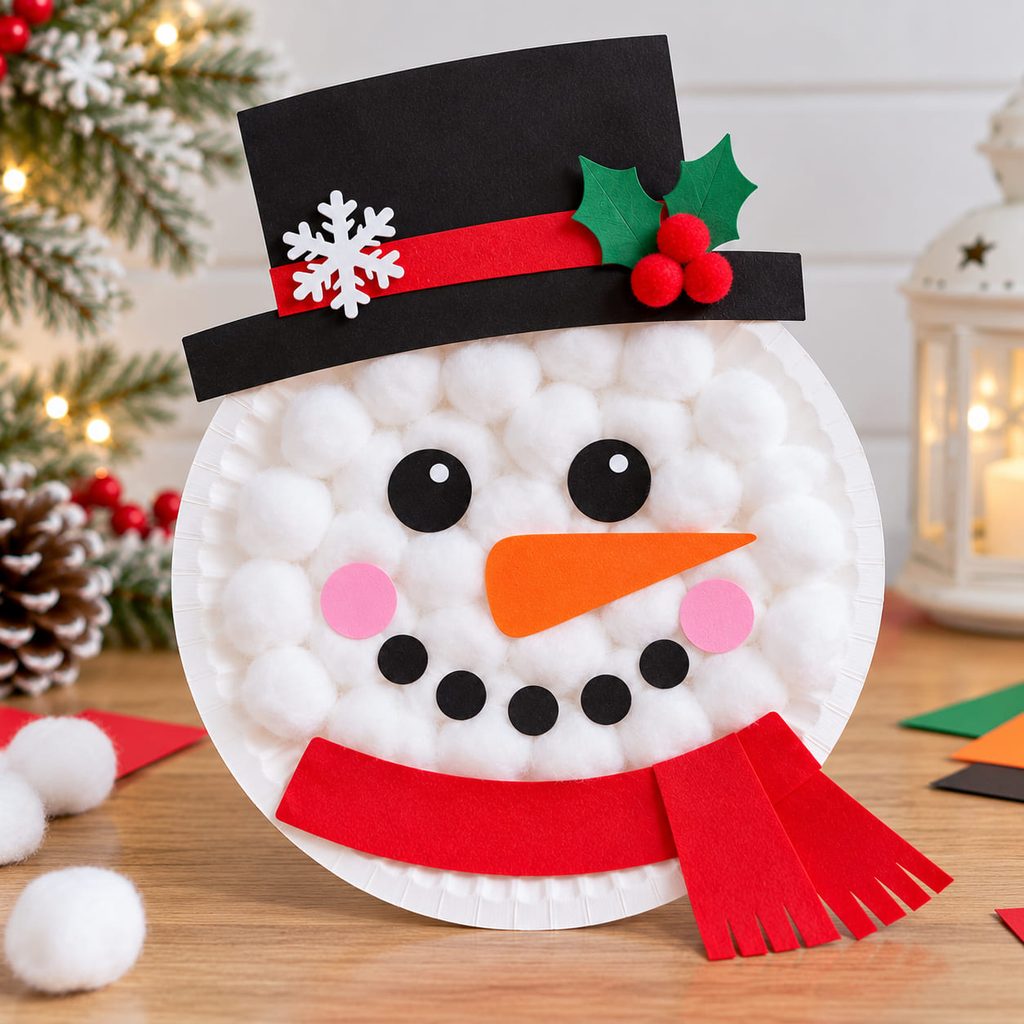
For a fluffy surface, cover the inner area of a plate with small cotton-ball pieces rather than whole large balls. Smaller tufts are easier to place around the eyes, nose, and mouth without burying the features.
Glue the facial details after the cotton layer has settled enough to hold them. Flat cardstock pieces work better than tiny loose beads on the soft surface, and a wide paper hat creates a clear top edge that keeps the face from looking visually crowded.

7. Melted Snowman Scene
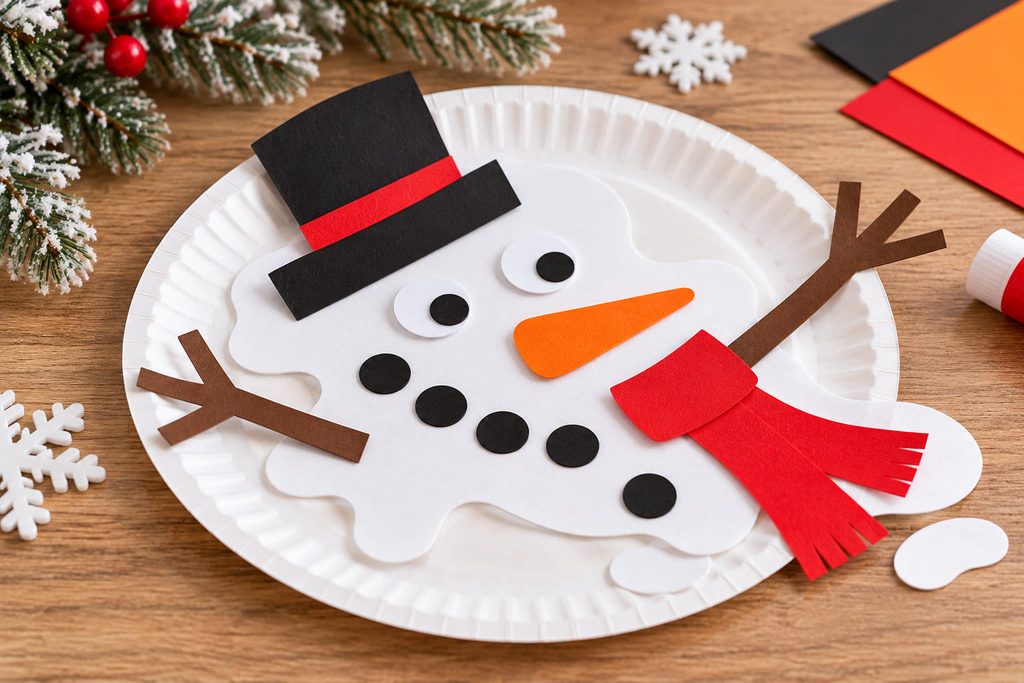
A melted snowman turns the usual upright figure into a funny winter scene. Keep the plate mostly white, then place a paper hat, carrot nose, twig-like arms, and a few black “coal” circles at scattered angles as if the snowman has collapsed into a puddle.
The idea reads best when the pieces still suggest the original body arrangement. Cluster the face details near one side and let the arms extend outward, rather than distributing everything evenly. A pale blue paper puddle beneath some of the pieces can make the melted effect clearer.
8. Snow Globe Snowman Plate
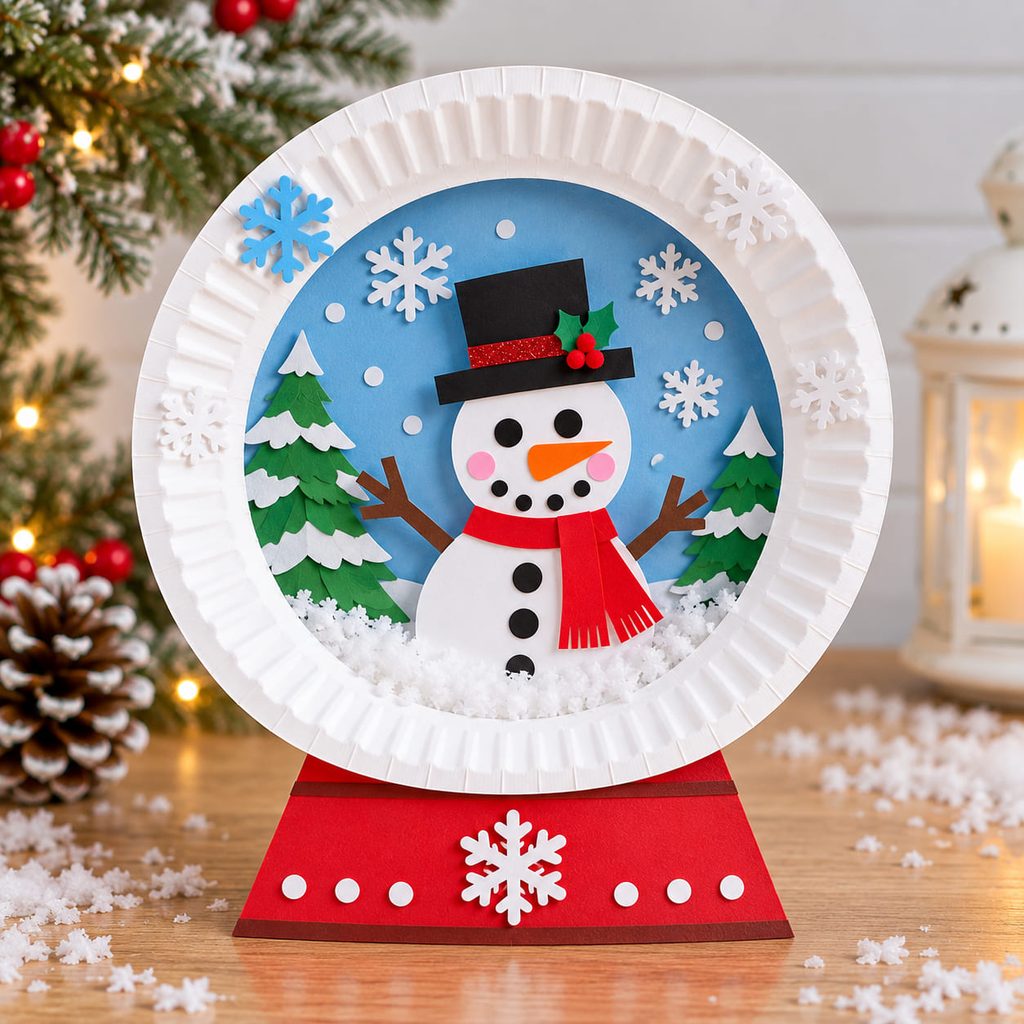
Build a tiny snowman scene inside the center of the plate and treat the raised rim like the boundary of a snow globe. A low paper snowbank along the bottom gives the snowman a place to stand, while cut paper trees or small snowflakes add depth without needing many supplies.

Depth trick: place the background pieces first, the snowman second, and a few snowflakes last. That simple front-to-back order makes the scene feel layered.
Add a trapezoid-shaped cardstock base below the plate to complete the snow-globe look. Keep the base wider than the bottom contact area so the visual weight feels stable even if the craft is only being displayed flat.
9. Accordion-Leg Snowman
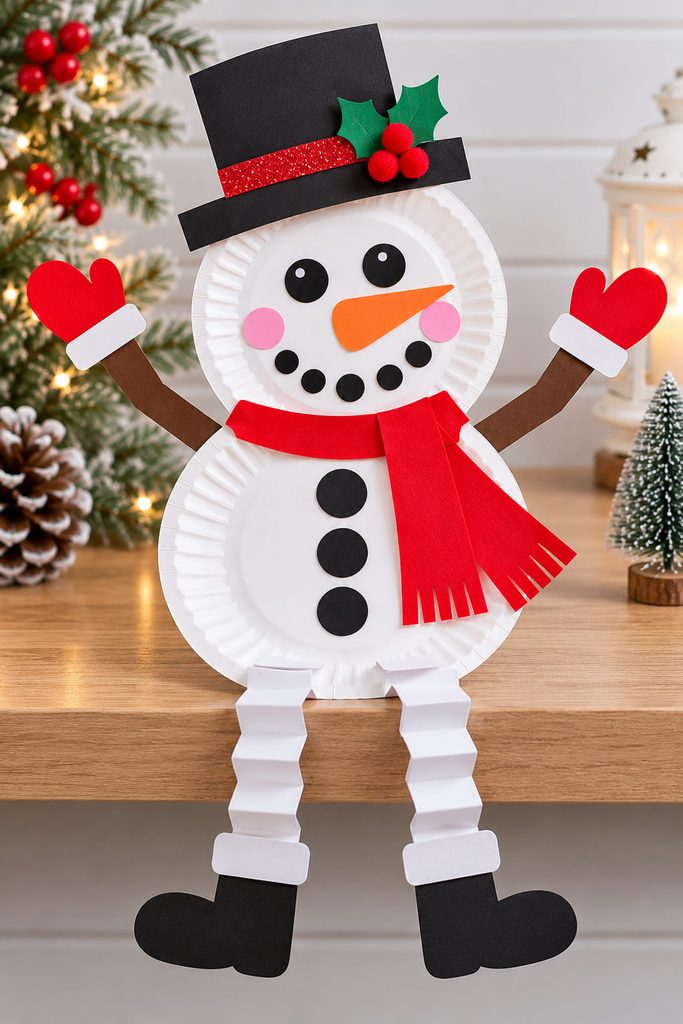
Give a snowman silly dangling legs by folding two long paper strips back and forth into accordions. Attach them to the back of the body plate so the folds extend below the rim, then glue boots to the final fold.
- Cut two strips to the same width.
- Fold each strip in alternating directions.
- Glue the top ends behind the plate.
- Add lightweight paper boots.
- Lift the craft to check that both legs hang freely.
If one side twists, flatten the folds again and make sure the attachment points are level. Heavy foam or thick decorations on the boots can overpower the paper hinges.
10. Snowman Treat Pocket
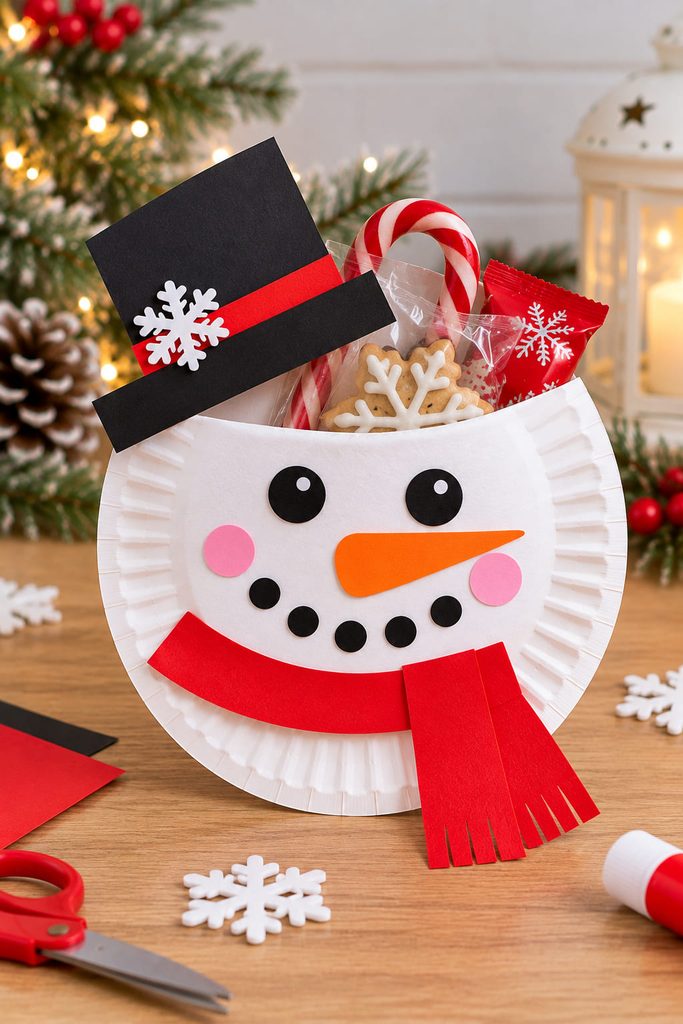
Fold a paper plate roughly in half and fasten the curved edges to create a shallow pocket. Decorate the front as a snowman body or face, leaving the top open so it can hold a note, a lightweight wrapped treat, or a few paper activity cards.
Before decorating, test the pocket with the item you plan to place inside. The sides need enough closure to stop the item from sliding out, but the opening should stay wide enough for easy access.

Good lightweight fillers:
- a winter joke card
- a small note
- paper snowflakes
- a wrapped flat treat
- a mini coloring card
Avoid overfilling the pocket; paper plates are flexible and can pull open if the contents are too heavy.
11. Name-and-Button Snowman
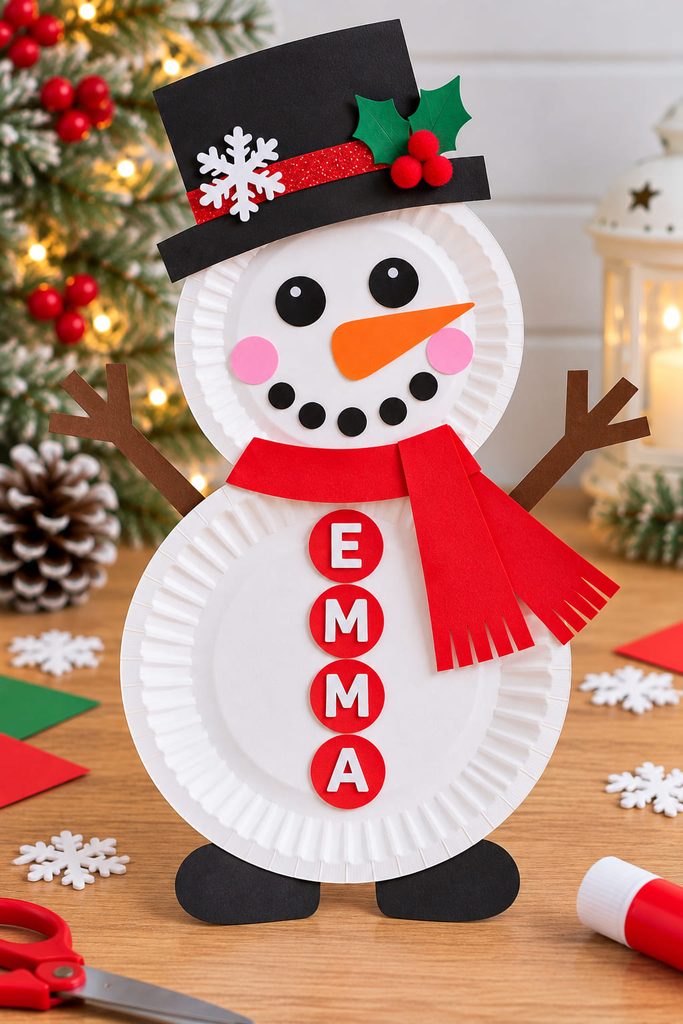
Turn the body into a simple personalized display by adding one large paper “button” for each letter of a name. Arrange the circles vertically down the plate and write one letter on each before gluing them in place.
This works best with shorter names or larger plates. For longer names, make smaller letter circles or use two stacked plates so the letters still have breathing room. The finished project can double as a winter cubby, door, or bulletin-board label.
12. Snowman Door Hanger
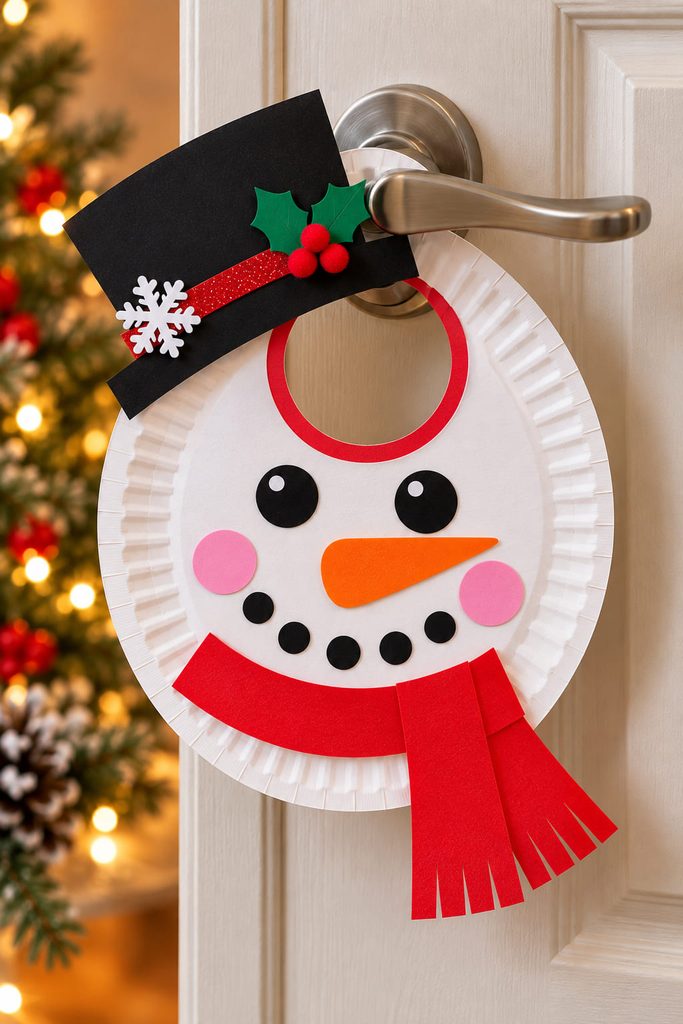
Cut a round opening near the top of a paper plate so the craft can slip over a door handle, then decorate the remaining area as a snowman. Keep the face below or beside the opening so the handle does not cover the main features.
The weak point is the narrow paper above the hole. Leave a generous bridge between the cutout and the plate rim, and avoid hanging heavy ornaments from the bottom. If the bridge flexes too much, glue a matching cardstock ring around the back of the opening.
13. Standing Folded-Plate Snowman
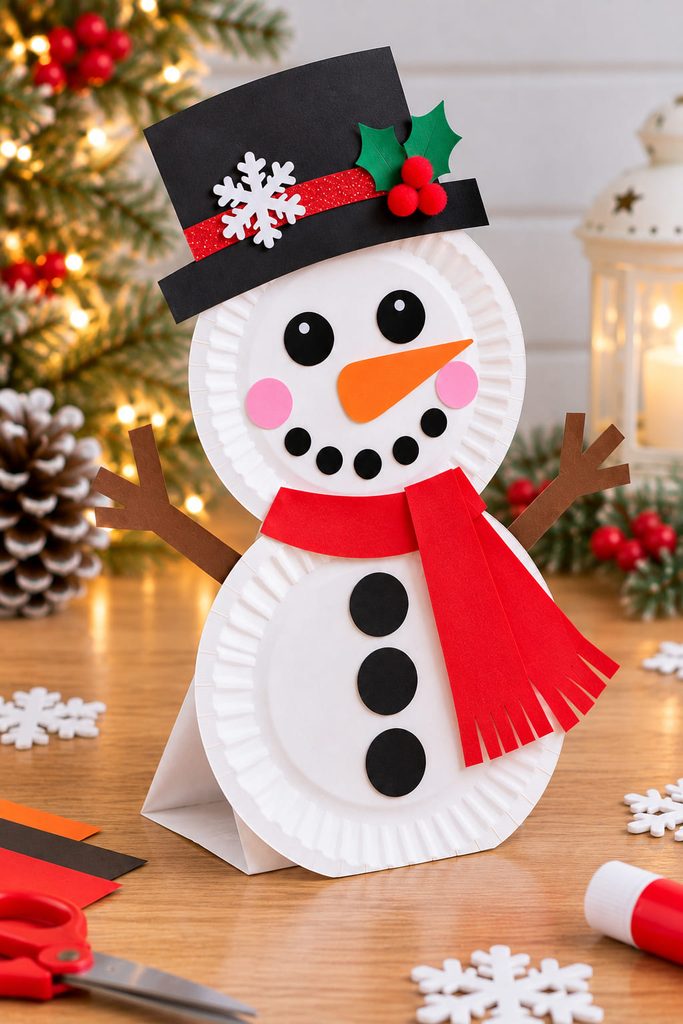
Create a freestanding base by folding the bottom section of a plate backward along a straight crease. The folded flap becomes a foot, while the visible upper section holds the snowman face and details.
If the snowman tips forward, increase the depth of the rear flap or move bulky decorations higher and closer to the center. Test the stand before adding arms or a tall hat; changing the footprint is much easier while the plate is still undecorated.
14. Yarn-Laced Snowman Plate
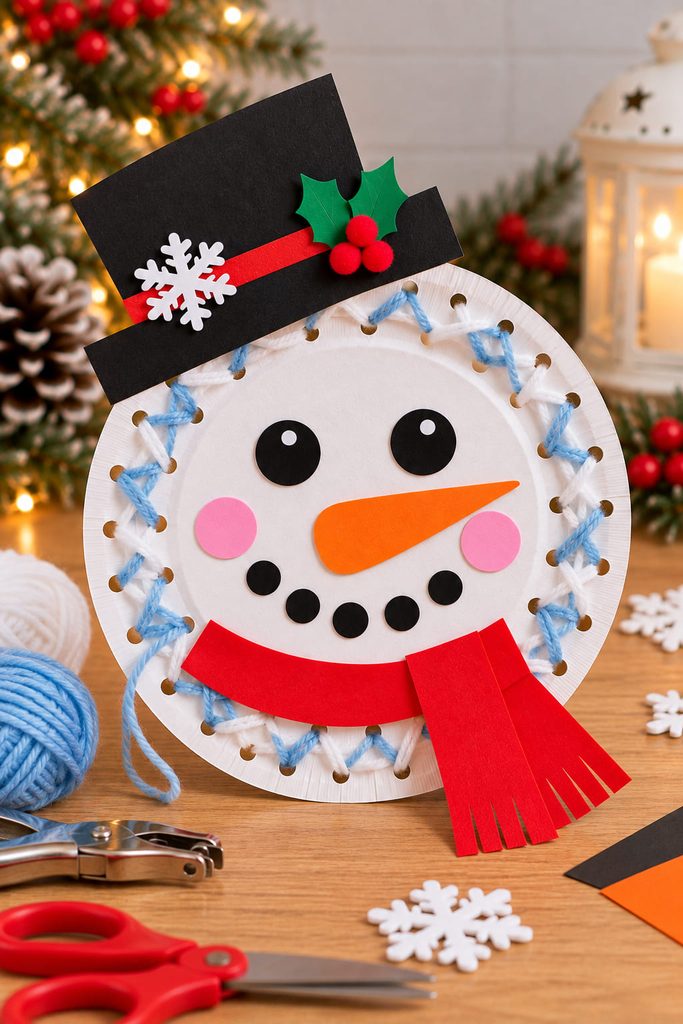
Punch evenly spaced holes around the inner rim and lace yarn across or around the plate for a tactile snowman craft. You can keep the center open and crisscross the yarn, or stitch around the perimeter and leave the middle mostly clear for the face.
- Mark the holes before punching so spacing stays consistent.
- Cut a manageable length of yarn.
- Tape one end to the back.
- Lace through the holes without pulling the plate inward.
- Secure the final end on the back.
Loose tension keeps the plate flat. If the rim starts curling, back up one or two holes and reduce the pull before continuing.
15. Tissue-Paper Mosaic Snowman
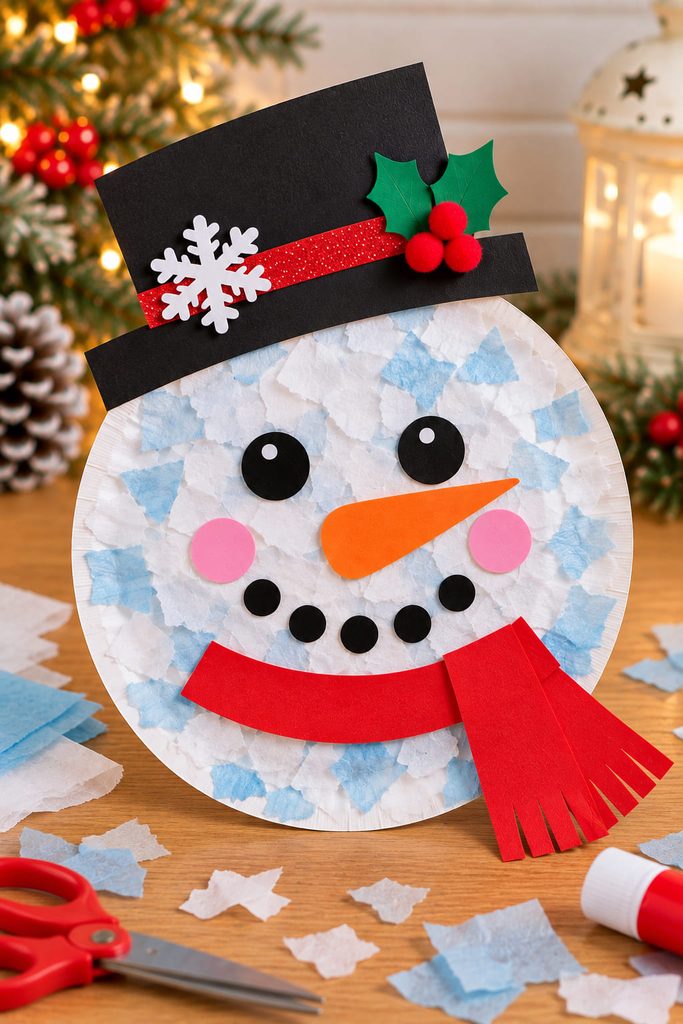
Tear white and pale-blue tissue paper into small irregular pieces and overlap them across the plate. The uneven edges create a snowy mosaic without needing exact cutting.
Leave a few tiny gaps between color areas so the surface does not become one dense layer of wet glue. Once the tissue has dried, add bold cardstock eyes, nose, and hat on top. Strong simple shapes are easier to see against the textured background than lots of tiny facial details.
16. Snowman Countdown Wheel
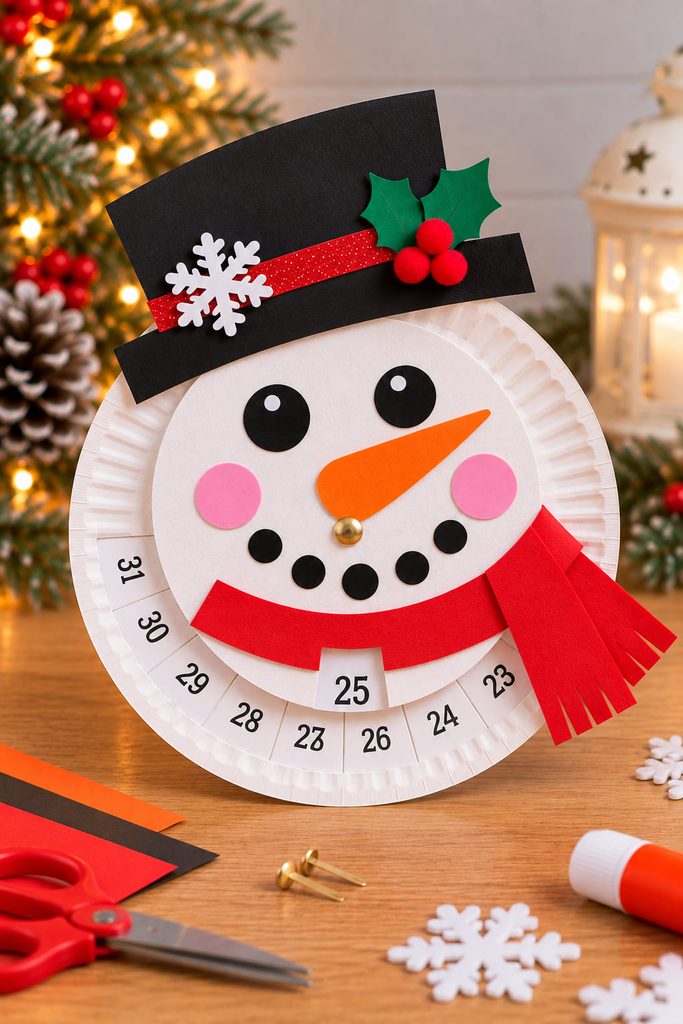
Make a rotating winter countdown by placing a smaller cardstock circle over the center of a paper plate and joining the two with a paper fastener. Write numbers or simple winter prompts around the plate, then cut a small window in the top circle so only one appears at a time.
Mechanism check: rotate the top wheel through a full circle before decorating. The fastener should be snug enough to hold position but loose enough to turn without tearing the center.
Keep the hat, scarf, and other decorations outside the rotating path. Anything glued across both layers will lock the wheel and stop the countdown from working.
17. Mini Paper Plate Snowman Garland
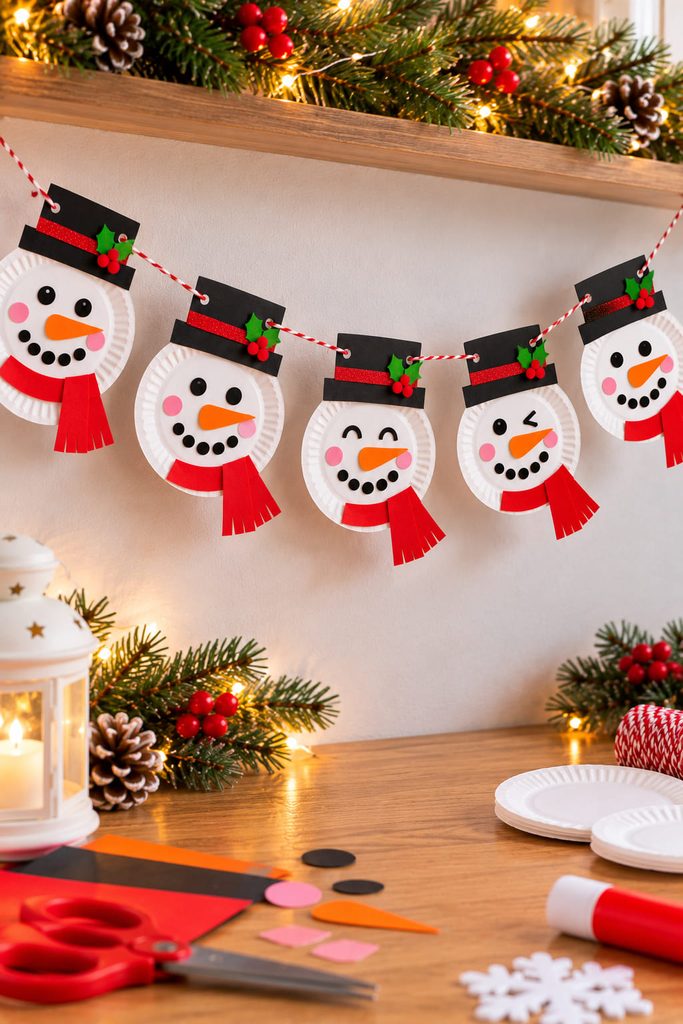
Use several small paper plates to make a line of snowman faces, then connect them with ribbon or string for a winter garland. Give each face a different expression while keeping one repeated feature—such as matching hats or scarves—to make the set feel coordinated.
Before hanging, test the connection points:
- punch holes away from the thin outer edge
- use lightweight decorations
- keep spacing even
- tie or tape the string securely at the back
Hang the garland with a little slack rather than pulling it tight. A gentle curve reduces stress on the end plates and makes the individual snowmen easier to see.
Easy Supplies for Paper Plate Snowman Crafts
Most of these projects start with paper plates, construction paper or cardstock, washable markers, child-safe scissors, and craft glue. Yarn, cotton balls, tissue paper, paper fasteners, ribbon, buttons, and a hole punch can be added only when the individual design needs them.
For activities with younger children, pre-cutting difficult shapes can keep the project focused on arranging, gluing, folding, and decorating. Adults should handle sharp tools, small metal fasteners, or any material that is not appropriate for the child doing the craft.
Paper Plate Snowman FAQ
Can I Use Foam Plates for These Snowman Crafts?
Paper plates are usually easier to cut, fold, punch, and glue. Foam plates can work for simple flat designs, but they may crack around holes or react differently to some glues, so test the material first.
What Glue Works Best on Paper Plates?
A glue stick works well for lightweight paper pieces, while white craft glue gives a stronger bond for cotton, yarn, or layered cardstock. Use only enough liquid glue to hold the material, because too much can warp a thin plate.
How Do I Keep a Paper Plate Snowman From Bending?
Reinforce high-stress areas from the back with cardstock strips or a second plate section. This is especially useful at neck joins, hanging holes, moving-arm joints, and standing folds.
What Can I Use Instead of Googly Eyes?
Cut black paper circles, draw the eyes with marker, use paper hole-punch dots, or make simple oval eyes from cardstock. Flat paper eyes are also easier to glue onto textured surfaces.
How Can I Make the Craft Less Messy?
Use glue sticks for flat paper pieces, prepare small material trays, and add messy textures such as cotton or tissue paper in one controlled stage. A scrap sheet under each project also makes cleanup faster.
Can These Snowmen Be Used as Classroom Decorations?
Yes. Flat faces, name snowmen, wreaths, and garlands are especially easy to display on bulletin boards, doors, or walls. Choose lightweight attachments and reinforce any hole that will carry the craft’s weight.
Make Your Snowman Match the Activity
Choose the construction style before gathering extras. A single-plate face is ideal for a quick craft, while the spinner, lacing plate, moving arms, standing snowman, and countdown wheel give children more to cut, fold, thread, test, or move.
The simplest paper plate snowman ideas are also easy to personalize without changing the basic build. Swap hat shapes, scarf patterns, facial expressions, or background details, then keep the structural parts—joints, folds, hanging points, and bases—clear and functional.