

This post contains affiliate links. As an Amazon Associate I earn from qualifying purchases, at no extra cost to you. Thank you for supporting Diynify!
Paper Christmas ornaments make a tree feel collected rather than simply decorated because the folds, cut edges, woven strips, and small construction details stay visible once the pieces are hung. These 16 ideas use different mechanisms—pleating, honeycomb gluing, weaving, quilling, rolling, slot-fitting, layering, and simple dimensional forms—so you can choose by the kind of handmade texture you want instead of repeating one shape in different colors.
Most projects use cardstock or decorative paper, scissors or a craft knife, a scoring tool, paper-safe glue, and thread or narrow ribbon for hanging. A few call for quilling strips, a quilling tool, a hole punch, small paper fasteners, or vellum. Make one ornament first, check its weight and balance on an actual branch, then repeat only the designs that sit the way you want.
1. Accordion-Fold Star With Crisp Radiating Points
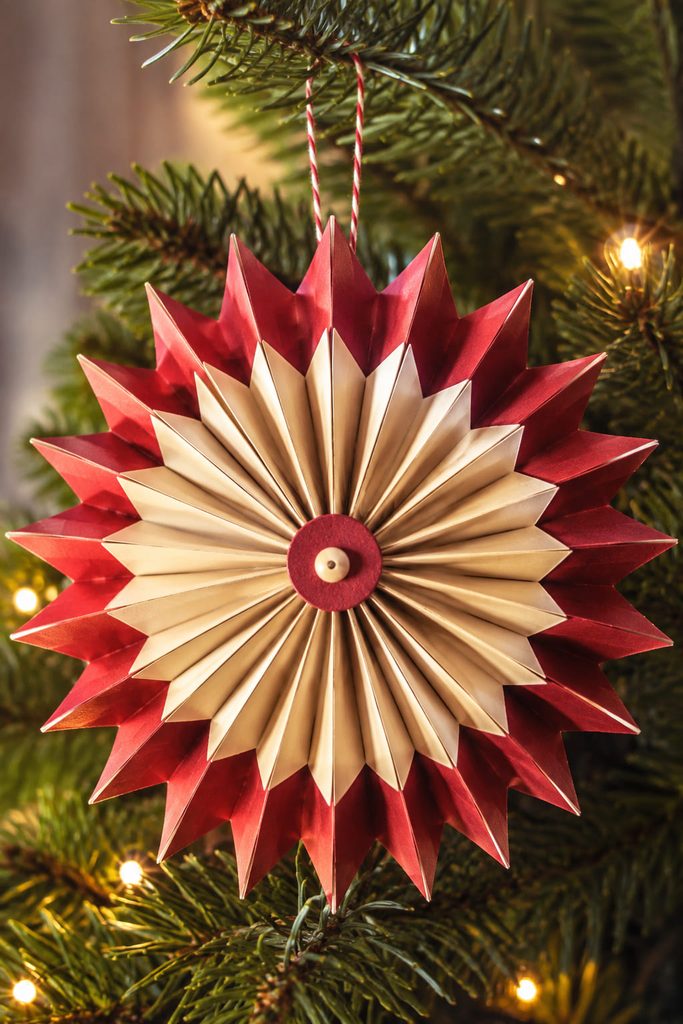
Pleating a long strip before you shape the outside edge gives this star its depth without building separate layers. Score evenly spaced folds, accordion the strip, then trim one long edge into shallow points while the paper is still compressed. Join the short ends to form a ring and press the center inward until the pleats radiate like a rosette.

Two small cardstock disks, one on each side of the center, keep the star from springing open again. Trap the hanging loop under the back disk rather than punching through a single pleat; the load then spreads across the locked center instead of pulling on one thin fold. For a sharper silhouette, keep the cut points broad enough to survive handling rather than turning them into fragile needles.
2. Honeycomb Paper Bauble That Opens Into a Full Sphere
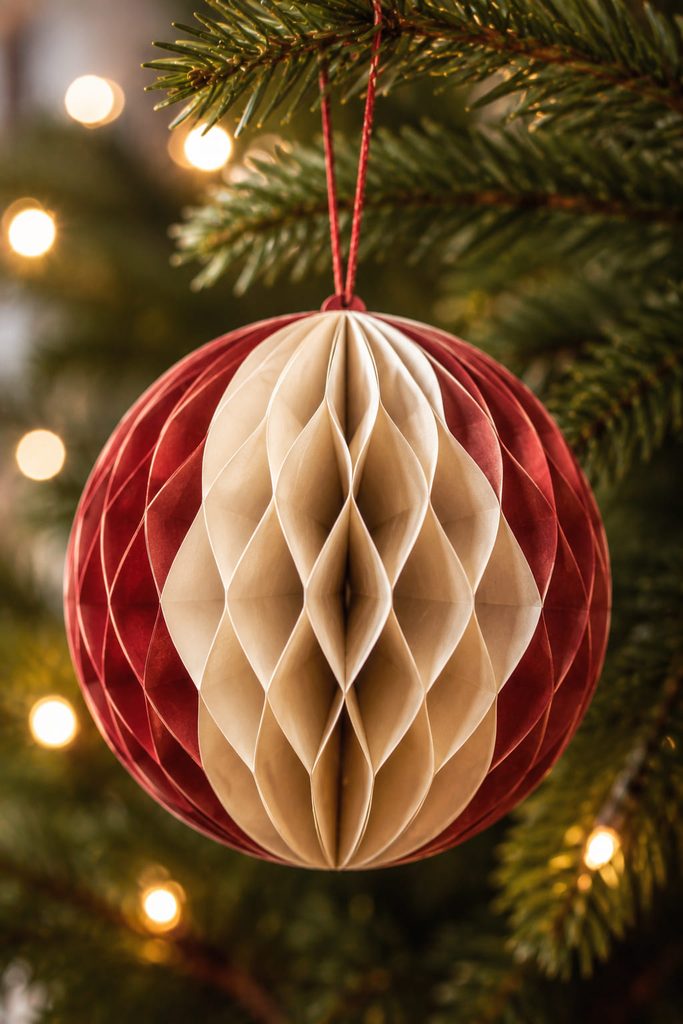
Among flatter paper ornaments, a honeycomb bauble earns its place by changing shape completely when it opens. The structure comes from a stack of identical paper pieces glued at alternating bands. When the stack fans around the centerline, those glue zones force neighboring sheets to separate into repeating cells, creating a lightweight sphere with real volume.
A reliable build sequence is:
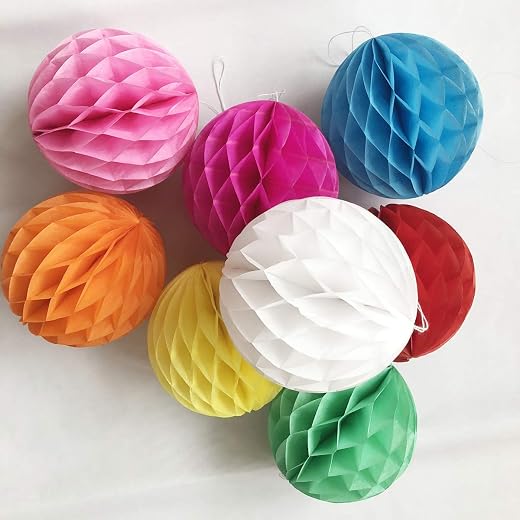
- Cut a batch of identical circles or symmetrical bauble shapes and fold each one exactly in half as a registration crease.
- Stack the pieces and alternate two glue patterns—for example, one narrow glue line near the outer edge on one layer, then two shorter lines closer to the center on the next.
- Before closing the sphere, run the hanging cord along the central fold and secure it at the top with a small paper reinforcement tab.
- Open the stack around the cord, bring the first and last faces together, and glue that final seam only after the cells expand evenly.
Cell-opening check: If one side stays flat, the problem is usually a missed glue band or a glue line placed in the wrong zone. Separate only the affected layers while the adhesive is still flexible, correct that band, and reopen the ball. More glue is not the fix; consistent alternating placement is.
Thin decorative paper opens more willingly than very stiff cardstock, but paper that is too flimsy can buckle where the cells meet. This is one of the better ornaments to test at full size before batch-making, because changing the diameter also changes how easily the honeycomb can fan into a clean sphere.
3. Woven Paper Heart With a Real Over-Under Pattern

Choose this ornament when you want the construction itself to become the decoration. Start with two folded paper pieces shaped like rounded U forms, each cut into an equal number of narrow loops. The fold creates the closed bottom of the heart; the cut loops are the parts that interlock.
To weave it correctly:
- Pass the first loop of piece A through a loop of piece B, then pass the next loop of B through A so the path truly alternates.
- Continue across the row without flattening the folded bottoms; the loops need to slide through one another, not simply lie on top.
- Work the next row in the opposite sequence so the checker pattern locks across the heart.
- Add a narrow paper handle or a thread loop at the top only after the weave is fully seated.
The finished heart has a small internal pocket, but on a tree it is best treated as a lightweight ornament rather than a container for anything heavy. A tiny paper note is reasonable; a dense candy or metal trinket can distort the woven top and pull the hanger off-center.
4. Quilled Snowflake Medallion With a Reinforced Hanging Loop
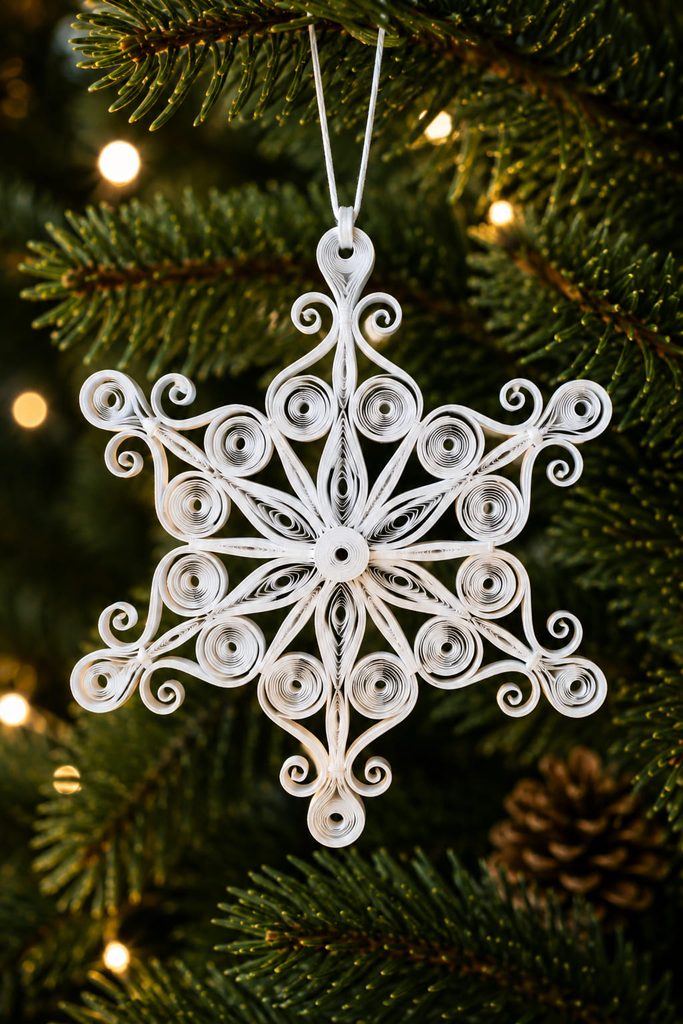
Tightly rolled strips and open negative space give a quilled snowflake more visual detail than its weight suggests. Build the center first, then repeat the same shaped units—teardrops, marquises, or loose coils—around it so each arm carries the same visual load. The important part is symmetry at the joins: if one arm is longer or its coils are looser, the snowflake will hang with that side low.
Keep the top hanging point stronger than the decorative curls around it. A doubled closed coil or a small hidden cardstock loop behind the upper arm gives the thread a sturdier path than threading directly through a delicate open coil. Let the glued joints dry flat before lifting the snowflake; quilled shapes that feel firm on the table can still twist while the adhesive is setting.

5. Folded Paper Bell With a Swinging Paper Clapper

A bell shape fails quickly if the hanger and clapper fight for the same crowded point at the top. Build the bell shell first from a scored, curved paper form with one clean side seam, then reinforce the top opening with a small cardstock washer or folded tab on the inside. The hanging loop attaches to that reinforcement, while a separate thread passes through the center for the clapper.
A rolled paper bead or two glued cardstock circles can form the clapper weight. It only needs enough length to remain visible below the rim and move independently when the branch shifts.

If the finished bell misbehaves, diagnose the movement instead of adding more decoration:
- Bell tilts sideways: the top reinforcement or hanging hole is off the centerline.
- Clapper catches inside: shorten the inner thread or reduce the clapper diameter.
- Rim collapses: the paper is too soft for that width; add a narrow inner band near the bottom edge.
- Top tears: enlarge the reinforcement patch before replacing the loop.
The shell should hang from its own reinforced point; the clapper should never carry the ornament’s weight.
6. Rolled Paper Bead Icicle for Narrow Branch Tips
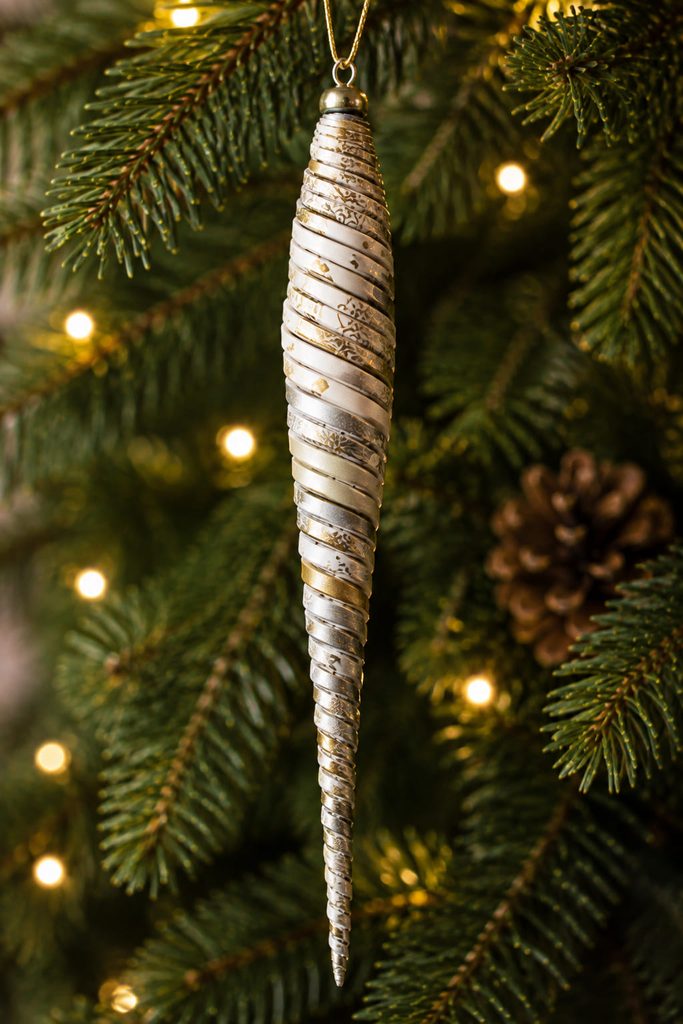
Long vertical ornaments are useful where a round bauble would crowd the needles. For this icicle, cut a long, narrow paper triangle and roll it from the wide end around a skewer or thin dowel. The taper automatically builds a bead that narrows toward one end, and the wrapped paper creates fine diagonal ridges without extra embellishment. Before you glue the final tip, check that the center hole is still open, the roll is straight rather than banana-shaped, and the narrow tail finishes flush instead of lifting. Thread the ornament through the rolled core and add a small paper stop at the bottom if needed. A light metallic paper or printed wrapping-paper offcut works well here because the spiral exposes the surface pattern in thin bands rather than one large block.

7. Layered Winter Silhouette Ornament in a Mini Paper Frame
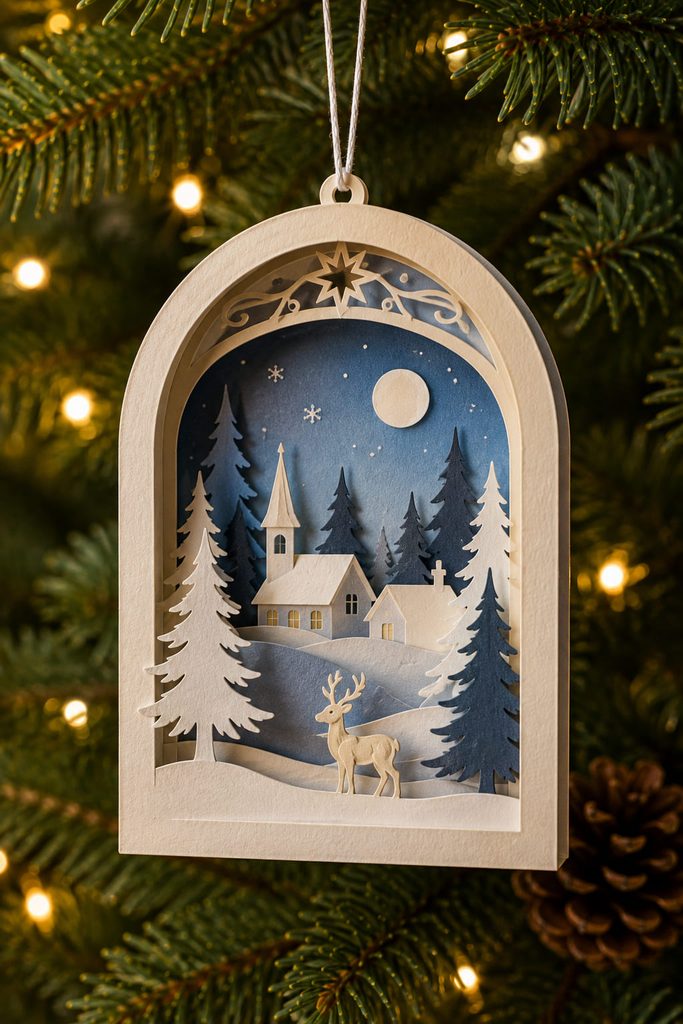
For a small framed effect, use depth sparingly. A deep shadow box can become bulky on a Christmas branch, but two or three cut-paper layers separated by narrow folded cardstock spacers create enough shadow to read as a tiny winter scene. An arch, circle, or simple rectangular frame can hold a foreground tree line, a middle snowbank, and a contrasting sky without turning the ornament into a heavy box.
Build the scene from back to front so every spacer remains reachable while you glue. Keep the narrowest bridges—tree trunks, roof peaks, deer legs, fence posts—away from the frame edge where they could become the only load path between layers. The outer frame, not the illustration, should carry the hanging loop.
The best test is distance rather than desk-level detail. Hang the unfinished stack on the tree before closing the final frame layer. If the scene reads as one dark patch from across the room, simplify an interior silhouette or increase the gap between foreground and background instead of adding more tiny cuts.
8. Pleated Paper Christmas Tree With Stacked Tiers

This tiered tree gets its shape from several small accordion-folded disks arranged from widest at the bottom to narrowest at the top. Each strip is pleated, joined into a ring, and pressed into a shallow rosette; a small cardstock circle at the center keeps that tier flat.
Useful supplies for this version are:
- three to five strips of medium-weight paper in decreasing widths;
- small cardstock center disks;
- thread or narrow cord for the central hanger;
- scrap paper spacers if the tiers need a little air between them.
Thread the tiers onto the hanging cord in size order rather than gluing them into one solid stack. The slight separation keeps the tree silhouette readable and lets each pleated edge cast its own shadow.
9. Curved Paper Strip Globe With Pole Fasteners

Curve several equal cardstock strips between two fixed poles and a flat bundle becomes an open globe. The key is that every strip must have the same length and the holes must align at both ends; otherwise one band pulls tighter, shifts the centerline, and makes the sphere lean.
Build it in this order:
- Cut six to eight strips to exactly the same dimensions and punch matching holes near both ends.
- Stack the strips, secure the bottom ends with a small paper fastener, then secure the top ends with a second fastener.
- Rotate the strips around the fasteners until the spacing is even, then bow each strip outward into the same curve.
- Attach the hanging loop to the top fastener area with a small reinforcing paper tab if the fastener head does not give the thread a secure path.
Balance check: Hold the ornament by the loop before it reaches the tree. If one side drops, compare strip spacing first. A globe can be geometrically centered but still hang crooked when several bands have migrated to one side.
This design can stay airy and minimal, or you can add one lightweight paper bead at the bottom pole. Avoid heavy charms: the open-strip construction works because the ornament is light, and extra weight can flatten the curves or make the top hole wear faster.
10. Faceted Folded Diamond Ornament
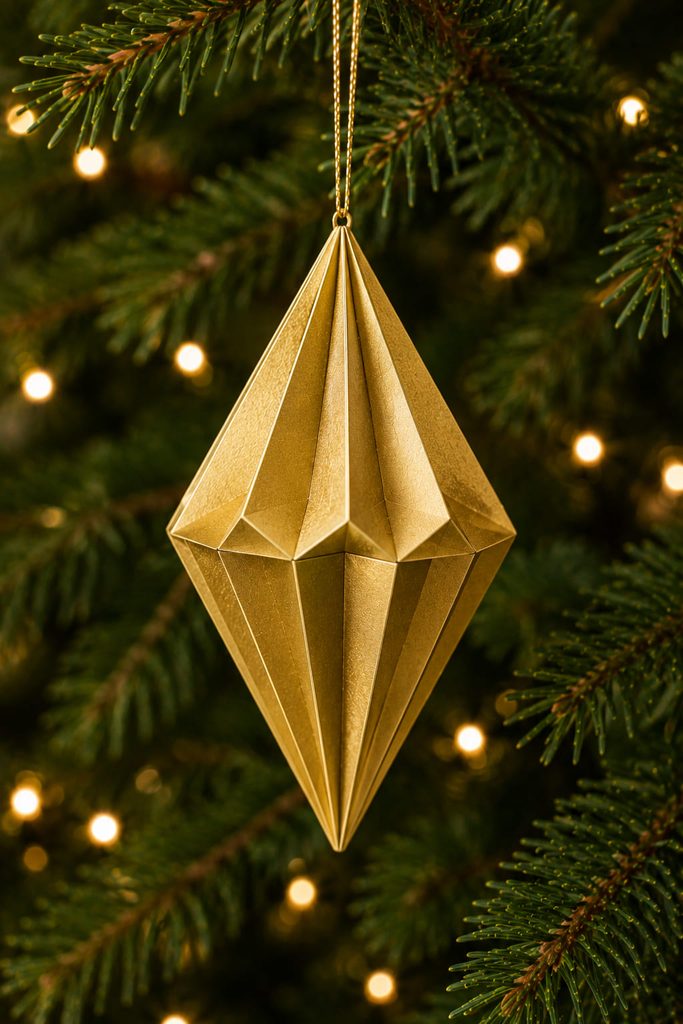
Where round ornaments feel soft and traditional, a faceted diamond gives the branch a cleaner geometric break. Score two matching pyramid-like halves with glue tabs, fold every ridge sharply, and close each half before joining them around the widest edge. Trapping the cord between the top tabs is neater than punching a hole after the diamond is assembled.
Medium cardstock makes the facets hold their planes; thin metallic gift paper catches more light but usually needs a hidden cardstock skeleton or backing tabs at the joins. Choose the material based on which quality matters more: crisp geometry or a lighter reflective surface. The finished diamond is successful when the equator meets evenly and the top point stays directly above the bottom point when suspended.
11. Laced Cardstock Star With Threaded Edge Detail
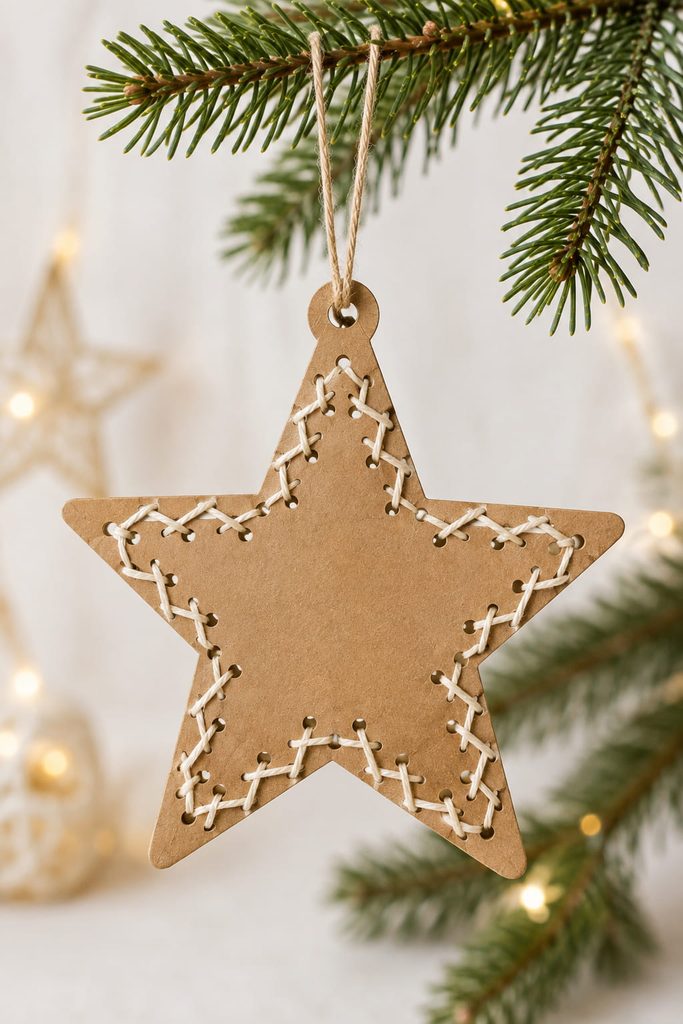
Punching a rhythm of holes around a simple cardstock star creates detail without weakening the interior with tiny cutouts. Use a blunt-point needle or a taped thread end, and keep the holes far enough inside the edge that the paper between hole and perimeter remains intact.
A clean sequence is:
- Cut one sturdy star and mark evenly spaced holes around the outer edge.
- Punch the holes before adding any surface decoration so the card stays flat.
- Lace thread through a repeating path—straight perimeter stitches, long crossings, or a simple spoke pattern.
- Finish with a separate reinforced hanging hole near the top point rather than using one of the decorative edge holes.
The lacing can be dense or sparse, but the structural rule stays the same: decorative tension should spread around the star, while the hanging load gets its own stronger point.
12. Mini Paper House Ornament With a Reinforced Roof Hanger

A tiny house looks convincing on a tree only if the roof remains a roof instead of becoming the weak spot that carries the entire ornament. Build the walls as a small tabbed box, close the base, and add the roof after the wall seams are square. Window cutouts can stay open or be backed with vellum, but leave enough paper around them that the wall panels still act as panels.
There are two practical ways to hang it. A ridge loop runs through a reinforced tab trapped beneath the roof peak, keeping the pull close to the house centerline. A chimney loop can look charming, but it works only when the chimney is built as a structural tube tied into the roof; a decorative chimney glued on top is more likely to peel or make the house hang crooked.
For most handmade versions, the ridge loop is the more forgiving route. Dry-fit the roof with the hanger already in place, lift the house by the loop, and only then close the final roof seam.
13. Paper Cone Angel With Sculpted Wings
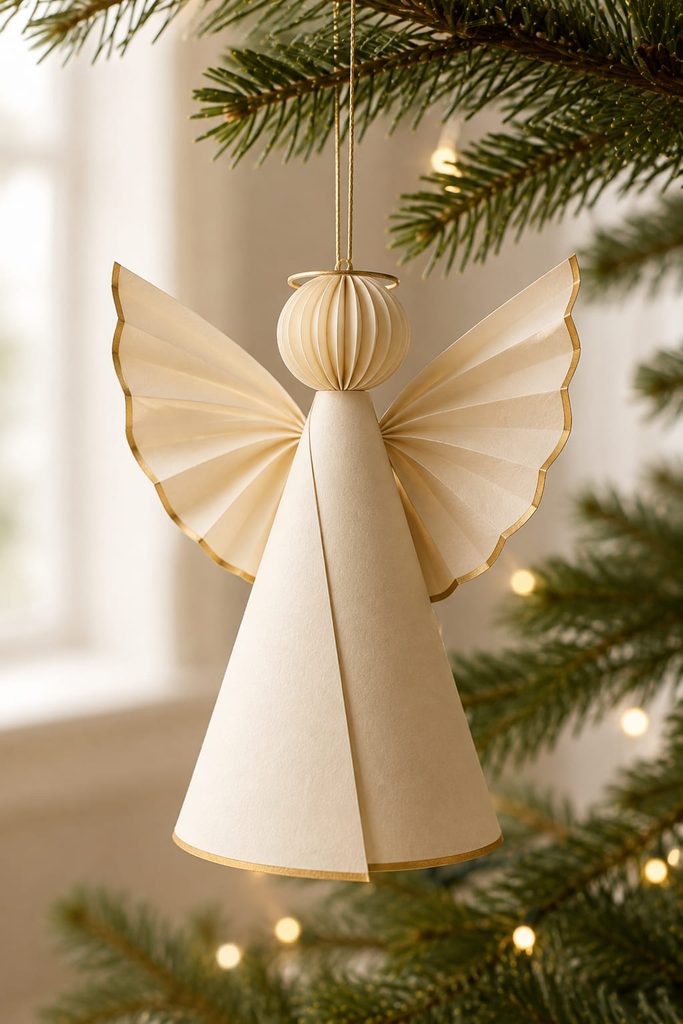
Roll a sector of cardstock into a neat cone and the angel gains volume with very little material. Glue the overlap, then attach broad folded wings high enough that they frame the body without dragging it backward. A small rolled paper coil or layered paper circle can form the head, while the hanging loop is trapped inside the cone apex on a reinforced tab.
The cone should carry the structure and the wings should stay light. If the wings are made from heavy layered card, the angel tends to tip backward; wider, thinner wings with one central crease create more presence with less weight.
14. Layered Paper Pinecone Built From Overlapping Scales

Overlapping teardrop scales make this pinecone convincing because each new row hides the attachment points of the row above it. Start with a narrow rolled-card core, then work from the bottom upward, wrapping each ring of scales around the core with staggered joints. The lower scales can flare slightly; upper rows should tighten as the form narrows.
If the shape goes wrong, the pattern usually tells you why:
- Core shows between rows: increase the overlap or move the next row slightly lower.
- Pinecone becomes cylindrical: reduce scale width as you approach the top.
- Bottom looks blunt: begin with a small closed cluster before adding the widest row.
- Scales lift away: use a smaller glue zone near the top of each scale so the free end can curve without peeling the joint.
Finish with a paper cap that hides the last row and traps the hanging loop against the core. That top cap does structural work as well as visual cleanup, so it should be glued to the core rather than only to the outer scales.
15. Slot-Fit Reindeer That Folds Flat for Storage
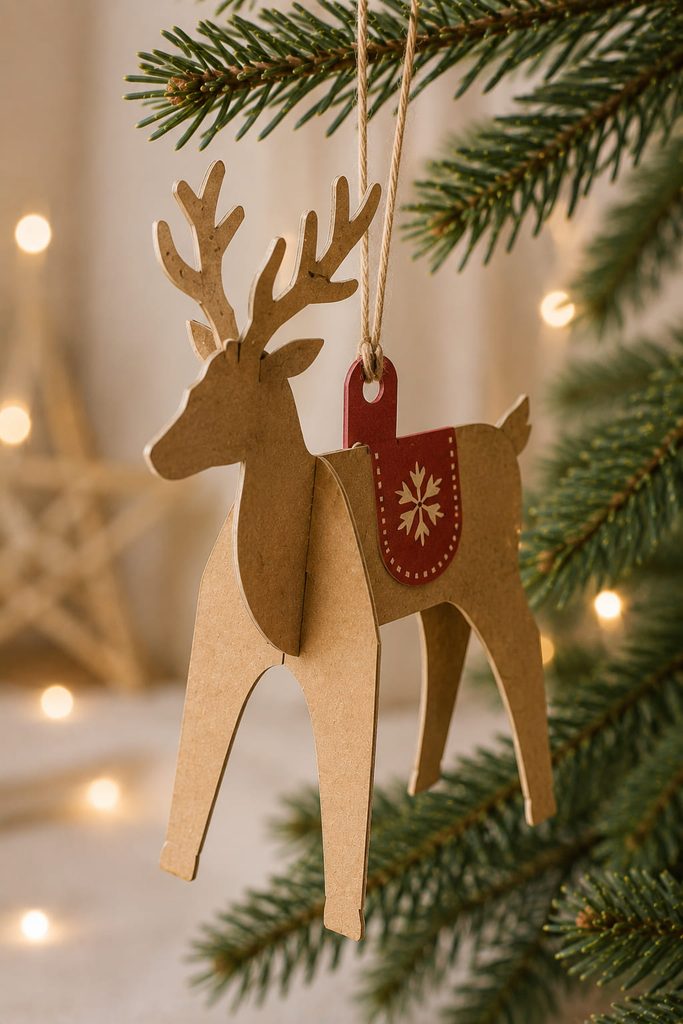
Cross two slotted reindeer profiles at right angles and a flat cutout becomes a self-supporting three-dimensional silhouette. One profile receives a slot from the top to the midpoint; the other receives a matching slot from the bottom. When the slot widths match the cardstock thickness closely, the parts grip without a bulky glue joint and the four projecting planes keep the animal readable from several directions.
The antlers are not a good place to carry the hanging load. Add a small doubled paper tab along the upper back or shoulder line, positioned close to the center of the crossed body, and pass the thread through that tab. Lift the reindeer before final decorating; if the nose drops sharply, move the tab slightly rearward, and if the back drops, move it forward.
Storage advantage: Pull the two profiles apart after Christmas and they return to nearly flat pieces. Keep them in a rigid envelope or between sheets of card so the antlers do not crease. This makes the ornament especially practical when you like dimensional tree decor but have limited ornament-box space.
16. Vellum-Window Paper Lantern Ornament
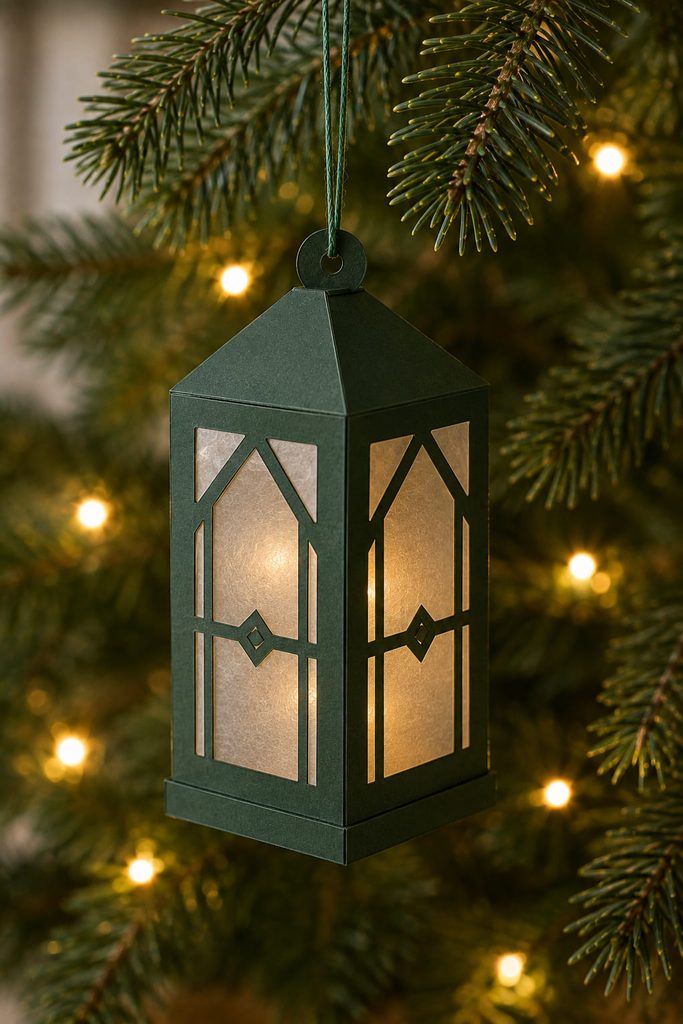
Want a translucent ornament without putting a light source inside the paper? Build a small cardstock lantern frame with generous cutout windows, back those openings with vellum, and let nearby tree lights or room light show through from outside. The contrast comes from the opaque frame against the soft translucent panels, not from an enclosed bulb.
Before closing the frame, check:
- the window cutouts leave enough cardstock at every corner to keep the walls rigid;
- adhesive sits on the frame edges where it will be hidden behind vellum;
- the top hanger is reinforced and centered;
- the bottom and side tabs close without pushing the vellum inward.
Keep this ornament decorative rather than treating it as a working luminary. Do not place a candle or bulb inside; the hollow center is simply part of the lantern shape. Hung where ambient light can pass through the vellum, it adds a quiet glow effect without adding weight to the branch.
Choosing Paper Christmas Ornaments by Branch Weight
The prettiest ornament is still the wrong choice if the branch cannot hold it in the position you want. Light outer tips suit quilled snowflakes, rolled-paper icicles, woven hearts, and vellum-window ornaments. Honeycomb balls, strip globes, layered scenes, and mini houses usually sit better a little deeper in the tree, where the branch is thicker and the ornament has more clearance around it.
Also match the hanger to the construction. A thread loop can disappear visually on delicate paper work, while narrow ribbon gives more surface area at a reinforced tab. For anything dimensional, lift the ornament by its finished hanger before decorating the front; balance problems are easier to correct before the last layer hides the attachment point.
Start With the Ornament That Matches Your Paper
If you have lightweight decorative paper, begin with the honeycomb bauble, rolled icicle, or woven heart. If your stash leans toward medium cardstock, the folded diamond, paper house, strip globe, or slot-fit reindeer makes better use of that stiffness. Quilling strips and vellum are worth saving for the ideas where their specific behavior is part of the result rather than treating every paper as interchangeable.
For a broader next project after the tree is covered, the Diynify Christmas hub groups seasonal paper projects by finished use, material, and construction style: Christmas Paper Crafts, Ideas & SVG Projects.








