
This post contains affiliate links. As an Amazon Associate I earn from qualifying purchases, at no extra cost to you. Thank you for supporting Diynify!
Christmas shadow box ideas are especially effective when the layers do more than create thickness. A cut-paper foreground can hide an LED strip, vellum can soften bright openings, and carefully spaced silhouettes can turn a simple frame into a miniature winter scene after dark.
Most of these projects can be built with cardstock, adhesive, foam spacers, and a deep frame. A few call for vellum, metallic paper, acetate, thread, or a cool-running battery LED source. The easiest designs rely on bold silhouettes and open space; the deeper projects use multiple scenery planes, controlled light paths, or structural elements that need a dry fit before final assembly.
1. Snowy Pine Forest Christmas Shadow Box
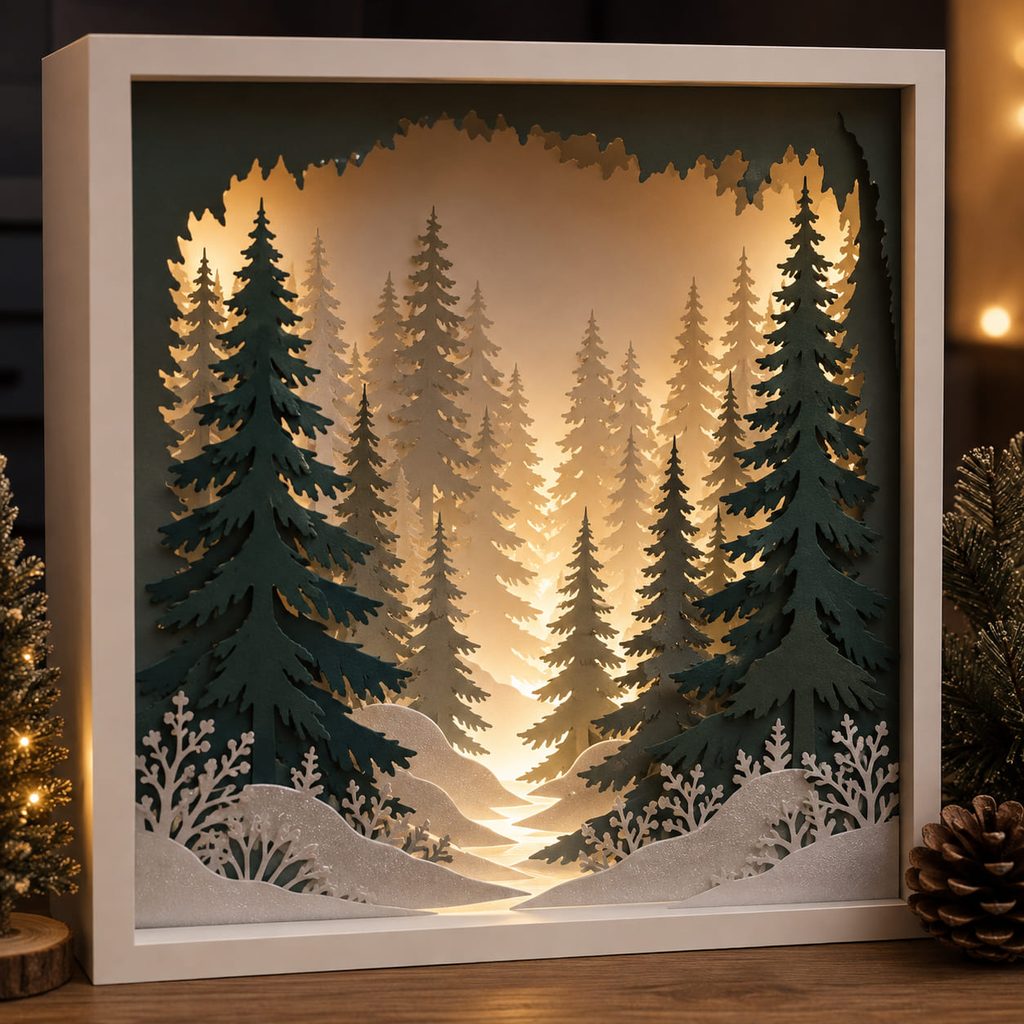
Start with the shadows rather than the trees. A snowy forest looks deepest when each pine layer has a noticeably different silhouette, letting the gaps—not tiny branch details—create the illusion of distance. Use darker evergreens toward the front, quieter gray-green or cream trees farther back, and a pale rear panel that can catch warm light.

Leave one or two generous openings through the center instead of filling every gap with another trunk. Those channels give hidden LEDs somewhere to shine and keep the forest readable from across the room. A thin vellum sheet behind the final tree line can diffuse individual LED points without softening the crisp foreground cuts.
2. Glowing Christmas Village Street
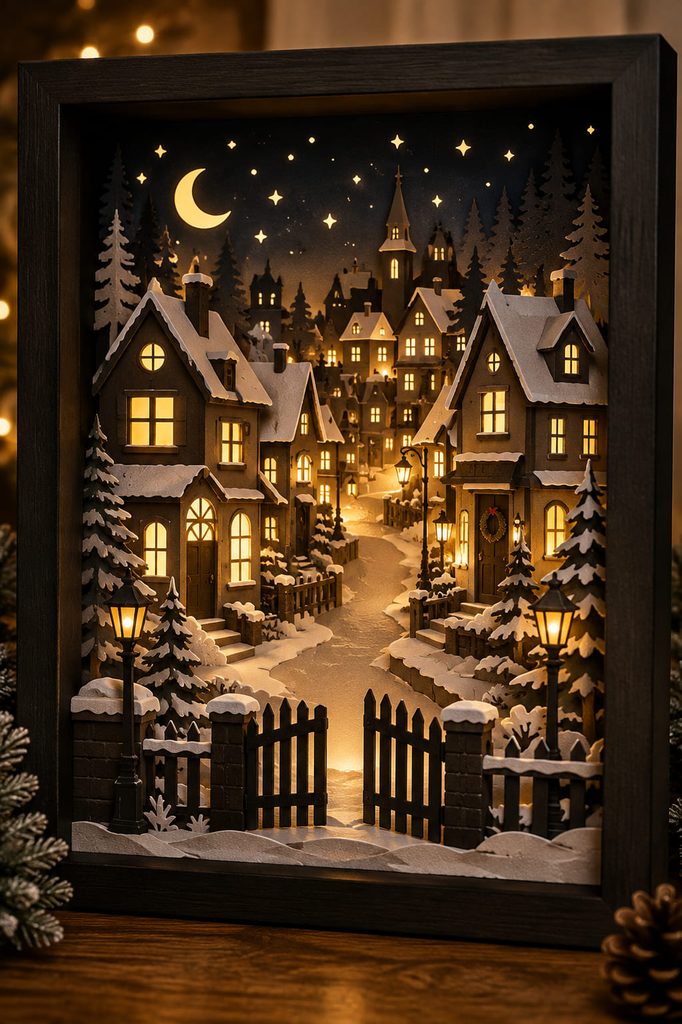
A village scene earns its depth through overlapping architecture: front fences or snowbanks, a row of houses, distant rooftops, then the night sky. The important part is keeping the window openings connected to the illuminated space behind them rather than accidentally sealing them with the next cardstock layer.
Build it in this order:
- Cut and dry-stack the house layers to check that roofs and chimneys remain distinct.
- Back the windows with vellum before the buildings are enclosed inside the frame.
- Add shallow spacers between streetscape planes, with a larger gap before the illuminated back panel.
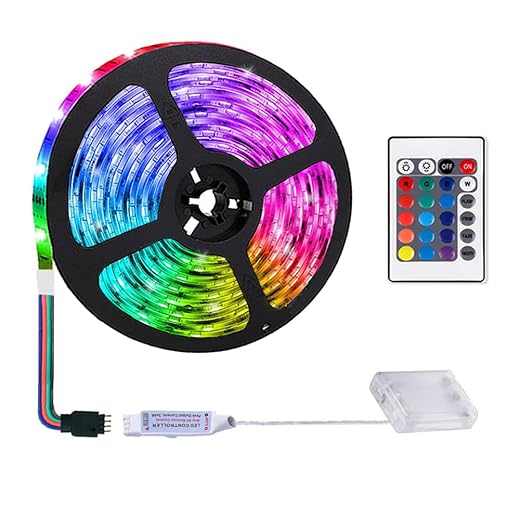
- Position cool battery LEDs where they cannot be seen directly through the windows.
- Close the frame only after viewing the village both illuminated and unlit.
The scene should still read as a village in daylight. Lighting is the atmosphere, not the only thing making the silhouettes understandable.
3. Reindeer Under A Starry Winter Sky
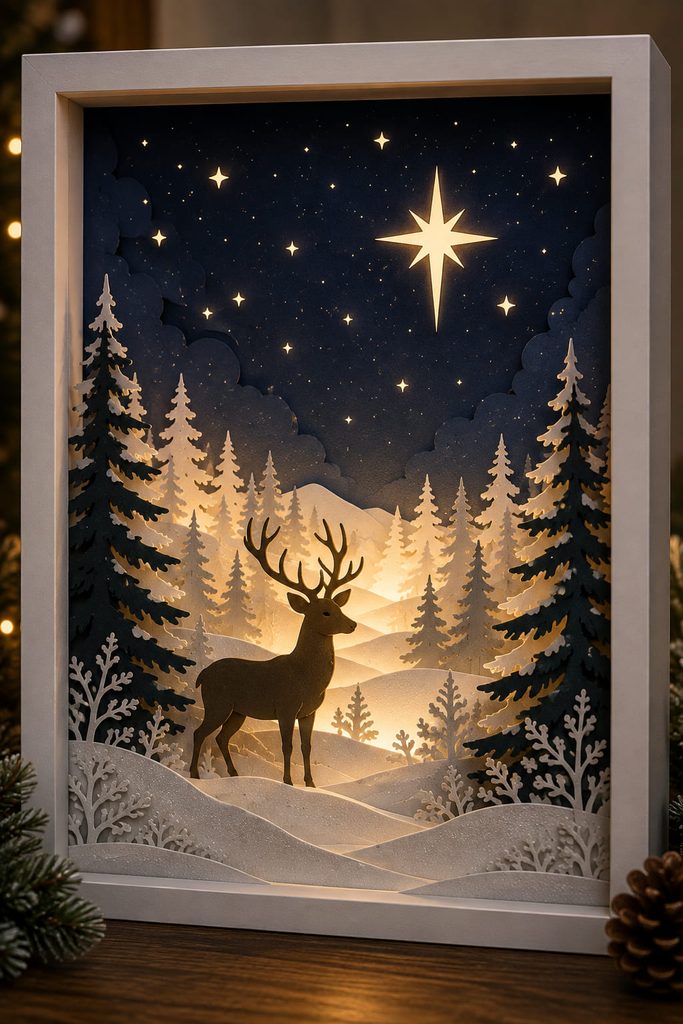
Let the reindeer occupy a calm middle layer rather than pressing it against the front glass. A low snowbank in front gives the animal a physical horizon, while sparse trees behind it create distance without tangling the antlers in a dense field of cuts.
The sky can carry most of the glow. Small star openings distributed above the reindeer work better than covering the entire background with equally spaced holes; brighter negative space around one larger star gives the composition a focal point.

Keep the foreground relatively dark if the back layer is illuminated. That value contrast makes the reindeer silhouette legible even when the LEDs are off.
4. Layered Ornament Window Shadow Box
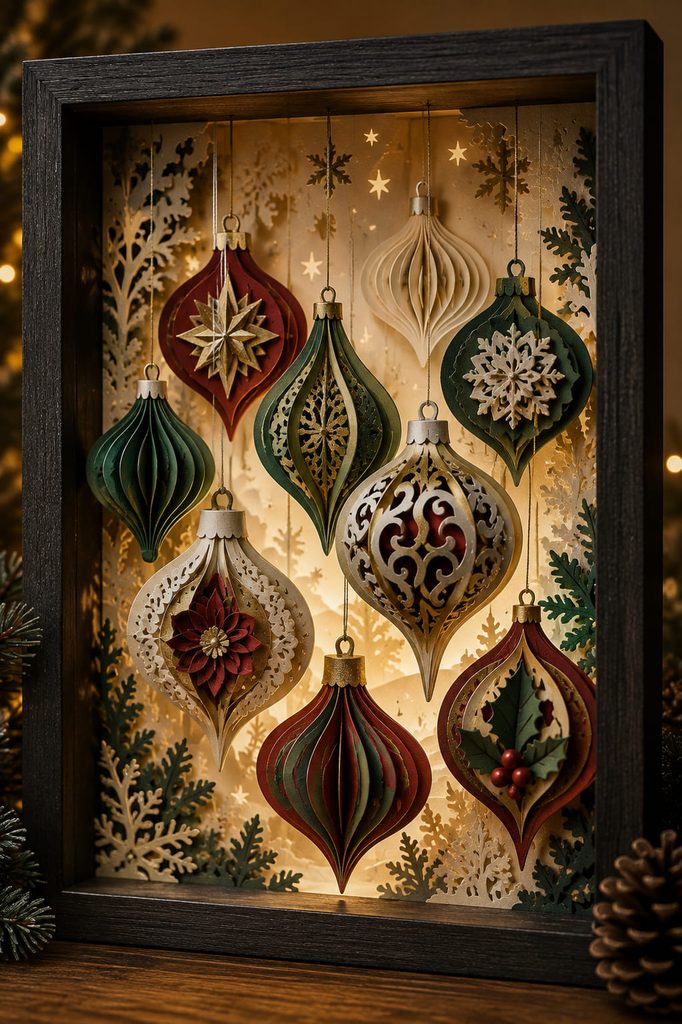
The common failure with a hanging-ornament composition is making every bauble the same size and placing them on one flat plane. The result reads like printed wrapping paper instead of a dimensional display.
If the arrangement feels flat, move the largest ornament forward and overlap its edge with the inner frame opening. If several ornaments visually merge, reduce the number rather than adding more spacers. If a hanging string disappears against the background, widen it slightly or replace a fragile cut line with real metallic thread anchored behind the top layer.
Hanging-Line Check: Any real thread should be secured to the backing or a reinforced hidden tab, not expected to hang from a delicate paper edge.
5. Nativity Silhouette With A Soft Halo
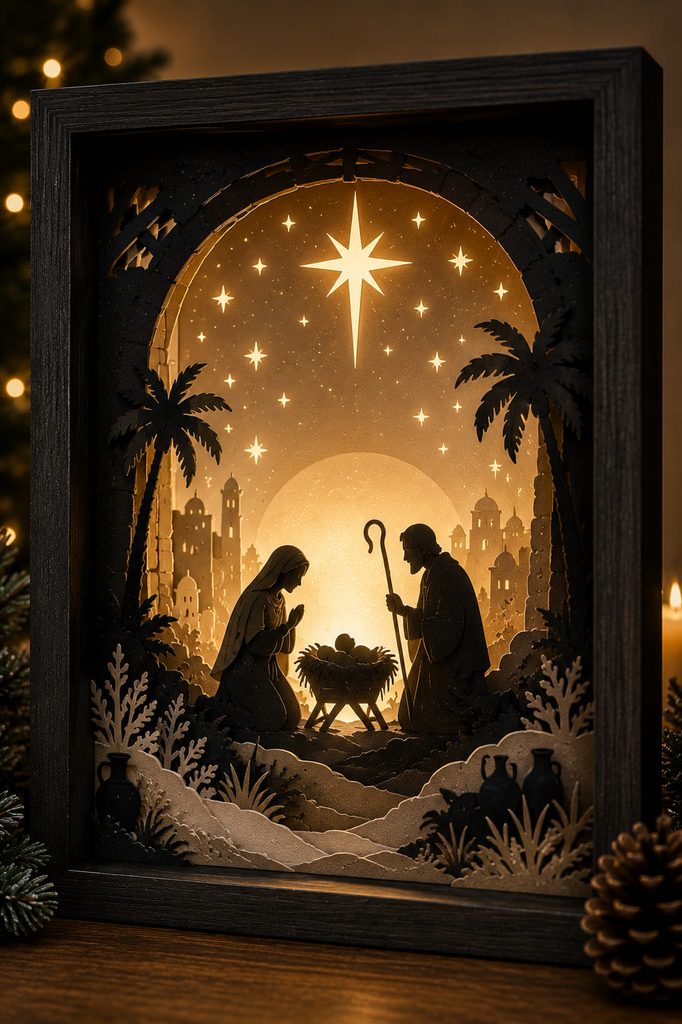
There are two useful lighting routes for a nativity shadow box, and they produce very different moods.
A full glowing background places the figures in dark silhouette against a softly illuminated sky. It is visually strong and forgiving because the light does not need to align with many tiny openings. A localized halo keeps most of the background dark while illuminating a circular or arched opening behind the central figures. That version feels more focused, but the halo layers need careful registration.
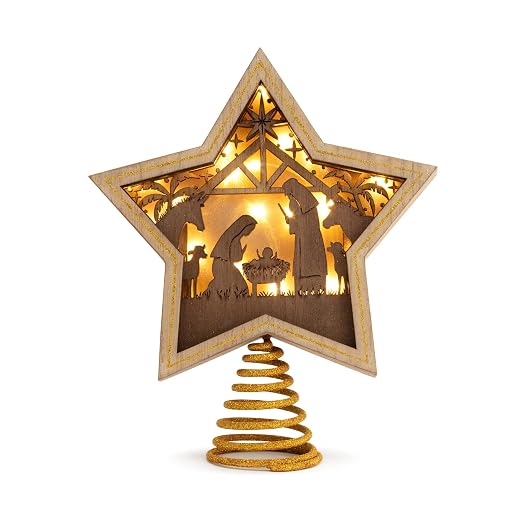
Whichever route you choose, resist filling the foreground with extra decorative cuts. Stable ground silhouettes, a clear central grouping, and intentional empty space around the figures usually produce stronger depth than another row of scenery.
6. Christmas Tree Bauble Shadow Box
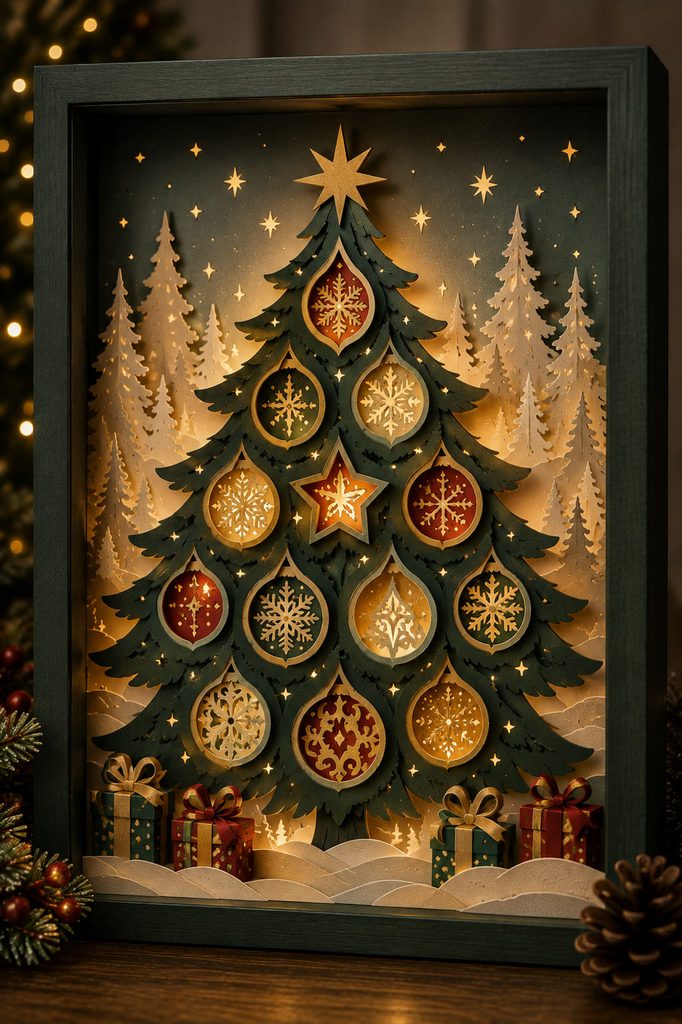
Instead of building a whole landscape, use a single oversized Christmas tree silhouette as the carrier for dimensional ornament openings. Cut the tree into one strong front layer, then recess circles, stars, and teardrop-shaped baubles at different depths behind it.
Metallic cardstock can work as a selective rear layer, but mirror-like paper across every opening may reflect the LEDs too harshly. Mixing matte cardstock, small metallic accents, and translucent vellum creates a more controlled sparkle. This compact construction is particularly useful when the frame is too shallow for a six- or eight-plane winter landscape.
7. Layered Christmas Village With Illuminated Windows
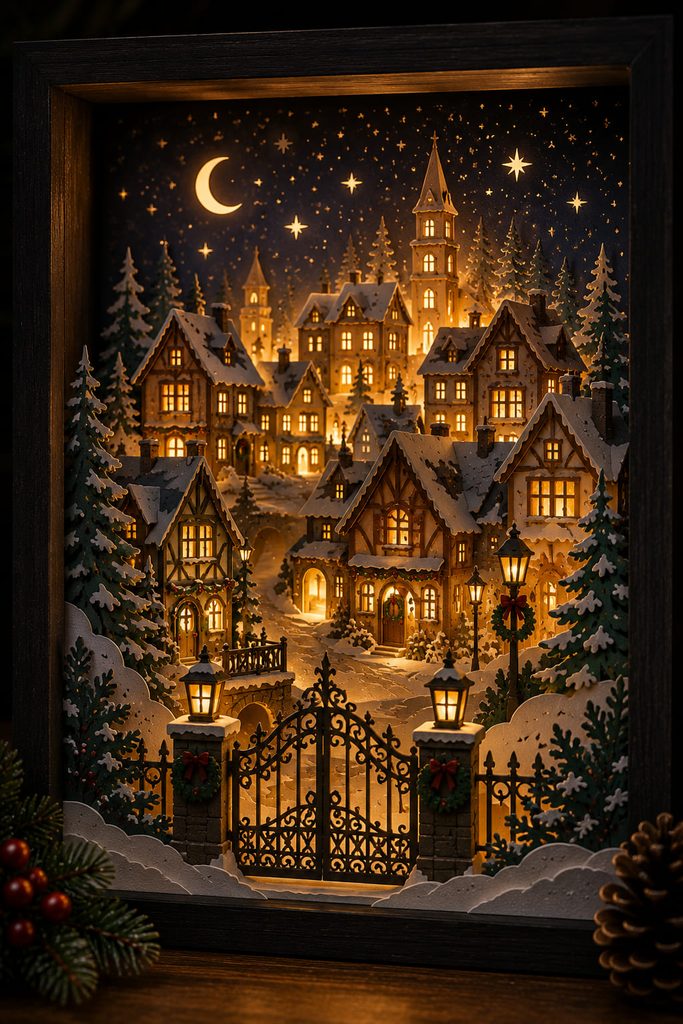
The most convincing village light box needs two systems to work together: the paper depth has to suggest streets and buildings, while the light path has to reach the windows without exposing the LEDs themselves.
Begin with a foreground that provides scale—a gate, hedge, bridge, or broad snowbank—then place the nearest houses behind it. Farther buildings can be smaller and slightly higher in the frame to extend the apparent street. Avoid simply shrinking identical house silhouettes; roof profiles, gaps between structures, and varied setbacks do more to create believable depth.
Before gluing the architecture into the frame, back the window openings with vellum. Then place the assembled scenery temporarily over the light source. Look straight at the frame and from a slight side angle. Any visible LED point needs more diffusion or a different position.
The wiring and battery pack also need an exit strategy. Keep the switch and battery compartment accessible from the rear rather than trapping them permanently between glued layers.
Keep The Light Path Open: Trace an imaginary straight line from every important glowing window toward the illuminated cavity. A decorative tree, roof layer, or opaque backing placed across that line can leave an otherwise perfect house dark.
8. Snowflake Tunnel Shadow Box
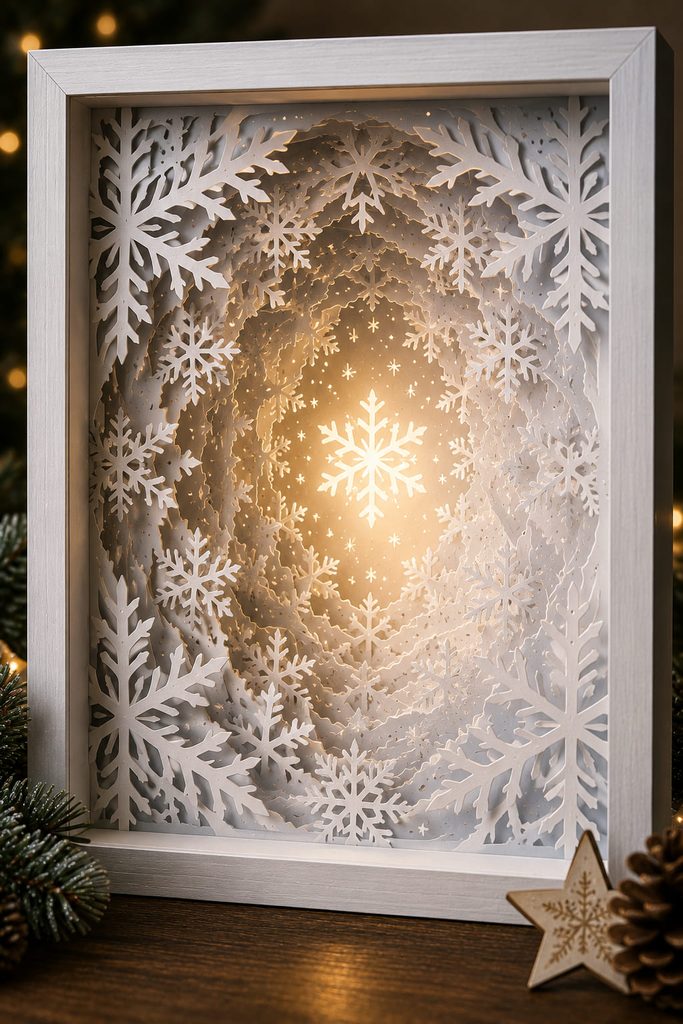
A snowflake tunnel uses repeated openings to pull the eye inward. Instead of cutting five identical flakes and merely separating them with foam tape, vary the outer geometry: a broad crystalline frame at the front can transition into increasingly open, simpler shapes toward the back.
Before assembly, check:
- each inner opening remains visible through the previous layer;
- no narrow snowflake arm carries unnecessary weight;
- the center does not collapse into one small dark hole;
- spacer edges stay hidden from a normal viewing angle;
- the rear layer is light enough to finish the tunnel visually.
Cool white illumination can emphasize the icy geometry, while warm white produces a softer Christmas-window effect.
9. Santa’s Sleigh Over A Layered Rooftop Scene
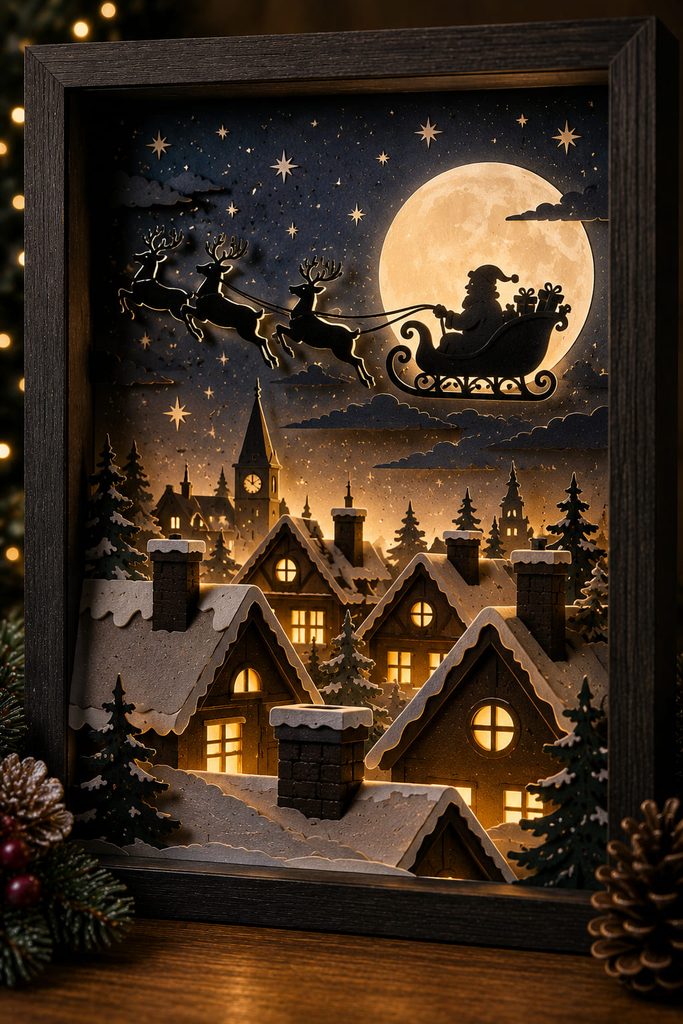
This design works because the main subject is separated vertically from the scenery. Keep rooftops and chimneys in the lower half of the frame, then give Santa’s sleigh a clean flight path across an open sky layer.
A crescent moon or large circular glow behind the sleigh can establish the focal area without requiring dozens of tiny stars. The roof layers below can carry most of the intricate cuts—chimneys, snow caps, and staggered gables—while the sleigh itself remains a bold silhouette.
For a stronger sense of motion, avoid centering the sleigh exactly. Extra negative space ahead of it visually suggests the direction of travel.
10. Gingerbread House Window Shadow Box
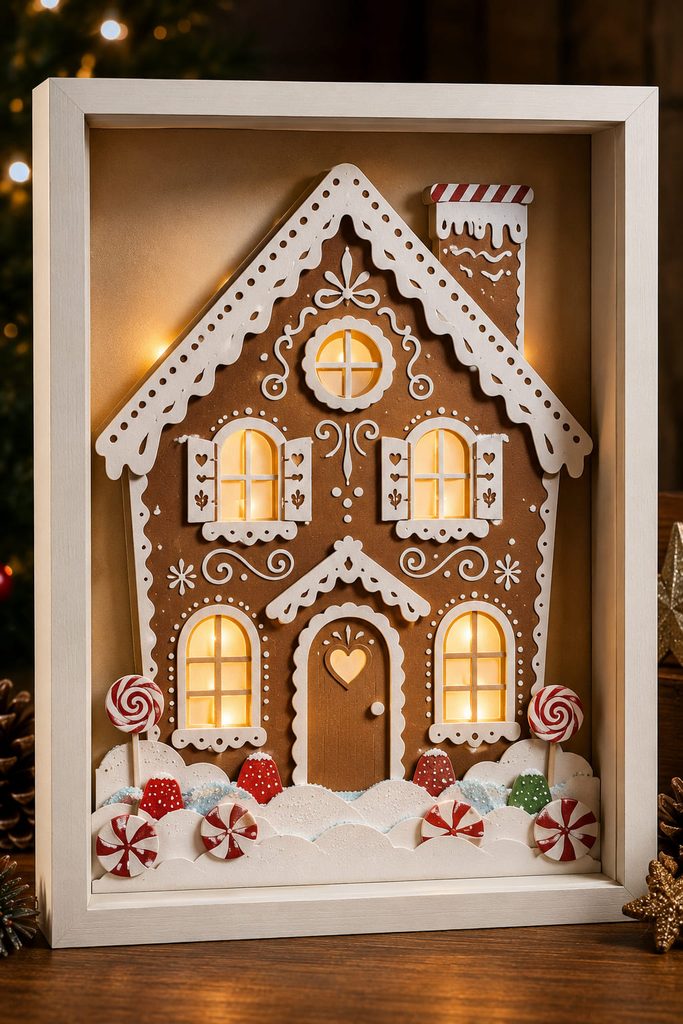
Treat the gingerbread house like a tiny illuminated façade rather than a flat brown silhouette.

- Make the front house layer the darkest, most structurally defined plane.
- Add lighter icing trims as separate overlays only where they will remain visible.
- Back windows and the doorway with vellum.
- Set a snowy yard or candy border slightly forward of the house.
- Illuminate the cavity from behind and below the window line.
Small candy shapes are tempting, but they can quickly overwhelm the architecture. Keep the roofline, doorway, and windows readable first; gumdrops, peppermint circles, and icing scallops can remain secondary.
11. Christmas Wreath Layered Paper Frame
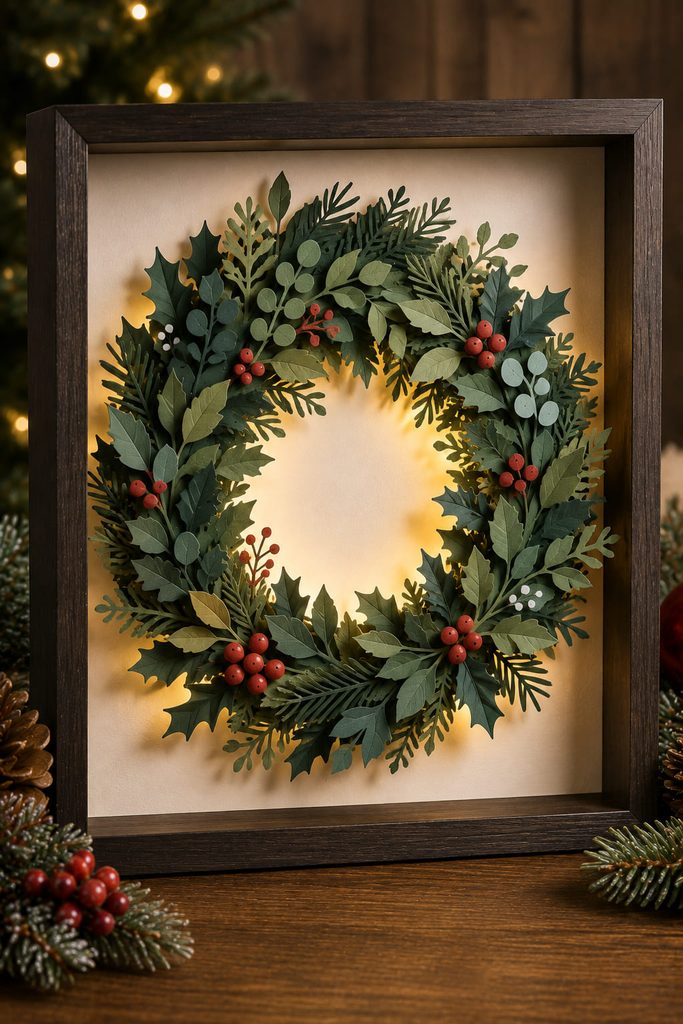
A paper wreath inside a square shadow box can lose its opening if too many leaf and berry layers crowd the center. That hole is part of the design, not unused space.
If the wreath looks heavy, shorten the inner leaves rather than reducing the entire piece. If the circle appears uneven, establish a plain ring carrier behind the foliage and attach clusters to that stable shape. If the warm background glow leaks through random joins, add a clean rear silhouette that defines exactly where light should appear.
This is also a good project for mixing depth without building a conventional landscape: foliage can advance toward the glass while the illuminated center stays deliberately empty.
12. Winter Cardinal On Snowy Branches
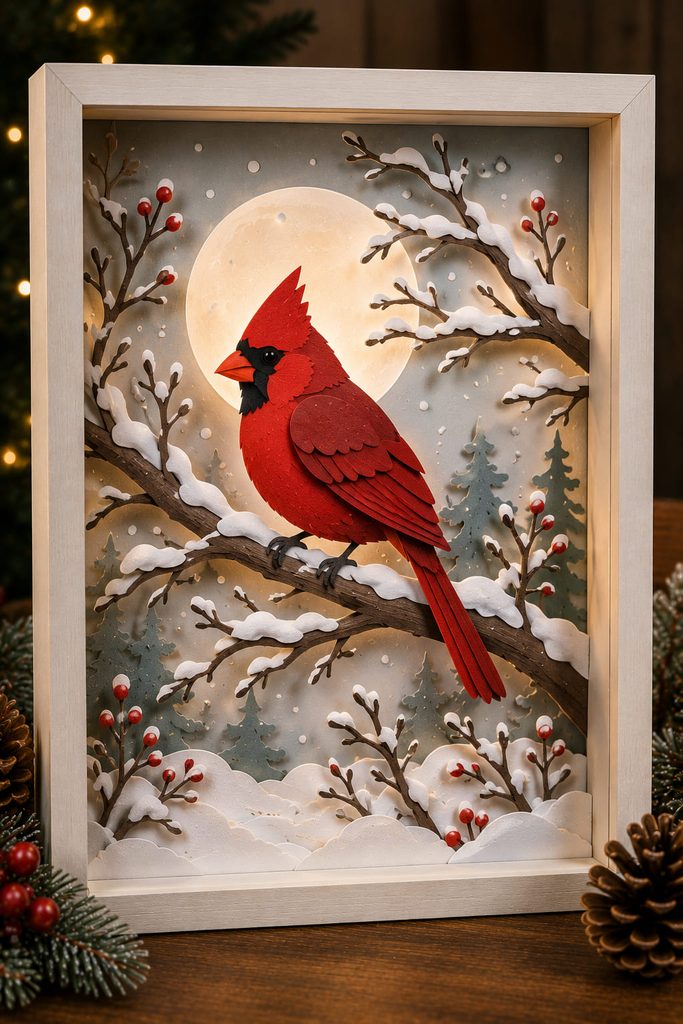
A cardinal makes a strong focal subject because one distinct silhouette can sit against quieter botanical layers. Place the bird on a substantial branch in the middle distance, then use a few nearer twigs to cross the frame edge and create depth.
The background does not need another forest. A soft moon, pale sky, or restrained field of snow dots gives the red bird room to dominate visually. If you use illumination, let it wash the background rather than shine through the cardinal itself.
Scale matters here: reduce the design too much and toes, beak, and thin branch tips become fragile. Simplifying those small contours preserves the recognizable pose better than keeping every fine cut.
13. Christmas Candle Window Shadow Box
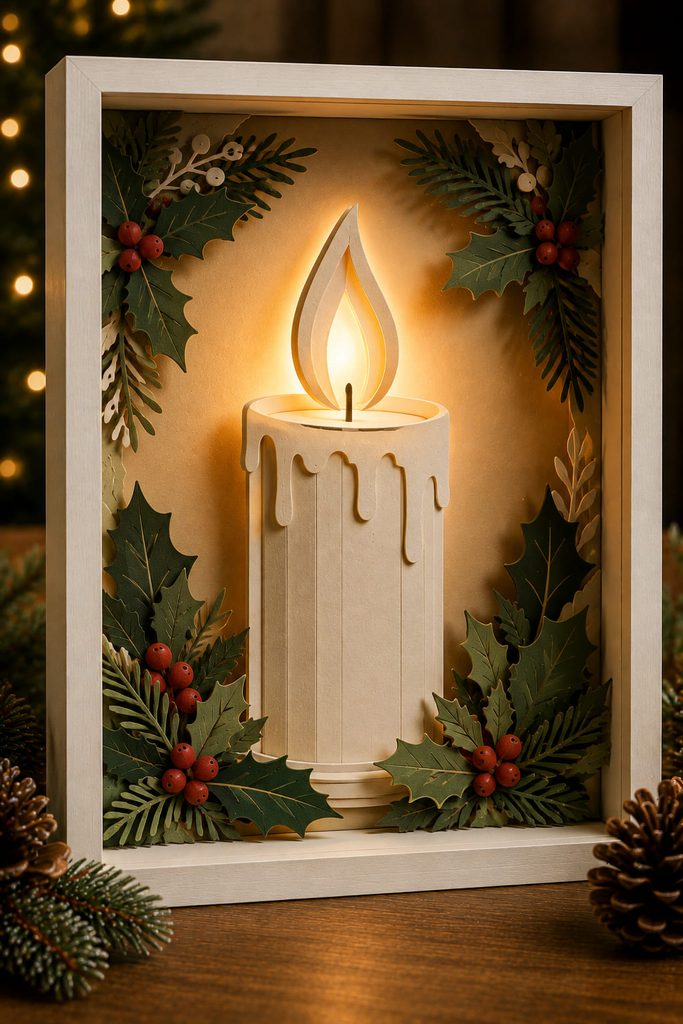
A cut-paper candle can imply flame without putting a real flame anywhere near paper. Shape the scene around a central translucent flame opening, surround it with an opaque candle silhouette, then let holly, pine, or window-frame layers establish the Christmas setting.
A small warm LED behind vellum creates the glow. Leave air between the diffuser and the front candle layer so the illuminated shape feels recessed rather than printed onto the surface.
Only use cool-running electric LEDs inside a paper shadow box. The project does not need a real candle to create convincing warm light.
14. Woodland Christmas Cabin With Layered Light
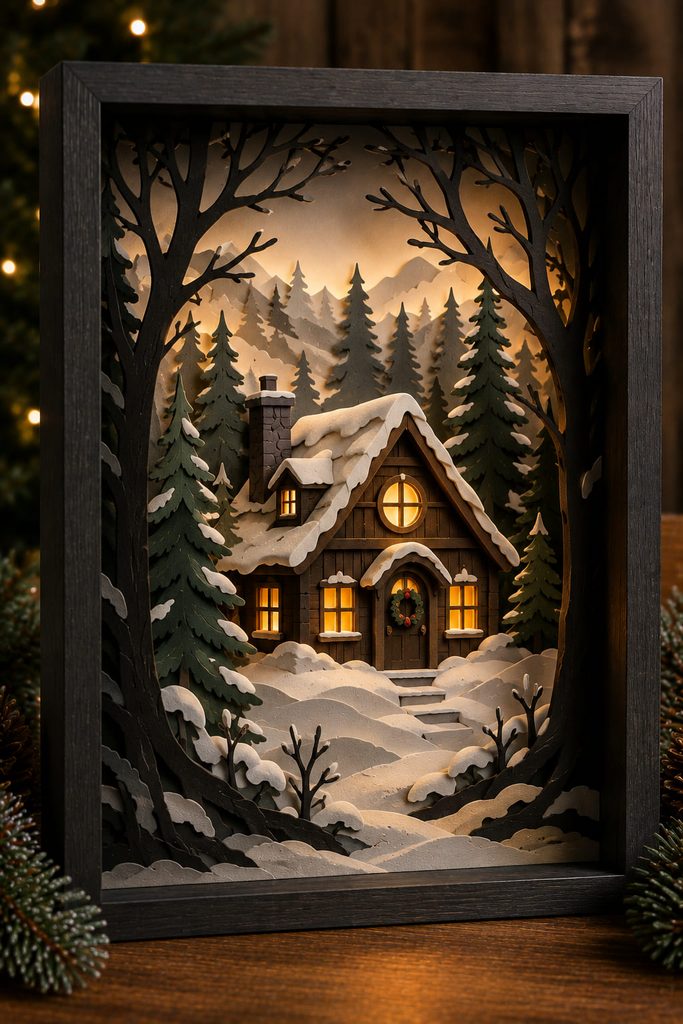
This scene becomes more complex because several kinds of depth compete for the same frame cavity: trees need overlap, the cabin needs readable windows, snowbanks need a ground plane, and the lighting still needs unobstructed space behind the architecture.
Start by deciding which object owns each depth zone. A dark tree or branch can occupy the nearest layer. The cabin belongs in the middle where its outline remains intact, while two or three snowbank profiles can step toward the rear. A distant pine ridge should be simpler than the foreground rather than equally detailed.
Next, test the cabin without illumination. If its roof disappears into the rear trees, change the silhouette overlap or value before touching the lights. Once the paper composition works, back only the cabin windows with vellum and place warm LEDs in the rear cavity.
A brighter sky is not automatically better. Too much illumination can flatten every gap between trees. Shielding part of the light with an opaque rear mask can keep the cabin windows brighter than the surrounding forest.
Depth Correction: If the finished scene still looks compressed, increasing every spacer is rarely the best fix. Increase the gap at one important transition—such as between the cabin and distant woods—while keeping nearby layers closer together.
15. North Pole Signpost Shadow Box
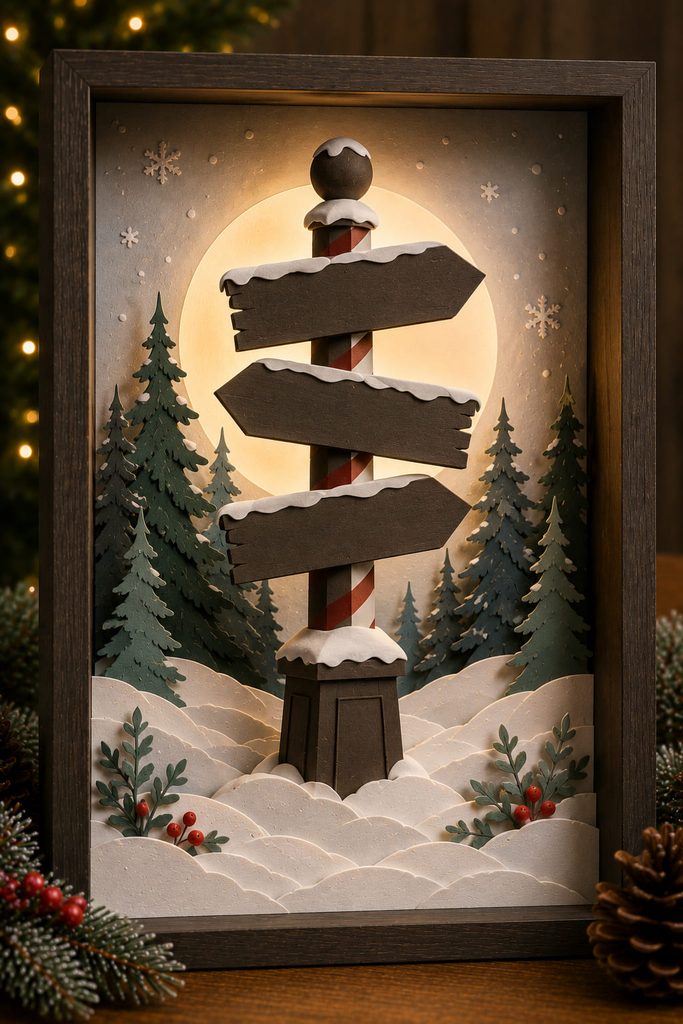
A signpost gives a Christmas shadow box an unusual vertical focal shape, making it useful when most of your other holiday decor is built from trees, houses, and horizontal landscapes.
Check the construction before decorating it:
- Give the post a broad enough lower connection that it does not appear to float.
- Stagger directional arrows so their silhouettes do not fuse together.
- Keep surrounding snowbanks lower than the lettering-free sign shapes.
- Use distant trees as framing elements instead of covering every side.
- Reserve the brightest glow for the background sky or a circular light behind the post.
For an image-only craft, the arrows do not need readable printed destinations; the recognizable signpost silhouette carries the idea without adding typography inside the frame.
16. Stained-Glass Christmas Star Shadow Box
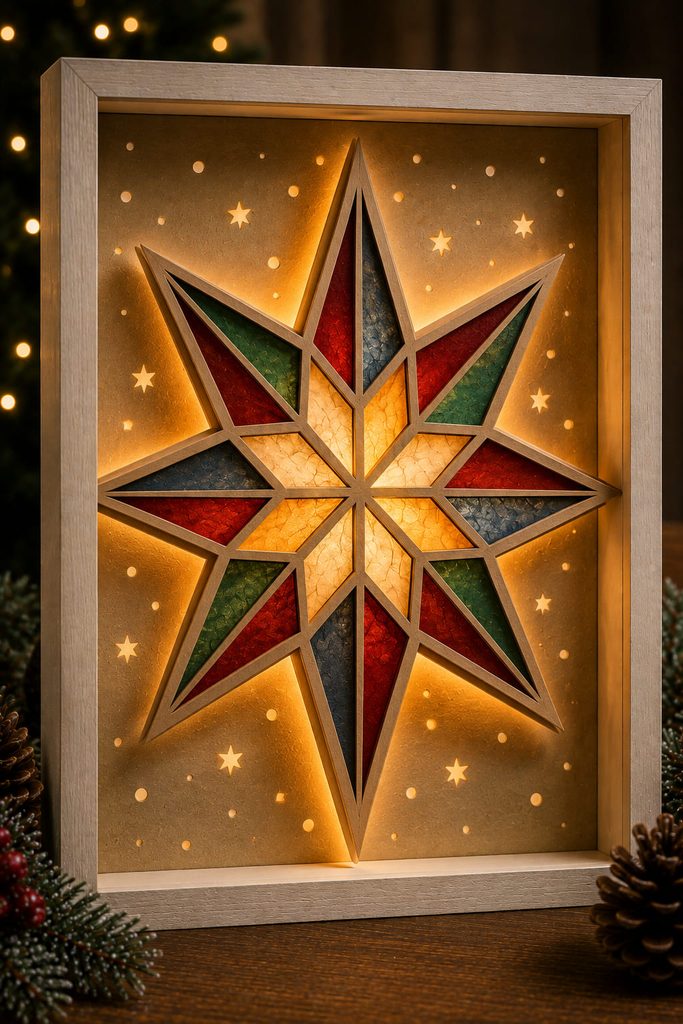
A star can be built in two distinctly different ways. Layered apertures use several cardstock star openings that recede toward a bright center, emphasizing paper depth. Translucent cells divide one large star into segments backed with different pieces of vellum or translucent paper, emphasizing luminous color.
The aperture version is easier to keep visually clean in a deep frame. The translucent-cell version offers richer light but requires more careful backing so adhesive and overlapping vellum edges stay hidden behind opaque borders.
For either approach, leave a continuous illuminated cavity behind the star. Scattered LEDs pressed directly against individual translucent panels can create distracting bright dots instead of an even glow.
17. Snow Globe Christmas Shadow Box Scene
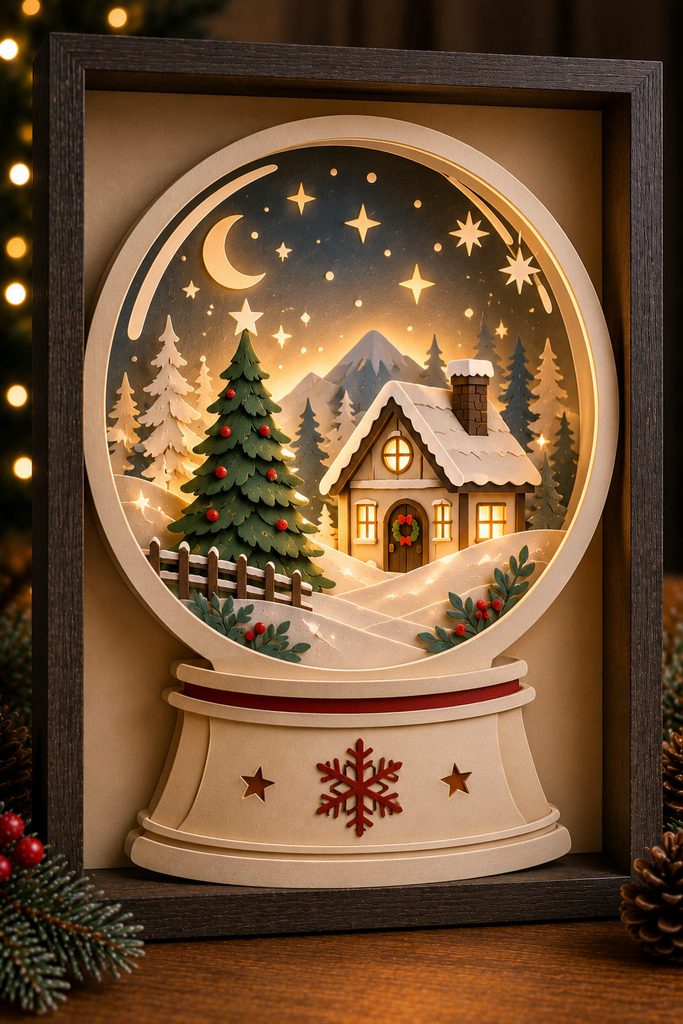
Finish the collection with a scene that uses the inner frame itself as part of the illusion. A large circular opening becomes the globe, while layered scenery—perhaps a tiny tree, house, snowbank, and stars—sits entirely inside that boundary.
Build the internal picture before attaching the front globe layer:
- Establish a simple rear sky.
- Add the farthest landscape silhouette.
- Position the main Christmas subject.
- Add one foreground snow layer for overlap.
- Cover the assembly with the circular globe opening and a sturdy paper base.
The outer layer should hide the rectangular edges of the inner scenery so the viewer reads one contained snow globe rather than a landscape behind a circular mat. A subtle rear glow can make the miniature world feel suspended inside the frame.
How To Choose Christmas Shadow Box Ideas For Lighting
For an unlit display, prioritize strong silhouette contrast and enough spacing for real shadows to form under normal room light. For an illuminated piece, start thinking about the rear cavity before adding decorative detail. Windows, stars, moons, and cutout skies need a clear route to the light source, while vellum can soften hotspots.
Shallow frames suit bold three- or four-plane compositions such as the ornament tree or wreath. Deeper frames make more sense for villages, cabins, and tunnel designs where changes in spacing contribute directly to the illusion.
Also dry-fit the complete stack before final gluing. Diynify’s broader shadow-box guidance emphasizes foreground, middle layers, background separation, frame depth, contrast, and spacing as the main ingredients that keep layered designs from visually collapsing into one plane.
Bring The Holiday Glow Into Focus
For a first project, choose a scene with one clear illuminated area—the candle, nativity halo, or stained-glass star—because it is easier to control than a village filled with dozens of windows. Once layer spacing and diffusion feel predictable, the Christmas village or woodland cabin offers a useful next step because both require you to coordinate depth with multiple light paths.
For more layered-project inspiration, browse Shadow Box SVG Designs – Layered Paper Decor & 3D Art, where the focus expands beyond Christmas into other framed paper scenes and dimensional styles.








