This post contains affiliate links. As an Amazon Associate I earn from qualifying purchases, at no extra cost to you. Thank you for supporting Diynify!
Crepe paper decorations can do far more than fill an empty party wall. Because the material can be stretched, gathered, fringed, folded, and wrapped, the same basic supply can create soft flowers, bold ceiling treatments, textured garlands, and small tabletop accents. Most of these ideas need crepe paper, scissors, and craft adhesive; a few also use floral wire, thread, a hoop or dowel, cardboard forms, a vase or rigid display support, or a cool battery-powered LED.
Use the projects below by placement rather than by theme. Choose flat or lightly dimensional pieces for walls, hanging designs where you have clear overhead space, and compact floral or fringed forms for tables and shelves. The best result comes from letting crepe paper do what it does well: stretch into curves, compress into texture, and move lightly in the air.
1. Oversized Crepe Paper Peony Wall Bloom
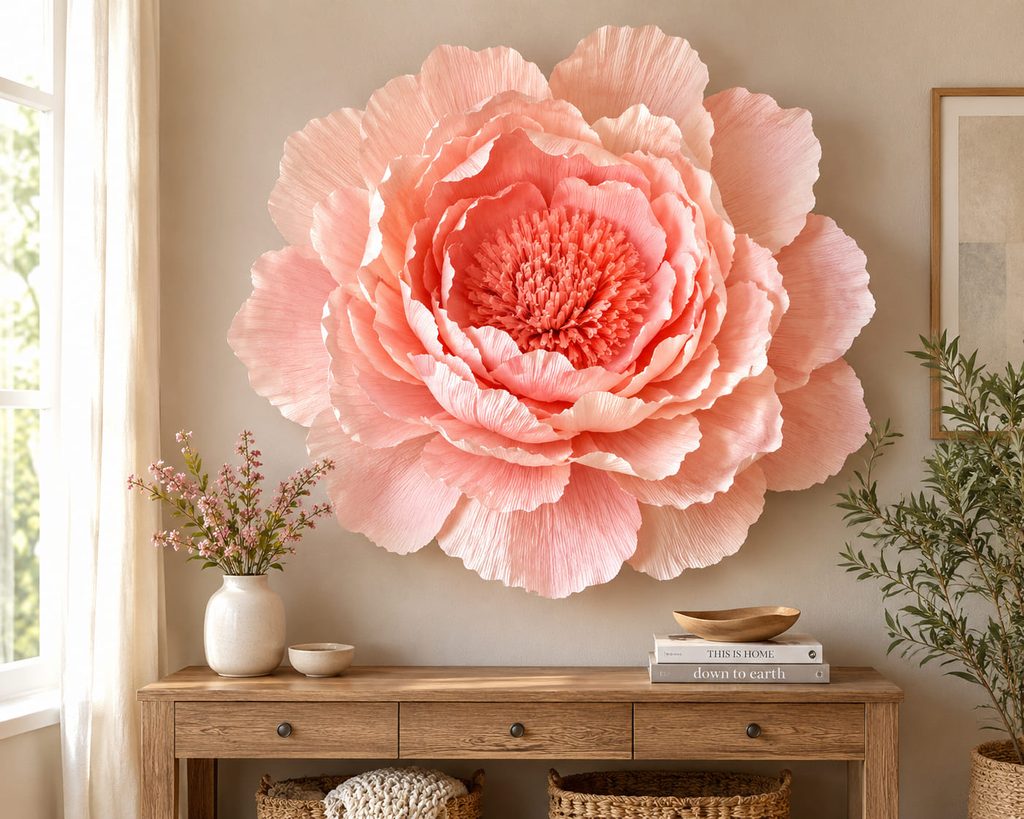
One oversized peony can carry an entire wall vignette without needing a dense flower cluster. Cut broad petal shapes with the crepe grain running from base to tip, then gently cup the center of each petal so the paper curves instead of lying flat. Build the bloom on a sturdy cardstock or thin cardboard disk, starting with the largest petals around the edge and tightening the overlap toward the center.
Keep the backing smaller than the flower so it disappears from the front. A dense center made from narrow fringed crepe gives the bloom a different texture from the outer petals and helps the scale read from across the room. Mount the finished piece with hardware suited to the wall and the actual weight of the backing rather than relying on the crepe itself.
2. Layered Fringe Photo Backdrop
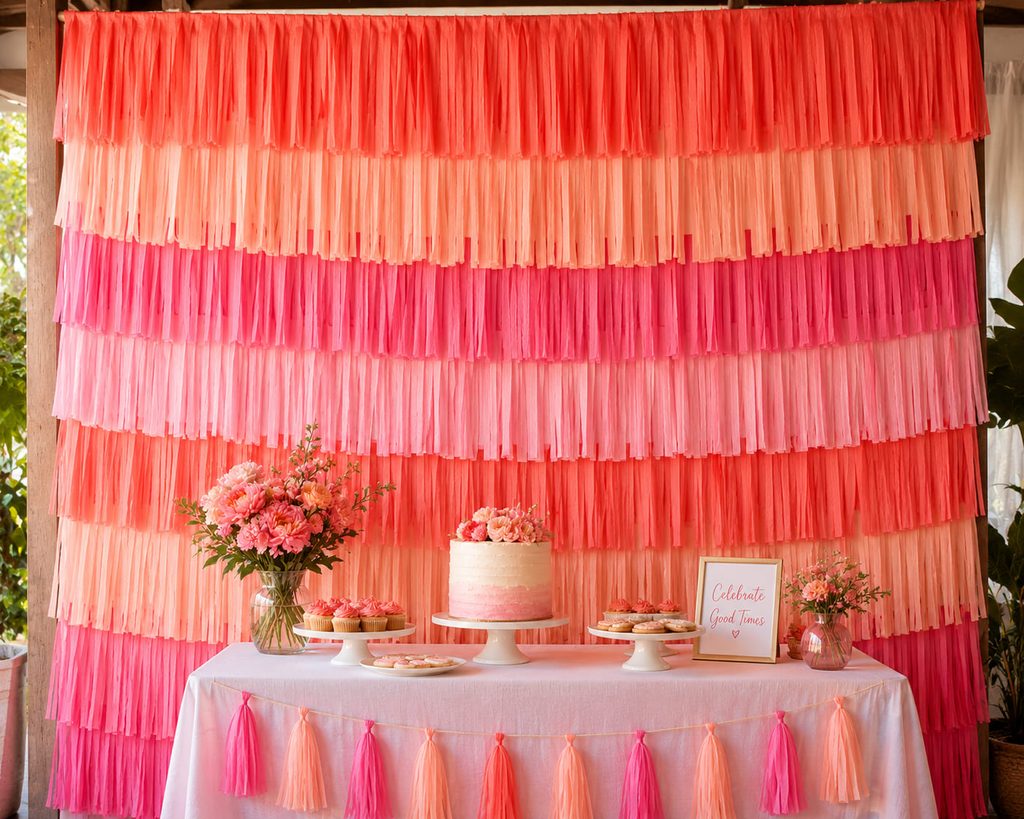
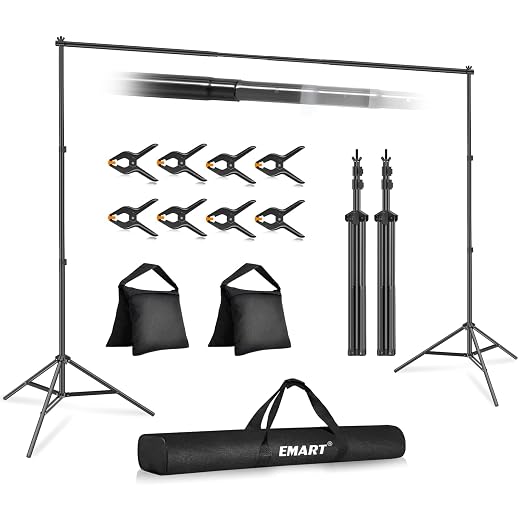
Cut wide crepe strips into fringe while leaving an uncut band along the top. Hang each strip from a rod, dowel, or supported horizontal line, then overlap the rows so the solid top edges disappear behind the fringe below.
- Start with the lowest row and check that it hangs straight.
- Add the next row high enough to cover the attachment line but low enough to keep the fringe loose.
- Alternate fringe lengths or colors only after the full width is covered.
- Fluff the cut edges lightly instead of stretching them until they curl unevenly.
The value of this backdrop is coverage: overlapping rows block gaps better than a few loose streamers, so the wall behind does not compete with people or a dessert table in photographs.

3. Radiating Ceiling Streamer Canopy
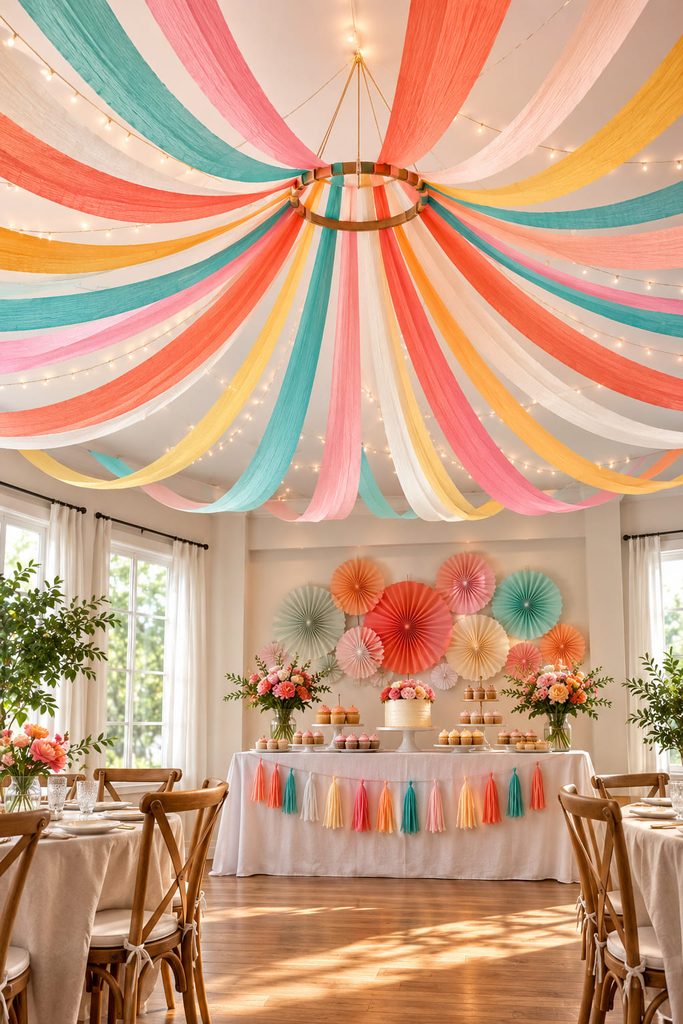
A ceiling treatment only works when the center anchor and perimeter attachment points are planned before the streamers go up. Gather multiple lengths of crepe paper at a lightweight central ring, then run them outward like spokes to approved attachment points around the room. Leave a controlled amount of slack in each strip so the canopy forms shallow curves rather than taut lines.

The sequence matters. Install the ring first, test two opposite streamers to set the overall drop, then add the remaining strips in balanced pairs. If one side is pulled tighter, the center can drift and the whole pattern will look off-axis. Keep the canopy above head clearance and away from ceiling fans, sprinklers, hot fixtures, candles, and other heat or moving sources.
Canopy Check: Stand at the main entrance to the room. The center should look centered from that viewing position, and the lowest curves should stay safely above the usable space.
4. Cascading Crepe Paper Wisteria Hoop
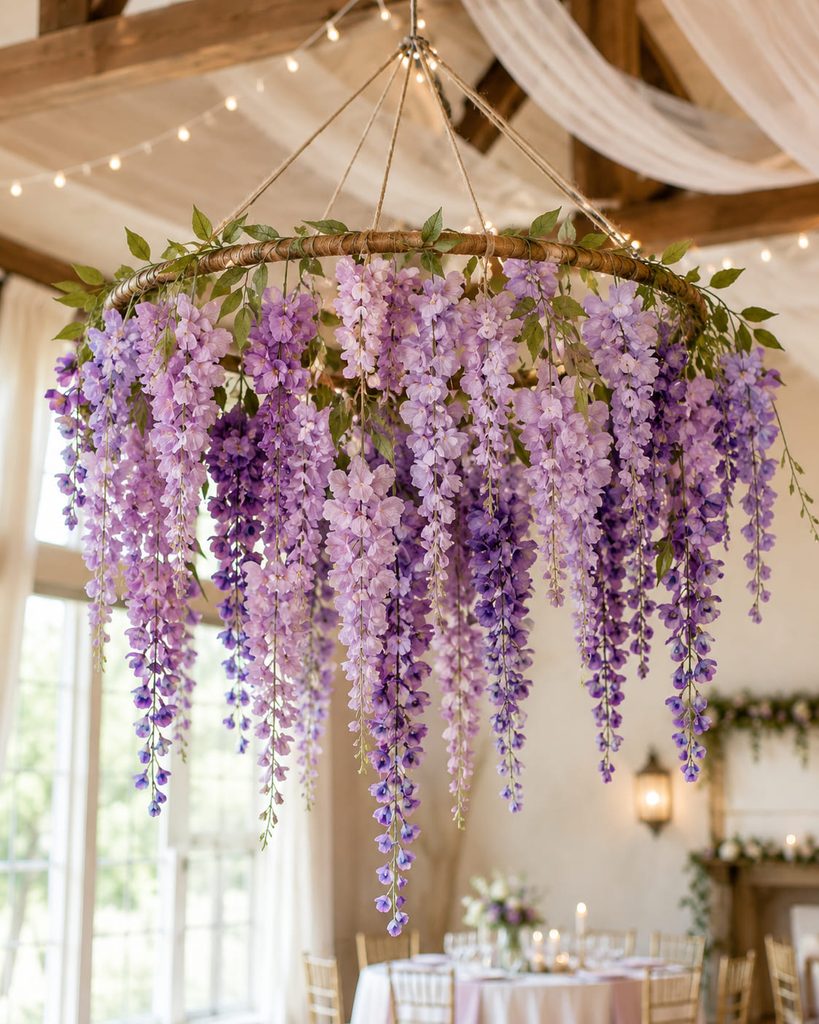
Balance matters before a hanging wisteria hoop becomes beautiful. Each strand adds weight below the ring, so distribute flower clusters around the hoop instead of finishing one side first. Form small blossoms by gathering or twisting crepe pieces around short wire stems, join them into trailing strands, and attach those strands at staggered lengths.
For a stable hanging piece, use three or four suspension cords that meet above the hoop rather than a single off-center tie. Test the bare hoop first, then add strands in opposite zones while checking whether it stays level. A few longer trails create the cascading silhouette; filling every strand to the same length turns the piece into a cylinder.
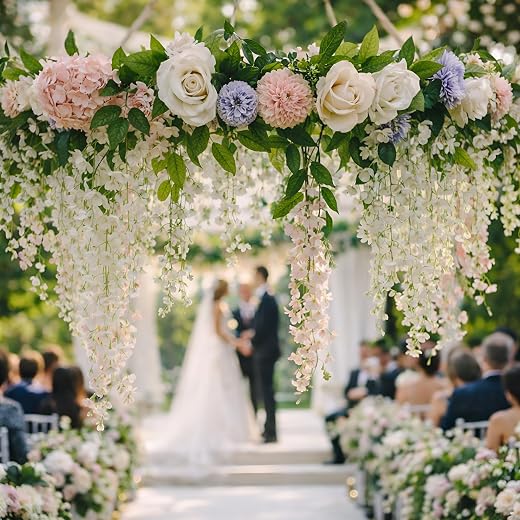
If the hoop tilts after decorating, move a heavy strand closer to the high side or shift a light strand toward the low side. Keep all wire ends wrapped or turned inward, and hang the decoration where people will not brush against the trails.
5. Ruffled Streamer Garland
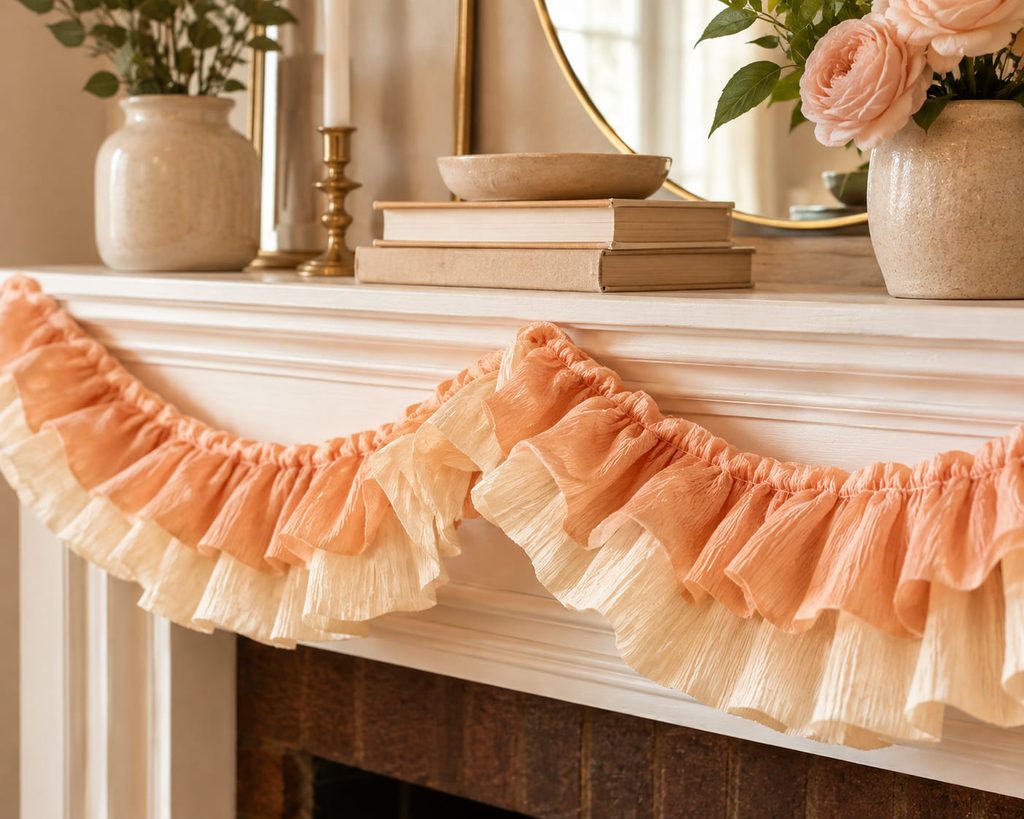
Run a loose line of gathering stitches down the center of a long crepe streamer, then pull the thread until the paper forms soft waves. The ruffle gains volume from compression, not from extra layers, which makes it useful on a mantel, buffet edge, doorway, or party table where a bulky garland would get in the way.
Two narrow streamers can be stacked before stitching for a striped edge, but the finished garland should still bend freely. Do not pull the thread so hard that the center tears; stop when the ruffles sit close together and the strip can still curve around corners.
6. Accordion Crepe Paper Pom-Poms
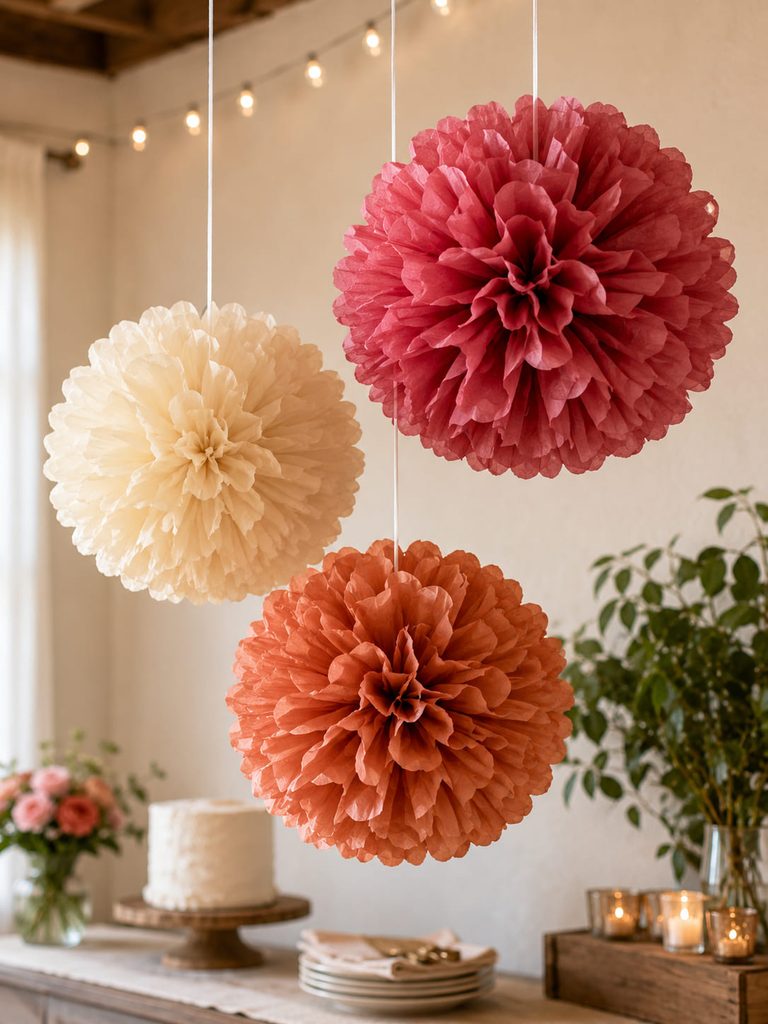
Stacking and cinching flat sheets is what turns crepe paper into a rounded pom-pom. Layer several rectangles, accordion-fold the stack, tie the center with thread or thin wire, then round or point the outer ends before opening the layers.
- Pull the top layer toward the center a little at a time.
- Alternate sides so the tied center stays balanced.
- Separate the remaining layers until the shape looks evenly full.
- Rotate the pom-pom and correct thin spots before hanging it.
A larger pom-pom needs proportionally broader folds and a secure center tie; simply adding more layers can make the middle too dense to open cleanly. Use light hanging line and leave space around the finished shape so the outer folds are not crushed against a wall.
7. Wired Botanical Leaf Garland
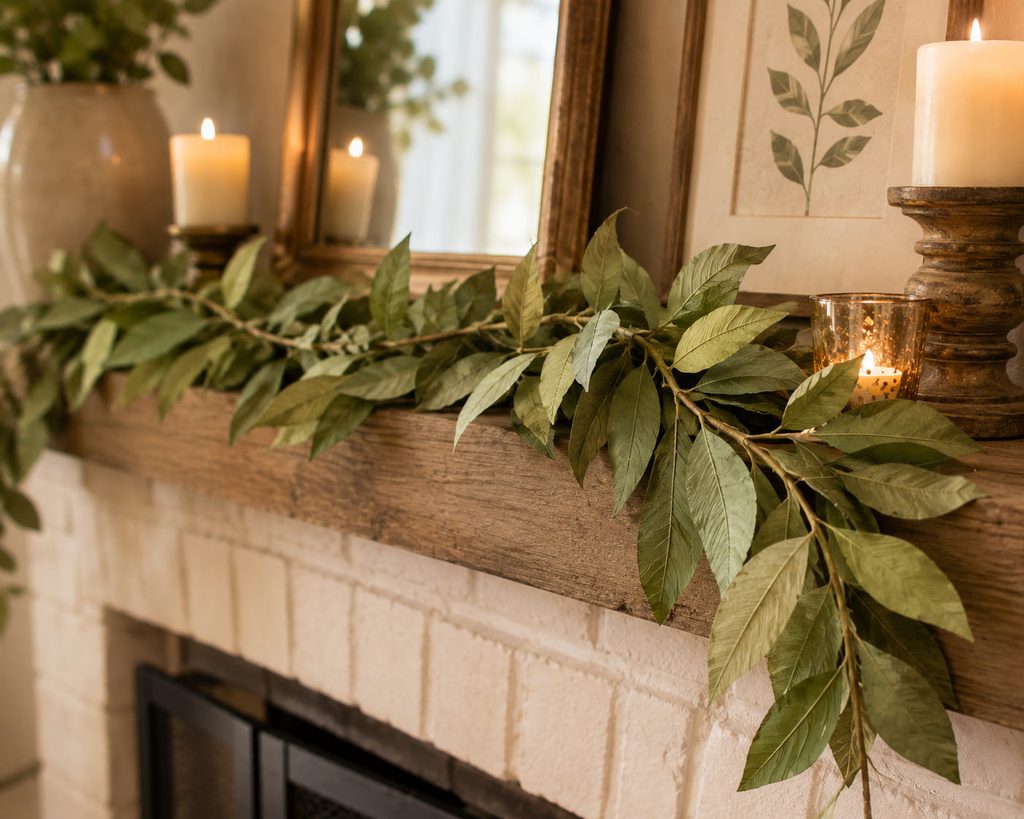
For a mantel or long table, a leaf garland gives crepe paper a quieter role than streamers. Cut elongated leaves with the grain running lengthwise, glue fine floral wire along the back, and gently cup the paper so each leaf can hold a small bend. Wrap the stems onto twine or a lightweight wire base, changing leaf direction as you go; keep dense clusters close to supported sections so the garland does not sag sharply between attachment points.

8. Pleated Rosette Wall Medallions
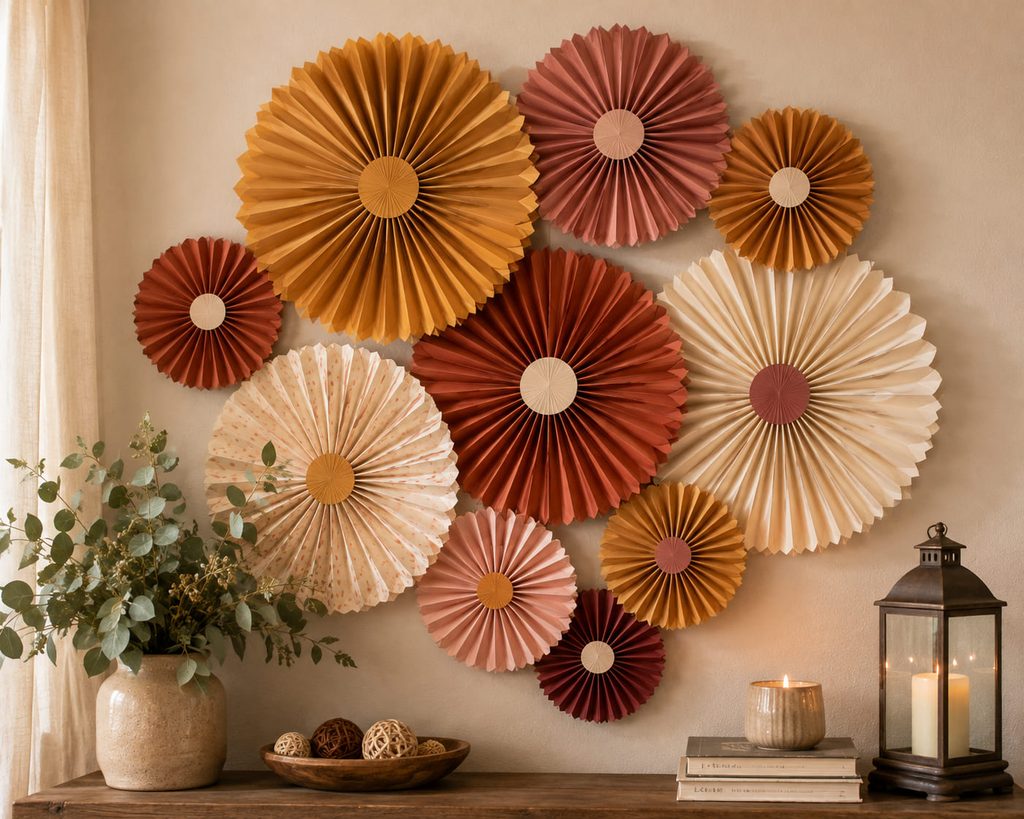
Rosettes buckle when the accordion folds are too shallow for the width of the strip or when the center is forced flat before the ring is evenly joined. Make a long pleated strip, connect the ends to form a loop, then press the inner edge toward the center while the outer edge fans outward. A firm paper disk glued to the back holds the radial shape after it is flattened.
If the center pops open, use a wider backing disk or reduce the diameter rather than adding glue to a stressed fold. If the outer rim looks lopsided, reopen the rosette and redistribute the pleats before securing it.
Mix several diameters on a wall, but vary the spacing as well as the size. A few overlapping medallions create depth; an evenly spaced row can make the pleats read like repetitive party fans instead of intentional wall decor.
9. Rolled Fringe Tassel Garland
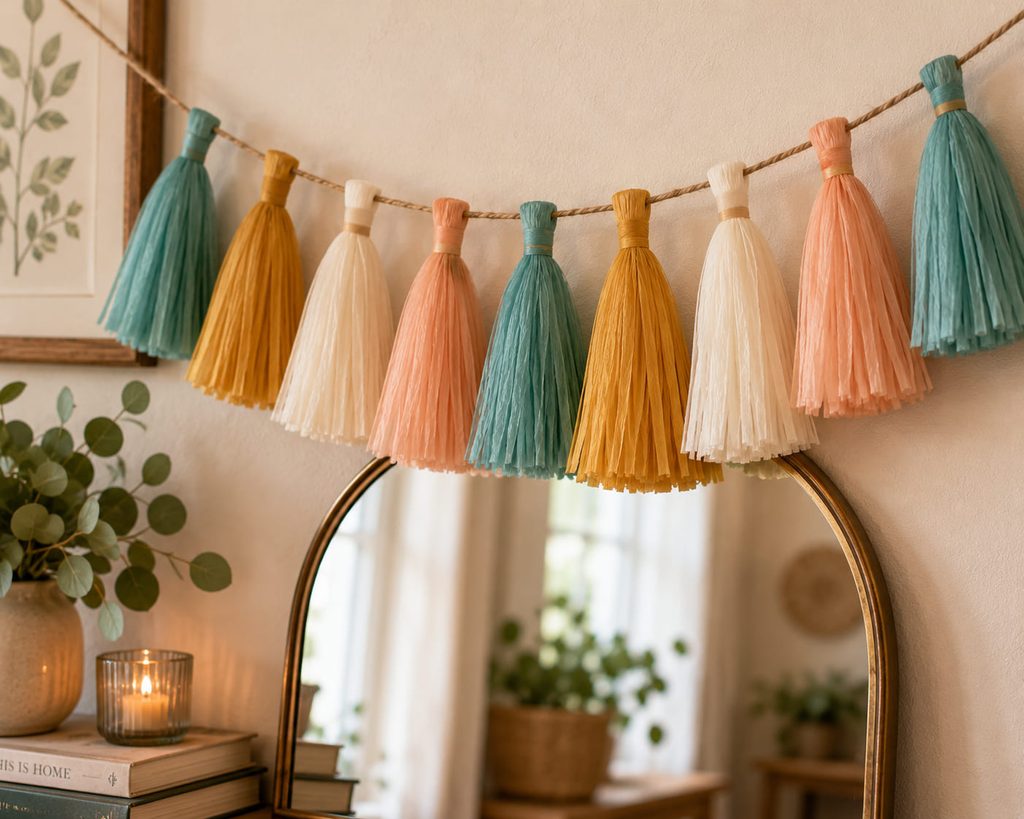
Small tassels earn their place when you want movement without covering the background. Fringe a rectangular strip from one long edge, leave the opposite edge solid, roll that band into a tight neck, and wrap the neck around a cord so the fringe hangs freely. Space the tassels rather than packing them edge to edge; the visible cord becomes part of the design and keeps the garland light enough for a mirror, shelf, small doorway, or gift table.
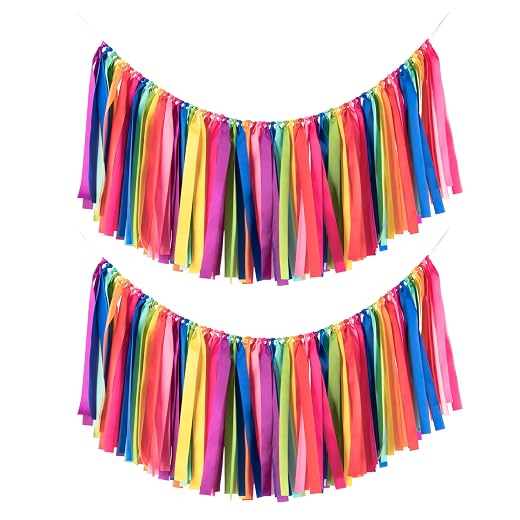
10. Ombre Doorway Streamer Curtain
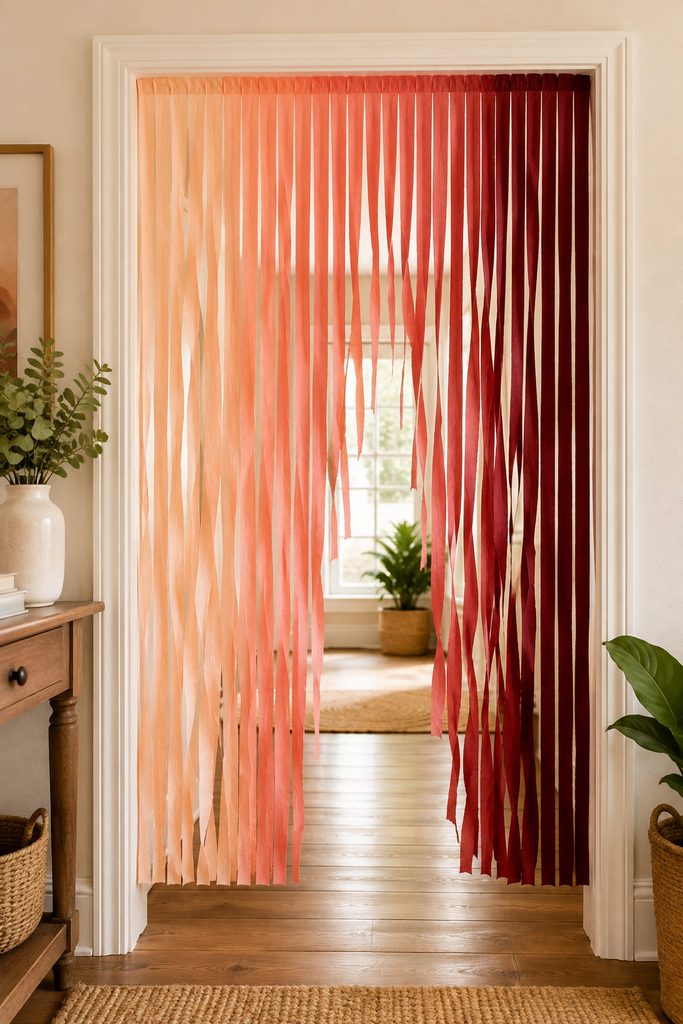
Need to soften a doorway without building a full backdrop? A loose streamer curtain keeps the opening visually active while still allowing people to pass. Attach individual crepe strips to a supported header and trim them so they stop above the floor rather than pooling where shoes can catch them. Before cutting a full batch, hang two sample strips and check the finished drop from both sides of the doorway; floor level can vary enough to make a perfectly measured stack look uneven once installed.
There are two useful routes. A straight color gradient makes the opening feel taller and calmer, especially when each shade appears in a broad band. A mixed gradient, with neighboring shades interleaved, gives more movement and disguises small spacing differences. Choose the straight version for a clean event palette; use the mixed version when the paper colors are close enough to blend or when you are working with several partial rolls.
Do not twist every strip. A few twists add highlights, while leaving most strips flat preserves the ombre effect and gives the curtain better visual coverage. If the doorway is used frequently, keep the center slightly more open than the sides instead of pushing every streamer into the traffic path.
11. Sculpted Crepe Paper Flower Centerpiece
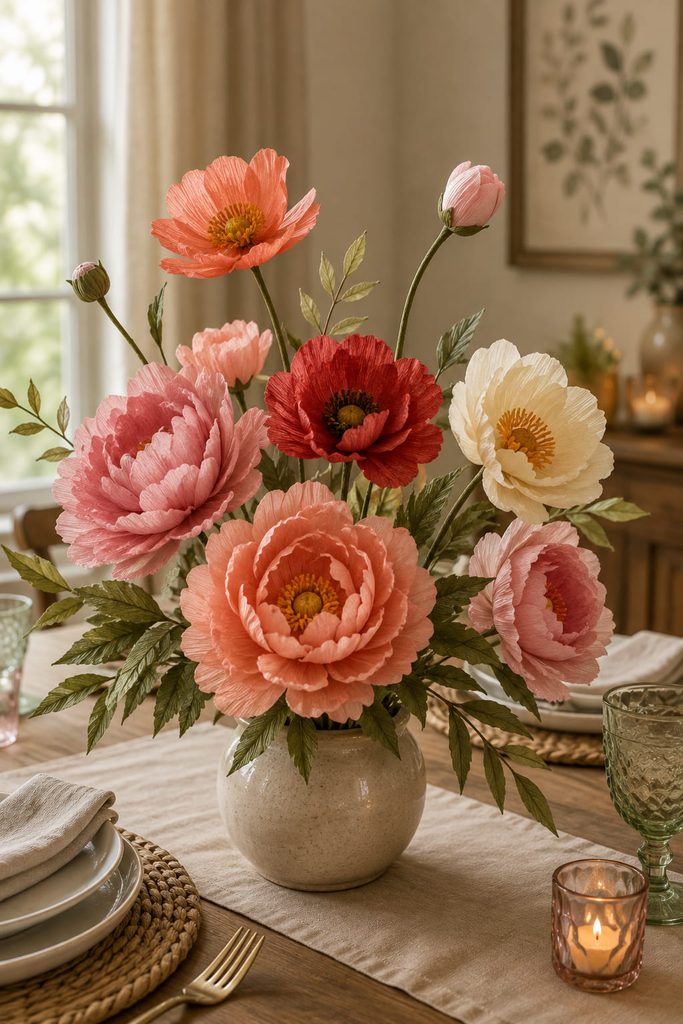
Crepe’s grain is useful in a centerpiece because petals can be cupped and shaped without adding bulky supports to every edge. Build several flower types at different heights on wrapped floral-wire stems, then group them in a stable vase or weighted container. A few leaves placed low around the rim hide the stem bundle and make the arrangement look finished from seated eye level.
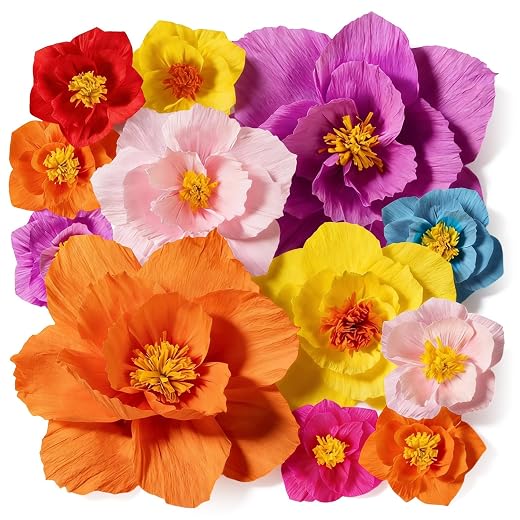
A practical supply set is small but specific:
- fine crepe paper for petals and leaves;
- floral wire for stems;
- floral tape or narrow crepe strips for wrapping;
- tacky craft glue;
- a vase or container with enough weight and depth to hold the stems.
Keep the widest blooms lower than the tallest stems. That puts visual weight near the vase and reduces the top-heavy look that happens when every large flower is raised to the same height.
12. Soft-Glow Crepe Paper LED Luminary
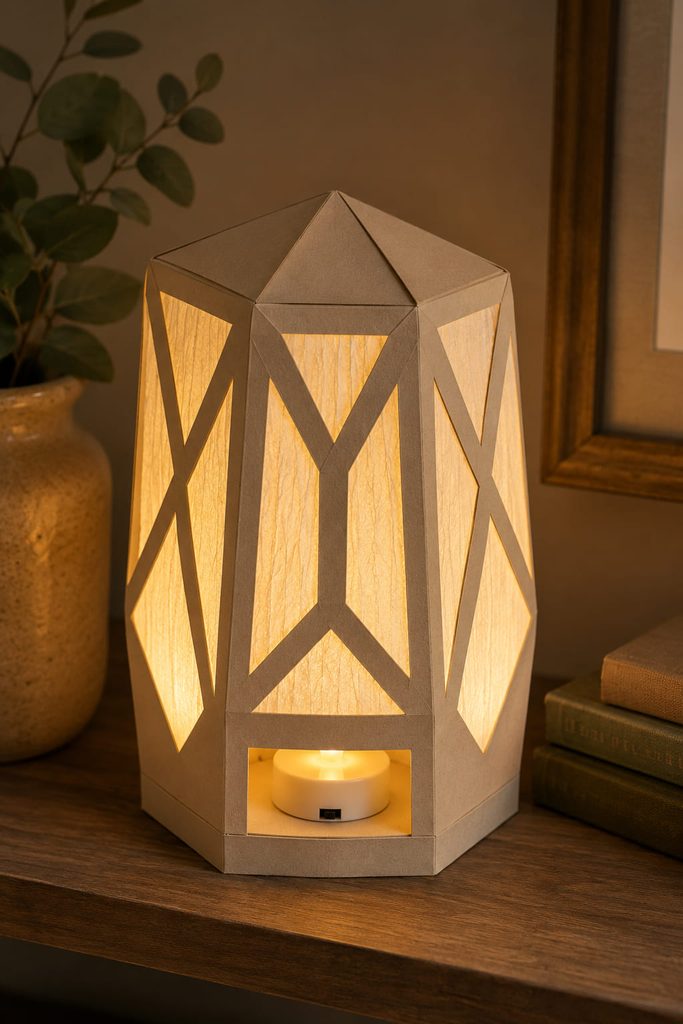
Soft translucency makes crepe paper useful around a cool battery-powered LED, but the light path needs to stay open. Build a rigid cardstock cylinder or faceted sleeve first, cut generous openings in that outer shell, then back the openings with a single layer of pale crepe paper. The rigid shell provides the walls and base; the crepe acts only as a translucent diffuser. That division of jobs matters because stretched crepe alone is too soft to keep a freestanding lantern shape dependable.
Plan access before closing the seam. The LED should slide in and out through an opening that remains reachable after decorating, the base should sit flat, and loose paper should not be pressed directly against the light unit. If you want a patterned glow, change the cardstock cutouts rather than piling decorative layers over the diffuser. Never use a candle, incandescent bulb, or other hot flame or lamp with paper decor.
Light Path Check: Turn the LED on in a dim room before closing the final seam. If one area looks dull, check whether a support strip or overlapping patch is blocking the opening. Enlarge or simplify that obstruction instead of adding another translucent layer, which usually reduces the light further.
13. Fringed Crepe Paper Party Letter
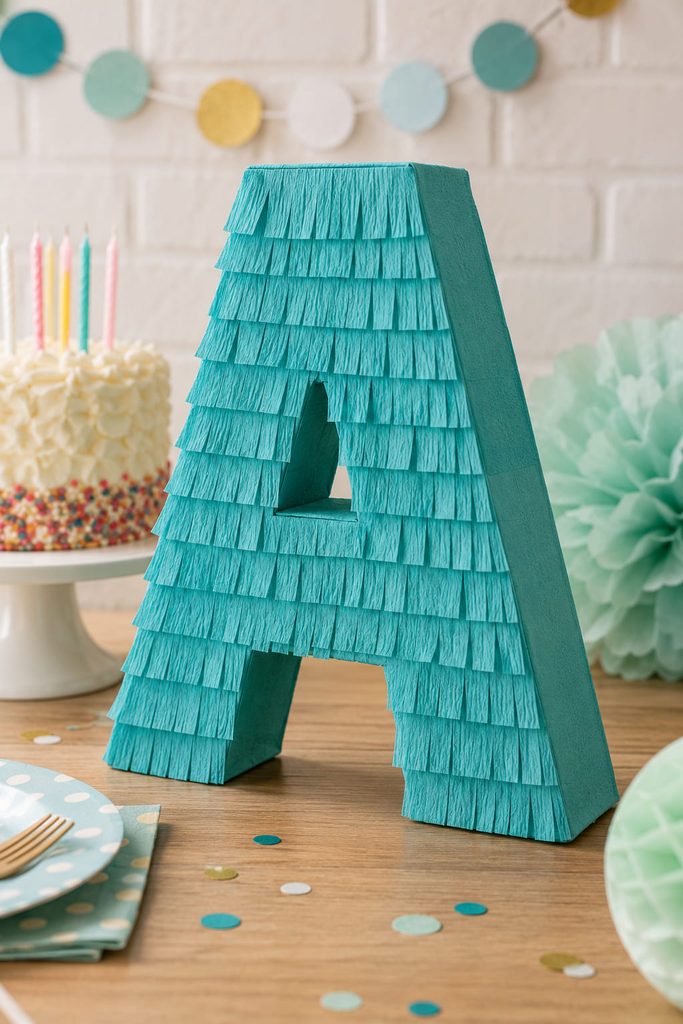
For a birthday, shower, or name display, a dimensional letter gives fringe a clear focal function. Start with a lightweight cardboard letter or a shallow handmade box-form letter, then cover its face with rows of crepe fringe. Work from the bottom up so each new strip hides the solid edge of the row below.
- Fit the fringe around outside corners before gluing the long straight runs.
- Keep the fringe direction consistent across the face.
- Trim around inside openings with small pieces instead of forcing one strip through a tight curve.
- Cover exposed sidewalls with unfringed crepe or a contrasting paper.
A free-standing letter needs a broad, flat base; a wall-mounted letter can stay shallower and lighter. That choice should be made before the fringe goes on, because decoration cannot correct an unstable form.
14. Suspended Crepe Paper Butterfly Mobile
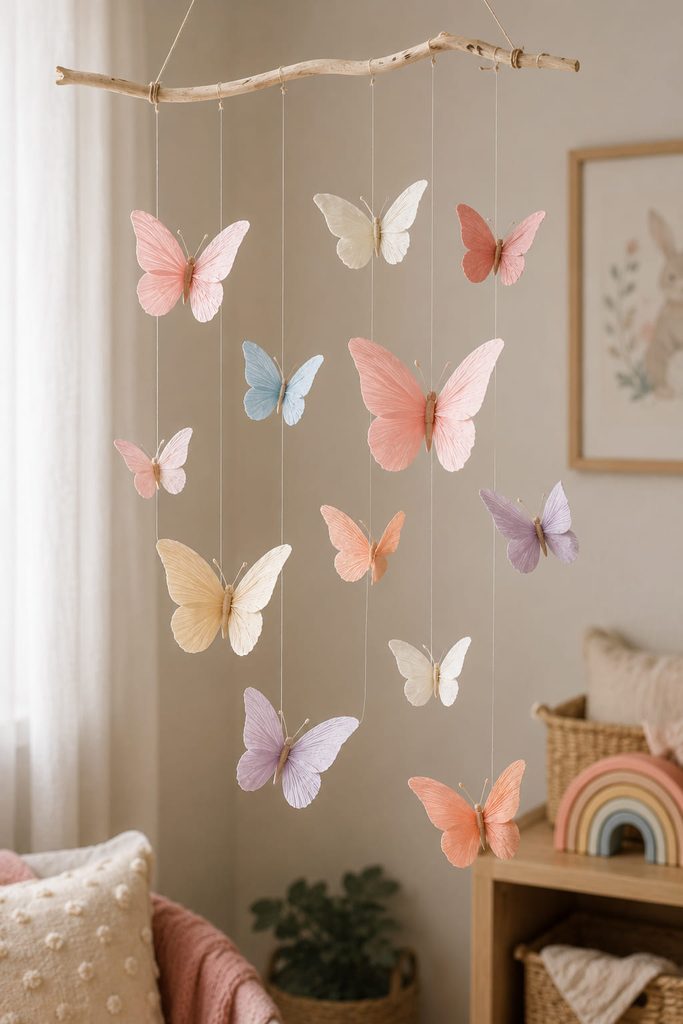
Suspended butterflies read best when their wings hold a gentle curve rather than hanging as flat cutouts. Cut paired wing shapes, stretch the centers slightly, and mount each pair around a narrow paper body or a wrapped wire spine. Suspend them at different heights from a lightweight branch, hoop, or dowel.
The hanging points should sit close to each butterfly’s center of mass. If a butterfly tips nose-down, move the thread attachment a little toward the tail; if one wing consistently drops, check whether the body or wire is twisted. Leave generous clearance between neighboring pieces so the mobile can move without wings catching.
15. Scalloped Crepe Paper Table Runner
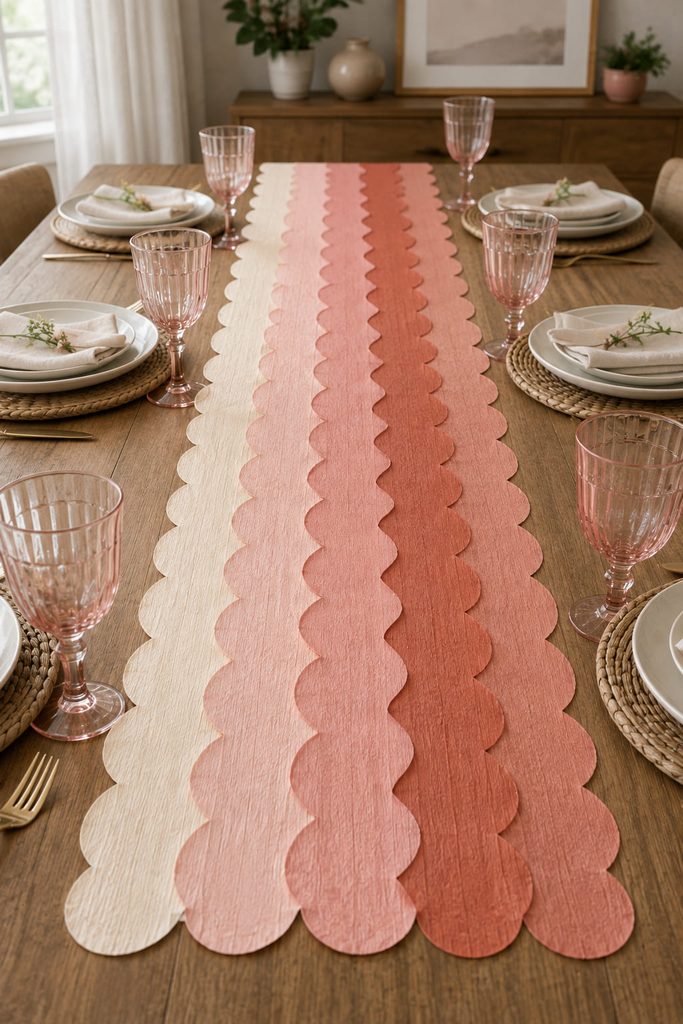
When the tabletop itself is the focal area, a low runner avoids the sightline problems of tall centerpieces. Cut wide crepe bands with scalloped edges, overlap them lengthwise down the table, and shift each layer slightly so several colors or tones remain visible. The overlapping construction also gives thin crepe enough body to lie more smoothly.
Keep serving zones in mind before gluing or taping layers together. A decorative runner that extends under hot dishes, wet vases, or candle flames creates avoidable problems, so reserve it for a dry display section or place protective surfaces over it. For a dinner table, a narrower center strip leaves more room for plates and hands; for a dessert display, a broader runner can act as the main color field.
16. Fringe-Wrapped Cone Trees
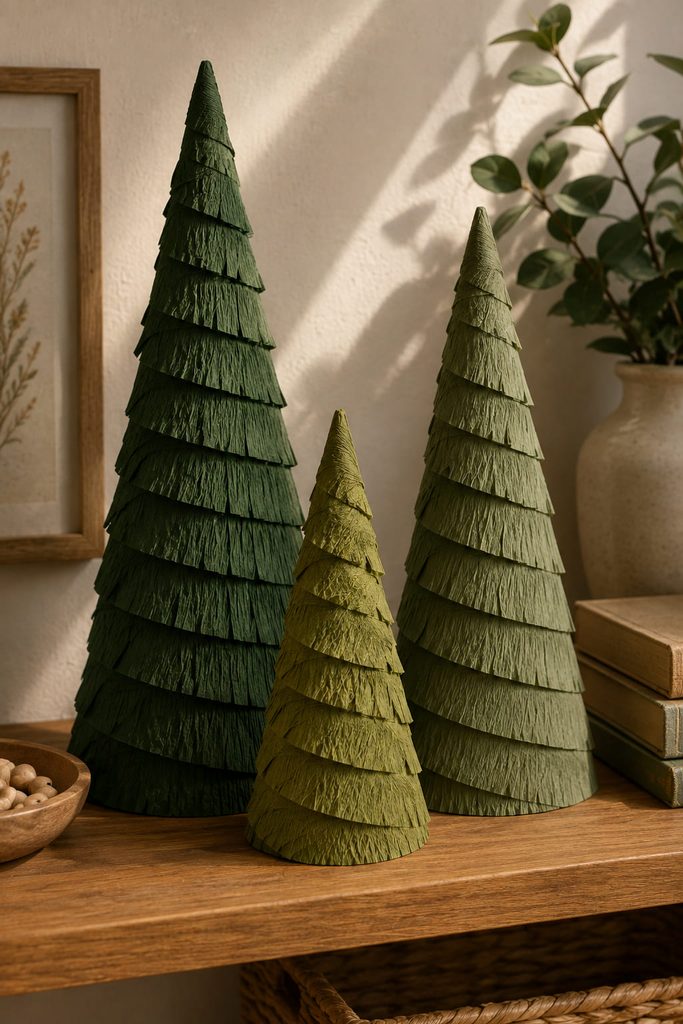
Wrap fringe upward around a cone and the flat paper quickly becomes a compact tabletop tree. Use a cardstock cone or another firm lightweight form, then spiral a fringed crepe strip from the base toward the tip with each row overlapping the solid band beneath it. The cone carries the shape, while the cut fringe creates softness and shadow.
Choose the fringe length according to scale. Deep fringe can overwhelm a small cone and hide its taper, while short fringe on a tall form may look too flat. After the adhesive sets, lift the fringe with your fingertips rather than stretching it sideways, which can distort the rows.
These trees store best upright or inside a box with space around the edges. Crushing the fringe flat for storage is faster than rebuilding it, but it usually leaves permanent-looking creases in the outer layers.
17. Crepe Paper Chair-Back Rosettes
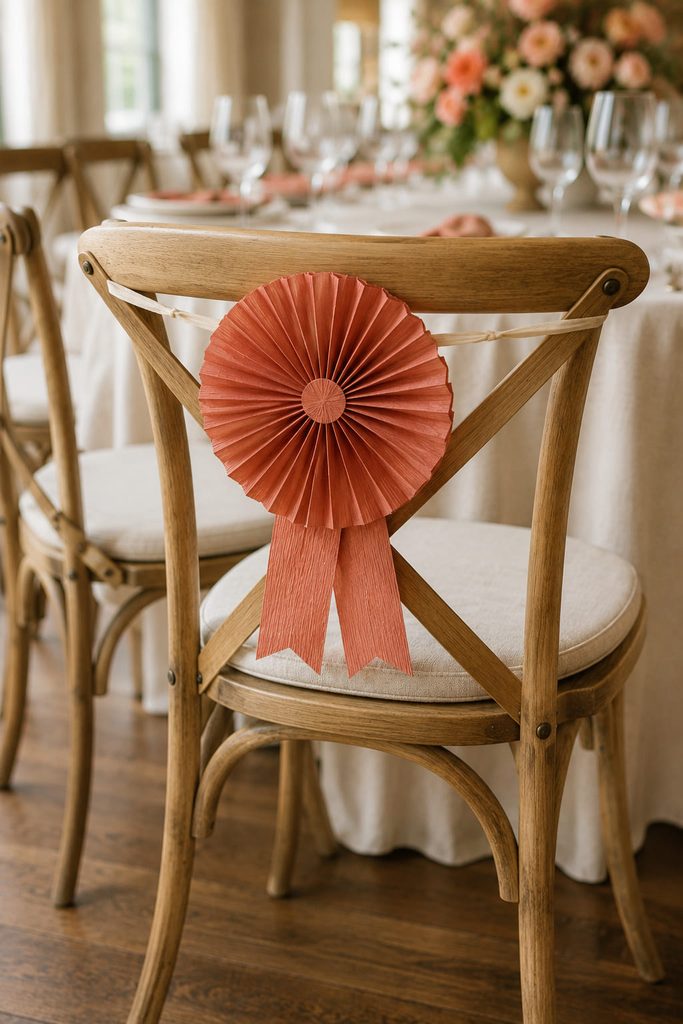
Instead of dressing every chair with long streamers, use one pleated rosette with short tails as a controlled accent. The rosette gives the decoration a firm center, while the tails add movement without dragging near the floor.
Before making a batch, check:
- how the rosette will attach without damaging the chair;
- whether the fastening can resist people brushing against it;
- whether the tails stay clear of wheels, feet, and walkways;
- whether the decoration can be removed quickly after the event.
Make one complete sample on the actual chair before cutting the rest. Batch work is faster when the pleated centers, backing disks, and tails are prepared separately and assembled only after the fit is confirmed.
18. Layered Crepe Paper Floral Arch
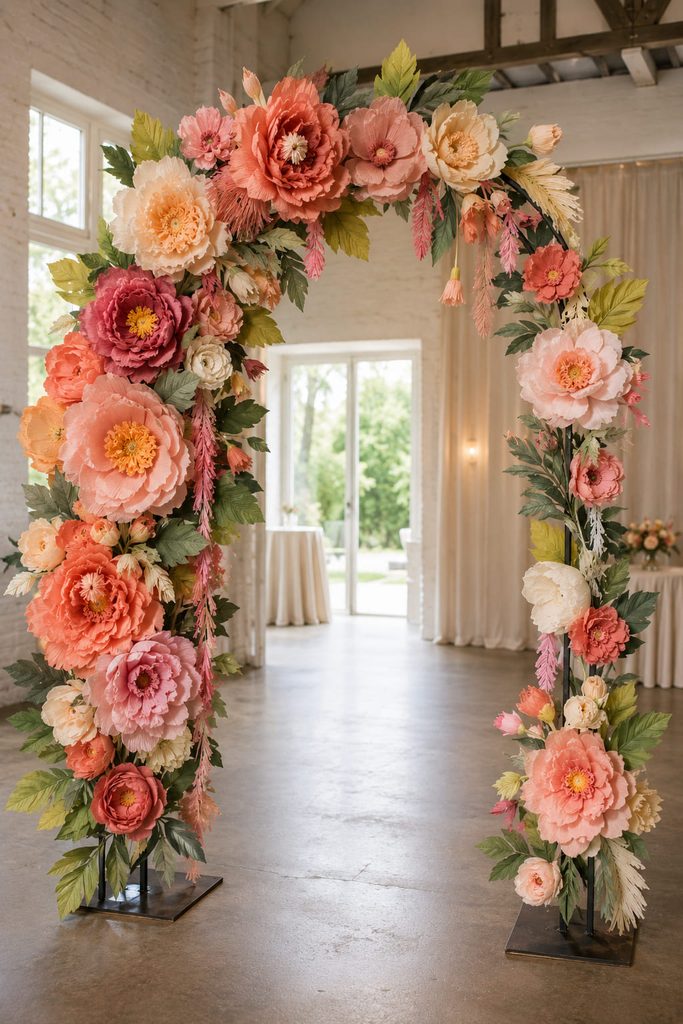
A layered arch turns several simple crepe techniques into one large focal installation: flowers supply the main shapes, leaves bridge gaps, and short fringe or streamer accents soften the outer edge. Build the composition on a freestanding arch, approved wall support, or rigid backdrop rather than asking the paper pieces to carry one another. Decide where viewers and cameras will approach from before you start, because the strongest cluster should frame that sightline instead of hiding faces or blocking the usable opening.
Place the largest flowers first to establish the asymmetrical weight of the design, then add medium blooms around them and use leaves to extend the silhouette. Step back after each major cluster. If both sides become equally dense, remove or shift a secondary group rather than filling the remaining gaps; visible background is what lets the separate flower shapes read at room distance.
Finish with small accents only where they connect larger forms or soften a hard edge. Treat the paper as a decorative skin, not a structural material: the support must already be stable, and heavy components should attach to that support rather than to neighboring petals. Keep the final installation clear of heat, open flame, moisture, and paths where guests could pull on projecting flowers.
Choosing Crepe Paper Decorations by Placement
For walls, prioritize backing strength and a clear silhouette: rosettes, oversized flowers, fringed letters, and floral arches all benefit from a hidden rigid support. Hanging projects need a different check—balance, attachment, and clearance matter more than dense detail. On tables, keep height and handling in mind so centerpieces, cone trees, and runners do not interfere with serving or conversation.
Crepe paper weight and stretch also change the result. Softer, finer paper shapes beautifully for petals and leaves, while streamer-style crepe is convenient for fringe, ruffles, tassels, and long hanging runs. When a project depends on structure, add a separate support instead of trying to make the crepe itself behave like cardstock.
Start With the Surface You Want to Change
If you want the fastest visual change, begin with a fringe backdrop, doorway curtain, or ceiling canopy because those projects cover a large area with simple repeated pieces. For decor that can stay up longer, try a sculpted flower arrangement, botanical garland, or a small group of rosettes. Once you are comfortable shaping paper, the wisteria hoop and floral arch offer a more dimensional next step.
For another route into large-scale paper decor, see 30 Stunning Giant Paper Flower SVG Designs for Decor.