This post contains affiliate links. As an Amazon Associate I earn from qualifying purchases, at no extra cost to you. Thank you for supporting Diynify!
Paper room decor can make a bedroom, craft room, dorm, or studio feel more personal without relying on store-bought accents. The most useful projects do more than fill a blank wall: they shape light, add storage, create movement, soften a window, or turn an overlooked shelf into a focal point.
Most of these ideas use cardstock, construction paper, scrapbook paper, or recycled paper with scissors, a craft knife, ruler, and adhesive. A few need extra supplies such as thread, cord, vellum, a rigid backing board, a small mirror tile, a jar or vase, removable wall-safe mounting hardware, or a cool LED puck light. Choose by display zone first—wall, ceiling, window, desk, or shelf—then match the paper weight to what the finished piece actually has to do.

1. Pleated Paper Fan Gallery
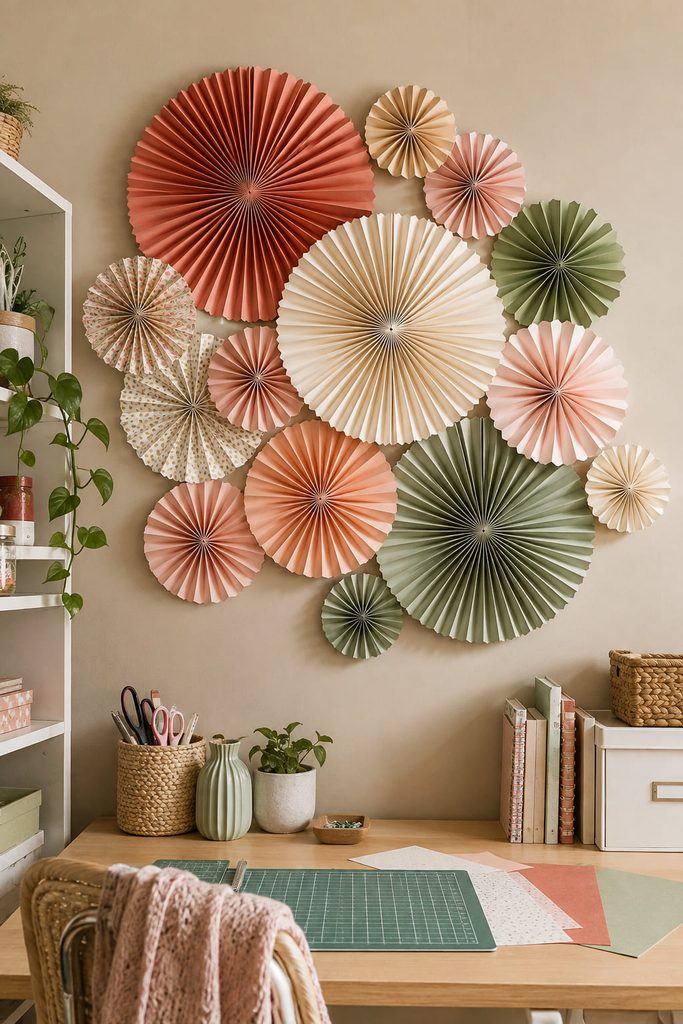
A blank wall gets more depth from changing shadows than from simply adding more colors. Make several accordion-folded paper fans, join each strip into a circle, and flatten the center into a radial rosette. Mixing shallow and deeper pleats changes how much each piece projects from the wall, so a small cluster can read as one sculptural installation rather than a row of flat decorations.

Build the arrangement on the floor before mounting it. Let one large fan set the focal point, then overlap smaller ones around it while leaving patches of wall visible between the edges. The negative space keeps the composition from becoming a solid paper disk and also gives you room to add or remove a fan later without rebuilding the whole grouping.
2. Modular Cardstock Wall Tiles
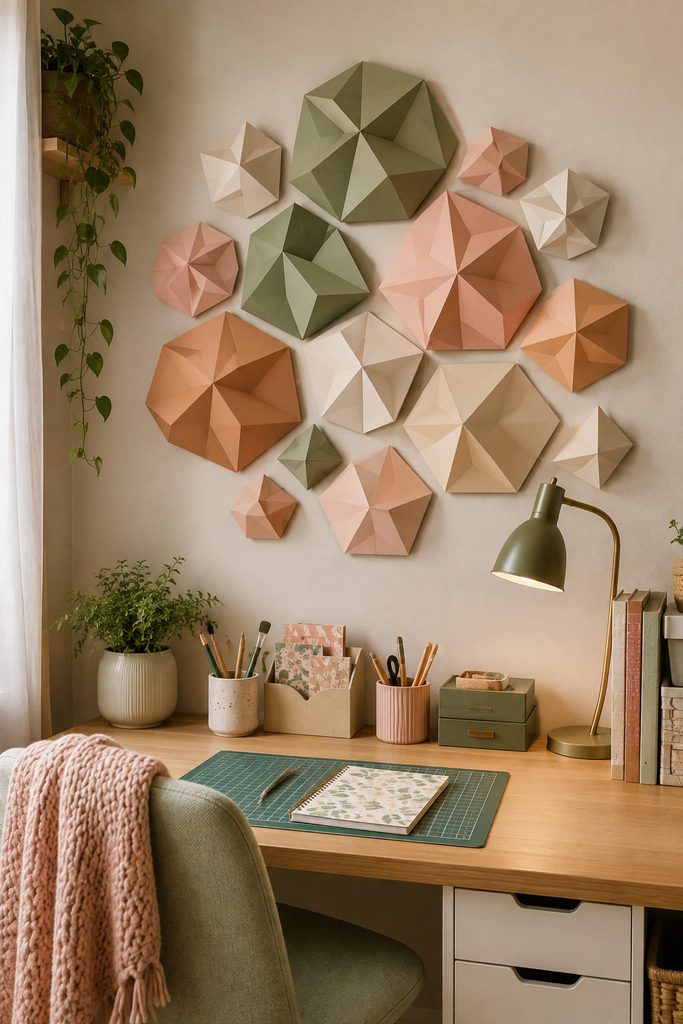
For a geometric look, folded cardstock tiles can create a low-relief wall surface without the weight of wood or plaster. Each tile is a shallow faceted form made from scored panels and glue tabs, so the visible face stays crisp while the hidden tabs hold the volume.
- Cut one test tile and score every fold before gluing.
- Close the side tabs so the back stays flat enough to mount.
- Repeat the module in two or three sizes, then arrange the tiles with deliberate gaps rather than edge-to-edge coverage.
- Mount the finished pieces with a method appropriate for the wall surface and the tile weight.
The test tile matters more than perfect repetition. If its corners bow outward, widen the glue tabs or reduce the depth before batch-making the rest.
3. Balanced Origami Mobile
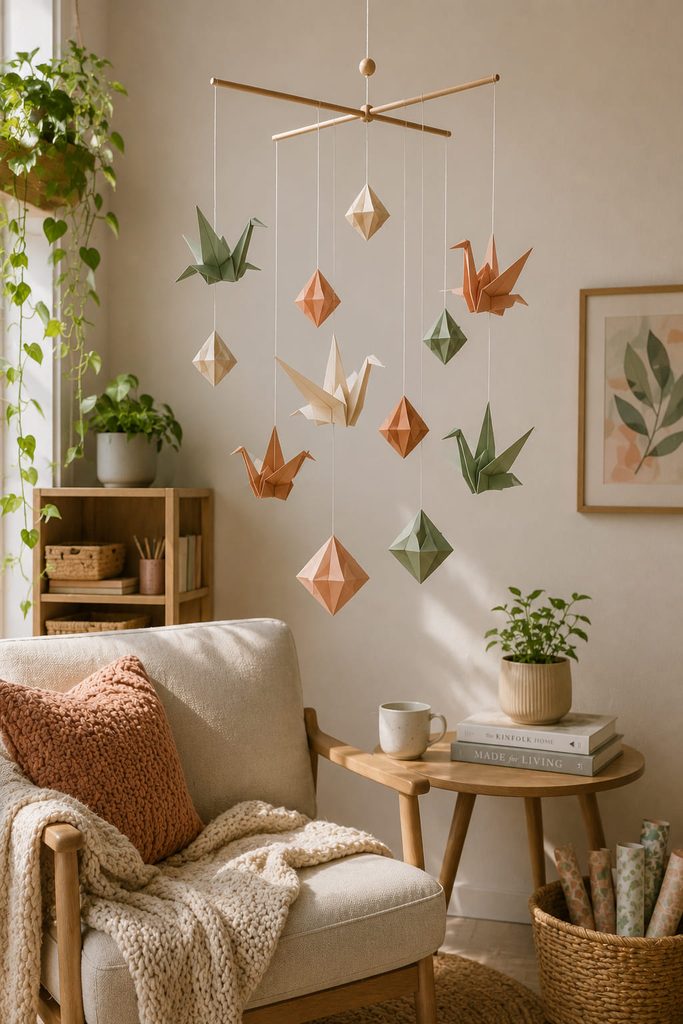
Movement is the point of a paper mobile. Suspend lightweight origami forms from thread on a crossbar or nested hoops, placing larger forms closer to the center and lighter ones farther out so the structure can turn instead of leaning to one side.
If the mobile tilts: shorten the heavy side or move that hanging point inward. If ornaments collide, increase vertical spacing. Balance check: lift the mobile from its final top attachment and confirm that each arm returns near level before it goes overhead.

4. Woven Paper Strip Wall Panel
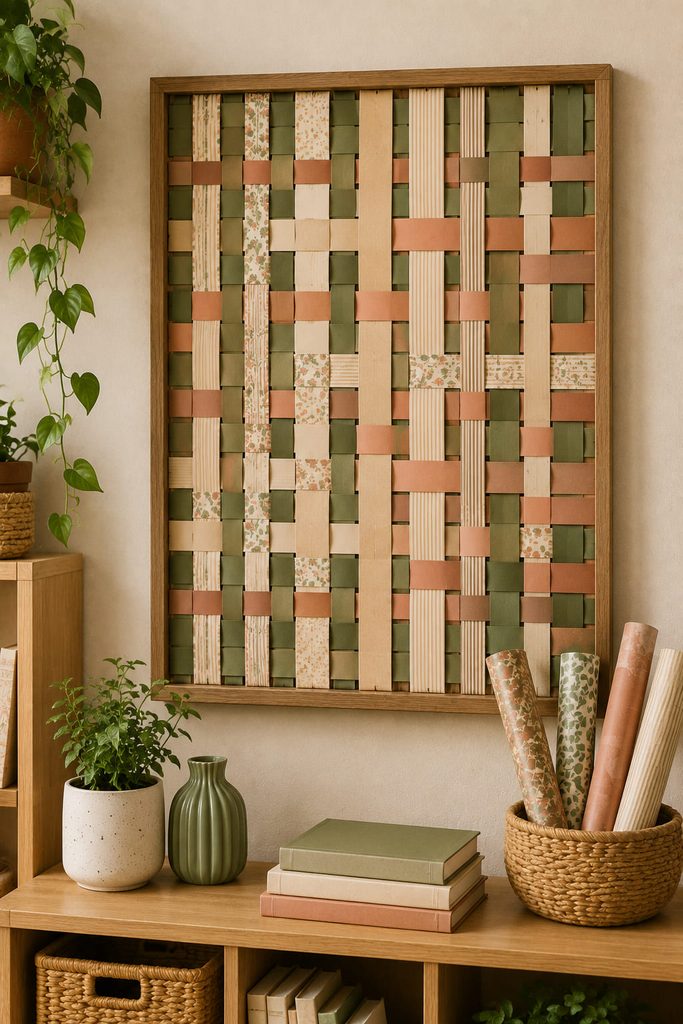
Paper weaving works best when it behaves like actual weaving, not like strips pasted side by side. Start with a rectangular frame or stiff backing and anchor parallel warp strips along two opposite edges. Feed the weft strips over and under in alternating order; reversing that path on each new row locks the visual grid together and keeps long openings from forming.
A deeper panel can mix strip widths, but change width gradually so the weave does not bunch at one edge. Keep the paper moderately flexible—very heavy cardstock resists the bends, while thin printer paper can tear where the strips repeatedly cross.
For a clean finish:
- keep the outermost crossings square before securing the ends;
- trim only after the full panel is tensioned;
- hide the anchored ends behind the frame or a narrow paper border.
Weave tension: the finished panel should lie flat without slack loops, yet the strips should still slide slightly before the ends are fixed. If the center bows, release one edge and redistribute tension instead of pressing it flat.
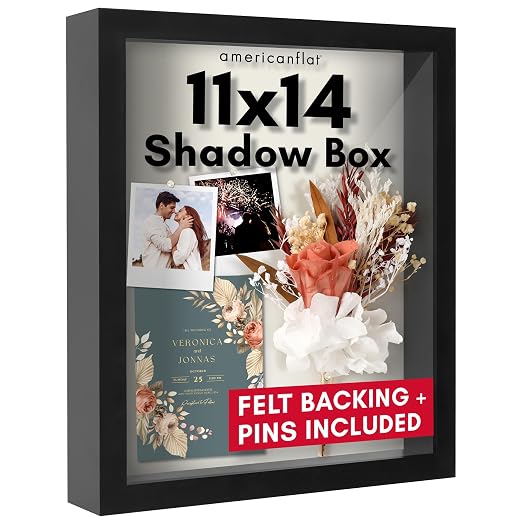
5. Layered Shadow Box Nook Scene
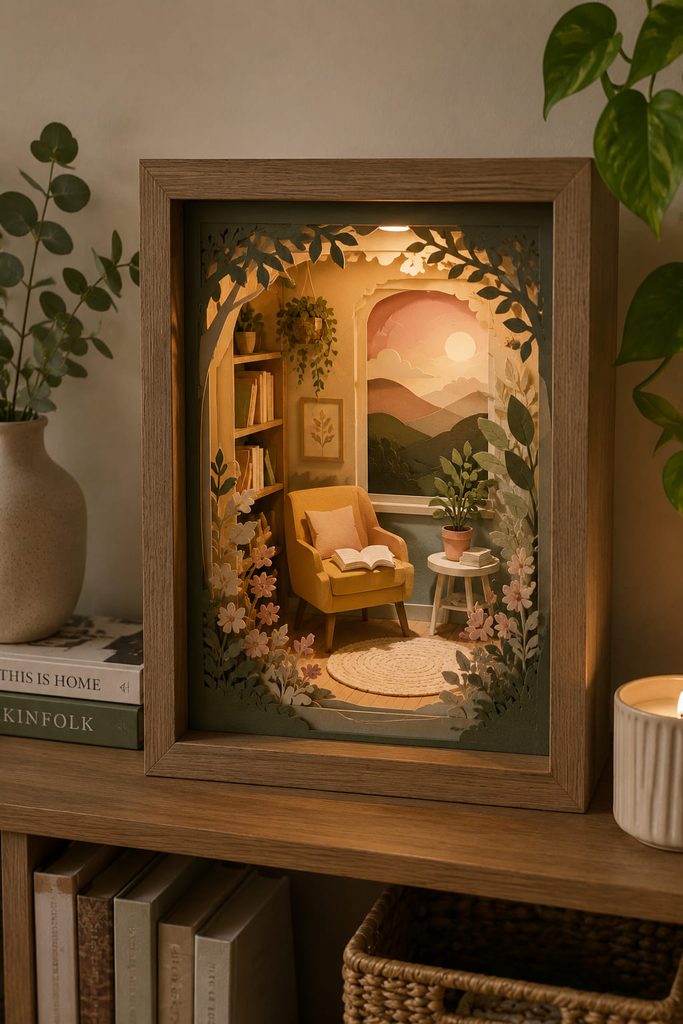
Depth matters more than layer count in a small shadow box. Cut simple foreground, middle, and background frames, then separate them with narrow spacers inside a deep frame. The useful test is visual, not numerical: from normal viewing distance, the front layer should frame the scene while at least one opening carries the eye into the back layer.
6. Translucent Paper LED Lantern
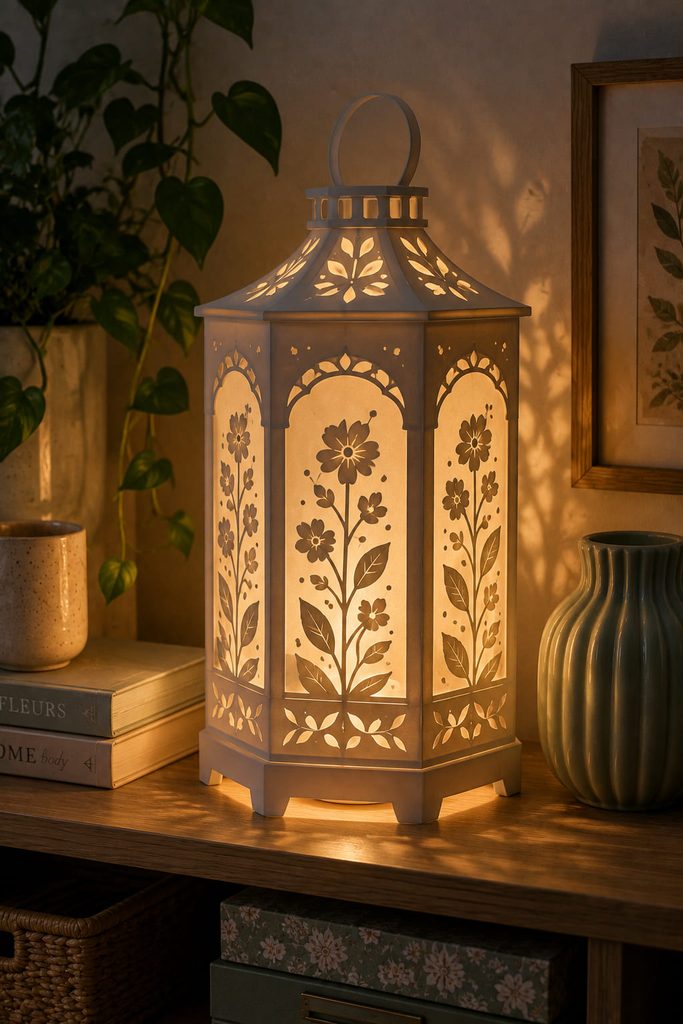
For ambient shelf light, a paper lantern needs both a clear light path and a safe way to reach the light source. Build a scored cardstock outer frame around vellum or translucent paper panels, keep the bottom stable and openable, and use only a cool LED puck or battery tea light—never a flame or a hot bulb.
Two construction routes create different effects. A mostly vellum lantern gives a broad, soft glow but shows less graphic shadow. A cardstock lantern with deliberate cutouts throws sharper shapes onto nearby surfaces, but only if the cut openings line up with the internal light path and are not blocked by decorative layers. Choose the first for calm bedside light and the second when patterned shadows are part of the decor.
LED access: before closing the last seam, confirm that the light can be switched on, removed, and replaced without tearing the lantern. The base should sit flat even with the light inside.
7. Rolled Paper Tube Pencil Caddy
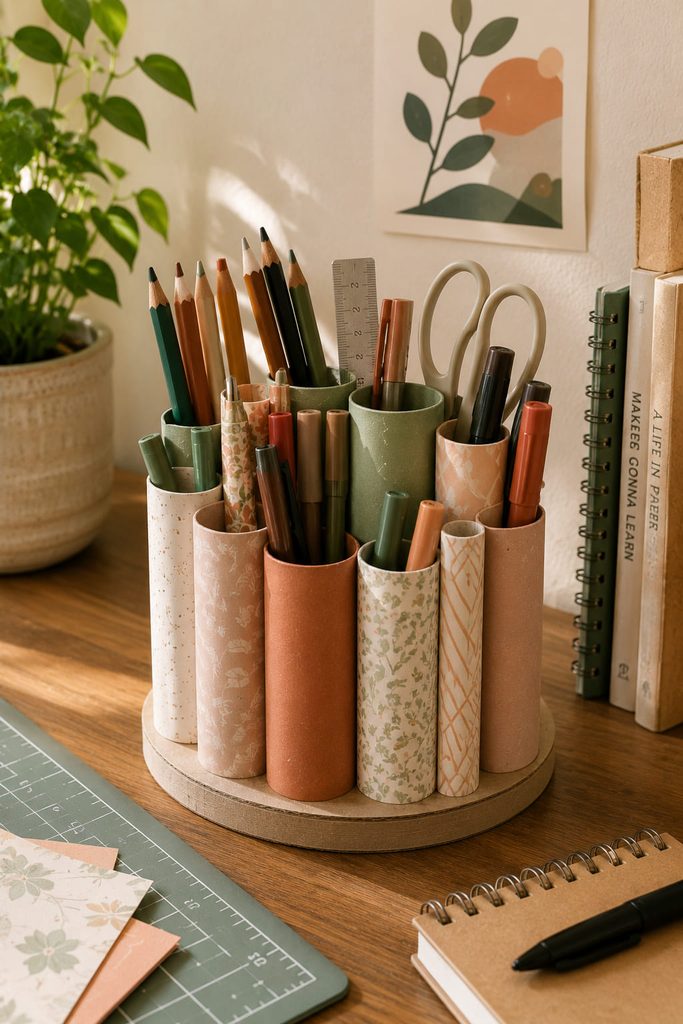
On a working desk, rolled paper tubes can become a useful pencil caddy when a rigid base carries the load. Glue the tubes upright around that base so pens cannot push through and taller tools stay separated.

Before calling it finished, check:
- the base is wider than the loaded tool cluster;
- each tube is secured along enough of its height to resist peeling;
- short tools remain reachable above the rim;
- the organizer stays upright when one outer tube is loaded first.
8. Folded Wall Pocket Organizer
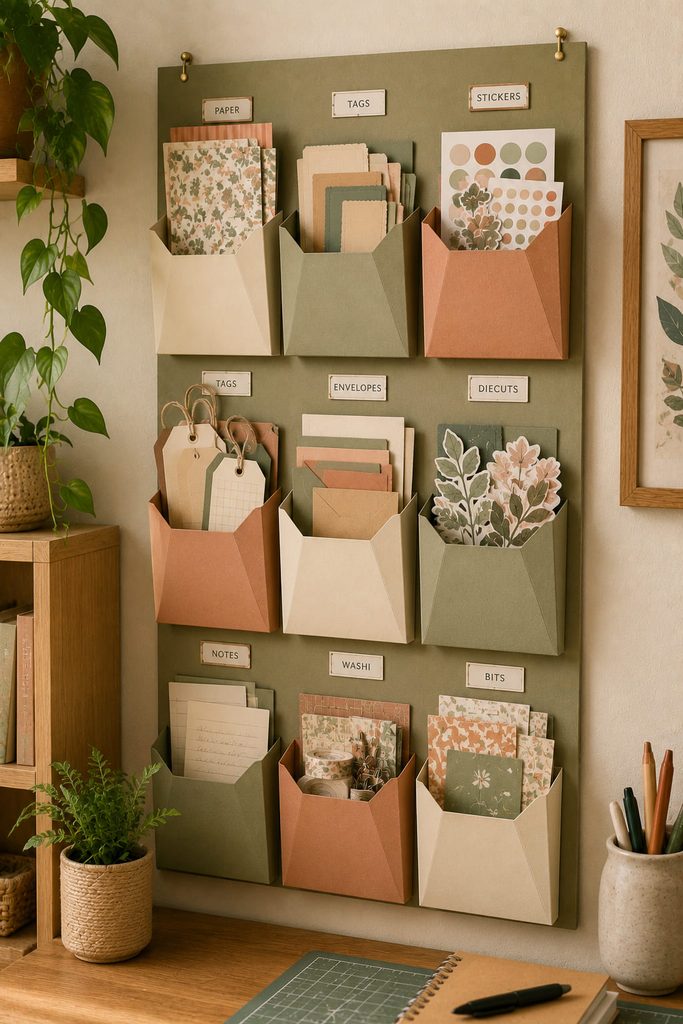
Small paper pockets work well for lightweight craft supplies that need to stay visible—stickers, swatches, tags, notes, or envelopes—provided the backing carries the load. Fold each pocket from sturdy cardstock with side gussets and a bottom closure, then attach the pockets to a rigid board rather than directly to the wall. The gussets create usable depth, while the board lets the mounting hardware support the collection as one object.
Leave finger clearance above each pocket and avoid filling them to the top; access is part of the design. A shallow pocket is better for flat paper scraps, while a deeper one suits envelopes or packaged embellishments. If the front bows after loading, reduce the contents rather than adding another decorative layer that hides the strain.
9. Honeycomb Paper Orb Cluster
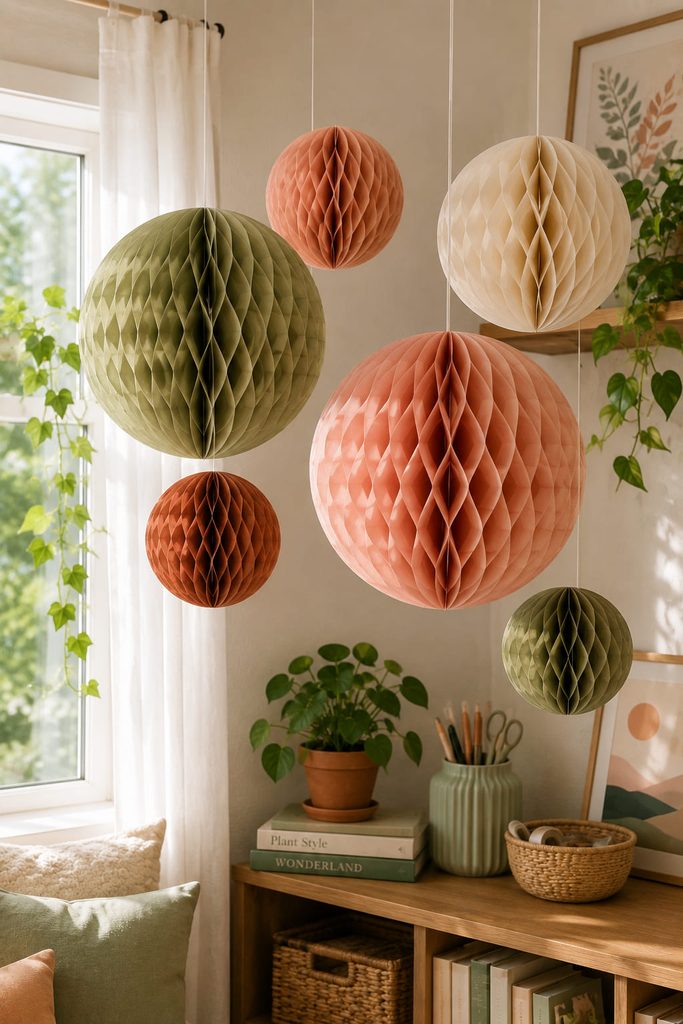
Honeycomb paper ornaments are useful room decor because they create volume from repeated flat layers and can fold nearly flat for storage. Stack matching paper shapes with alternating glue lines, let the stack cure, then open it into a sphere or half-sphere and join the end panels.
- Mark alternating glue zones on a test pair so the pattern stays consistent through the stack.
- Build the full stack before trimming the perimeter; this keeps the edges aligned.
- Open the form slowly and check that the cells expand evenly.
- Add a light hanging loop at the top seam, then close with removable clips or a small tab if you want the orb to fold flat again.
Make several sizes rather than several identical copies. The size change affects silhouette and hanging height, so the cluster feels dimensional even in a restrained palette.

10. Giant Paper Flower Corner Bloom
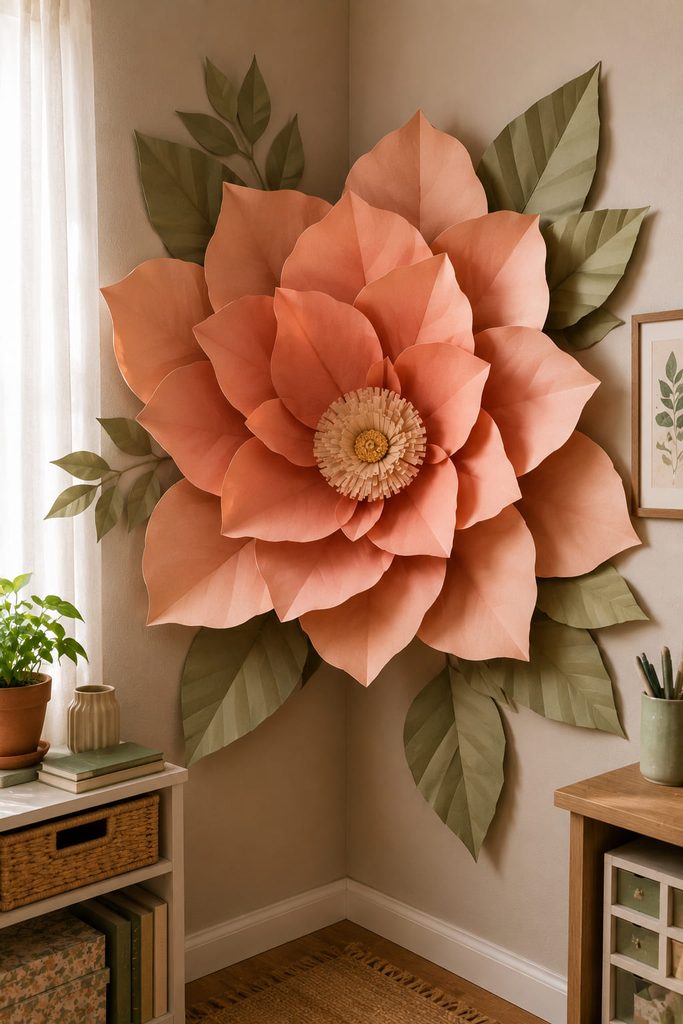
One oversized paper flower can anchor an empty corner without turning the whole room into a floral backdrop. Layer broad petals around a sturdy center disk, shaping each petal before attachment so the edges lift away from the wall. A few leaves extending beyond the bloom help it bridge the awkward angle between two wall planes. For a removable installation, mount the flower to its own backing disk and hang that disk instead of gluing individual petals to the wall.
11. Cut-Paper Window Privacy Panel
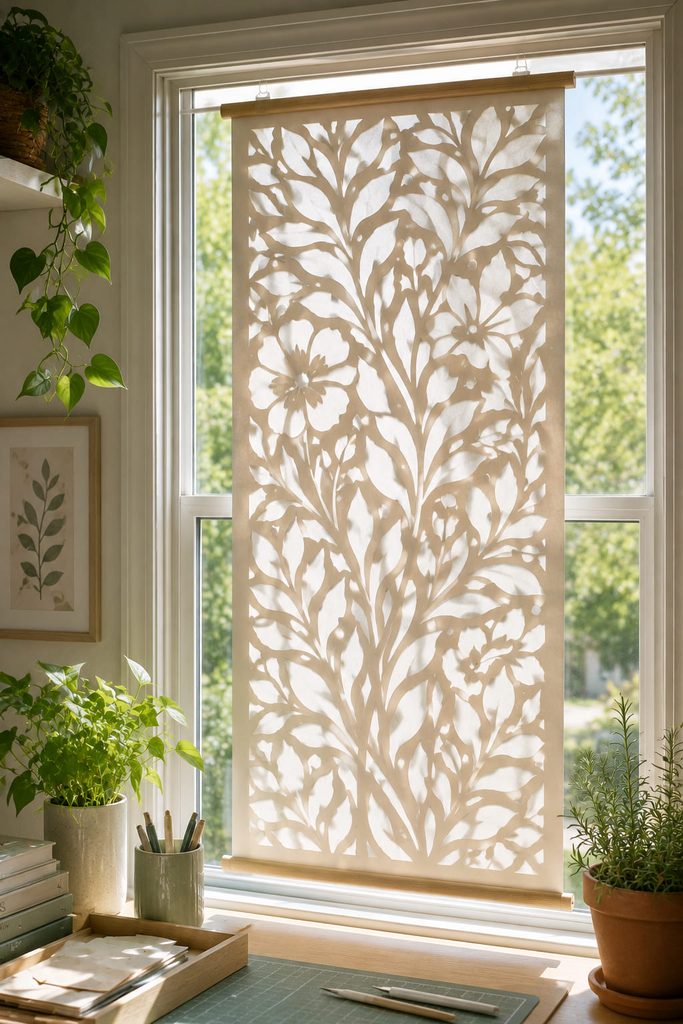
Pattern and daylight have to work together in a decorative window panel. Cut a repeating design into cardstock or sturdy paper, then back it with vellum so the openings remain luminous while the panel reduces direct visual exposure. The paper layer creates the graphic pattern; the translucent backing keeps the cut areas from becoming completely open holes.

Design the pattern from the window inward. Keep strong bridges between cut areas, especially near the edges where the panel is handled, and avoid tiny islands that can tear loose. A rigid top and bottom rail helps the sheet hang flatter; removable hooks or a tension-mounted support keep the treatment separate from the glass.
Window test: tape up a small sample first and look at it in daylight and after dark. Vellum can soften daytime views, but when a room is brightly lit at night, silhouettes may still be visible from outside. Treat this as decorative screening, not guaranteed privacy.
12. Paper Chain Ceiling Swag
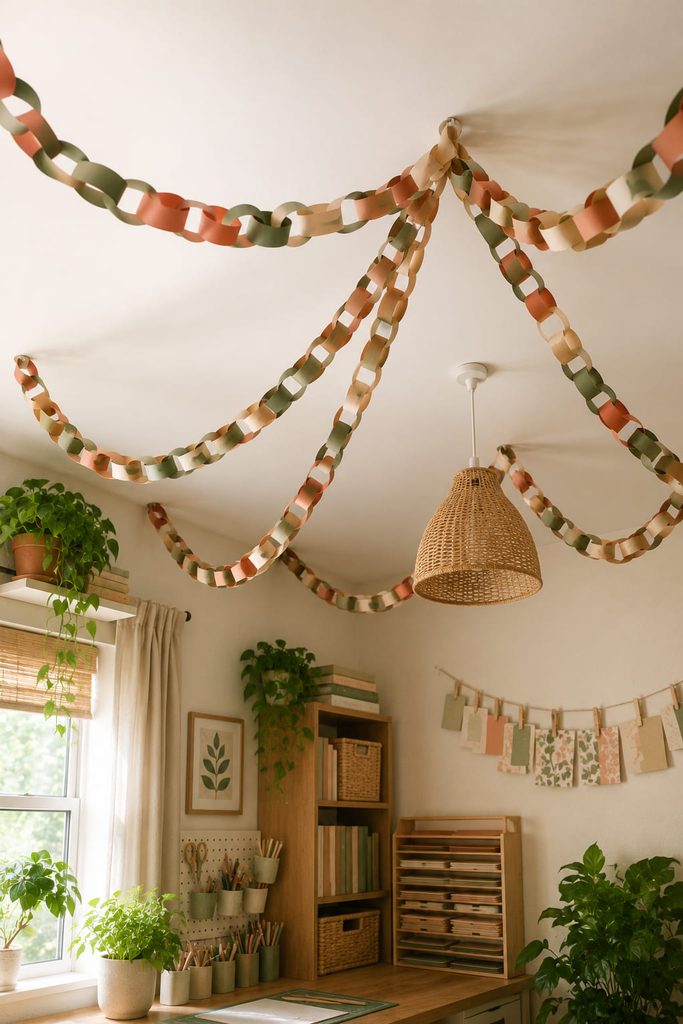
Plan the drape before making the loops if a paper chain is going overhead. Use interlocking loops of consistent width, then create long chains that meet at one ceiling-safe central point or run in parallel between approved supports. The chain should hang freely without brushing a ceiling fan, light fixture, sprinkler, door swing, or walking path.
If the swag sags too low: remove loops instead of tightening the mount under load. If one span twists: rotate a few joining loops so the chain can settle naturally. If the paper tears at the support: add a lightweight connector such as thread or ribbon rather than making the final paper loop carry all the stress.
13. Accordion-Fold Vase Sleeve
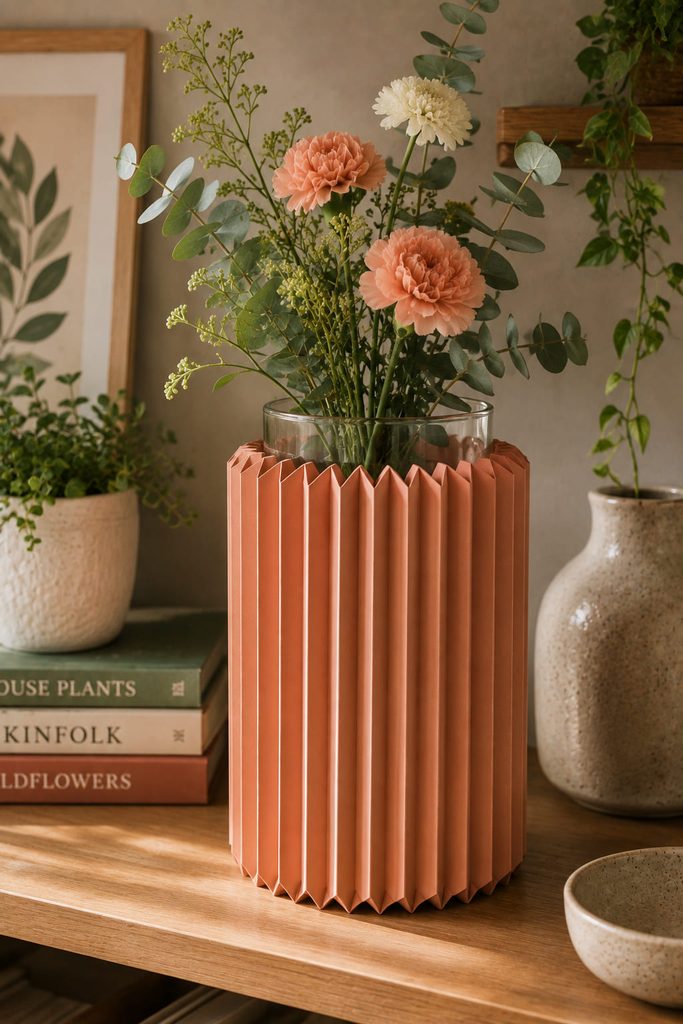
Paper can dress up a flower vase without pretending to hold water. Wrap an accordion-folded sleeve around a real glass jar or vase so the paper stays decorative while the watertight container does the practical work.
A straight pleat gives a compact cylinder. A wider zigzag creates a fuller silhouette but needs more table space. In either version, leave enough room to slide the sleeve off without crushing the folds, and keep the paper below the vase rim.
14. Quilled Paper Color-Field Frame
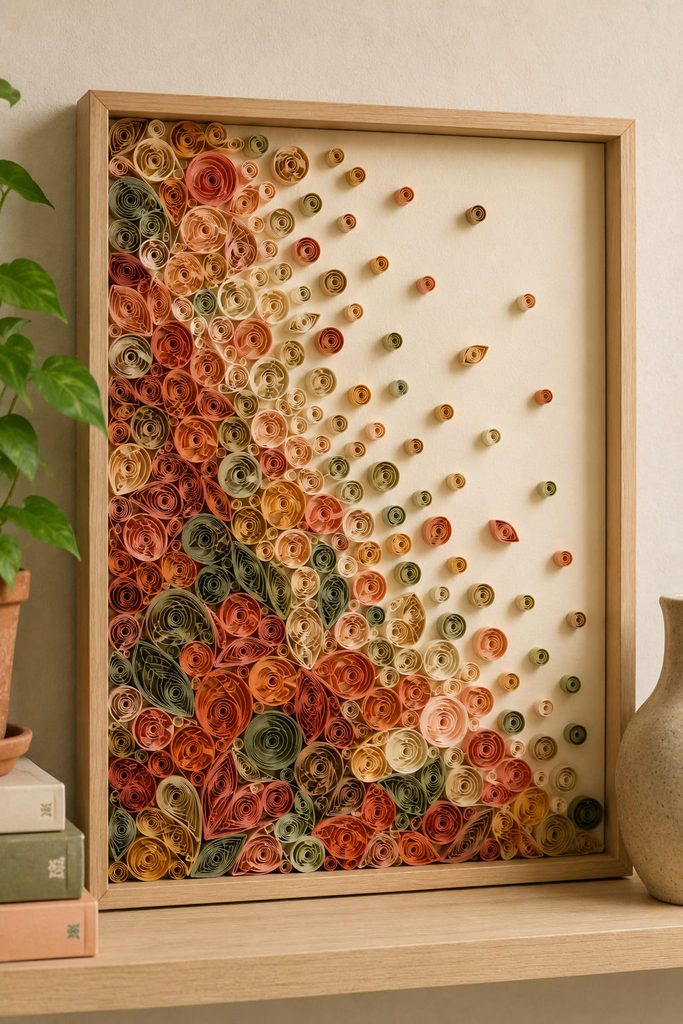
Quilling rewards close-up viewing, which makes it a strong choice for a desk wall or reading corner rather than a distant feature wall. Roll narrow paper strips into coils, pinch selected coils into teardrops or marquise shapes, and arrange them inside a shallow frame as a dense-to-open color field. The change in coil spacing creates motion without needing a printed image.
Use the backing as an active part of the composition. Leave one quiet zone with fewer coils so the eye has somewhere to rest, then increase density toward the focal area. Glue only where the coil touches the backing; flooding the edges with adhesive flattens the shadows that make quilling look dimensional.
15. Layered Paper Sunburst Mirror Frame
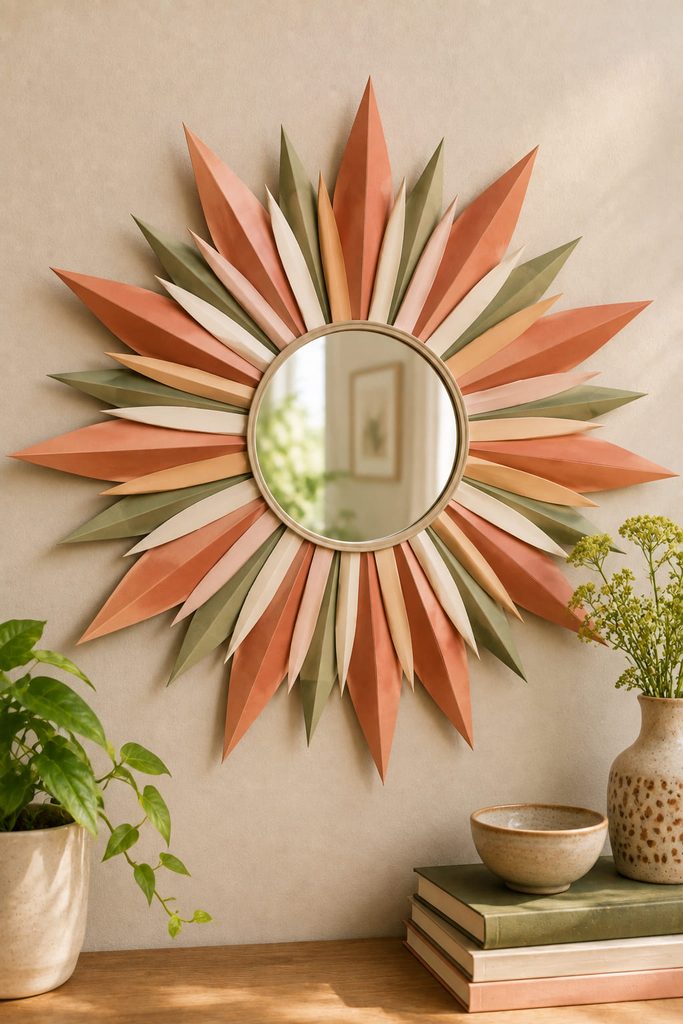
A small mirror tile can become a larger wall accent when paper carries the decorative scale. Mount the mirror to a rigid backer, then build a ring of folded cardstock rays around it so each ray is supported by the backer rather than by the mirror edge. Alternating long and short rays creates rhythm while keeping the center visually clear.
Check the construction before hanging:
- the rigid backer is larger than the mirror and supports every paper ray;
- the mirror is bonded with an adhesive appropriate for its backing;
- no ray projects so far that it catches on passing clothing;
- the finished piece is mounted by the rigid backer, never by a paper loop.
The reflective center should stay unobstructed. If the paper rays begin to overlap the mirror, shorten them at the inner edge rather than hiding more glass.
16. Rolled Paper Bead Shelf Garland
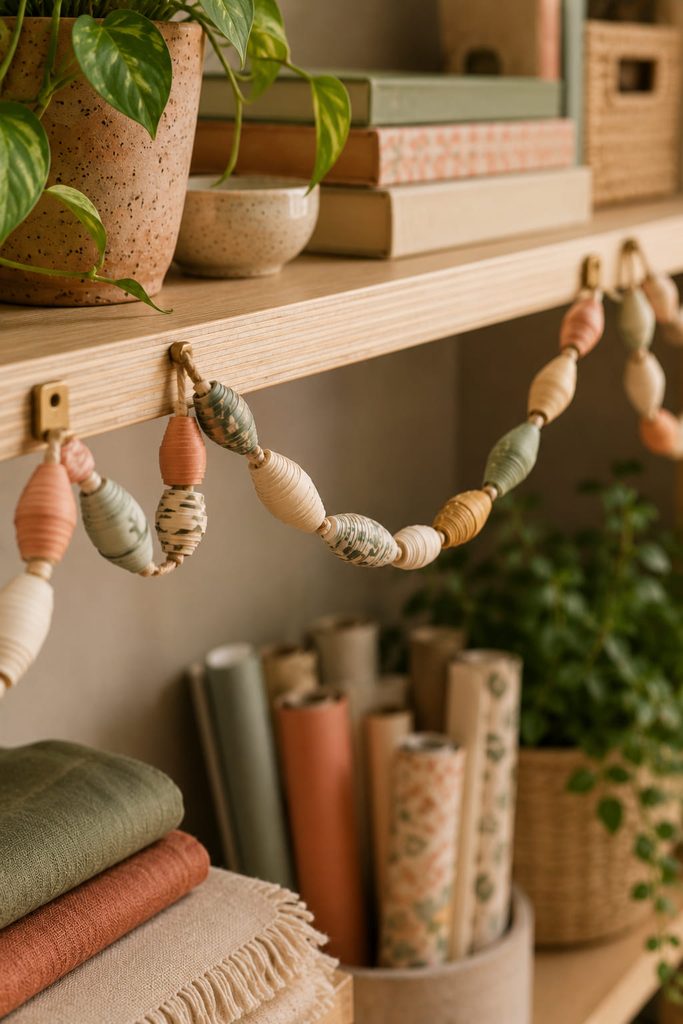
Rolled paper beads turn scraps into a small-scale accent that works best where people can see the pattern up close. Cut long tapered triangles, roll each strip tightly around a skewer, seal the outer tip, and string the finished beads on cord with small gaps between them. Draped along a shelf edge or around a pinboard, the garland adds rhythm without occupying wall depth or desk space.
17. Paper Tassel Doorway Curtain
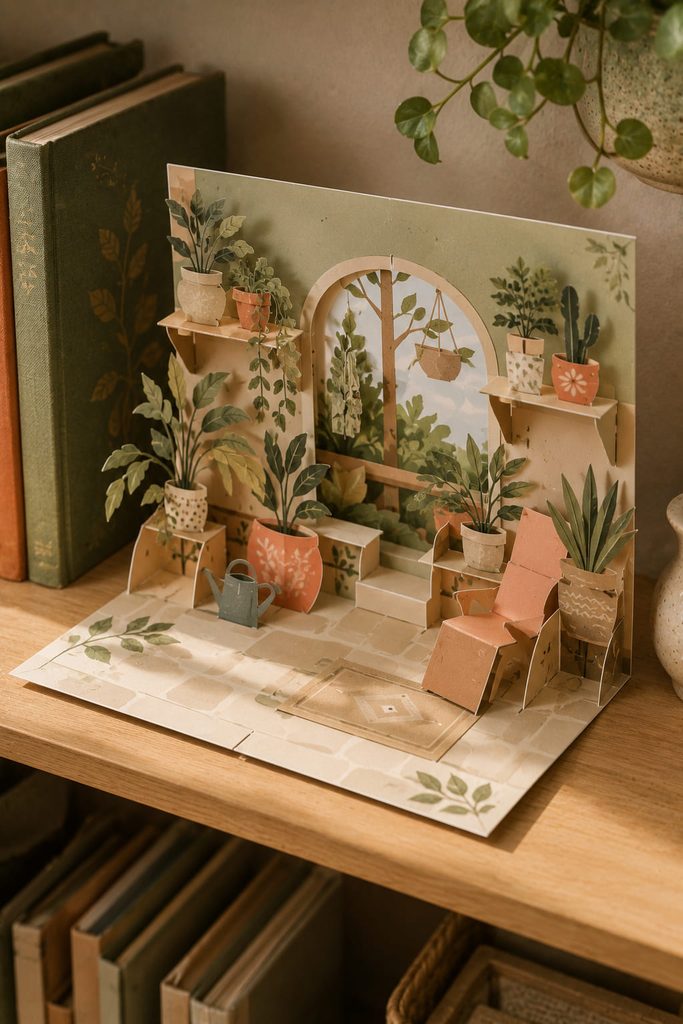
A doorway curtain needs clearance and independent strands so one snag does not pull down the whole piece. Fold or fringe lightweight paper into tassels, tie them onto separate vertical cords, and hang those cords from a rigid top rail above the opening. Keeping the tassels light lets the strands move aside as someone passes instead of behaving like a solid sheet.
Vary the tassel spacing rather than packing the strands densely. More negative space makes the curtain easier to walk through and keeps the paper from crushing against itself. The top rail, not the paper, should carry the load.
Doorway clearance: trim every strand so it stays above the floor and clear of handles, hinges, and nearby heat sources. This is decorative screening, not a privacy barrier.
18. Fold-Flat Pop-Up Shelf Diorama
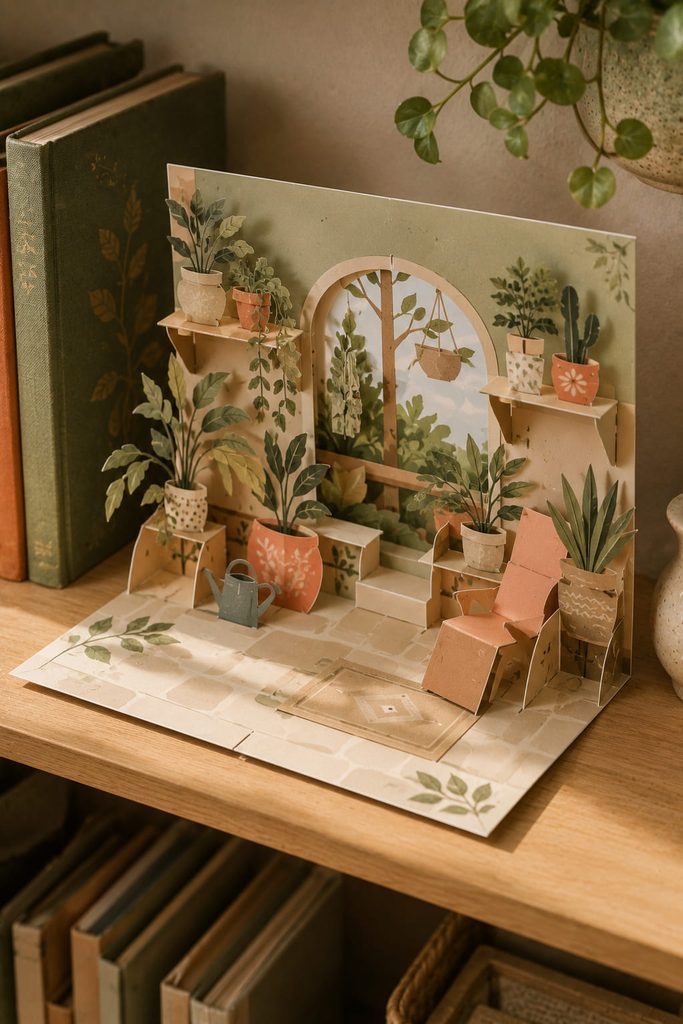
When shelf decor needs to store flat, a pop-up diorama solves the problem with scored joints rather than loose pieces. Build the scene from a base card with scored folds, then attach standing layers with tabs that pivot as the base opens. The key is joint geometry: each upright element needs room to rise without colliding with the layer in front of it.
- Score and fold the base first, then mark where each tab will sit.
- Dry-fit the largest upright layer and close the base to check for collisions.
- Add smaller foreground elements only after the main motion works.
- Open and close the diorama several times before adding delicate surface details.
Closed-state check: nothing should protrude past the folded edges or buckle when the base closes. If a layer catches, move its tab inward or reduce its height rather than forcing the fold.
19. Folded Paper Leaf Wall Vine
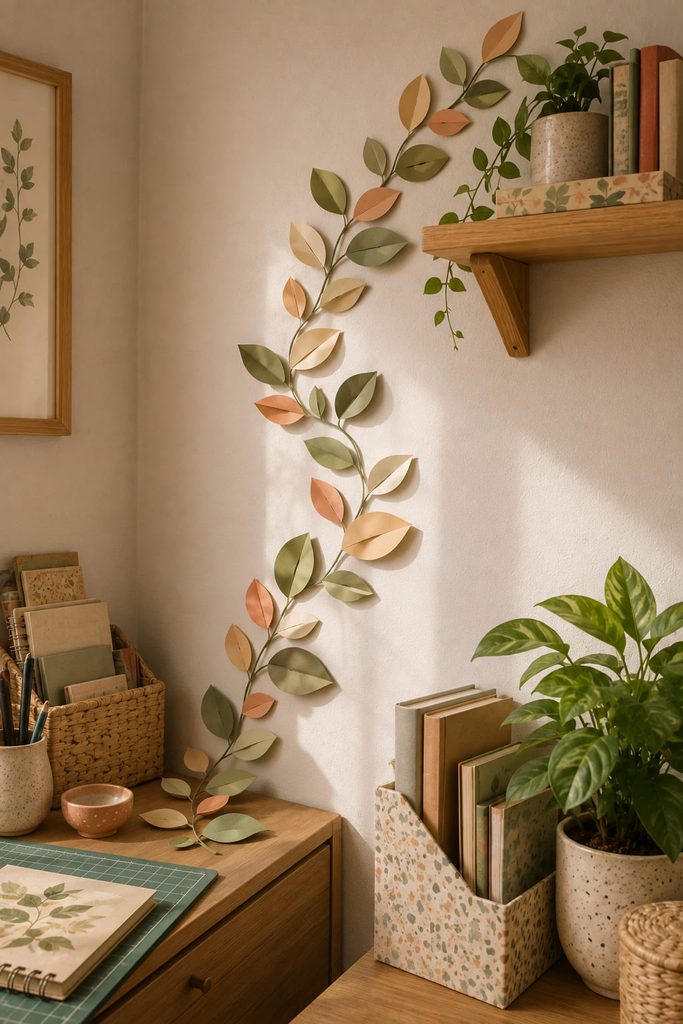
Instead of centering another large wall piece, let a narrow paper vine connect a desk, shelf, and wall corner. Fold leaves along a center crease, shape them lightly, and attach them at changing angles to a paper stem or individually along a planned path. The crease gives each leaf enough relief to catch light, while the staggered direction prevents the vine from reading as a flat border.
Plan the line with painter’s tape or paper markers before mounting the leaves. A gentle climb toward a shelf feels more natural than a perfectly straight diagonal, and leaving wider gaps near the end makes the vine appear to taper. Because the modules are small, damaged leaves can be replaced individually without rebuilding the whole installation.
Choosing Paper Room Decor by Display Zone
The best paper room decor idea is the one that matches how the space is used. For a wall you view from across the room, prioritize silhouette and contrast: fans, folded tiles, giant flowers, and a mirror frame hold up well at a distance. For a desk or shelf, close-detail projects such as quilling, paper beads, a pencil caddy, or a pop-up diorama reward closer viewing. Ceiling projects need lightweight construction, secure support, and generous clearance, while window decor has to account for both daylight and nighttime visibility.
If you rent or expect to rearrange the room, build larger projects on removable backers instead of attaching many small paper parts directly to the wall. That one decision makes a handmade space easier to edit as your colors, tools, or layout change.
Build the Room One Zone at a Time
Start with one surface that currently feels unfinished, then choose a project whose structure matches that location. A shelf can handle close detail; a blank wall benefits from stronger scale; a ceiling calls for lightweight movement; a window needs translucency and restraint. Once that first piece establishes the room’s visual language, smaller paper accents can echo its folds, shapes, or palette without repeating the same project.
If the floral direction is the part you want to develop further, continue with 19 Beautiful Paper Flower Wall Decor SVG Designs For Handmade Home Crafts.