This post contains affiliate links. As an Amazon Associate I earn from qualifying purchases, at no extra cost to you. Thank you for supporting Diynify!
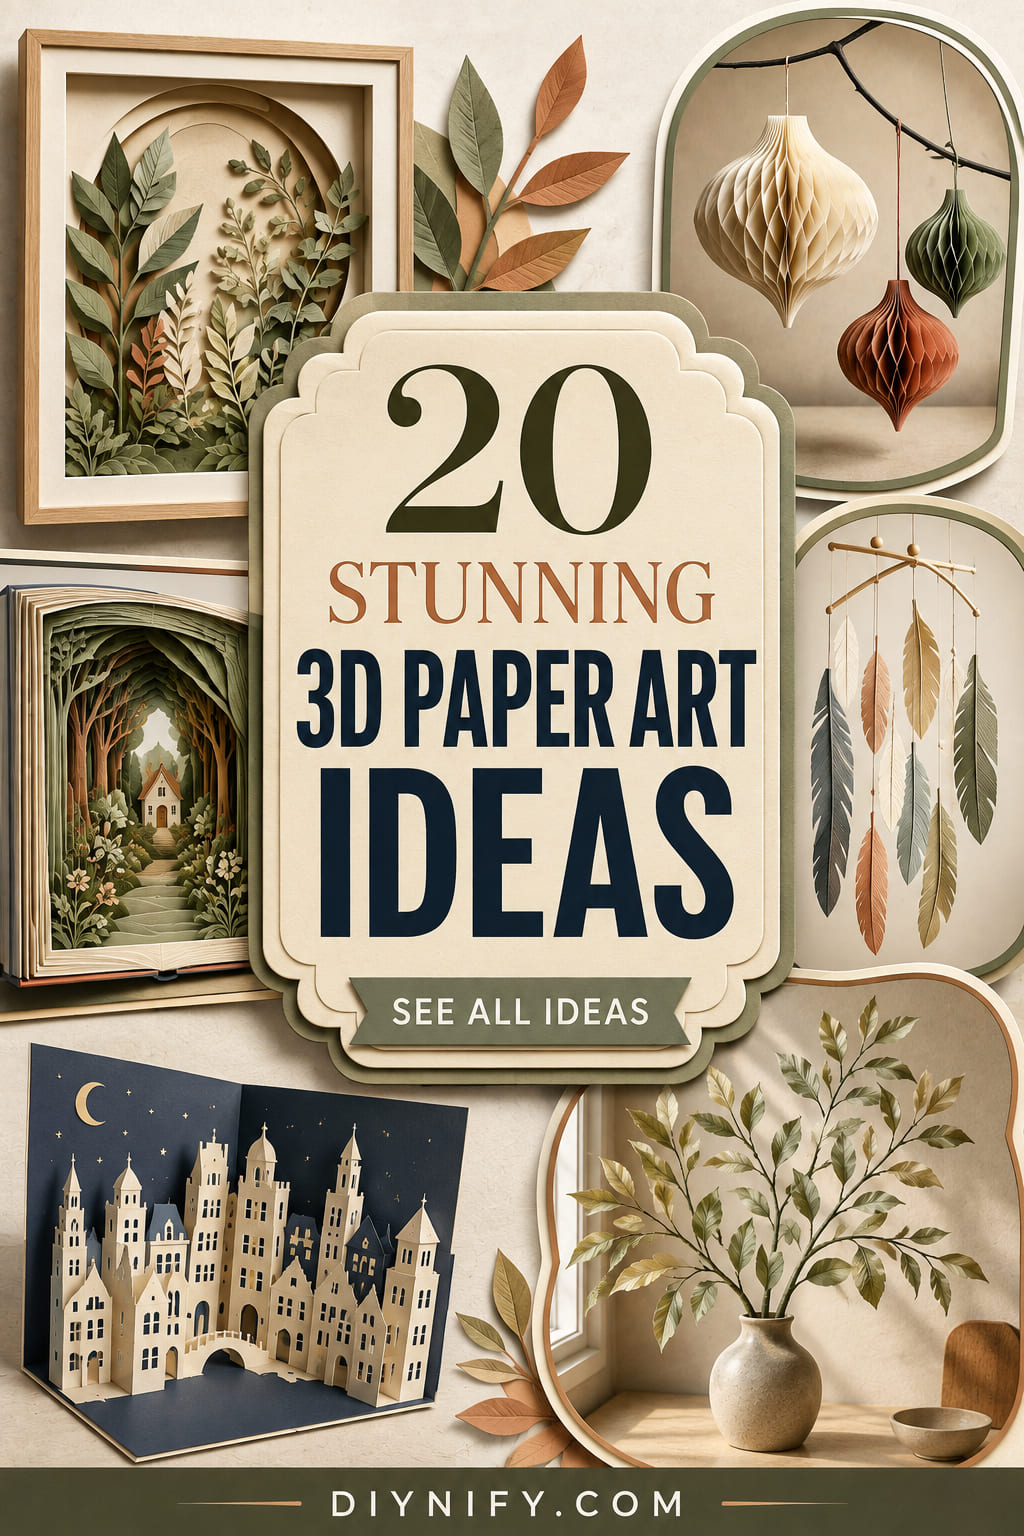
3D paper art turns flat sheets into decor with real shadow, texture, movement, and structure. These 20 ideas range from layered wall pieces and folded reliefs to hanging ornaments, paper sculpture, and light-based displays, so you can choose a project by the kind of dimension you want rather than by motif alone.
Most projects can be built with cardstock or decorative paper, scissors or a craft knife, a scoring tool, and paper-safe adhesive. A few ideas also use spacers, a frame, thread, vellum, a battery-powered LED light, floral wire, or paper-mâché paste. If you are choosing a first project, start with a wall relief, rosette, or slot-fit sculpture; the tunnel book, lantern, honeycomb ornament, and mobile ask for more precise spacing or structural control.

1. Layered Botanical Shadow Box Relief
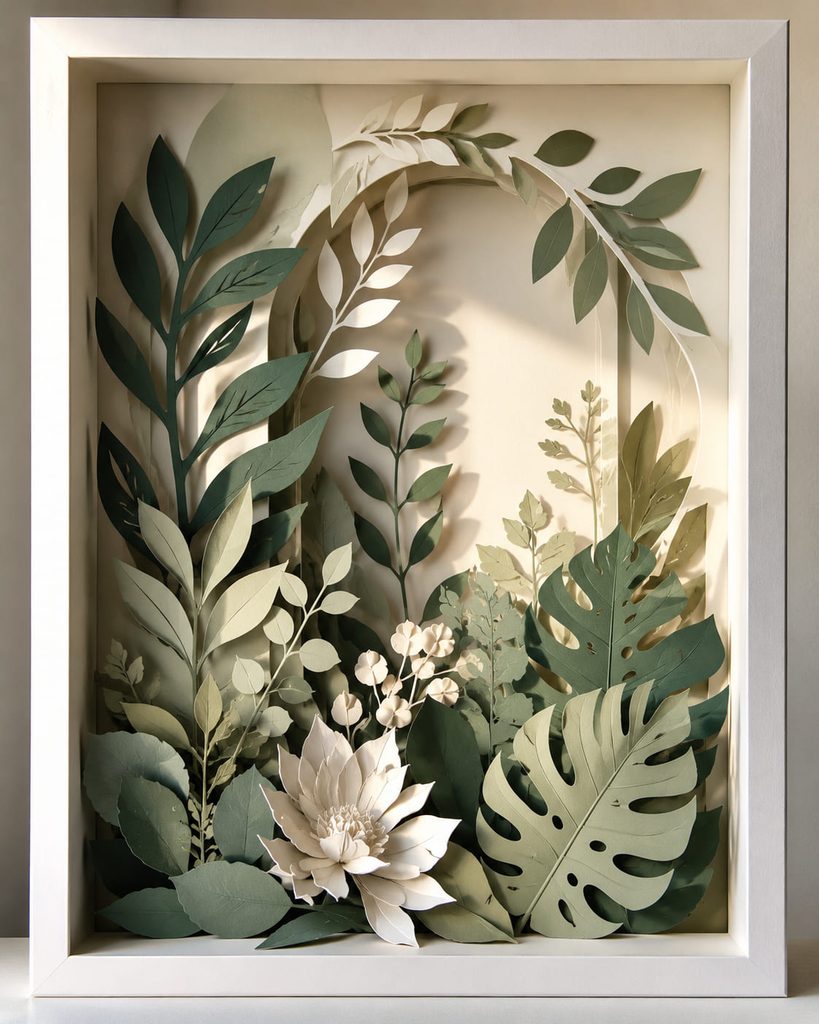
Depth comes from controlling the gaps between layers, not simply stacking more cutouts. Build a botanical scene as a sequence of leaf silhouettes, stems, and negative-space openings, then separate selected layers with thin paper spacers or dimensional adhesive. The front layer should frame the composition while the middle layers carry most of the overlap; if every contour is equally dense, the scene can turn into a dark block instead of a readable relief.
A useful dry-fit test is to stand the unglued stack upright and look at it from across the room. If the focal leaves merge, widen an opening or remove a competing shape before fixing the layers permanently. A shallow frame keeps the edges protected and makes the cast shadows part of the artwork.
Depth Check: Keep at least one uninterrupted background opening behind the main subject so the eye can read the foreground, middle ground, and back plane as separate zones.
2. Folded Geometric Wall Relief
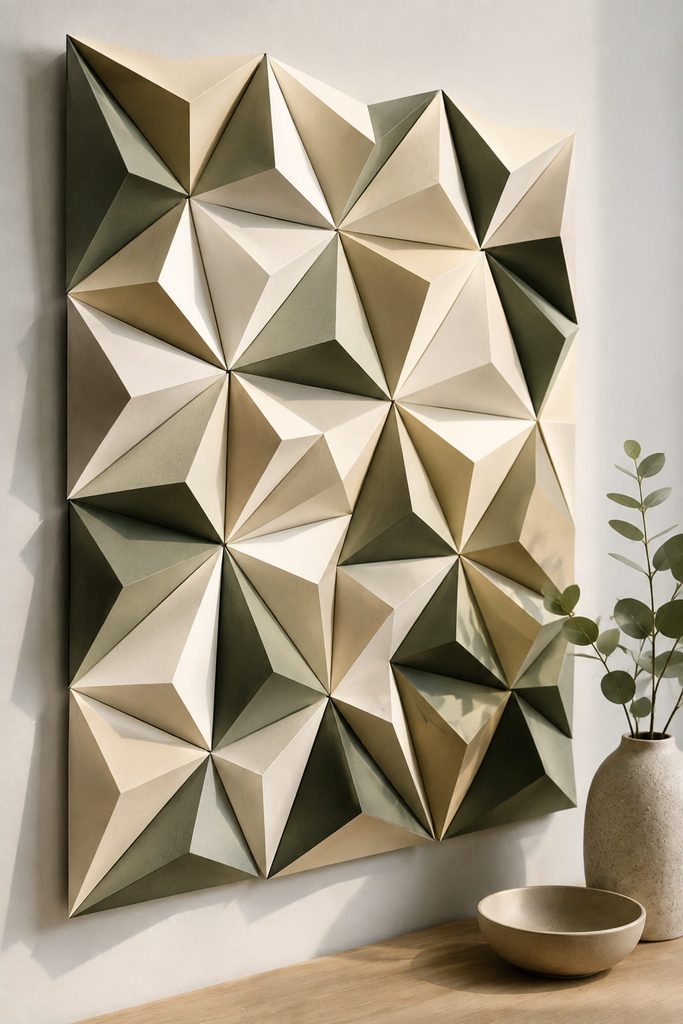
Instead of cutting dozens of decorative details, let scored folds create the pattern. Repeated diamonds, pyramids, or faceted polygons can be folded from medium-weight cardstock and mounted edge-to-edge on a firm backing, where changing ridge directions produces shifting highlights as the room light moves. Keep the modules shallow enough that their bases sit flat; a relief with overly tall peaks is harder to align and easier to crush. A limited group of related tones works especially well because the geometry, rather than printed decoration, supplies the visual complexity.

3. Quilled Paper Landscape Panel
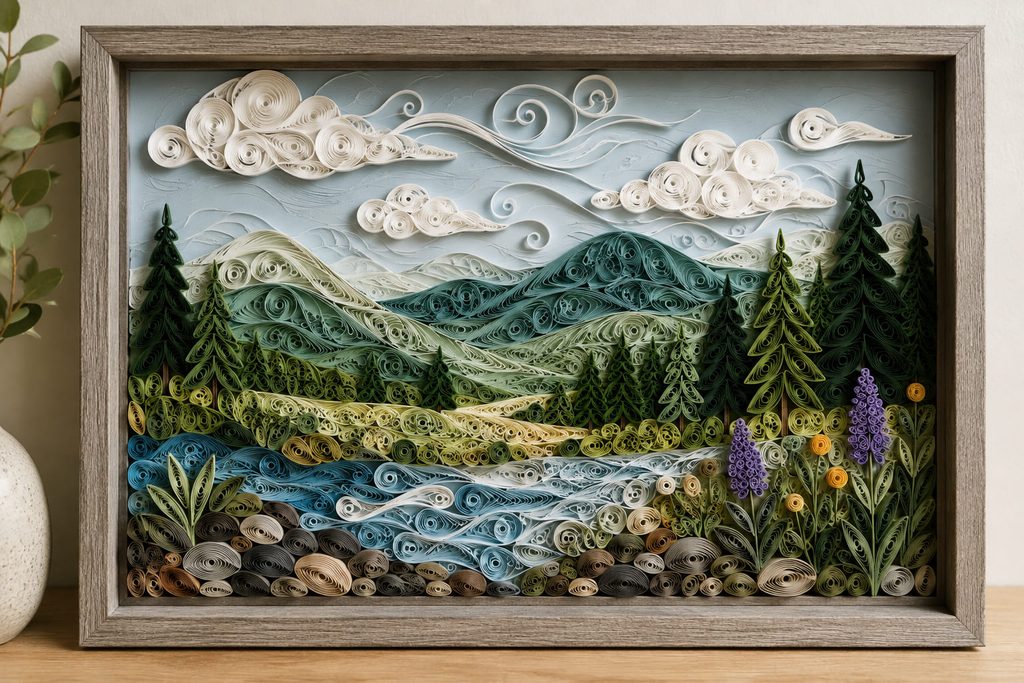
A quilled landscape uses coils, teardrops, scrolls, and loose curves as tiny structural marks rather than as surface embellishment. Dense coils can describe a tree line or rocky foreground, while open scrolls work better for clouds, water, or distant hills because the backing remains visible between the paper edges.
The practical decision is how much compression each region needs. Tight coils cast stronger, darker shadows; loose shapes feel lighter but can wander out of position while the glue sets. Sketch only the major horizon and focal areas first, then build outward so the quilling follows the scene instead of filling every empty space.
4. Honeycomb Paper Pendant Ornaments
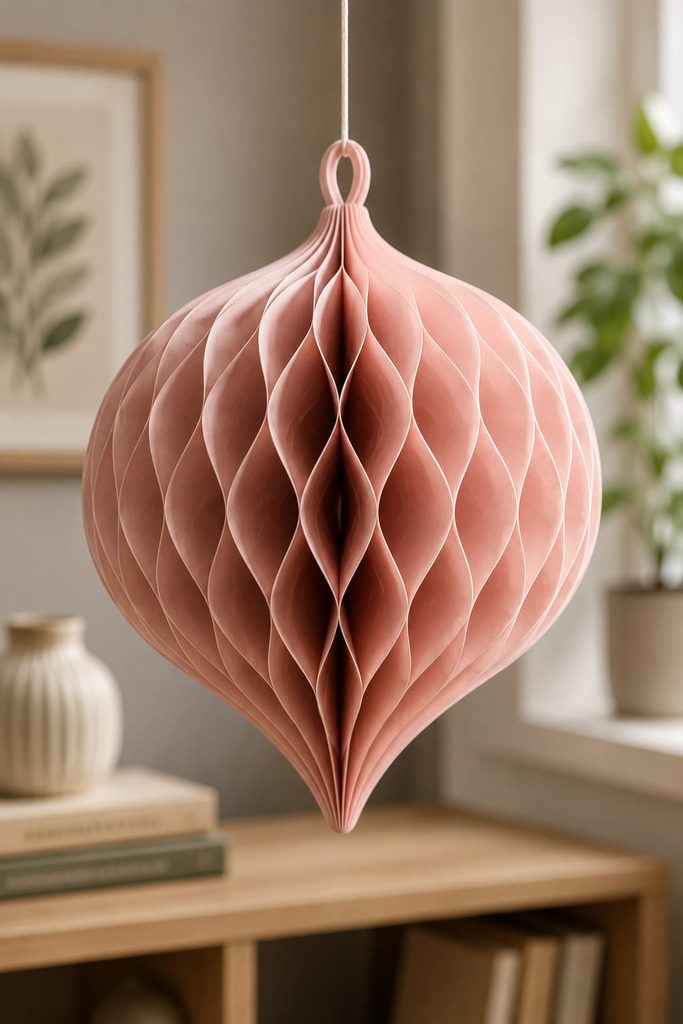
The surprise in honeycomb paper art happens when a flat stack opens into a full volume. Cut multiple identical half-shapes, fold them on the centerline, and glue the layers together with alternating adhesive zones; those staggered glue points force the sheets to separate into cells when the ornament is opened.

- Stack and align the folded pieces before gluing so the outside profile stays even.
- Alternate the glue lines from one layer to the next rather than bonding every surface in the same place.
- Add the hanging loop at the spine, then open the stack and join the first and last faces only after the cells expand evenly.
If the ornament pulls into a lopsided oval, a likely cause is a missed or shifted glue zone. Correct that layer before closing the outer faces, because the finished volume will magnify the error.
5. Woven Paper Wall Panel
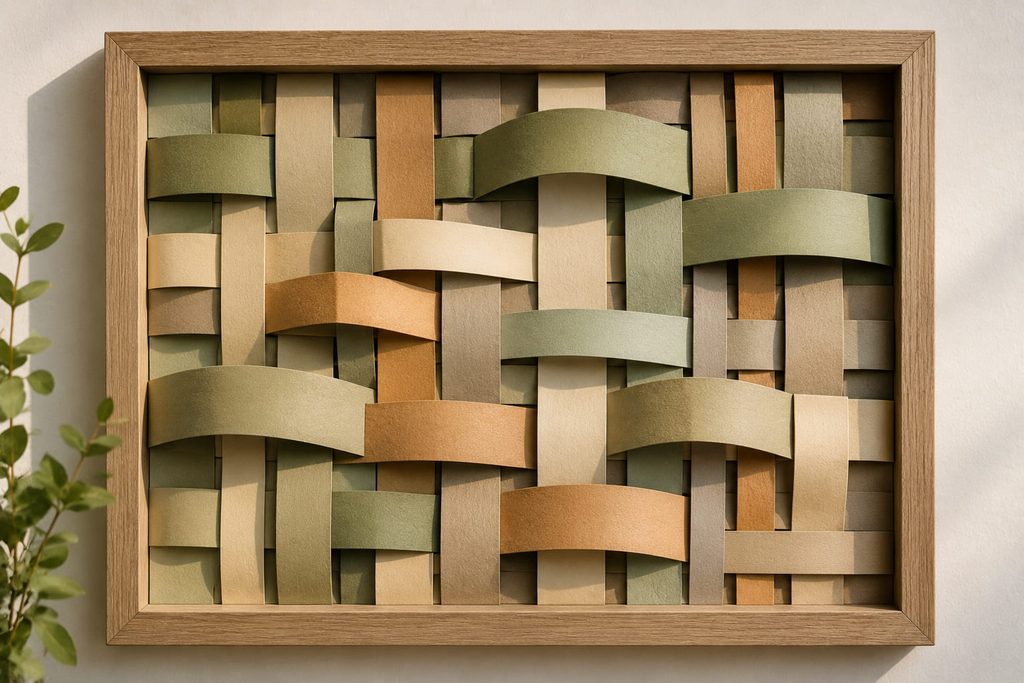
If flat strips are interlaced over and under one another, the weave itself creates both structure and shadow. A rigid paper or chipboard frame is useful because it holds the warp strips at a consistent spacing while the weft is threaded across them. Alternating wide and narrow strips creates a more sculptural surface than a perfectly uniform checkerboard, especially when selected bands are gently bowed forward.
There are two sensible routes. A tight weave produces a graphic, compact panel with small shadows and strong edge control; a looser weave exposes more backing and allows individual strips to arch, but it needs a sturdier perimeter so the surface does not sag. Choose the route according to whether you want textile-like density or visible depth.
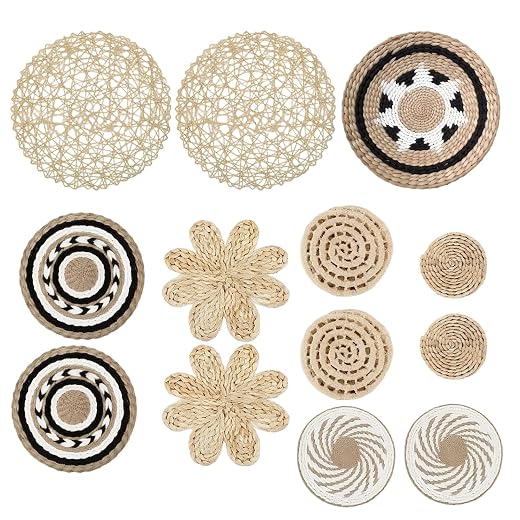
6. Layered Tunnel Book Shelf Scene
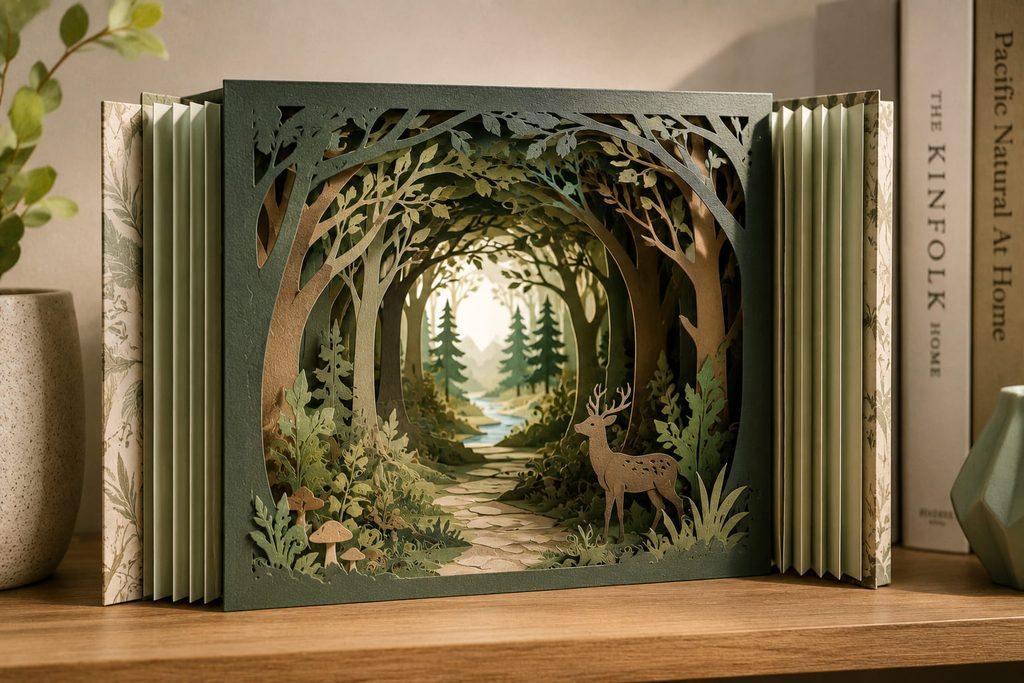
Think of a tunnel book as a miniature stage: several cut frames sit one behind another, while accordion-folded side rails control the distance between them. A window, forest path, archway, greenhouse, or skyline works well because the eye can look through repeated openings toward a clear back panel. The side folds are not decoration; they are the mechanism that keeps the layers parallel and lets the piece compress slightly for storage.
Build the scene from back to front. Fix the rear panel to both accordion rails first, add the deepest cut layer next, and continue toward the viewer while checking that no foreground opening blocks the focal point. When the last frame is attached, set the book upright and view it straight on and slightly from above.
Alignment Test: If one layer appears to lean, compare its attachment point on the left and right rails before adding more glue. A small difference in fold position can twist the whole tunnel.
Because the side structure remains visible, keep those rails visually quieter than the interior scene. Neutral rails help the cut layers read as the subject rather than as a stack of separate cards.
7. Low-Poly Cardstock Animal Bust
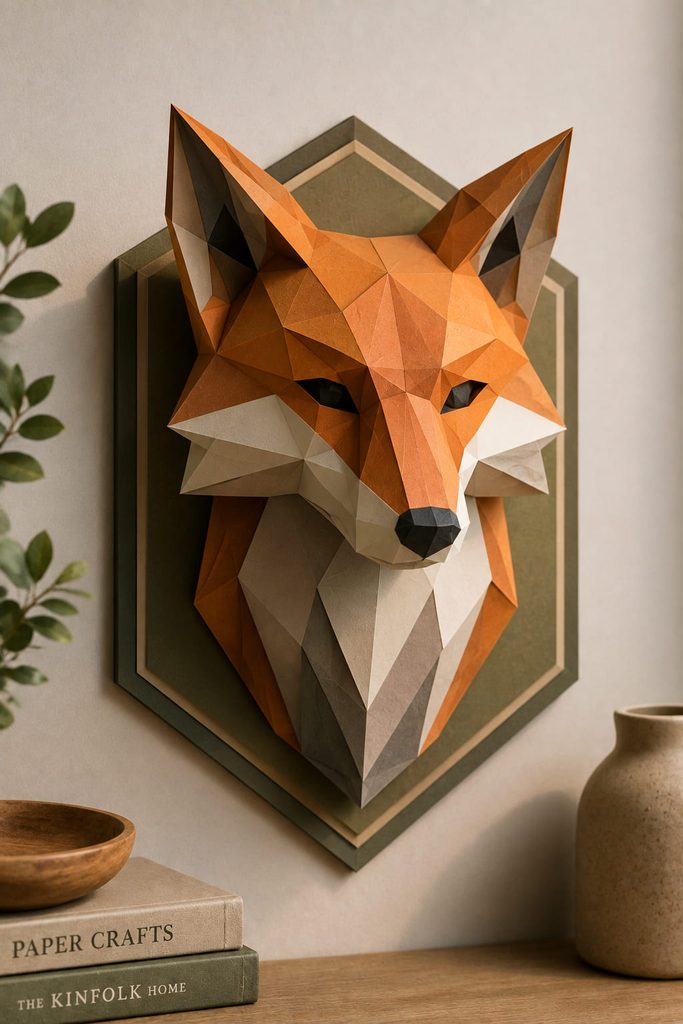
When a low-poly bust looks twisted rather than faceted, the problem is usually in the fold direction or tab sequence, not the decorative finish. The form depends on scored polygon panels meeting at deliberate angles, so mountain folds, valley folds, and glue tabs need to remain distinguishable during assembly.
- If the muzzle or snout caves inward, reopen the nearby seam and check whether a ridge was folded the wrong way.
- If the neck will not sit flush on the wall plaque, square the lower ring before closing the final side seam.
- If one ear or horn rotates, compare its tab order with the matching side rather than forcing it into position.
Mount the finished shell to a broad paper plaque or lightweight backing so the load is distributed across more than one narrow edge.

8. Rolled Paper Flower Wall Cluster

Start by shaping the petals before the layers are stacked; that is where oversized flowers get most of their depth. Curling the outer edges, cupping the inner petals, and rotating each ring slightly keeps the bloom from looking like concentric flat cutouts. Build every flower on its own circular base so the petals have a stable attachment point, then compose the wall cluster from complete flowers rather than gluing loose petals directly to the wall.

For a balanced arrangement, let one or two large blooms establish the focal area and use smaller flowers or leaves to bridge the gaps. The cluster will look more natural when the shapes overlap unevenly and the negative space remains visible around the outer edge.
9. Accordion-Fold Paper LED Lantern
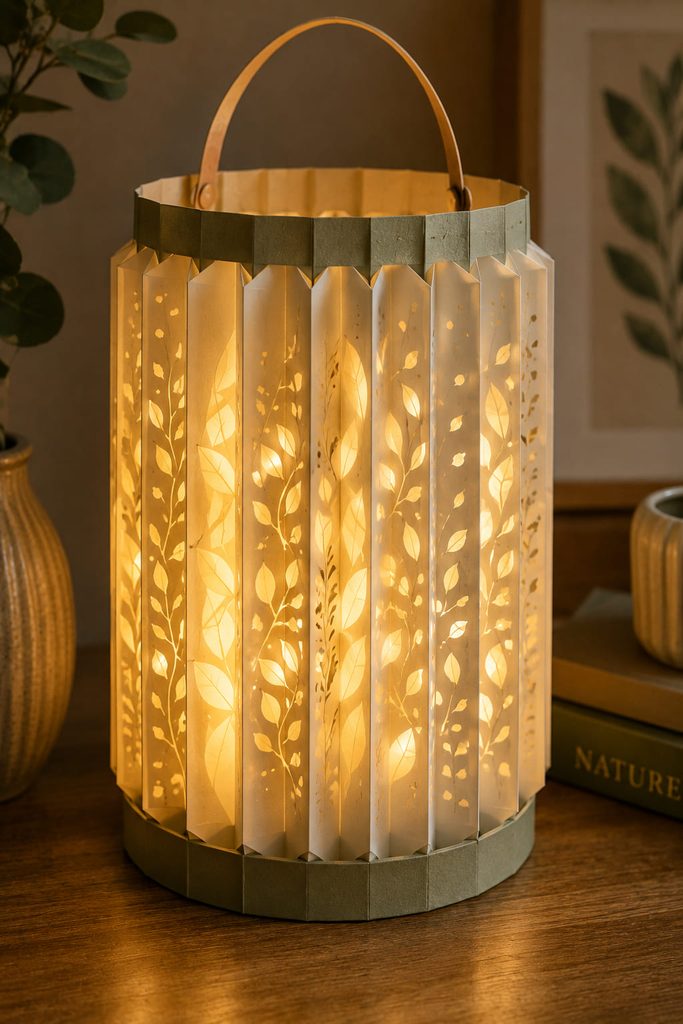
What makes a paper lantern convincing is not the cut pattern alone but the way light travels through it. An accordion-fold lantern needs a stable top and bottom ring, a continuous inner space for the light, and enough translucent or pierced area for illumination to escape. Vellum can soften the glow behind cut cardstock, while the pleats create vertical ridges that keep the shade from collapsing inward.
Before closing the cylinder, check three things:

- the pleats expand evenly without twisting;
- the base is wide and flat enough to stand securely;
- the battery-powered LED can be inserted and removed without crushing the shade.
Use a cool, flame-free LED rather than a candle or other open flame. Light-Path Check: If the lantern looks bright only from one side, open the interior and check whether a seam, backing strip, or overly dense decoration is blocking the light path.
10. Origami Tessellation Art Panel
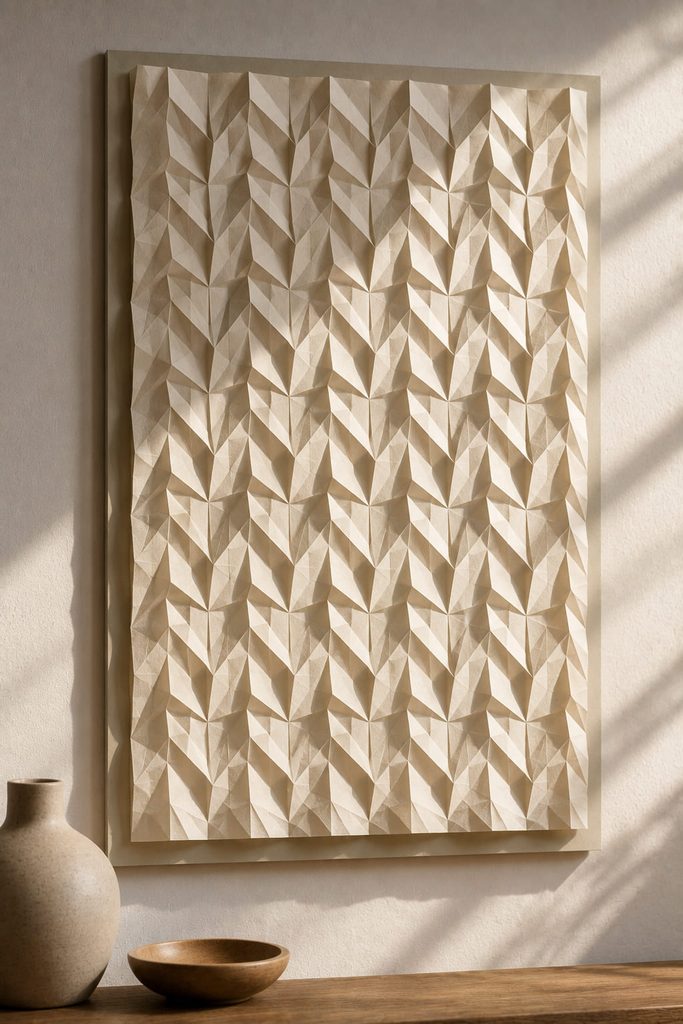
One sheet can create an intricate relief without separate layers when a repeated mountain-and-valley pattern is pre-creased and collapsed into a tessellation. The strongest display comes from disciplined repetition: the folds need to meet cleanly enough that the pattern catches light as a continuous field rather than as unrelated wrinkles. Mount the finished sheet with breathing room around the edges so the folded surface remains free instead of being flattened against glass.
11. Balanced Paper Feather Mobile
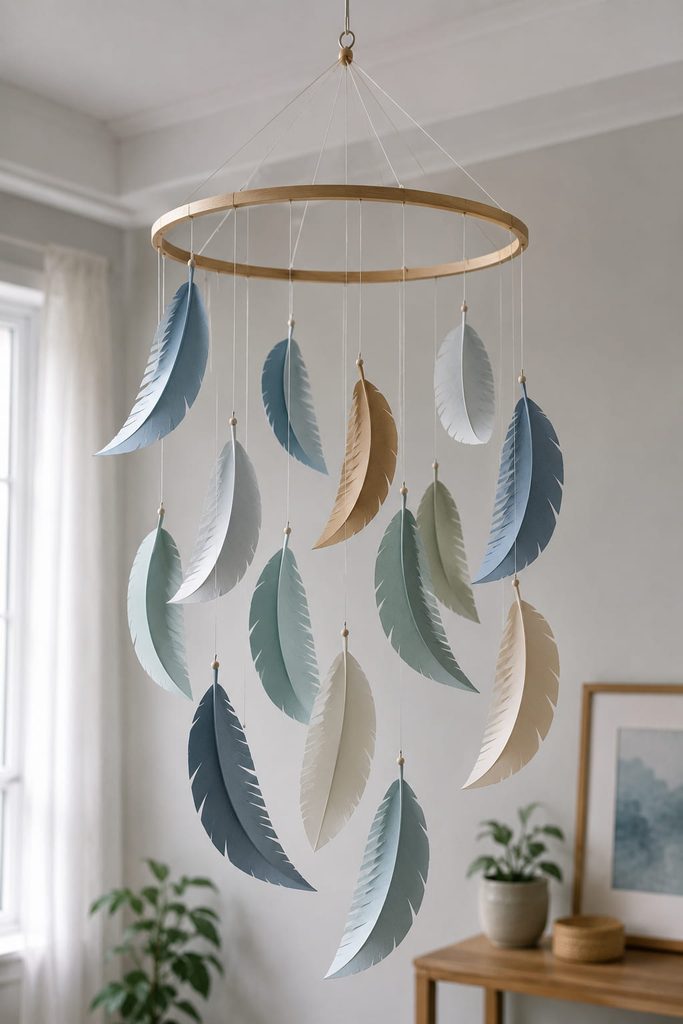
Before adding a single feather, hang the empty support and make sure it can settle level. Each feather can be cut from cardstock, scored along a center shaft, and gently curved so it has a readable profile, but the mobile will only hang well if the attachment points distribute weight around the support ring or crossbar.
- Assemble the support and hang it empty before adding feathers.
- Attach the largest or heaviest paper elements first, then move their knots until the support returns to level.
- Add lighter feathers progressively, leaving enough vertical clearance that adjacent pieces can turn without catching.
Where the Suspension Goes: Tie thread through reinforced holes or around a secure paper loop rather than through a fragile feather tip. A mobile that balances statically can still tangle if the elements are too close together, so test it with a gentle movement of air.
12. Layered Topographic Paper Map
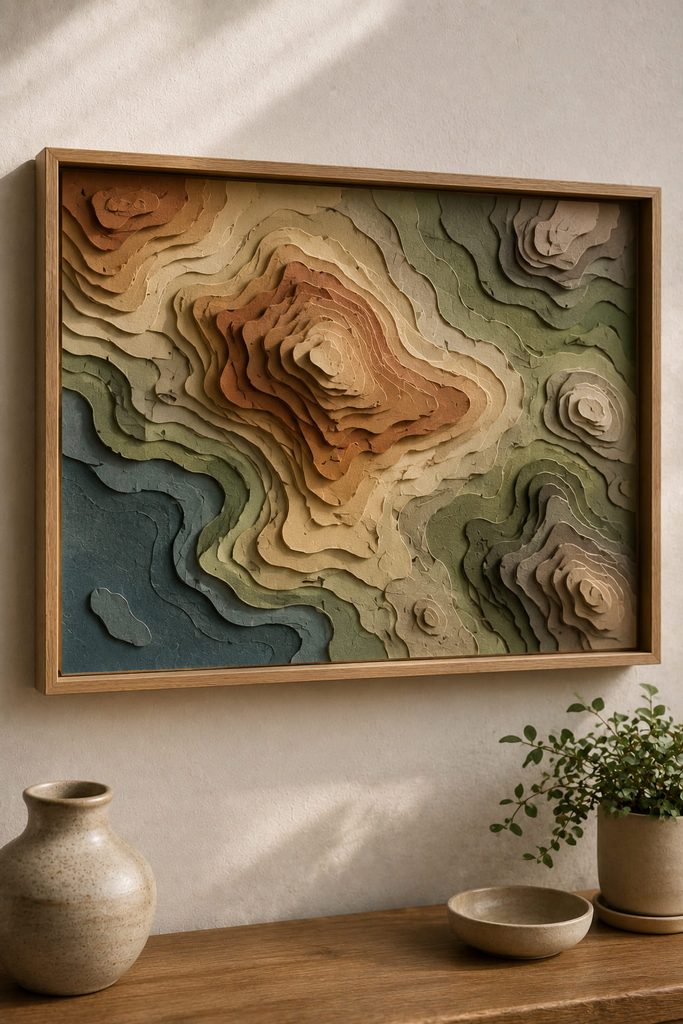
Think in elevation bands: each contour sheet should represent a different level rather than another decorative color. Cut the largest landform first, stack progressively smaller contours above it, and align them to a few fixed reference points. A contrasting base can stand in for water or low ground, while the stepped cardstock edges become the main visual texture.
The project reads best when the contour interval feels consistent across the composition. Randomly thick stacks can suggest cliffs where none are intended, so decide whether you want a subtle low relief or a more exaggerated sculptural map and keep the spacing logic coherent from one side to the other.
13. Pleated Paper Rosette Medallions
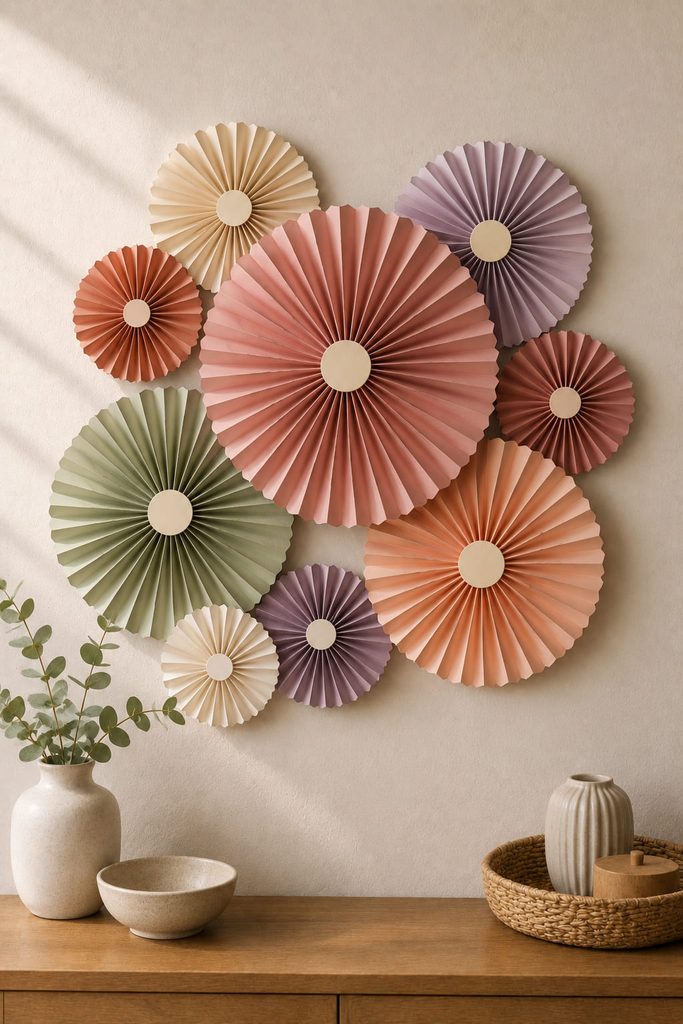
For a fast wall installation with strong dimension, accordion-fold long paper strips, join the ends into a loop, and press the center inward until the pleats radiate like a fan. A front and back center disk lock the rosette flat and prevent the middle from springing open. Mix diameters rather than repeating one size across the wall; overlapping a few medallions creates depth without asking every piece to become more complicated.
14. Rolled Paper Cone Wreath

Once the cones are rolled, their hollow tapered shapes can build a dramatic radial structure. Make the cones first, sort them by size, and attach them around a rigid paperboard ring with their tips aimed toward the center opening.
- Place four cones at roughly quarter points to establish the wreath’s overall spacing.
- Fill the large gaps with the remaining cones before adding a second ring or smaller accents.
- Turn the wreath upright before the adhesive fully sets and check whether any cone projects far enough to pull the ring off balance.
A deeper second tier looks fuller, but it also increases weight and hides more of the center opening. For a lighter wall piece, one clean layer often reads better than a dense nest of cones.
15. Freestanding Spiral Paper Sculpture

A spiral sculpture works through controlled tension: long paper spirals or curved strips are anchored at a base and allowed to arc upward, cross, or twist without being forced into rigid symmetry. Heavier cardstock gives broad curves more authority, while lighter paper produces tighter movement but needs shorter unsupported spans.
Treat the base as part of the design. A low, wide folded plinth or layered disk prevents the sculpture from tipping and gives each strip a clear anchor point. Arrange the tallest curve first, rotate the piece, then add shorter arcs only where they improve the silhouette from more than one viewing angle.
16. Kirigami Pop-Up Cityscape
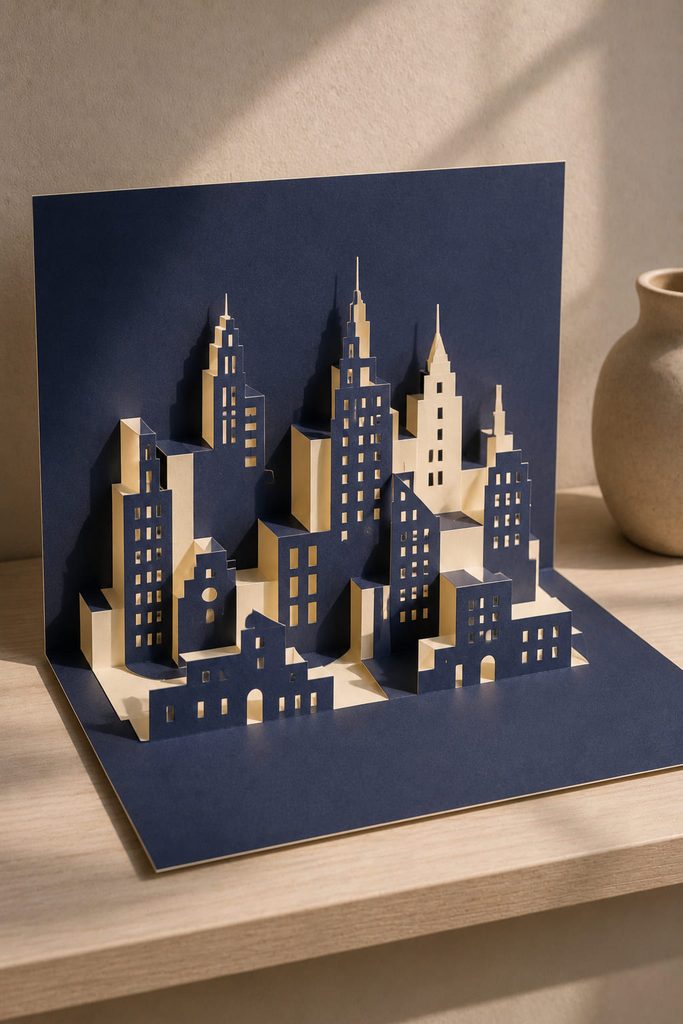
Kirigami works when cuts and folds share the same geometry. A skyline can rise from a single folded sheet through paired vertical cuts and horizontal crease lines, creating steps that push buildings forward as the card or display opens. The tabs behind those buildings need enough clearance to move without colliding with neighboring forms.
If the cityscape refuses to close flat, diagnose the interference before trimming anything:
- a building that buckles usually has a fold running in the wrong direction;
- a tab that catches may be too wide for the gap behind it;
- a tower that leans can come from unequal cut lengths on its two sides.
Open and close the piece several times before mounting it in a frame or standing cover. The successful mechanism should return to the same position without forcing the paper.
17. Slot-Fit Paper Tree Sculpture

Slot two flat tree profiles together at right angles and a simple silhouette becomes a freestanding sculpture with almost no hidden support. Cut one slot from the top of the first profile and one from the bottom of the second, each ending near the center. The slot width should match the paper thickness closely enough to grip without bowing the pieces. Branch cutouts can add complexity, but keep enough solid material around the central spine so the sculpture does not weaken where the two planes intersect.
18. Folded Paper House Village
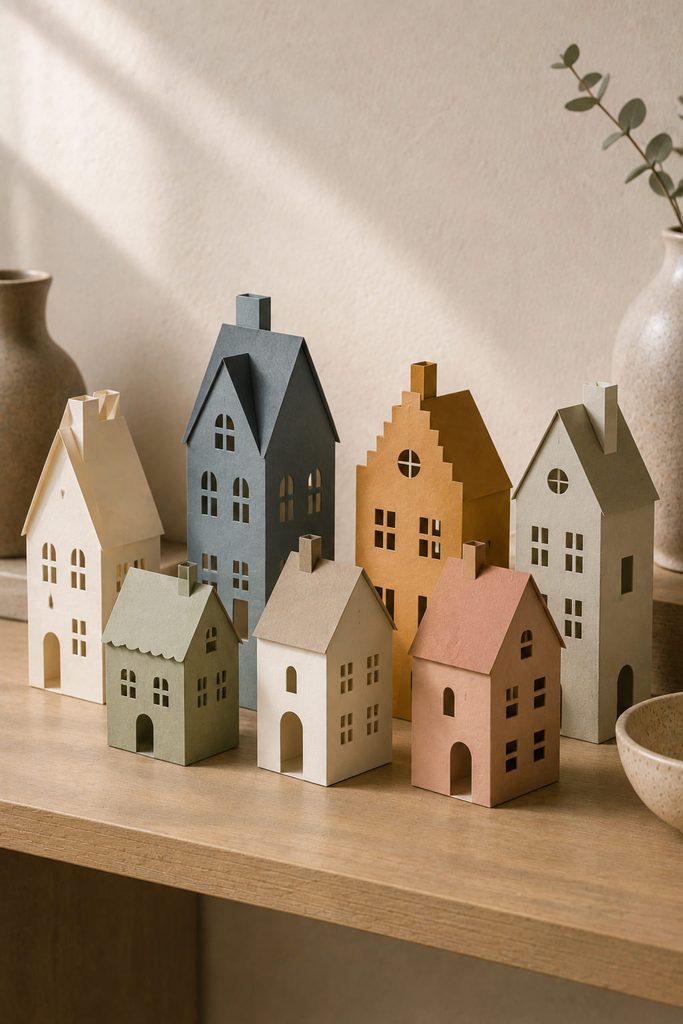
For a shelf village, the main choice is between permanently glued houses and fold-flat structures that can be stored after the season. Glued tab-and-panel houses are easier to make rigid and can support deeper roof details; fold-flat versions need carefully placed tabs or slots so the walls can collapse without trapping the roof.
Whichever route you choose, build one prototype before batch-making the village. Check that the base sits square, the roof meets both side walls, and door or window cutouts do not leave narrow corners that buckle. Repeating the same construction in several heights makes the group cohesive without turning every house into the same silhouette.
19. Paper-Mâché Relief Bowl

Unlike folded cardstock, paper mâché builds dimension as a thin laminated shell over a temporary form. Layer torn paper with paste over an inverted bowl protected by a release layer, let the shell dry thoroughly, then remove it and refine the rim. Additional paper ridges, twisted cords, or raised motifs can be added to the outside before the final surface treatment.
Because the strength comes from the dried laminate, rushing the drying stage can leave soft areas that distort when the mold is removed. Treat the finished bowl as decorative paper art rather than food-safe serveware, and keep heavy objects out of it unless a separate structural insert is added.
20. Crepe-Paper Leaf Branch Sculpture

To bring 3D paper art into a vase, wrap crepe paper around a flexible armature instead of relying on folded boxes or framed layers. Wrap narrow strips of crepe paper around floral wire to form flexible stems, then attach paired leaves whose grain runs from the center vein toward the edge. That grain direction matters: it lets each leaf stretch slightly across its width so you can cup or twist it into a more natural profile.
Use the wire only as the internal armature and keep it fully covered where the branch is visible. Bend the finished stems after the leaves are attached, arranging open spaces between clusters so the silhouette stays airy instead of reading as a solid mass.
Choosing Paper for 3D Paper Art
Match the paper to the mechanism rather than buying one weight for every project. Medium-weight cardstock suits faceted forms, rosettes, layered maps, and wall reliefs because it scores cleanly while still holding an edge. Lighter paper is useful for honeycomb cells, quilling, and tight curves, while vellum or thin translucent paper makes sense where light transmission is part of the design.
Flexibility is just as important as thickness. Crepe paper stretches for botanical shaping; smooth cardstock makes crisp tabs and slots; textured sheets can enrich a simple relief but may fight very small folds. Before committing to a large project, test the hardest operation—one deep score, one narrow slot, one tight coil, or one delicate cut—on the actual paper you plan to use.
Choose Dimension by the Way You Want to Display It
The easiest first project is the one whose structure matches its final location. For wall decor, start with a folded relief, rosette grouping, woven panel, or layered shadow box. For a shelf, a tunnel book, slot-fit tree, village, or spiral sculpture gives you depth that can be viewed from more than one angle. Hanging spaces are better suited to honeycomb ornaments or a balanced mobile, while an LED lantern makes the light itself part of the construction.