

This post contains affiliate links. As an Amazon Associate I earn from qualifying purchases, at no extra cost to you. Thank you for supporting Diynify!
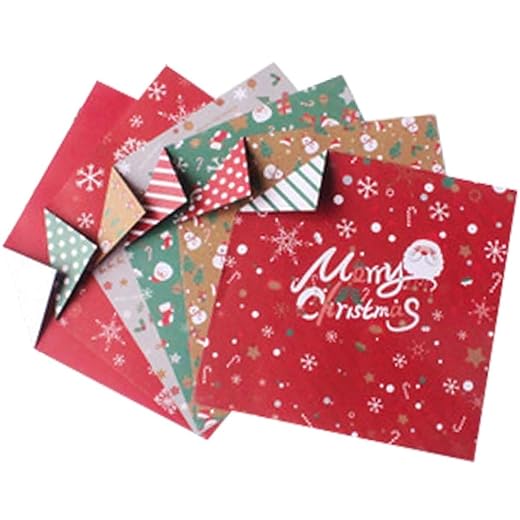
Christmas origami ideas can do more than fill a bowl with folded paper. The right model can become a tree ornament, a place-setting detail, a gift topper, a small container, or a piece of holiday decor that stores flat until you need it. This collection mixes quick single-sheet folds with modular projects that reward more careful alignment, so you can choose by both skill level and finished use.
Most projects need only origami paper or lightweight decorative paper and a firm surface for creasing. A few functional ideas use heavier paper, multiple sheets, thread or ribbon for hanging, or a small amount of removable adhesive when the finished piece needs to stay on a gift or window. For a first fold, try the tree, Santa, poinsettia, or candy cane. If you want a project with more structure, save the lidded box, wreath, star bowl, faceted bauble, or modular snowflake for a longer crafting session.
1. Standing Christmas Origami Tree
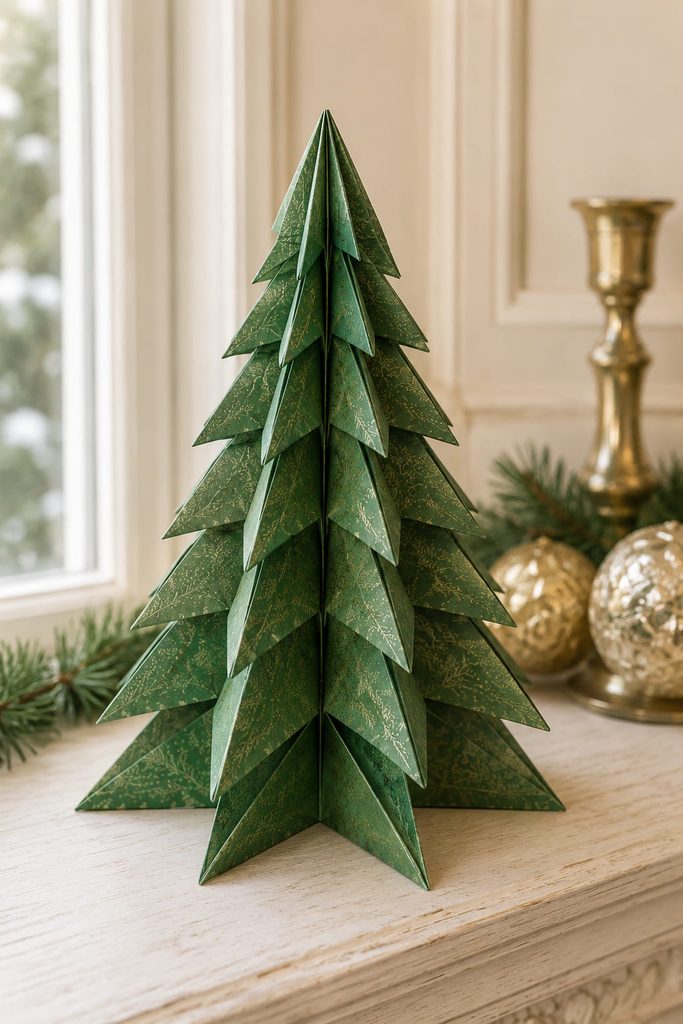
Start with the footprint, not the decorations. A standing origami Christmas tree works best when the lower folds open far enough to create a real base instead of leaving the model balanced on a narrow crease. Crisp center folds keep the triangular layers aligned, while a slightly opened bottom section gives the tree enough contact with the table to resist tipping.

Small trees suit place settings and gift displays; larger ones need stiffer paper because tall, soft sheets can sag along the layered edges. Patterned paper can provide all the ornament-like detail you need, but keep the lower branches visually quieter so the silhouette still reads clearly from across the room.
2. Modular Five-Point Star Ornament
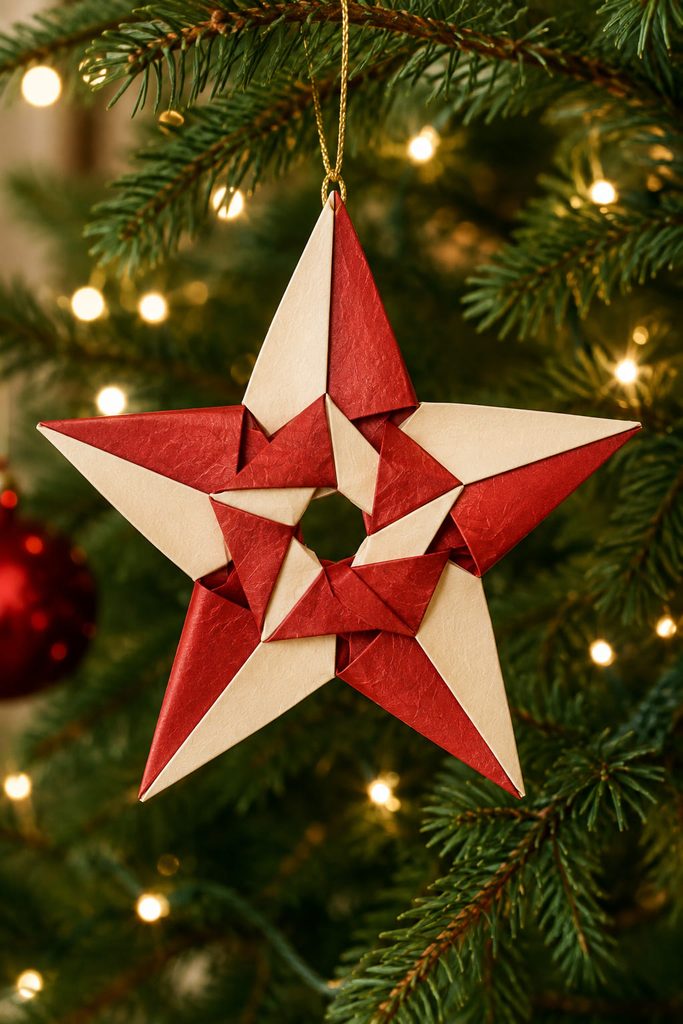
For crisp points that still feel light on the tree, build the star from repeated modules rather than relying on a quick one-sheet form. Separate folded units let you alternate papers around the center, and the interlocked joins distribute tension so the finished ornament can stay open without a bulky backing.
- Fold every unit to the same size and crease direction before you begin assembly.
- Slide or tuck each unit into the next with the same overlap; one shallow insertion can twist the final point out of line.
- Close the final joint before adding a hanger, then lift the star gently by its top point to confirm the center is holding.
Attach thread through a reinforced fold or trapped loop rather than punching through a thin tip. That keeps the star hanging from a structural area instead of loading the most delicate point.
3. Flat Origami Santa Gift Topper

Flat folds are especially useful on wrapped gifts, which is where an origami Santa earns its place in a holiday set. Choose paper with a red front and a light reverse so color-reversal folds can suggest the hat, face, and beard without extra layers. Keep the finished Santa low-profile and attach it near a ribbon crossing or gift tag; a dimensional model may look charming on a table, but it is more likely to crush when presents are stacked.
4. Origami Angel Place Setting
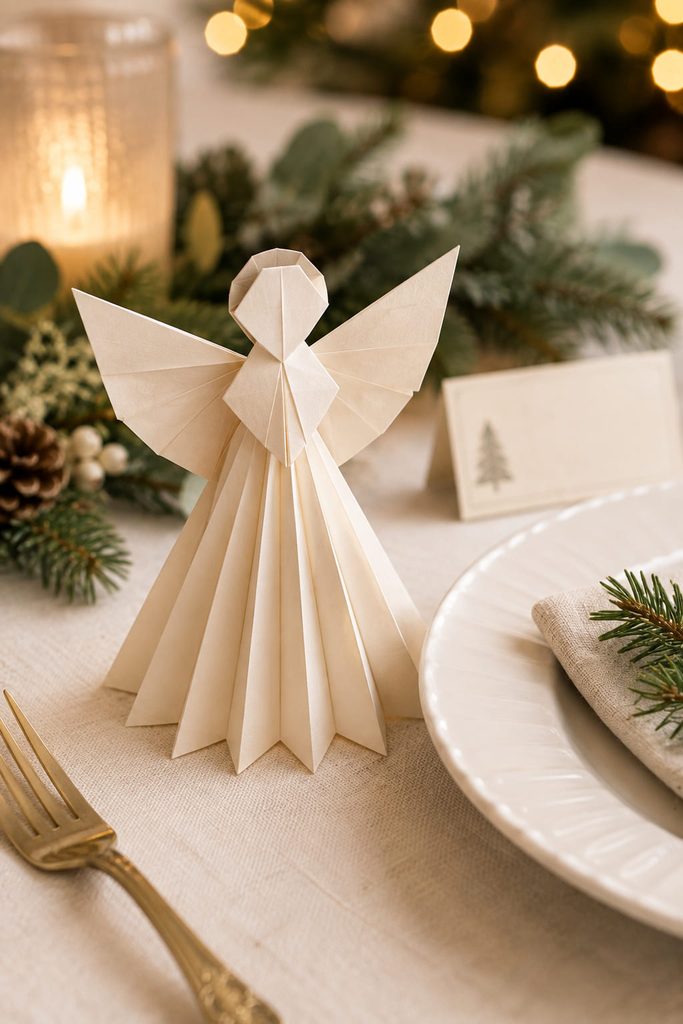
Decide where the angel will live before choosing how far to open its lower folds. For a place setting, open the skirt or lower folds enough to form a small standing footprint and keep the wings lifted slightly away from the body. That version reads as a miniature figure beside a plate and can sit in front of a simple name strip.
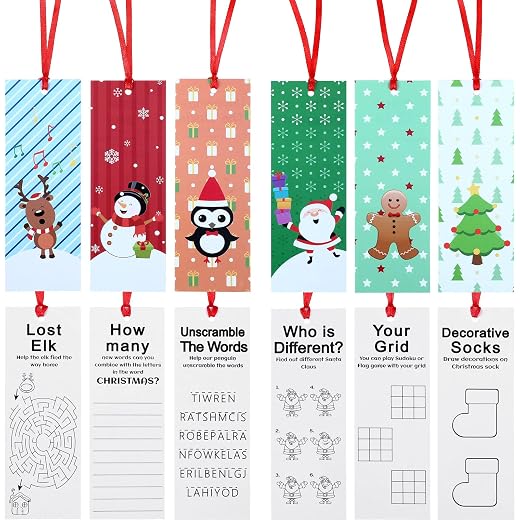
For a card or gift, flatten the same visual language: narrower wings, a compressed skirt, and fewer projecting folds. The trade-off is clear—more opening creates better table presence but more bulk, while the flatter route travels and stores more easily. For a standing angel, set it down before adding any top-heavy embellishment; if the body rocks, widen the lower fold instead of weighting the head.
5. Reindeer Corner Bookmark
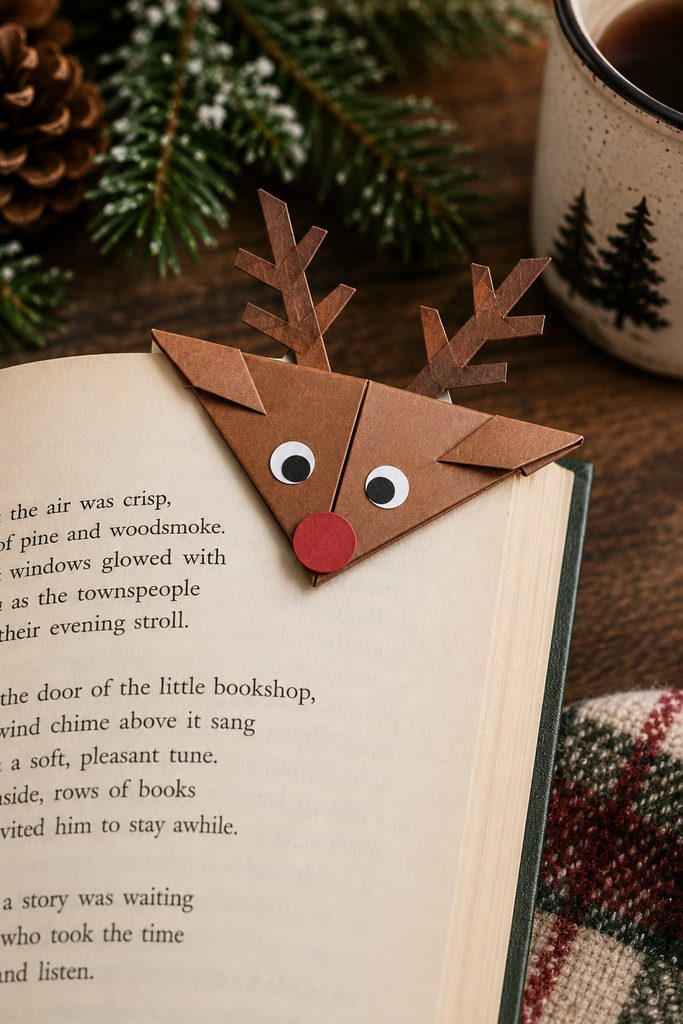
Keep the page-entry pocket clear, and the reindeer motif can stay decorative without ruining the bookmark. Build the basic triangular corner pocket first, then treat the face and antlers as decoration around that working geometry.
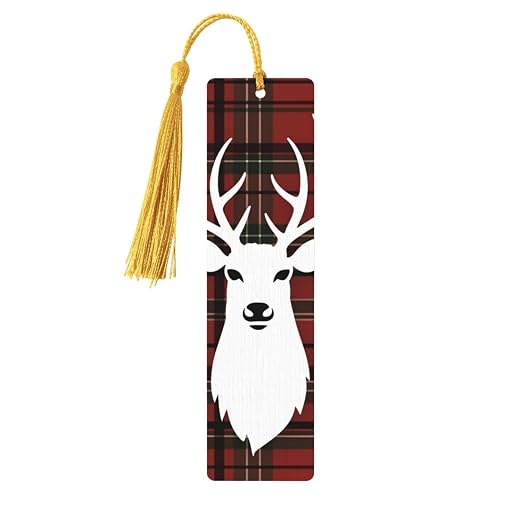
- The page opening should remain fully clear.
- Eyes and nose should sit on the outer face, not inside the pocket.
- Antlers should stay short enough that they do not snag when the book closes.
- Any added paper pieces should be light; thick cardstock can make the corner bulky.
Test the bookmark on several pages before decorating it heavily. It should slide on without forcing the paper and stay in place when the book is lifted.
6. Lidded Origami Gift Box
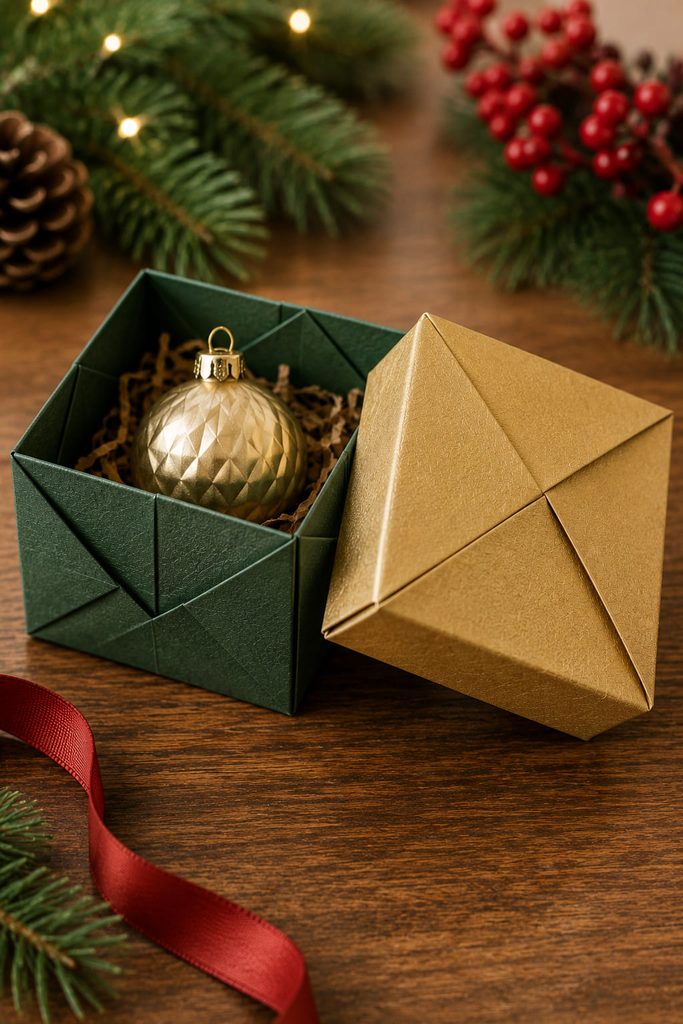
Fit is the real challenge in a lidded origami gift box because the geometry has to do real work: form a base, hold the contents, and let the lid come off again without tearing the walls. A paired masu-style construction is a dependable starting point because both halves use the same basic wall-and-corner logic.
The critical detail is clearance. If the lid and base are folded from identical sheets with identical finished dimensions, the lid may bind. Use a slightly larger sheet for the lid, or adjust the lid folds so its internal width is just greater than the outside width of the base. Make both halves before adding bulky decoration.
Lid Clearance Check: Set the empty lid on the empty base and press only lightly. It should seat without bowing the side walls and lift off with two fingers. If it jams, do not force it—open the lid, ease the wall folds outward by a small amount, and retest.
For tiny ornaments, candies, or jewelry, moderately crisp paper is easier to handle than very soft gift wrap. Avoid overfilling above the wall height; a lid that rests on the contents instead of the box rim will pop loose or deform the corners.
7. Origami Stocking Treat Pocket
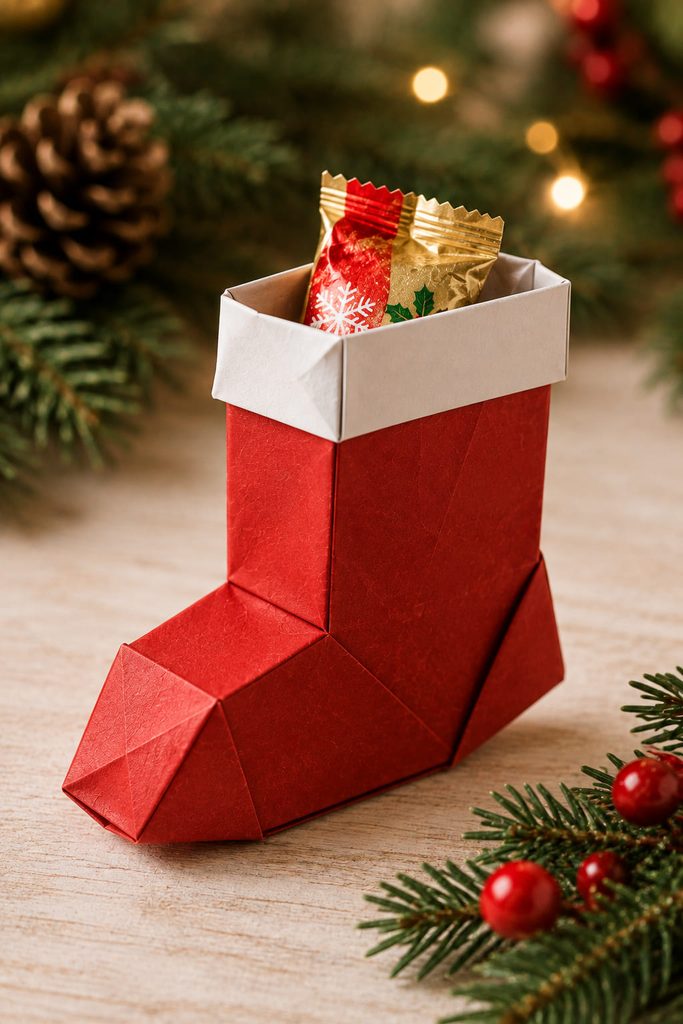
Pocket depth should be settled before the toe and heel of a folded stocking are shaped. Keep the top opening wide enough for the intended treat, then form the recognizable stocking silhouette around that space instead of pinching every layer tightly closed.
This is better for a flat chocolate, note, or lightweight token than for a bulky candy bundle. Slide the item in and hold the stocking upright: the contents should sit below the opening and should not push the heel outward. If capacity matters more than the silhouette, choose a roomier envelope or box from this list rather than forcing the stocking to behave like a deep container.

8. Origami Bell Garland
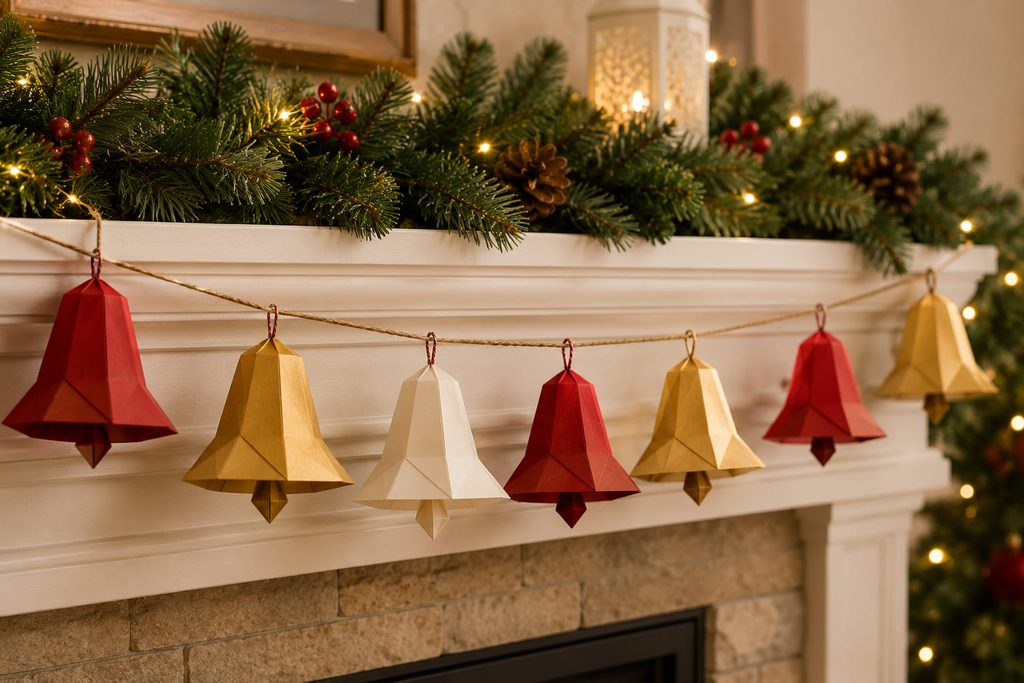
Batch-folding pays off on a bell garland because consistency matters more than finishing one unit at a time. Consistent units are especially important because uneven top folds change the way each bell hangs.
- Cut or prepare all paper squares first, then fold the same crease on every sheet before moving to the next crease.
- Finish the bell shapes and identify the strongest folded area near each top.
- Add loops or thread at that reinforced point, keeping the load away from a thin flap.
- Lay the bells on a table before tying the final spacing so larger color blocks do not bunch at one end.
Leave enough cord between units for each bell silhouette to read separately. On a mantel, closer spacing feels full; across a doorway, more negative space prevents the garland from looking like one long strip of paper.
9. Standing Origami Snowman
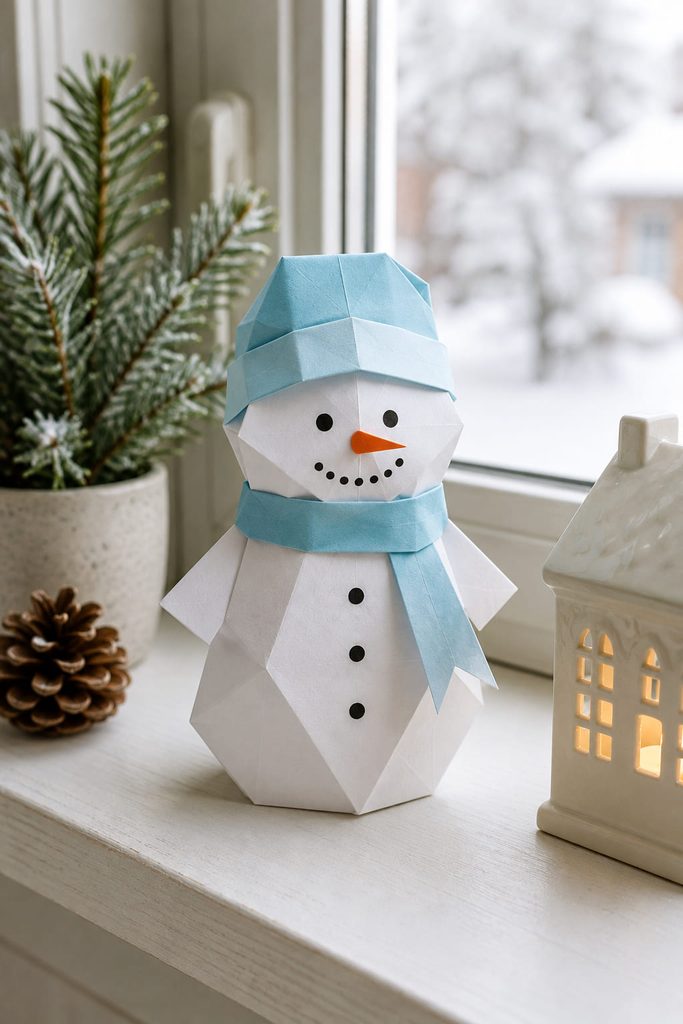
When a folded snowman tips, a stacked silhouette is usually magnifying a small balance error. The lower body needs to be broader and more open than the upper section so the center of mass stays over the footprint rather than drifting toward the face.
If the snowman tips forward: open the lower base slightly and reduce any heavy front flap.
If the head leans: re-crease the neck connection so the upper fold sits on the centerline.
If the body collapses inward: the paper may be too soft for the scale; refold at a smaller size or use a crisper sheet.
If the figure rocks side to side: check that both bottom contact points are at the same height.

A two-part construction can be easier to tune than one very complex sheet because the head and body can be balanced separately. Keep facial details light so they do not undo the structural correction.
10. Modular Origami Christmas Wreath
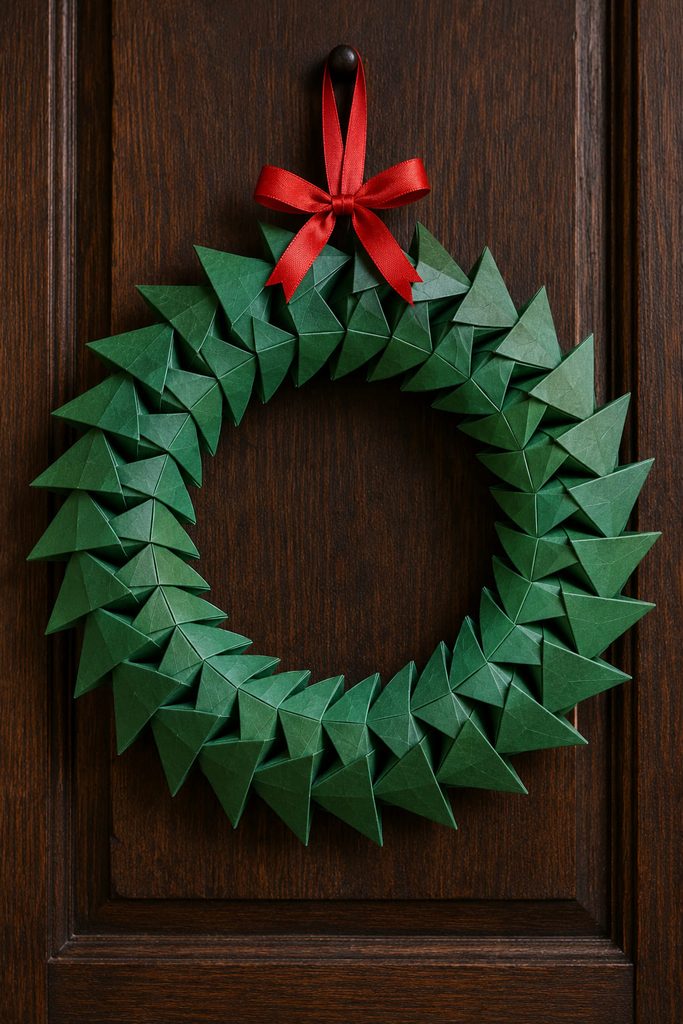
Repeated angles determine whether a modular origami Christmas wreath closes cleanly. Each folded unit must trap or pocket the next one at nearly the same depth, because a small variation repeated around the circle becomes a visible gap or twist when the final modules meet.
Fold all modules before assembly and keep their orientation consistent. As you connect them, let the ring curve gradually rather than forcing the first few units into a tight arc. The center opening should remain even; if one section starts closing faster, back up a few joins and equalize the insertion depth instead of hiding the distortion in the last connection.
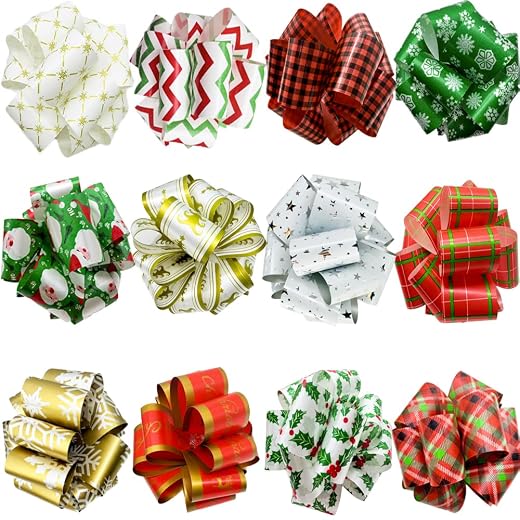
The final closure is the test. The first and last units should meet under similar tension to the rest of the ring, with no single joint carrying the whole shape. Add ribbon or thread through a strong module connection at the top and hang the wreath briefly. If the circle elongates, reinforce the interlock or reduce the finished size before adding heavier decorations.
11. Origami Poinsettia Gift Bow

Instead of a bulky ribbon bow, use folded poinsettia petals when you want a gift topper that still packs relatively flat. Use pointed petal units in two or three sizes and nest them around a small center so the flower has depth without tall loops. A restrained layer count matters: too many units hide the folded edges that make the poinsettia look crisp. Scale the flower to the gift rather than the paper pattern—one compact bloom on a small box usually reads better than a wide rosette that covers the wrapping.

12. Origami Paper Candle Decoration
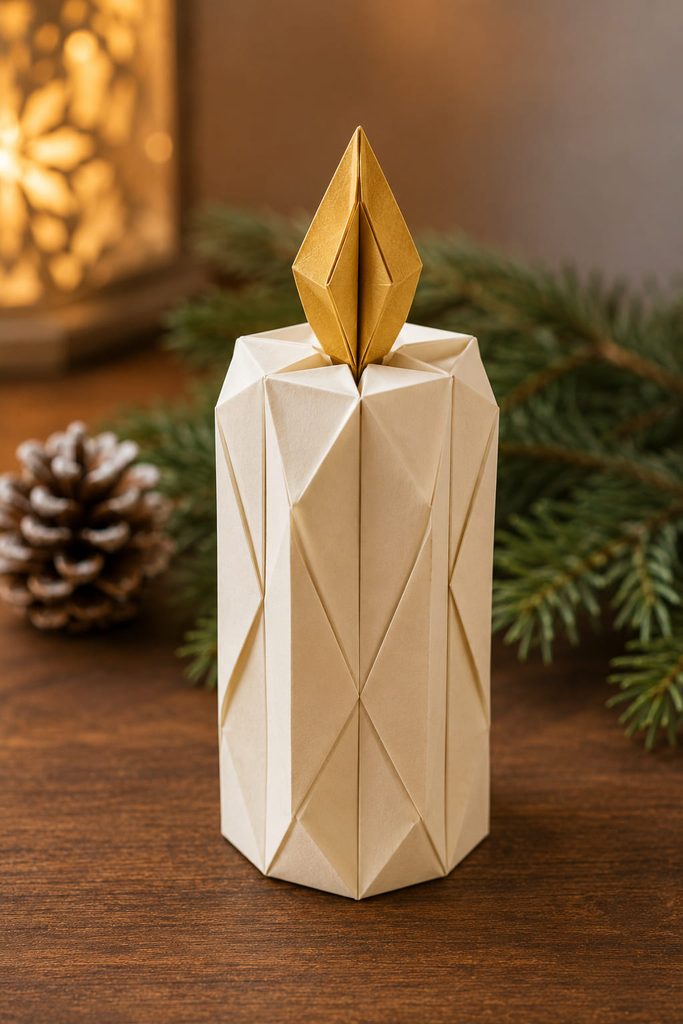
Because paper and open flame should never be combined, an origami candle belongs in this list as a decorative symbol rather than a working light. Fold the candle body from a firm rectangle or square and use a separate yellow or gold fold for the flame so the two shapes stay visually distinct.
Useful materials
- Medium-weight paper for the candle body
- Small yellow, gold, or orange sheet for the folded flame
- Optional folded stand or discreet paper backing for stability
Keep every paper candle away from open flames, hot bulbs, and heat-producing fixtures. For a mantel arrangement, repeat several paper candles at different heights and use ordinary cool room lighting around them rather than placing a heat source inside the fold.
13. Origami Dove Ornament
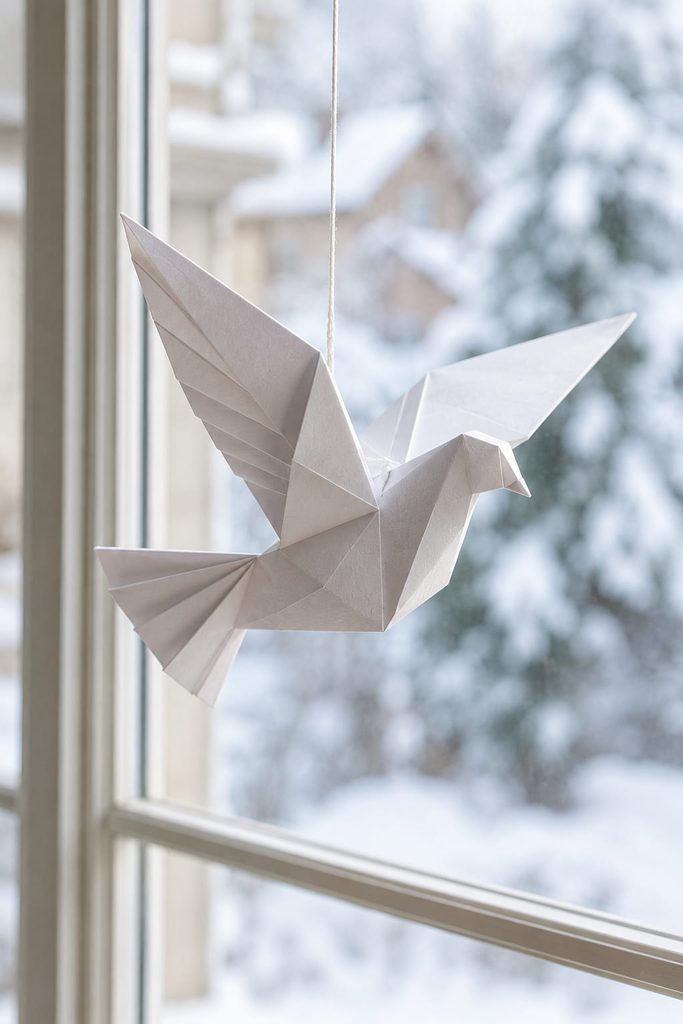
Spread wings and a long tail can shift a dove’s balance point away from the geometric center of the sheet. The visual center of a bird is not always its balance point, so choosing a hanging position by appearance alone can leave the ornament pitching forward or backward.

Fold the wings first, then support the finished dove on the tip of a finger along its upper body until you find the spot where it sits closest to level. Place the thread loop near that point and test the ornament in free air. If the head dives, move the loop slightly forward; if the tail drops, move it back. That small adjustment preserves the flying silhouette without adding hidden weights.
14. Origami Santa Hat Place Card
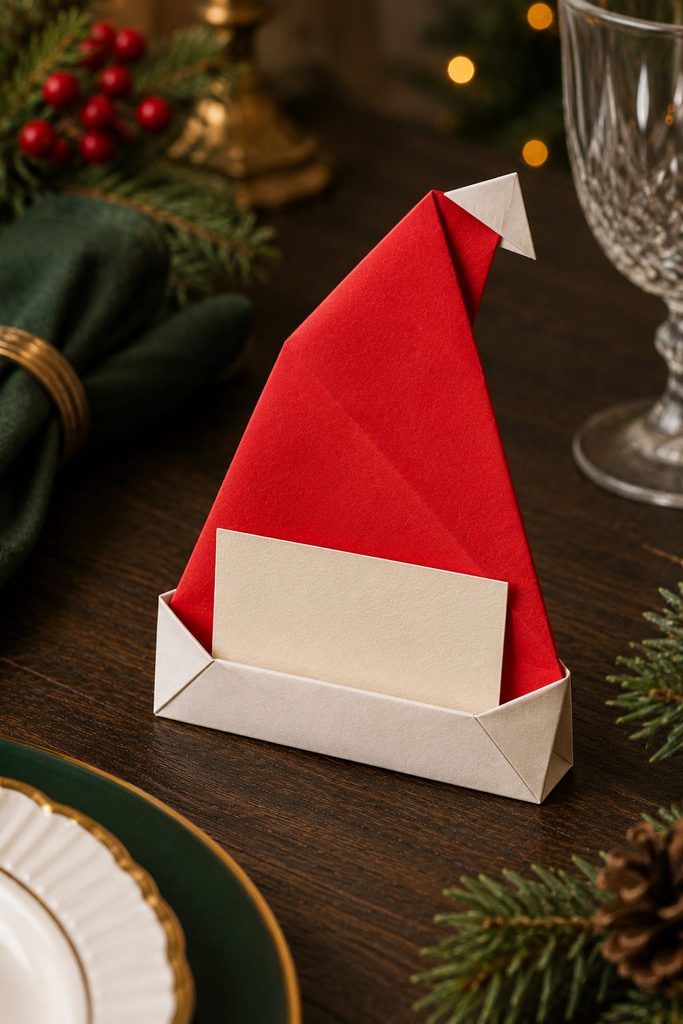
At a Christmas table, a folded Santa hat can become a place card guests can actually use. The lower brim needs to do two jobs: support the hat and create a shallow place for a name strip.
- Fold the hat with a broad lower edge rather than a tightly closed point.
- Open the base just enough for the model to stand without flattening the front.
- Slip a narrow cardstock name strip under or into the brim and check that it does not push the side folds apart.
- Set the hat on the table and view it from seated eye level before making the rest.
If the card tips the hat backward, shorten the strip or move it closer to the center. The folded hat should remain the support; the name card should not become a prop holding the model upright.
15. Origami Star Candy Dish
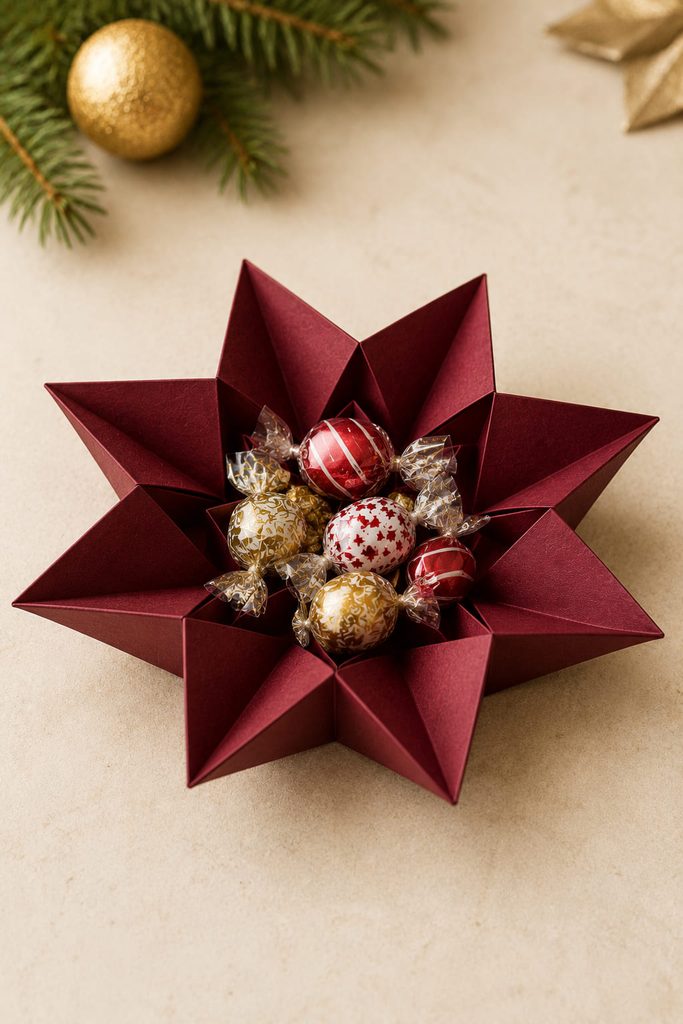
Before filling a star-shaped origami dish, make sure its geometry offers more than attractive points. The center has to open into a genuine basin, the base needs to lie flat, and the star tips must remain above the contents so the rim still looks intentional after the dish is filled.
Choose crisp, moderately sturdy paper and form the central collapse evenly before opening the basin. Push outward gradually from opposite sides so the star stays symmetrical. Deepening the bowl increases capacity, but it also steepens the walls and can pull the points inward; a shallower dish keeps a cleaner star outline.
Base And Load Test: Place the empty dish on a hard table and press lightly near each point. It should not seesaw. Add a few wrapped candies and check again. If the center sags, reduce the load or refold with firmer paper. If one point lifts, reopen the corresponding base crease and flatten it before filling.
Use this fold for dry, wrapped treats or lightweight table accents. Paper is not a suitable surface for wet or greasy food.
16. Origami Candy Cane Gift Tag

At small scale, the candy cane depends on proportion more than volume. Start with a narrow paper strip, keep the long body straight, and form the hook with controlled incremental folds rather than one thick bend. Thin paper handles the curve more cleanly; heavy cardstock can make the top look squared off. Add a tiny thread loop for a gift tag or tuck the straight end under ribbon, keeping the hook visible against the wrapping.
17. Faceted Origami Bauble Ornament

Two construction routes work well for a faceted bauble. A collapsed one-sheet form is faster, uses fewer joins, and usually stores flatter. A modular globe uses several repeated units, which creates stronger facet rhythm and lets you mix colors, but every connection adds another place that can loosen under hanging weight.
Choose the one-sheet route for quick tree decorating or batch folding. Choose the modular route when the geometric surface is the main attraction and you have time to align every unit. In either case, plan the suspension before closing the final folds.
Suspension Check: Lift the ornament by its loop for a few seconds over a table. The top should not peel open and the body should not elongate. If the loop is pulling on a single flap, reroute it through a stronger fold junction or trapped internal loop rather than relying on that flap alone.
18. Origami Gift Card Envelope
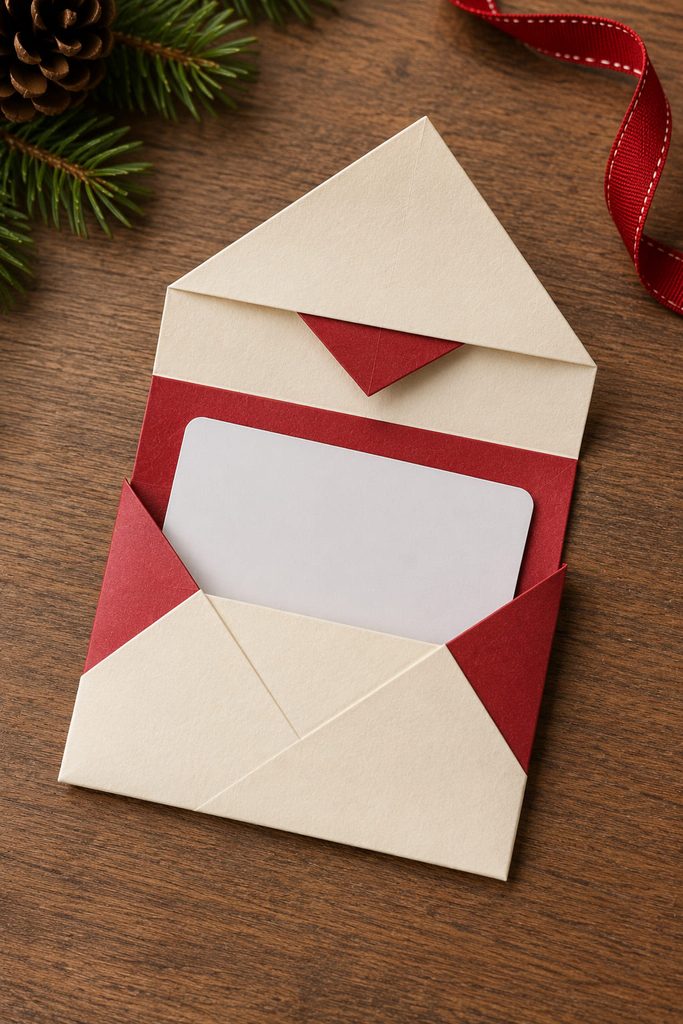
Test the pocket and tuck before decorating a folded gift-card envelope; the card should sit inside a true pocket, and the flap should close into another layer rather than squeezing the card.
- The pocket should cover enough of the card that it cannot slide out when the envelope is tilted.
- The card edge should remain easy to grasp.
- The tuck flap should engage without sharply bending the gift card.
- The finished envelope should close while empty and while loaded.
If the flap keeps springing open, reduce bulk before tightening the folds. A thicker card, extra note, and multiple decorative inserts can consume the clearance that made the closure work in the first place.
19. Origami Sleigh Centerpiece
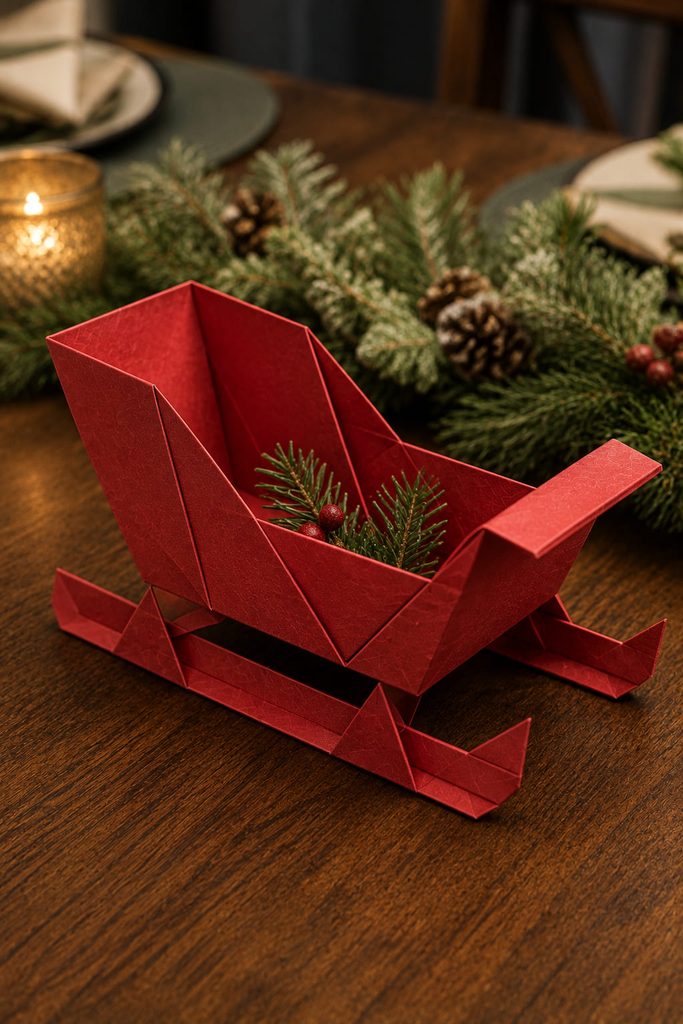
Depth is what separates a convincing origami sleigh from a flat red silhouette. Raise the sides, preserve a small seat or cargo area between them, and keep the runner folds broad enough to touch the table along more than one tiny point.
After shaping, set the sleigh on a hard surface and tap one side lightly. If it rocks, one runner is carrying more height than the other; reopen that lower fold and match the contact lines before adding paper gifts or greenery. Keep the cargo lightweight and below the side-wall height so the sleigh remains the main form. A three-quarter viewing angle shows both the curved runner profile and the interior space best.
20. Modular Origami Snowflake Window Medallion
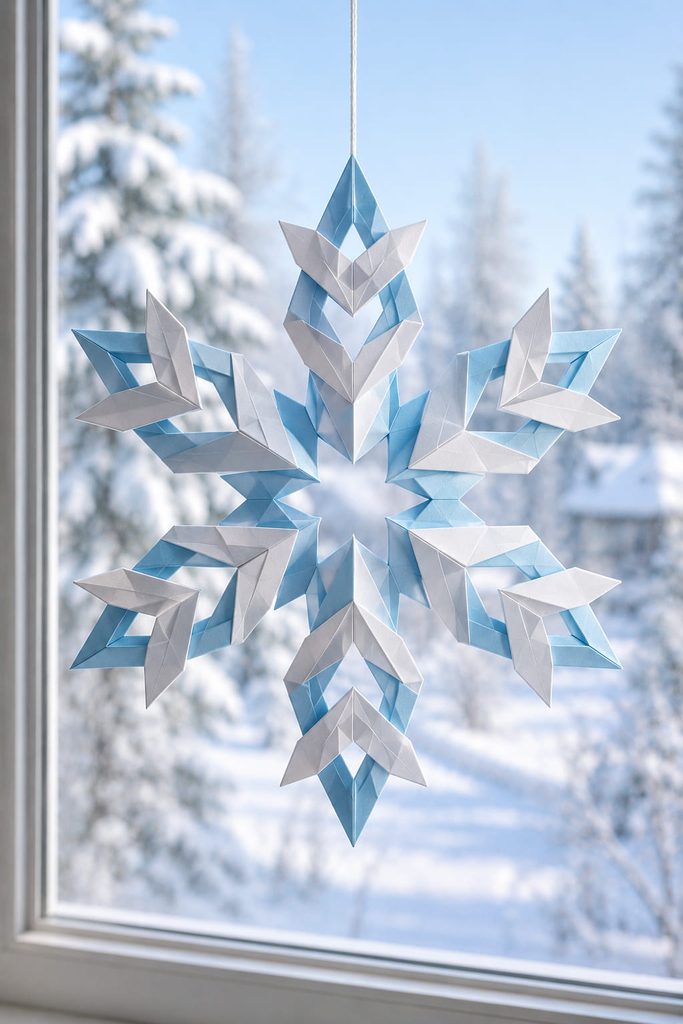
Radial consistency matters more than decorative complexity in a modular origami snowflake. Six identical folded units can create a strong window medallion, but the smallest mismatch in angle or center overlap becomes obvious when light shines through the negative space.
If one arm looks shorter: compare the final locking folds; one unit may be inserted farther toward the center.
If the center looks lopsided: realign the overlap order before securing the last connection.
If the snowflake twists out of plane: check that every module faces the same direction and that no joint is flipped.
If the pattern disappears in the window: simplify the center or use paper with stronger contrast against daylight.
Hang the finished piece and step several feet back. The outer points should form an even rhythm, and the open spaces should read as clearly as the folded paper itself.
Choose Your First Fold by Finished Use
For quick Christmas origami, begin with a tree, Santa topper, poinsettia, or candy cane and focus on clean creases rather than extra decoration. When the finished object needs to hold, stand, or hang, let that function guide your next project: the gift box needs clearance, the wreath needs consistent interlocks, and the dove or bauble needs a reliable suspension point.
Once straightforward folding starts to feel familiar, the modular wreath, star dish, faceted bauble, and snowflake offer a useful step toward more structural paper work. For another Christmas project direction that moves from folding into dimensional assembled paper decor, see 31 Enchanting Gingerbread Paper House SVG Designs for Christmas Crafts. The page title and destination were verified on Diynify.








