
This post contains affiliate links. As an Amazon Associate I earn from qualifying purchases, at no extra cost to you. Thank you for supporting Diynify!
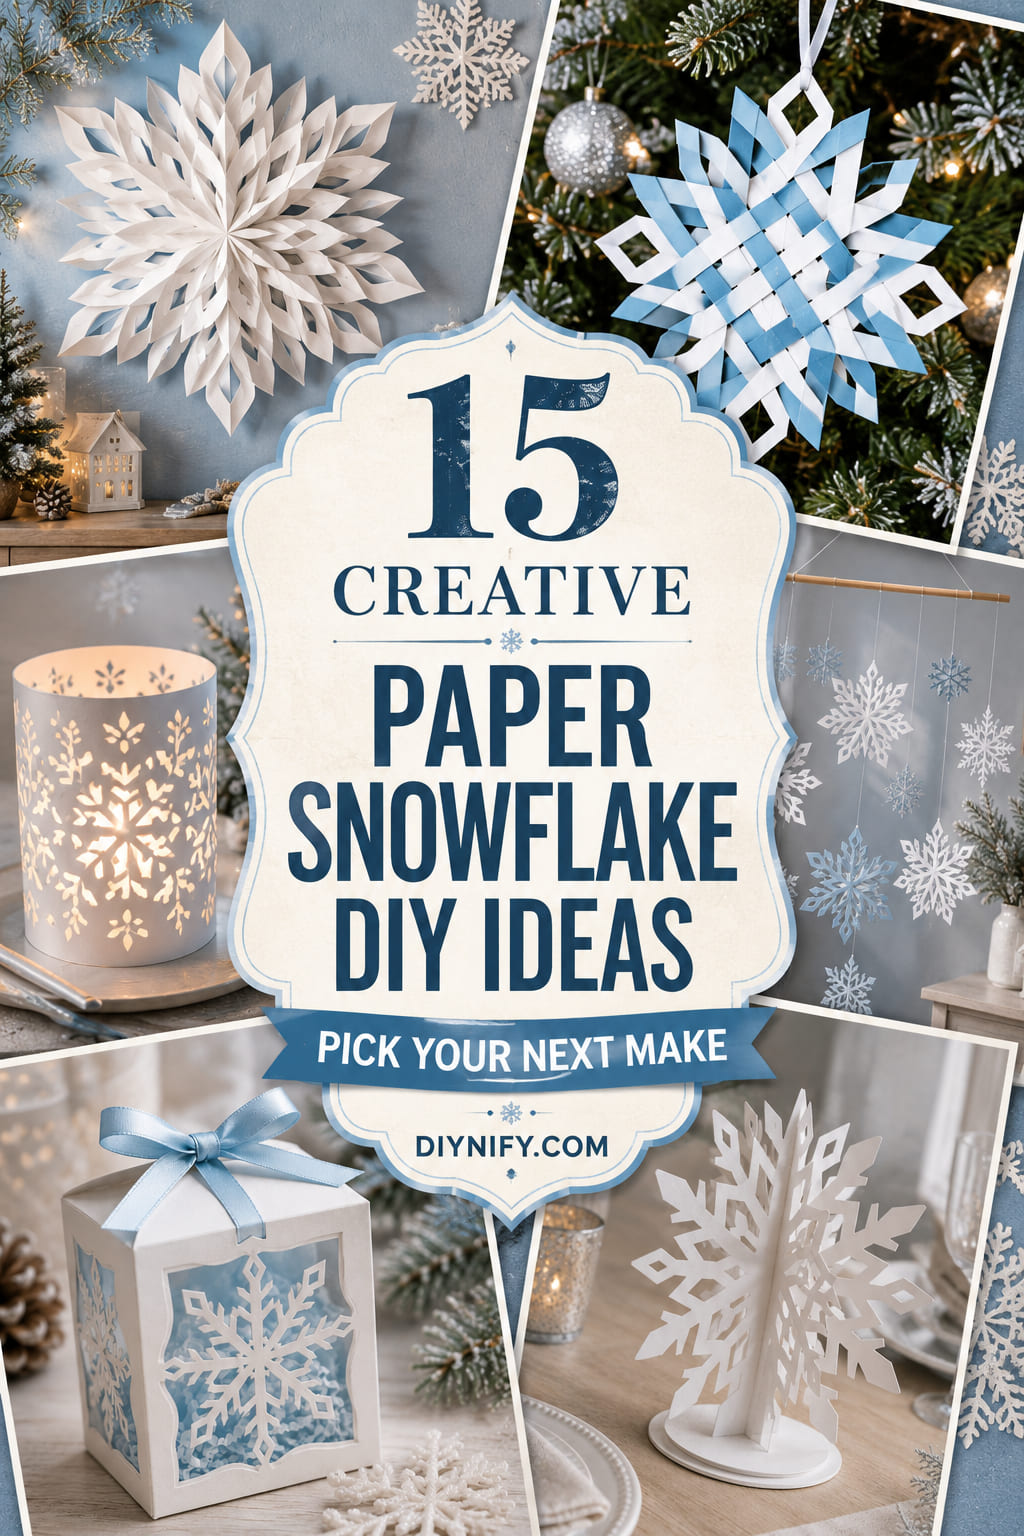
Paper snowflakes can be much more useful than a stack of flat cutouts taped to a window. The same winter motif can become a hanging ornament, a glowing sleeve, a gift detail, a balanced mobile, a framed layer project, or even a small favor box when the construction changes with the job.
Most of these ideas start with ordinary paper, cardstock, scissors, a craft knife, glue, or tape. A few need extra supplies such as paper bags, vellum or tissue paper, thread, a dowel or ring, ribbon, and a battery-powered LED tea light. Choose thin paper for crisp folding and detailed cutting; switch to sturdier cardstock when the finished piece has to stand, hold, or support another part.
1. Classic Six-Point Window Snowflake
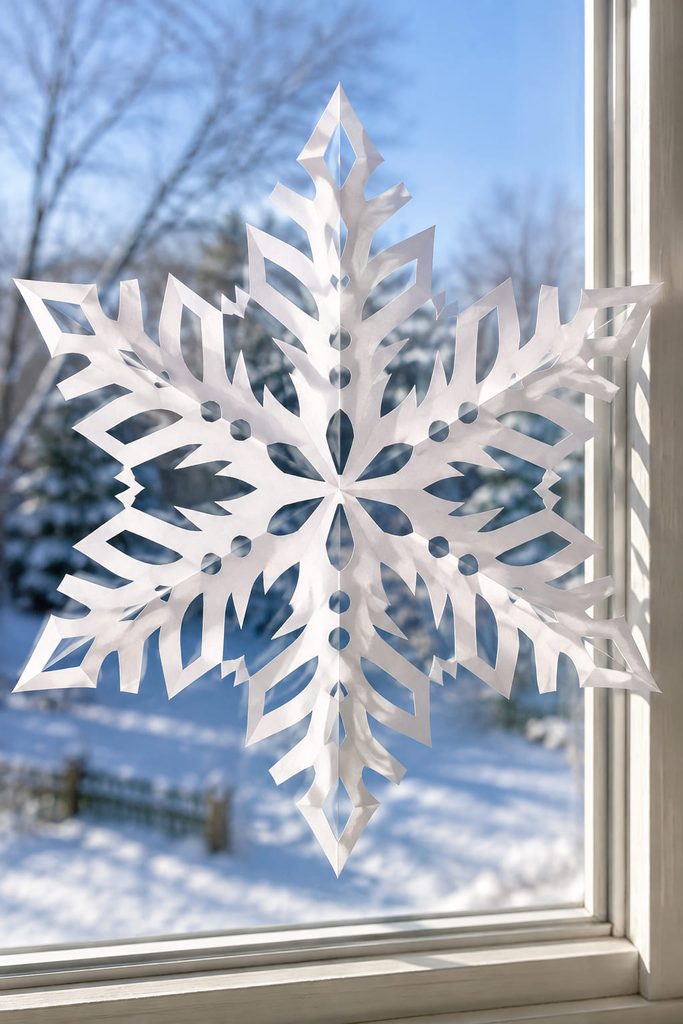
Start with the simplest version when the goal is a crisp silhouette that reads against daylight. Fold a square into a compact wedge, keeping the layers aligned, then cut into the two folded sides rather than slicing through the entire spine. Wide notches create bold openings; narrow cuts create lace-like detail, but every opening needs enough uncut paper around it to keep the arms connected.

- Make the wedge as accurately as you can before drawing any cuts.
- Trim the outer edge to establish the overall point shape.
- Cut a few large openings first, then add smaller notches only where the remaining bridges are still strong.
- Unfold slowly, flatten the creases under a book if needed, and mount with tiny removable adhesive points near the center rather than at fragile tips.
Bridge Check: Hold the opened snowflake by its center. If a narrow section stretches or curls under its own weight, simplify that area on the next cut instead of adding more detail.
2. Giant Paper Bag Snowflake Wall Piece
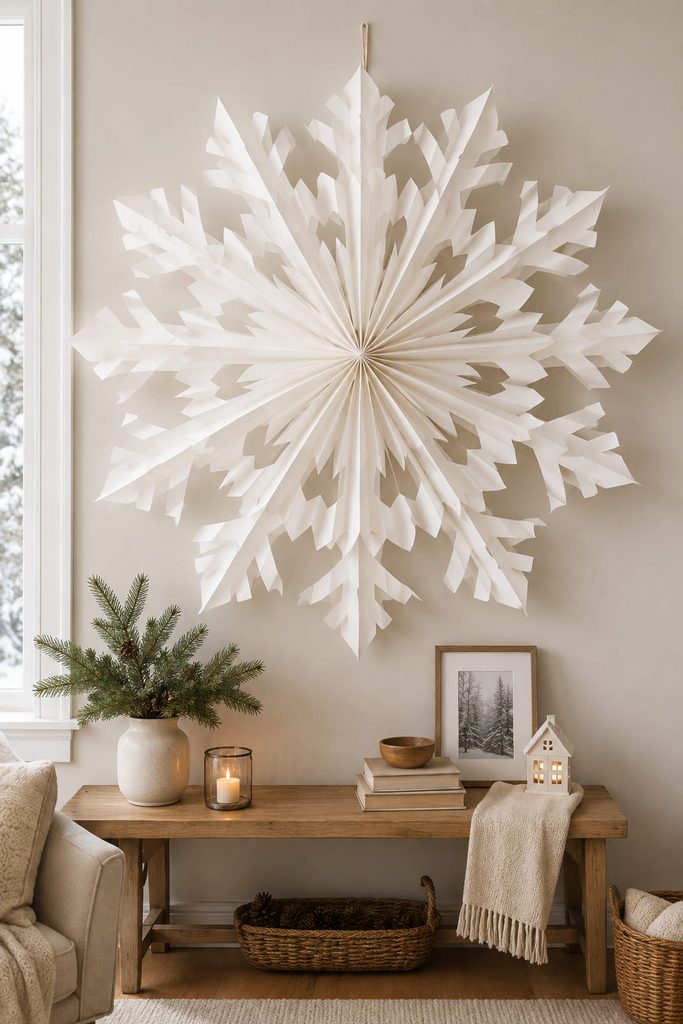
For an oversized snowflake that fills a blank wall without requiring oversized sheets, stacked paper bags supply both scale and built-in folds. Line the bags up with every opening facing the same direction, then add adhesive where the stack needs to behave like one hinged block: a narrow line up the center and another across the sealed bottom area. The open ends must stay free so the stack can spread.
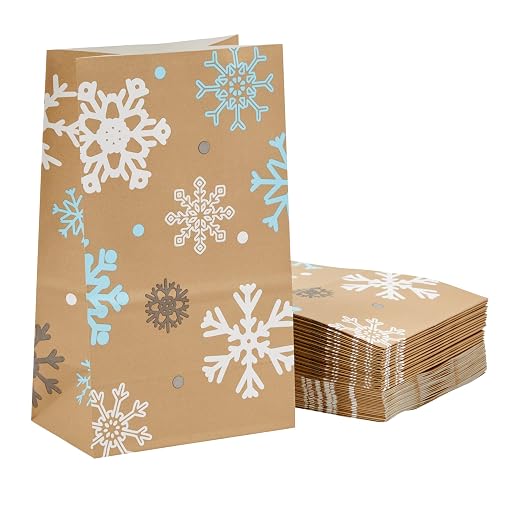
Cut the side profile only after the stack is aligned. Deep side notches and a shaped top edge will repeat around the circle once the bundle opens, so a few decisive cuts usually read better than dozens of tiny ones. Keep every cut comfortably away from the sealed base and the glued center line; those areas carry the opening force.
Before joining the first and last bags, open the stack like a fan and check three things: the circle closes without pulling, the inner hub stays intact, and no cut edge catches on the neighboring layer. If the fan stops short, look for a glued bag opening or an overly deep cut before forcing it. Once it opens cleanly, join the outer faces and hang from a reinforced section near the hub rather than from a thin decorative point.
3. Accordion Rosette Snowflake Tree Topper
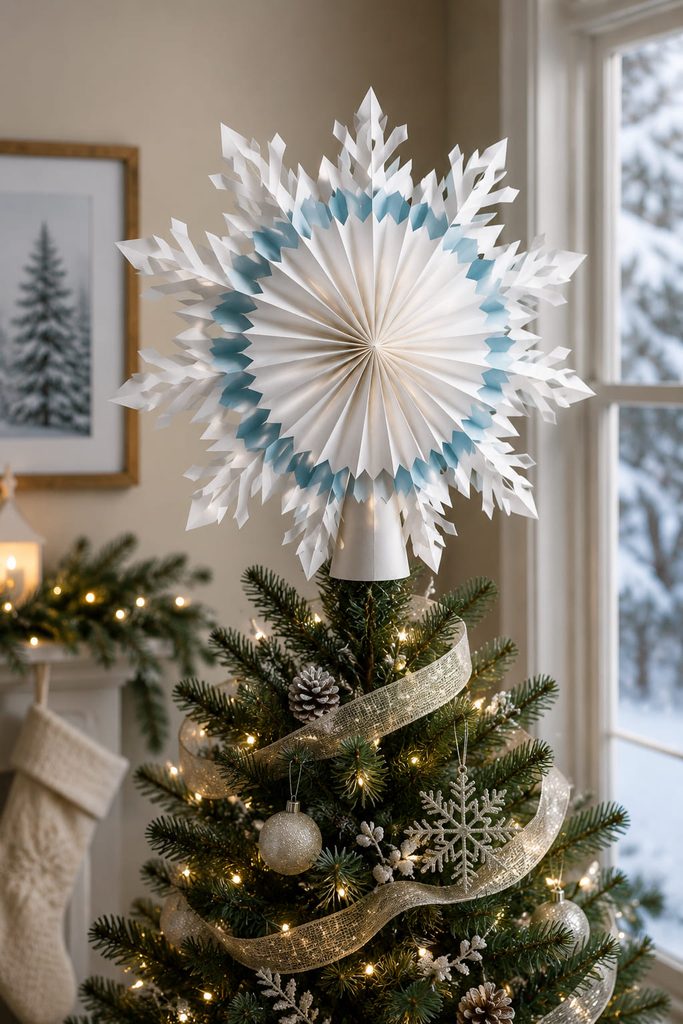
Pleats do the structural work in this topper. Accordion-fold two or more strips of medium-weight paper, join them end to end, then bring the long strip into a ring and press the inner edge toward the center to form a rosette. A small cardstock disk glued front and back keeps the center from springing open, while cut snowflake points or a separate lacy snowflake layer can extend beyond the pleated circle.

The topper needs a mounting piece that is lighter than the rosette. A rolled paper cone or tapered sleeve on the back can slide over the top tree stem; dry-fit that sleeve before gluing it to the rosette so the opening is wide enough to seat without crushing the branch. If the rosette tips forward, reduce front-layer weight before making the rear sleeve stiffer.
4. Woven Paper Strip Snowflake Ornament
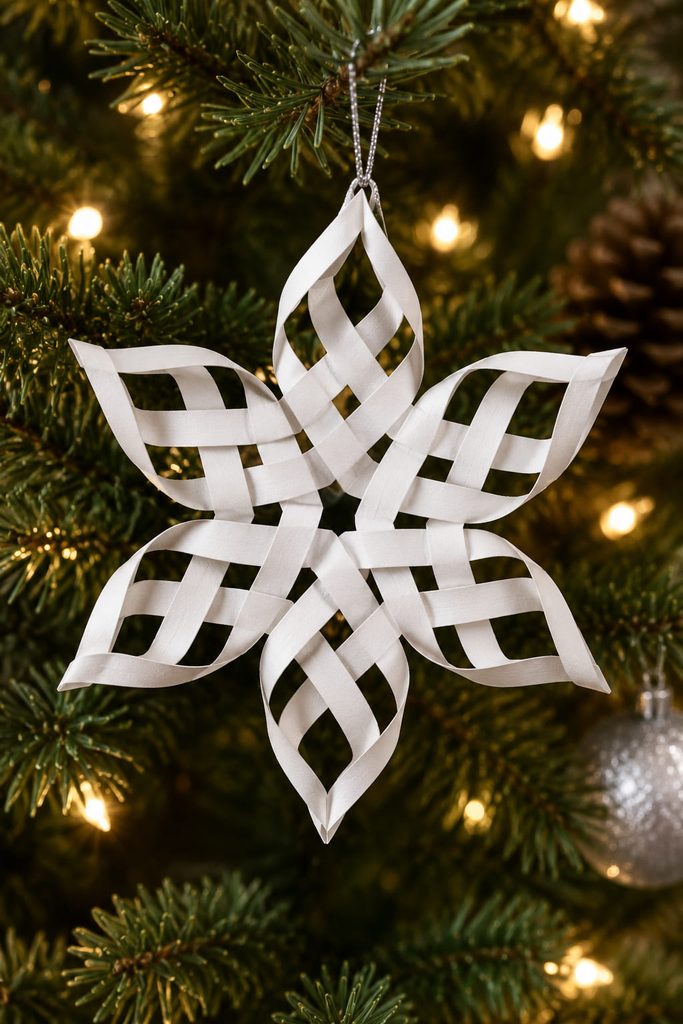
If you want an ornament with real shadow lines instead of a flat cut pattern, build the center as a small over-under lattice and let the outer strips form the points. Make two matching woven halves, because the second half gives the ornament depth and lets the curved points lock together.

- Lay three narrow strips vertically and weave three matching strips across them, alternating over and under at the center.
- Glue only the center intersections, keeping the outer strip ends free.
- Curve selected neighboring ends toward each other to form pointed loops, then repeat on a second lattice.
- Rotate one half behind the other, join corresponding loose ends, and add a thread loop through a reinforced top point.
Use paper that bends without cracking. Very heavy cardstock fights the curves; very thin paper can sag after the two halves are joined.
5. Mini Folded Snowflake Gift Tag

A gift tag is a good place for a tiny fold-and-cut snowflake because the backing card protects delicate points. Cut a small snowflake from thin white or metallic paper, flatten it, and attach only the center to a sturdier kraft or colored tag so the outer arms can lift slightly. Keep the writing area clear and punch the ribbon hole through the backing tag, not through the snowflake. The contrast between a simple rectangular tag and one intricate cut layer gives the detail somewhere to register instead of letting it disappear into patterned gift wrap.
6. Layered Cardstock Snowflake Shadow Box
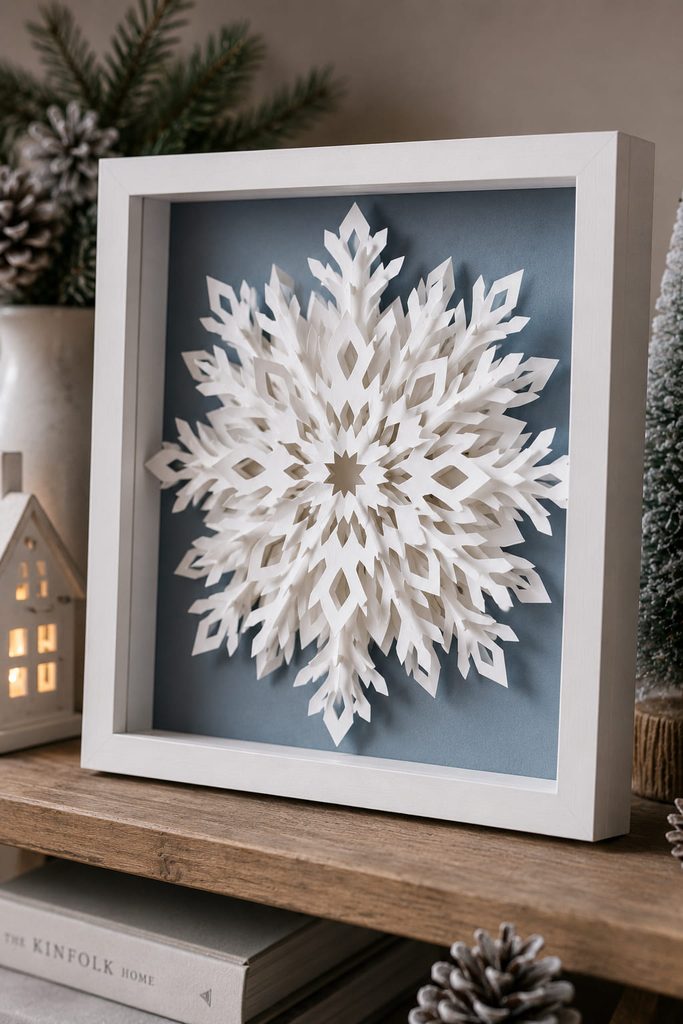
Depth matters more than tiny cuts in a framed snowflake. Build the scene as a sequence of increasingly open snowflake layers, with small spacers between selected sheets so the cut edges cast separate shadows instead of collapsing into one flat white shape. A darker or softly colored backing makes the innermost negative spaces easier to read.
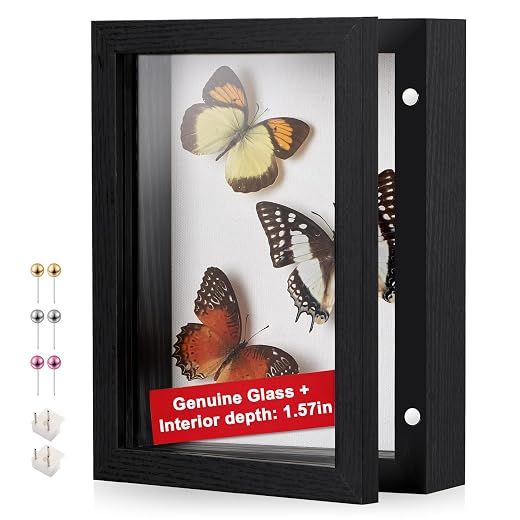
Dry-fit the full stack before adhesive goes anywhere. The frame must be deep enough for the paper and spacers, and every layer needs enough solid margin to stay square inside the frame. Offset the snowflake geometry from layer to layer rather than making five identical cutouts; the visible shift is what creates depth.
Check before closing the frame:
- No narrow point is trapped against the front glazing.
- Spacer pieces stay hidden behind solid paper.
- The smallest opening is still visible from normal viewing distance.
- The backing sits flat and does not bow the paper stack forward.
7. Vellum-Lined Snowflake Luminary Sleeve
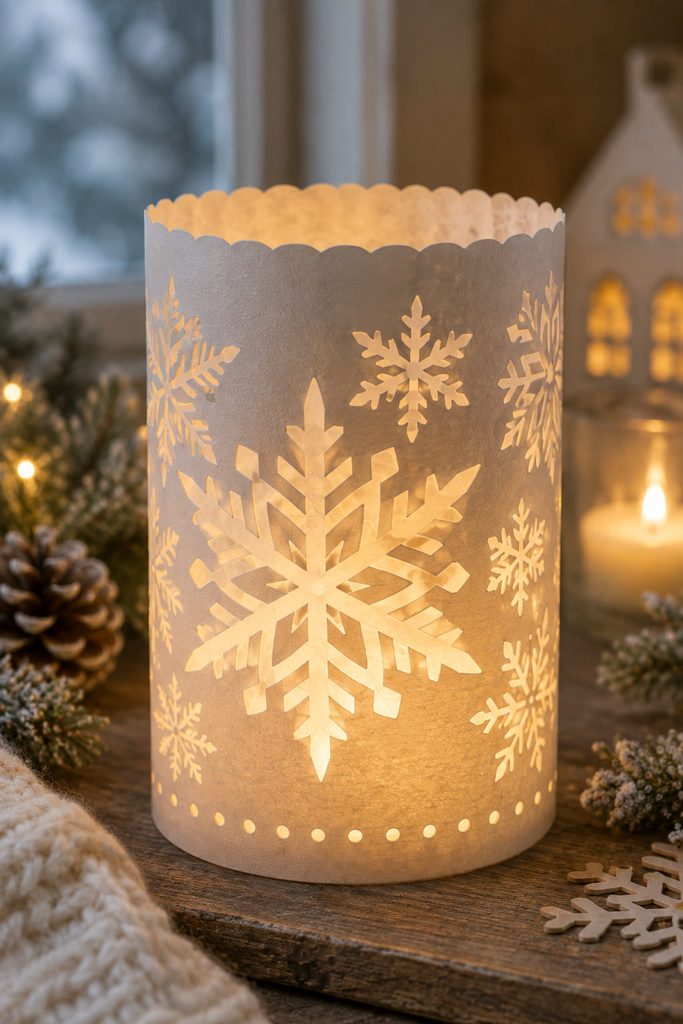
The cutouts are only half of a luminary; the other half is an uninterrupted path for light. Cut snowflake openings into a rectangular sheet of cardstock, leaving a solid margin at the top, bottom, and side seam. Back the openings with vellum, then score the cardstock so it wraps into a cylinder or soft-sided sleeve around a separate battery-powered LED tea light. The light source should never need to support the paper structure.
Assembly order matters here. Attach the vellum while the cardstock is still flat, keep adhesive outside the visible cutouts, then form the sleeve and close the side tab. Set it on a level surface and place the LED inside only after the seam is secure. The sleeve should lift off freely for access to the switch and battery compartment; do not seal the light inside.

Keep The Light Path Open: With the LED on, rotate the sleeve once. If one snowflake looks noticeably dull, the vellum may be wrinkled, the seam may be sitting behind the cutout, or an internal glue flap may be blocking the opening.
Use only a cool battery-powered LED light with paper. This design is for decorative glow without an open flame.
8. Pop-Up Snowflake Winter Card
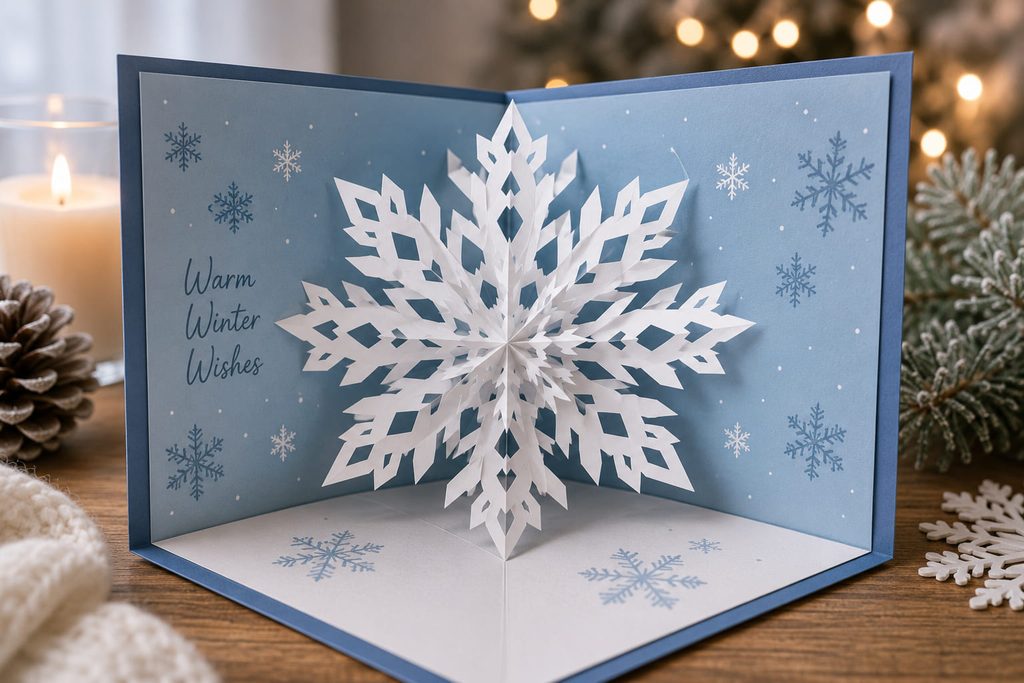
When a card opens, the snowflake should expand without scraping the cover or buckling the center fold. Use a folded insert with a symmetrical cut pattern anchored on both sides of the card crease; the central bridges act like hinges, while the cut sections lift into relief as the covers separate.

If the mechanism misbehaves, diagnose it before adding decoration:
- If the card will not close flat: a raised section is too wide or colliding with another cut; shorten that projection.
- If the snowflake barely rises: deepen the intended pop-up folds rather than making the cutouts larger.
- If the center tears: widen the paper bridges nearest the card fold.
- If the insert twists: check that the two attachment areas sit the same distance from the spine.
A plain outer cover works well here because the movement inside is already the main event.
9. Layered Snowflake Gift Topper

On a wrapped gift, a dimensional topper can do the visual work of a bow without needing loops of ribbon. Cut three or four matching snowflakes from paper that can hold a crease, fold each gently through the center, then stack them with the folds crossing at different angles. Glue only at the hub so the upper points can stay lifted.
Mount the stack to a small backing disk and run ribbon beneath the disk, or tie the disk onto the package so the topper can be removed intact. That attachment keeps adhesive off the gift paper and makes the piece easier to reuse on another box or hang later as a small ornament.

10. Snowflake Napkin Ring With A Paper Band
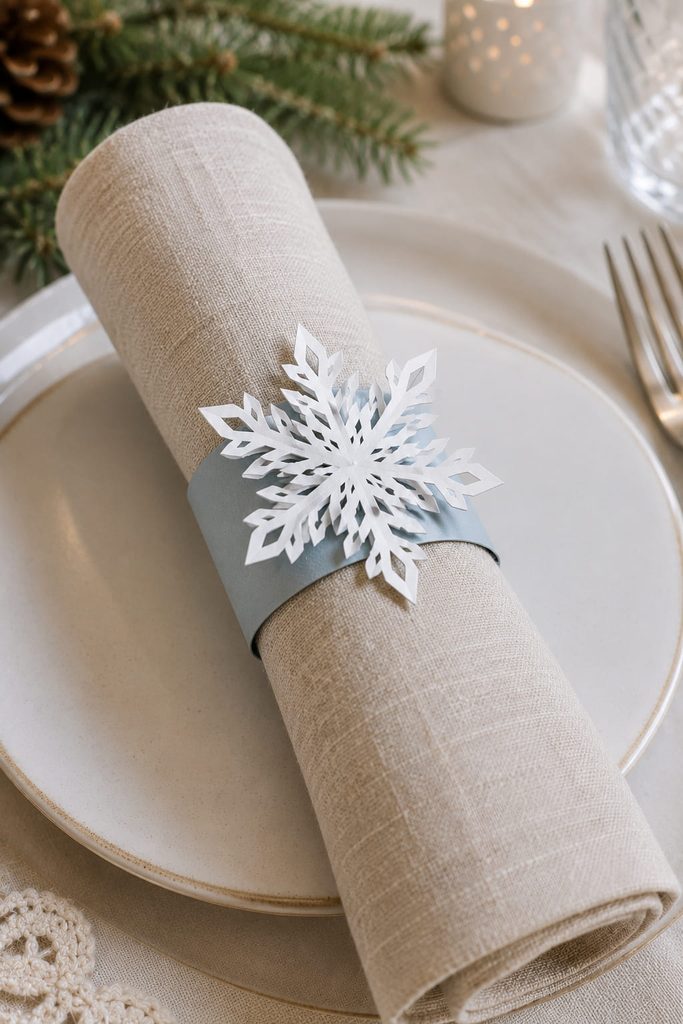
Instead of balancing a loose snowflake on each place setting, give it a band that actually holds the napkin. Cut a narrow cardstock strip, wrap it around the rolled napkin with a little clearance, and glue the overlap only after the fit is right. Add a flat or lightly folded snowflake medallion over the seam so the join disappears. The ring should slide off without squeezing the napkin; if the band has to flex hard to remove, open the diameter slightly before making the rest of the set.
11. Balanced Hanging Snowflake Mobile
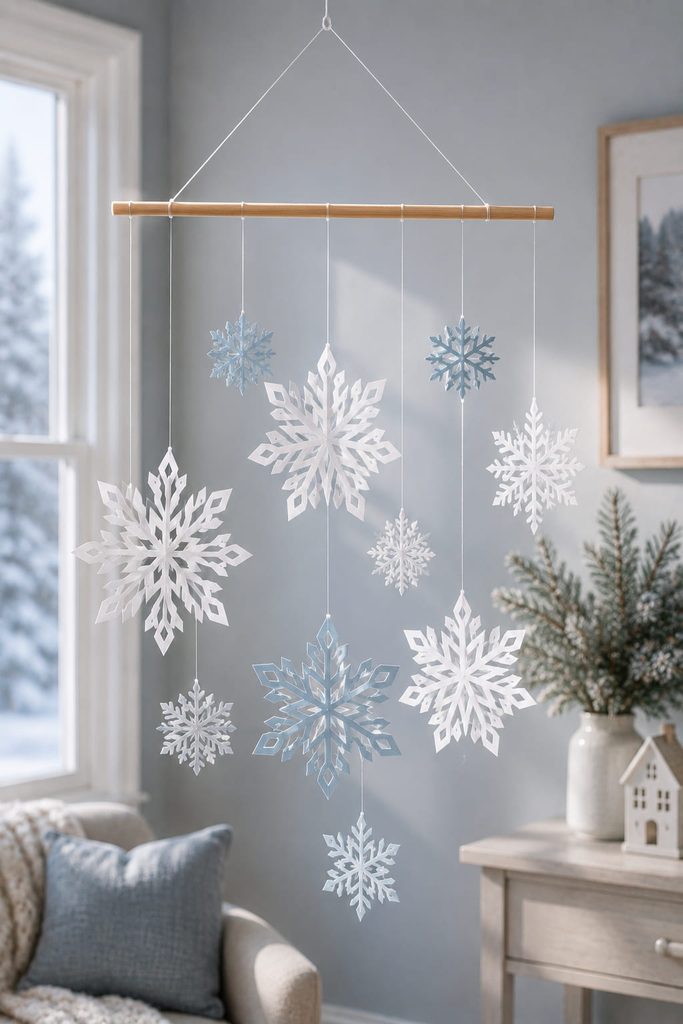
Balance decides whether a snowflake mobile looks airy or constantly lists to one side. Suspend a lightweight dowel or rigid paper-wrapped rod from its center, then hang snowflakes on separate threads at different distances from that suspension point. Large pieces can hang closer to the middle while smaller ones move farther out, but the final position should be set by how the rod actually sits, not by a visual guess.
Before tying permanent knots, use small temporary loops so each thread can slide along the rod. Raise the whole mobile and adjust one variable at a time: first the main suspension point, then the left-right positions, then the individual hanging heights.
Where The Balance Point Goes: The mobile passes its first test when the rod returns close to level after a gentle nudge. Also leave enough vertical and side clearance that swinging snowflakes cannot hit each other, a wall, or a nearby light fixture.
Quick hanging checklist:
- Reinforce each paper hanging hole with a small paper patch.
- Keep the heaviest snowflake nearest the central support.
- Stagger heights so the silhouettes do not overlap completely.
- Use a secure room attachment appropriate for the total mobile and hardware weight.
12. Repeating Snowflake Garland For A Mantel Or Window
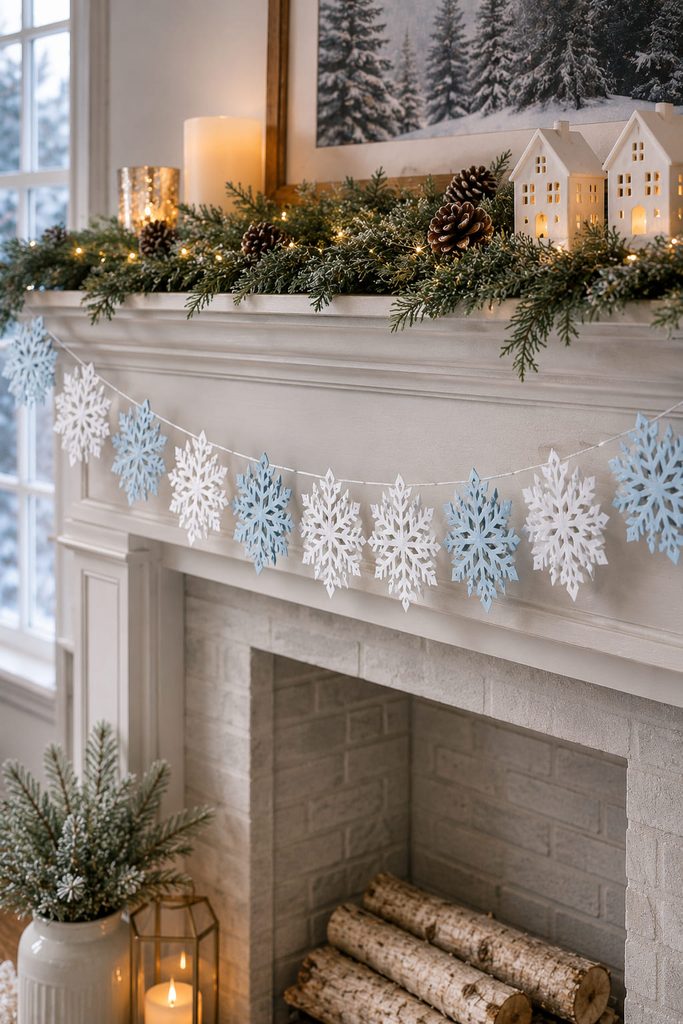
Batch cutting works best when every repeated piece uses the same outer size but not necessarily the same internal pattern. Make one simple snowflake template, cut several pairs from lightweight paper, and sandwich the hanging cord between each pair so the strand is supported at the center instead of punched through a fragile arm.
- Mark the cord spacing before gluing any snowflakes.
- Attach the first half of each pair face down along the cord.
- Glue the matching half over it, trapping the cord between the centers.
- Let the strand dry flat before hanging so the snowflakes do not twist around wet adhesive.
Change one or two internal cuts across the batch for variation, but keep the outer diameter consistent if you want an orderly rhythm across a mantel.
13. Translucent Snowflake Suncatcher
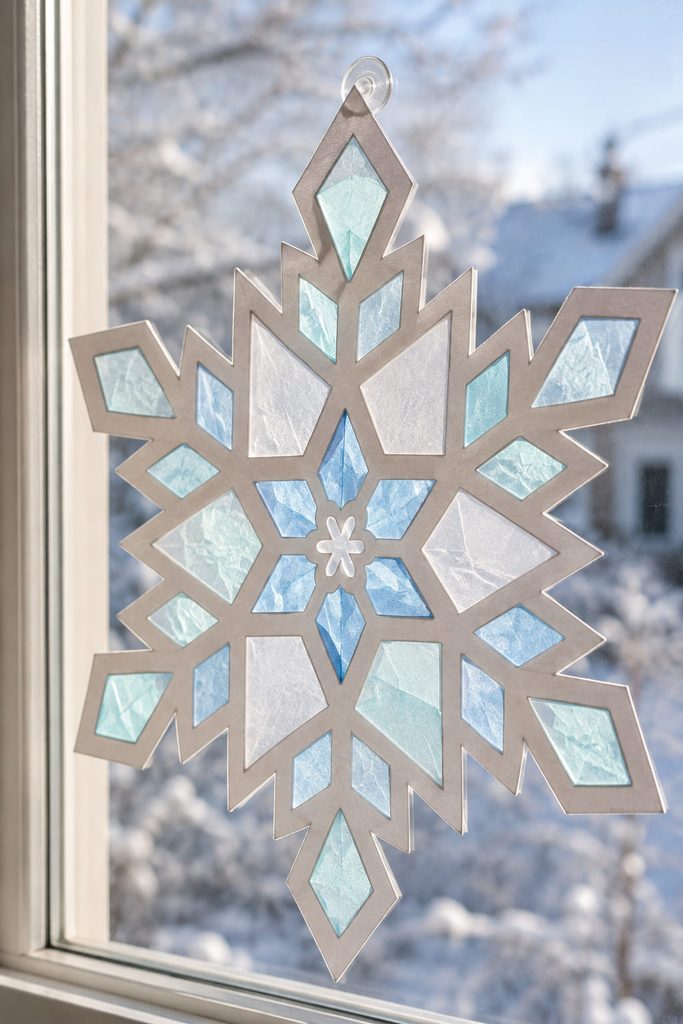
Choose translucent paper when daylight is part of the design. A sturdy cardstock snowflake frame can hold a sheet of vellum or tissue behind its openings, turning the negative spaces into pale glowing areas instead of empty holes. Keep the outer frame broad enough to resist curling at a warm window and use tiny adhesive points hidden behind solid paper.
Vellum and tissue behave differently. Vellum gives a cleaner, flatter pane and handles larger openings well, but adhesive can show through it. Tissue creates softer color and can be layered for a stained-paper effect, although wrinkles become visible when the sun hits from behind. For a crisp geometric snowflake, use vellum; for a softer handmade window piece, use tissue and accept a little texture.
14. Snowflake Window Favor Box
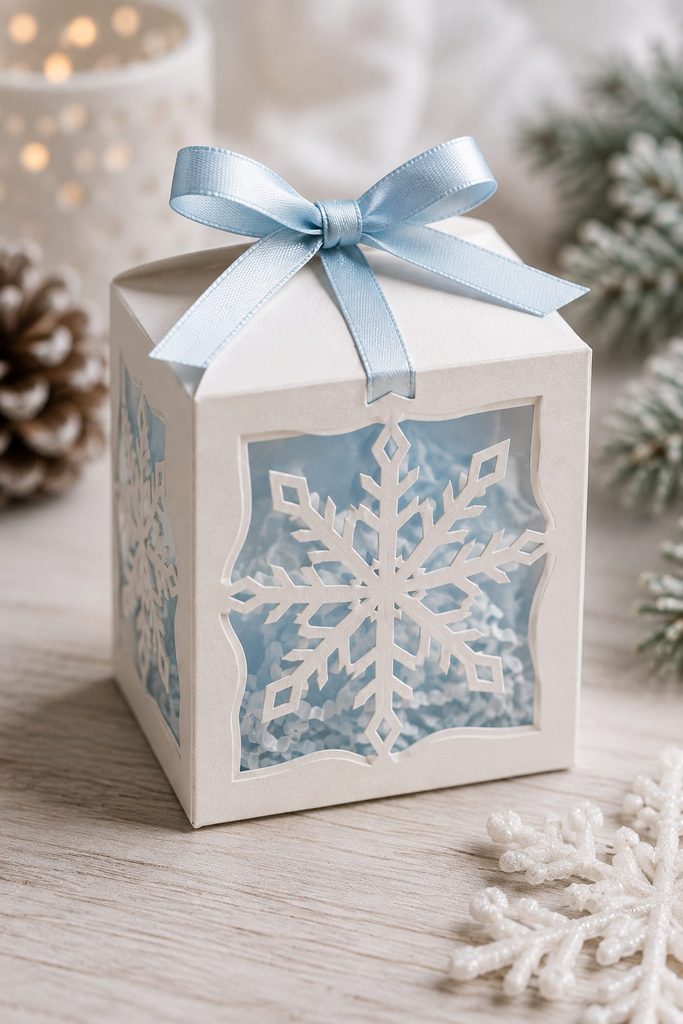
A snowflake cutout can turn a small cardstock box into packaging, but the box still has to close, hold its contents, and reopen without tearing the decorative panel. Place the snowflake window on one broad wall or lid panel, leaving a solid border around it, and back the opening with vellum before the box is folded. Score all structural folds first so the cut detail is never asked to act as a hinge.
Build the base according to the box style—glued bottom flaps for a sturdier one-time favor or interlocking flaps when you want it to fold flat before filling. Load treats or a small gift through the top, then use a tuck flap or separate lid that overlaps solid cardstock rather than the cutout itself. The opening should reveal the contents without giving them a path to fall out.
Lid Clearance Check: Close the empty box before filling it. If the lid catches on a raised vellum edge, a snowflake point, or an internal glue tab, trim or reposition that obstruction now. A closure that only works when forced will crease the decorative panel after a few openings.
For batch favors, make and close one complete box before cutting the rest. That first fit check confirms the window border, tab positions, and usable interior space.
15. Slot-Together Snowflake Table Centerpiece
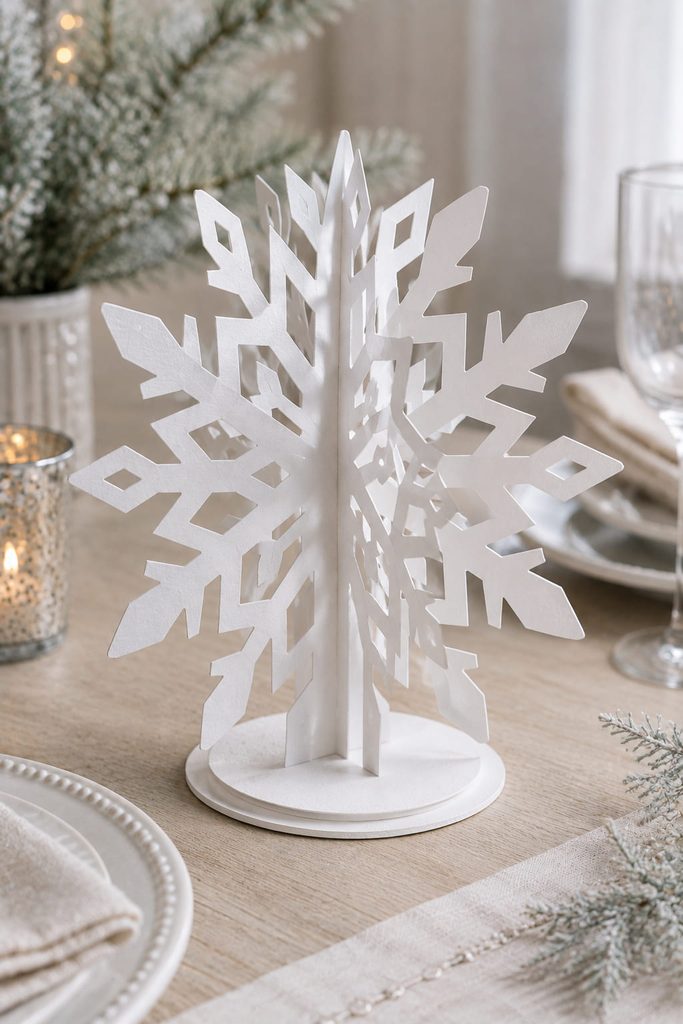
Two intersecting snowflake panels can create a freestanding centerpiece, but they need a real base rather than relying on decorative points to balance. Cut two matching cardstock snowflake panels with straight lower tabs, then insert those tabs into crossed slots in a double-layer circular base. The panels meet at right angles through centered slits, giving the snowflake shape volume from every side.
If the sculpture leans, check the base before recutting the snowflakes:
- Panel rocks in the slot: narrow the slot or add a second base layer.
- One side drops: compare the lower tabs and make sure both reach the same depth.
- Center joint bows: widen the interlocking slits slightly so the panels cross without pressure.
- Top feels too heavy: simplify upper cutouts rather than making the base dramatically larger.
A matte paper base close to the tabletop color can visually disappear, leaving the intersecting snowflake planes to read as the centerpiece.
Choosing Which Paper Snowflakes To Cut First
Choose by job before choosing by pattern. Thin fold-and-cut snowflakes are the fastest route to window coverage, while woven ornaments, pop-up cards, and layered shadow boxes are better when the construction itself is part of the appeal. If you want scale, start with the paper bag wall piece; if you want functional winter decor, the luminary, napkin ring, favor box, and freestanding centerpiece give the motif something specific to do.
For a broader next project beyond snowflakes, the Christmas craft hub is the natural place to compare ornaments, cards, garlands, paper houses, and other seasonal formats: Christmas Paper Crafts, DIY Ideas & SVG Projects – Diynify








