
This post contains affiliate links. As an Amazon Associate I earn from qualifying purchases, at no extra cost to you. Thank you for supporting Diynify!
Construction paper Christmas crafts are at their best when the color is part of the construction, not just decoration added at the end. A red strip can become a loop, a green sheet can turn into a standing tree, and several contrasting pieces can create woven surfaces, moving ornaments, pockets, and dimensional holiday shapes. That makes construction paper especially useful for projects that rely on bold silhouettes and visible folds.
Most of these ideas use construction paper, scissors, a ruler, and paper-safe glue or double-sided tape. A few need thread or narrow cord, a small backing ring or board, a lightweight hanging support, wrapped treats, or extra paper reinforcement. Choose by the finished job first—hang, stand, hold, fold, move, or decorate a gift—then pick colors that make the structure easy to read.

1. Accordion-Fold Christmas Trees for a Tabletop Forest
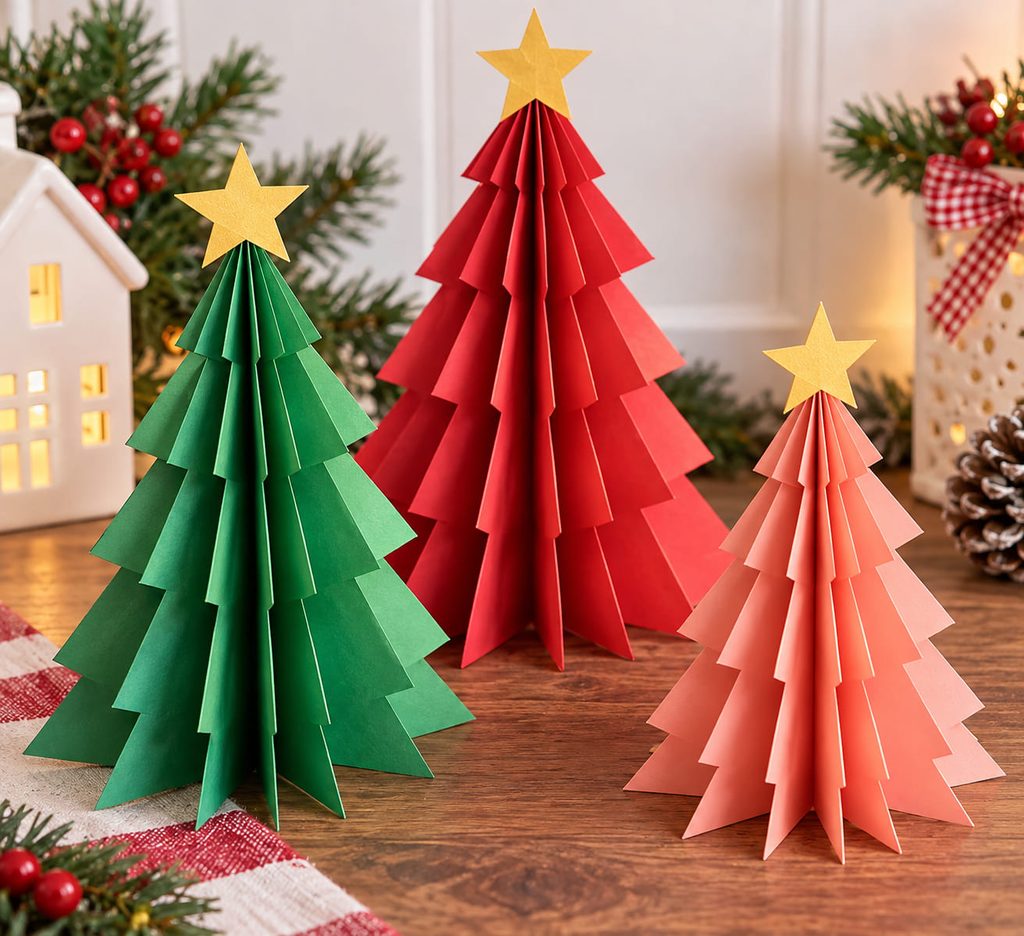
Pleats give a flat sheet enough visual depth to read like a small tree without cutting dozens of branches. Fold a rectangular sheet back and forth in even accordion folds, taper the top into a point, and open the lower folds into a fan. A small folded kickstand glued behind the center spine keeps the tree upright while letting the pleats stay visible from the front.
Make a group in different heights rather than changing the fold pattern every time. The repetition creates a little paper forest, while the varying scale keeps the display from looking like copies lined up in a row. Fold check: set each tree down before adding a star or trunk; if it leans, widen the kickstand or flatten the lowest pleats instead of hiding the problem with extra decoration.
2. Laced Mitten Ornament with a Hidden Note Pocket

A mitten ornament can use its edge construction as the decoration. Cut two matching mitten silhouettes, punch or cut evenly spaced slots around the sides and curved top, then lace the layers together with narrow yarn or cord. Leave the cuff open until the end so you can slip in a tiny paper note before finishing the hanging loop.

Work in this order:
- Stack the two mitten shapes and cut the border slots through both layers so they align.
- Start lacing near one side of the cuff and pass the cord through both layers in the same direction each time.
- Keep the tension snug enough to align the edges without wrinkling the construction paper.
- Stop before the cuff closes, add the note if you want one, then finish the last few stitches and tie the hanger through reinforced top slots.
Edge test: if the slots begin stretching, the lacing is too tight or too close to the edge. Widen the paper margin rather than adding more glue, because the strength comes from distributing the pull across several slots.
3. Layered Loop Wreath with Open Color Bands
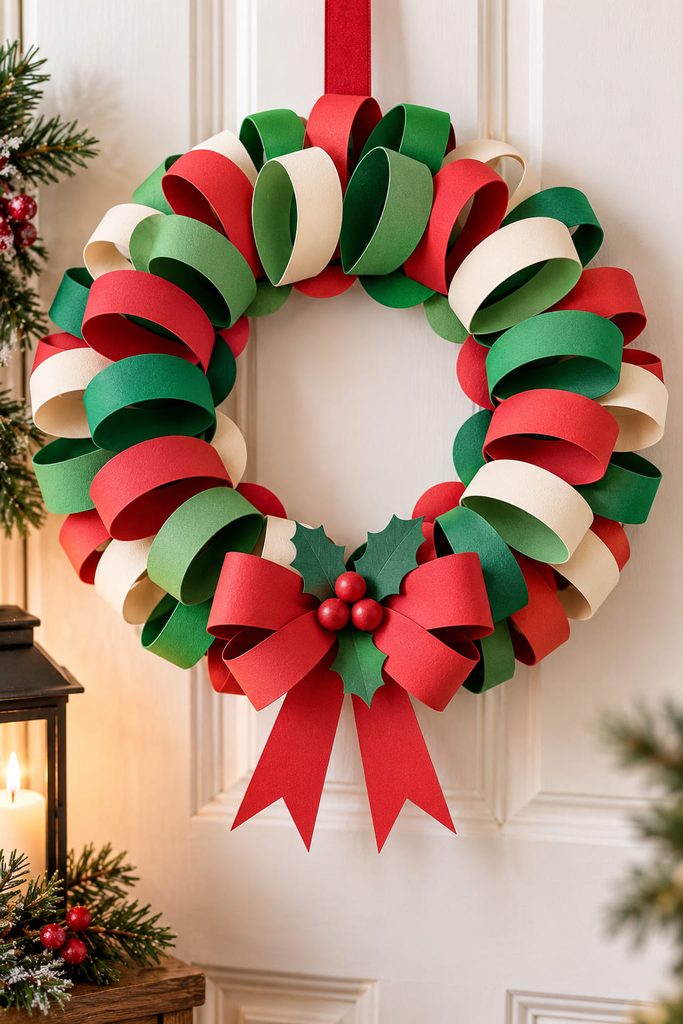
Looped strips can give a paper wreath volume without asking construction paper to imitate evergreen needles. Glue each strip into a teardrop-shaped loop, then overlap the loops around a sturdy circular backing so their open centers remain visible. Alternating two or three colors produces a strong ring of negative space instead of a dense paper disk, and a small cluster of contrasting loops at the bottom can suggest a bow without adding a separate bulky element. Keep the outer loop lengths consistent; changing every loop size makes the wreath edge look accidental rather than full. Add the hanging loop through a reinforced point in the backing so the load sits on the ring, not on one decorative paper loop.

4. Fringed Christmas Tree Door Hanger
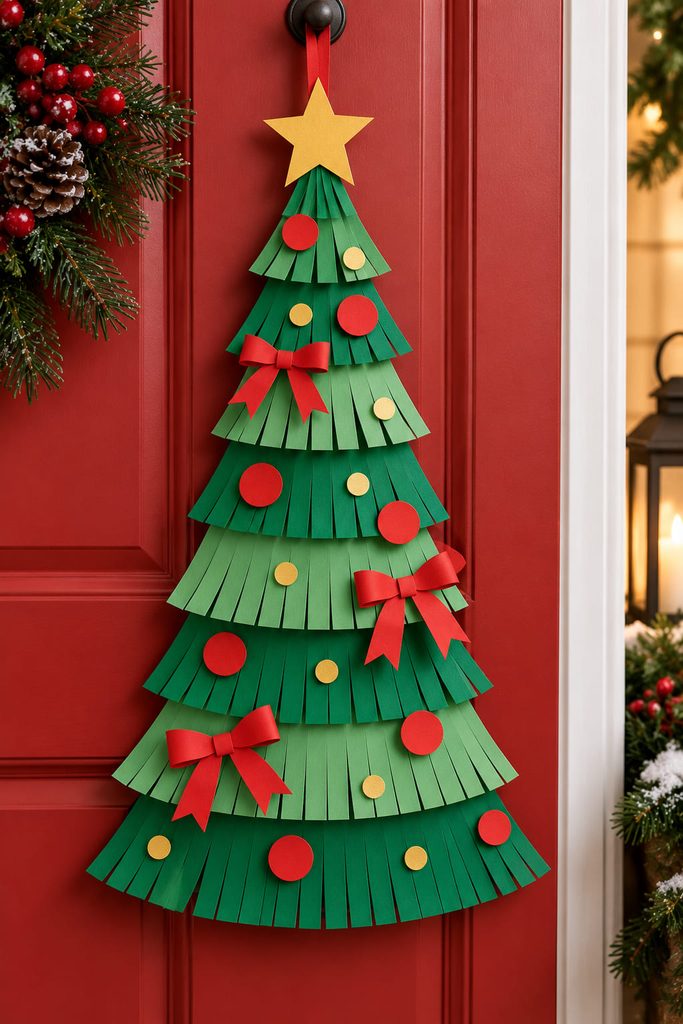
For a door, narrow wall, or the side of a bookcase, a vertical tree hanger uses height without taking up table space. Cut one long triangular backing, then overlap fringed construction-paper bands from the bottom upward so every new row hides the solid top edge of the row below.
Long fringe cuts make the layers swing and separate more easily; shorter fringe creates a denser, flatter surface that is better for a door that gets opened often. Keep an uncut band at the top of every strip so the fringe still has enough paper to glue securely. Reinforce the top point with a second paper layer, punch the hanging hole through both layers, and keep bulky ornaments away from the lower edge so the tree does not curl forward under uneven weight.
5. Curled-Strip Angel Ornament with Balanced Wings

Symmetry matters more than tiny facial details on a hanging angel. Build the skirt from one curled strip or a shallow paper cone, then form the wings from two matching loops or teardrop curls attached at the same height. The hanging thread should pass through the centerline above the head so the weight of the skirt falls directly beneath it.
Before gluing the wings permanently, check three things:

- left and right wing lengths match;
- the hanger exits at the center;
- the skirt clears both wings when the ornament turns.
A slightly heavier skirt can help the angel hang straight, but oversized wings will twist the body if their weight is uneven.
6. Slotted Reindeer Place Card That Stands Upright
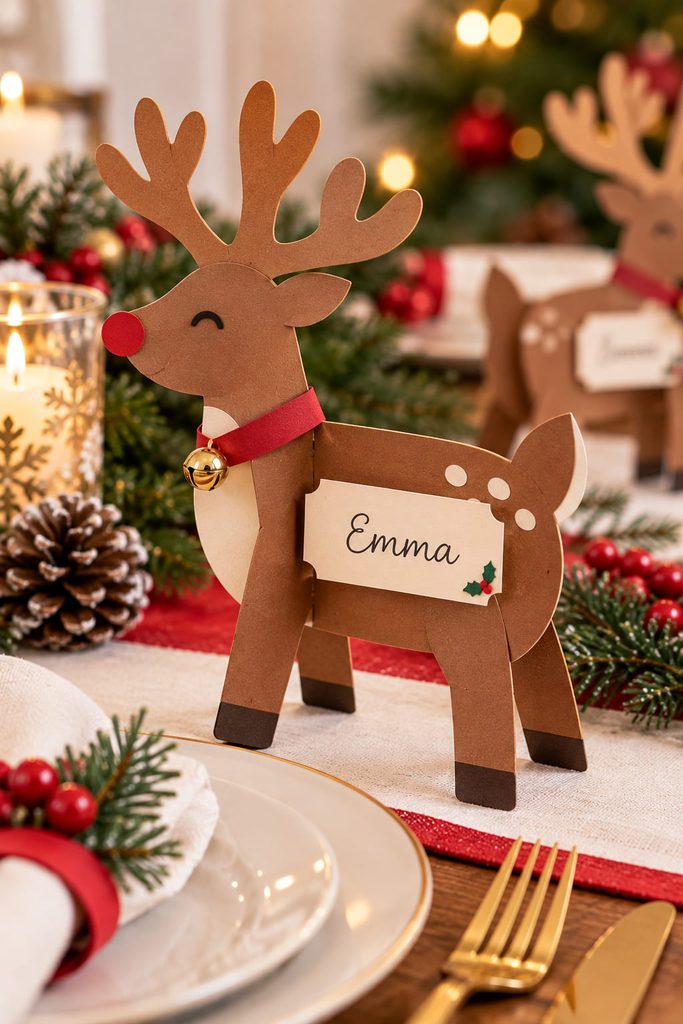
Two flat reindeer silhouettes can become a stable table marker when they cross through centered slots. Cut one piece with a slot rising from the bottom and the second with a matching slot descending from the top, then slide them together at 90 degrees. The crossed body creates a four-direction footprint, which is more reliable than trying to balance one decorative profile on narrow paper legs.

Leave a clean rectangular area across the back or chest for a handwritten guest name, or add a small blank tag that slips into a shallow slit. The name area should stay readable from the seated side of the table rather than disappearing behind the antlers.
Keep the antlers light and open instead of heavily layered. The place card works because most of its mass stays low and close to the intersection; if the top feels floppy, double only the antler section rather than thickening the entire figure.
7. Woven Star Window Ornament with a True Over-Under Center
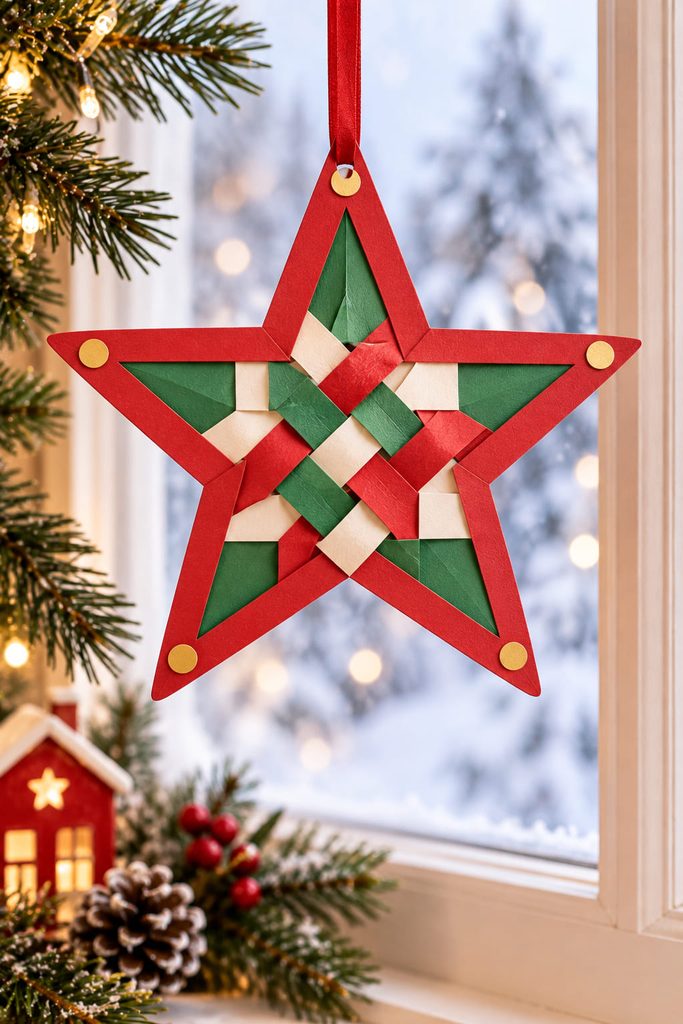
Cut a wide five-point star frame, then slit the inner edges just enough to accept narrow paper strips. Weave those strips across the center in a true over-under path, changing direction as you cross the opening. The exposed frame keeps the star silhouette readable while the woven center adds a second texture without covering the window light behind it.
For a neat finish, work outward from the center rather than filling one side first. Trim and glue strip ends on the back of the frame, then double the frame with a second star layer if the edges begin to curl. Punch the hanger hole through the reinforced top point, and keep the thread long enough that the star can hang free of the glass instead of tapping against it.
8. Pop-Up Present Card That Folds Flat
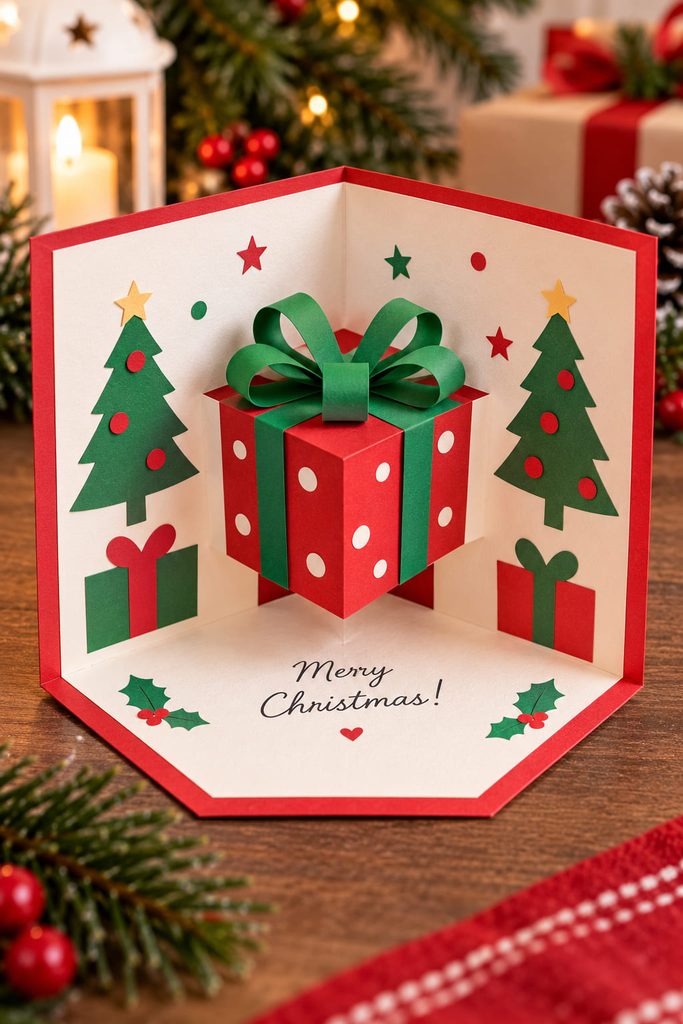
The easiest way to ruin a pop-up present is to decorate the box before checking whether the mechanism can close. Start with the movement first: a rectangular pop-up step cut and folded from the card interior creates the platform, while a separate construction-paper gift box face attaches to that step. When the card opens, the step pushes the box forward; when it closes, every part has to fold back inside the card edges.
A reliable build order is:
- Fold the card base and mark two parallel cuts across the center fold.
- Push the cut section inward to form the pop-up step and crease its side folds sharply.
- Open and close the blank mechanism several times before adding the gift-box face.
- Attach the box only to the front of the step, keeping ribbons or bows away from the moving creases.
- Close the card fully and trim any decoration that catches the outer edges.
Closed-state check: the card should lie flat without springing open. If it does not, look for a decoration crossing the center fold or a pop-up step that is too deep. Reducing projection usually fixes the collision more cleanly than forcing the card shut.
9. Folded Christmas Treat Pouch with a Tucked Flap
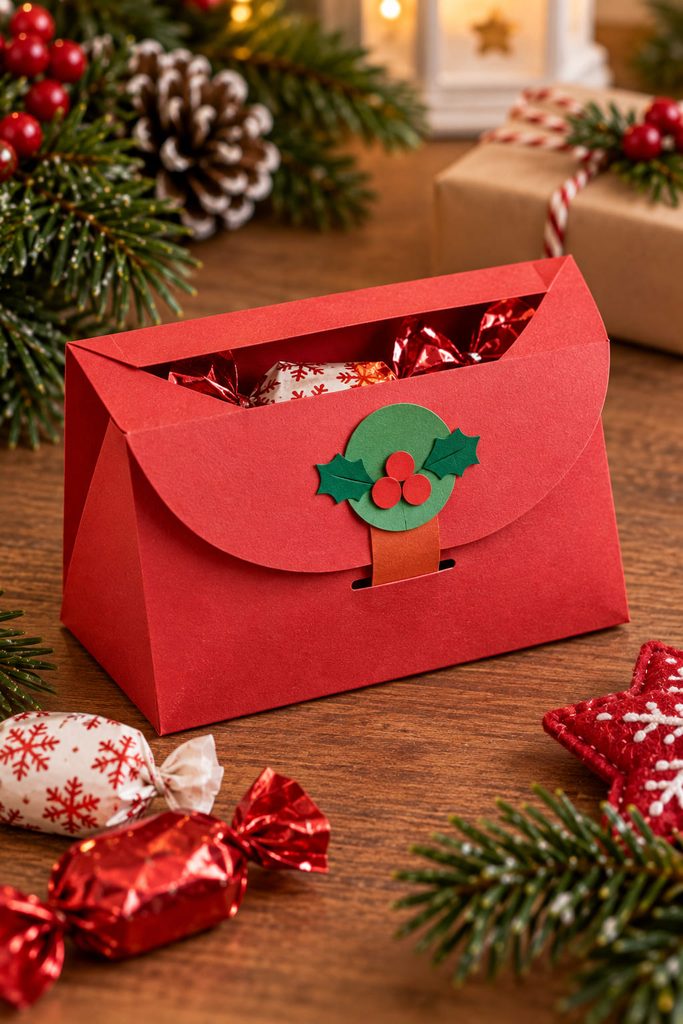
A small treat pouch works best when the paper is asked to hold a light, wrapped item rather than a handful of heavy candy. Fold a rectangle into a shallow envelope shape, overlap and glue the side seams, then create a top flap that tucks into a horizontal slit on the front. The slit provides closure without a bulky fastener, and the opening remains easy to reach when the treat is removed.
If the pouch bows outward before it is filled, the side seams are too narrow or uneven. If the flap pops free, lengthen the tuck tab or move the slit slightly lower. If the top tears when opened, round the corners of the tab and avoid placing the slit too close to the paper edge.
10. Torn-Paper Poinsettia Collage with Layered Petals
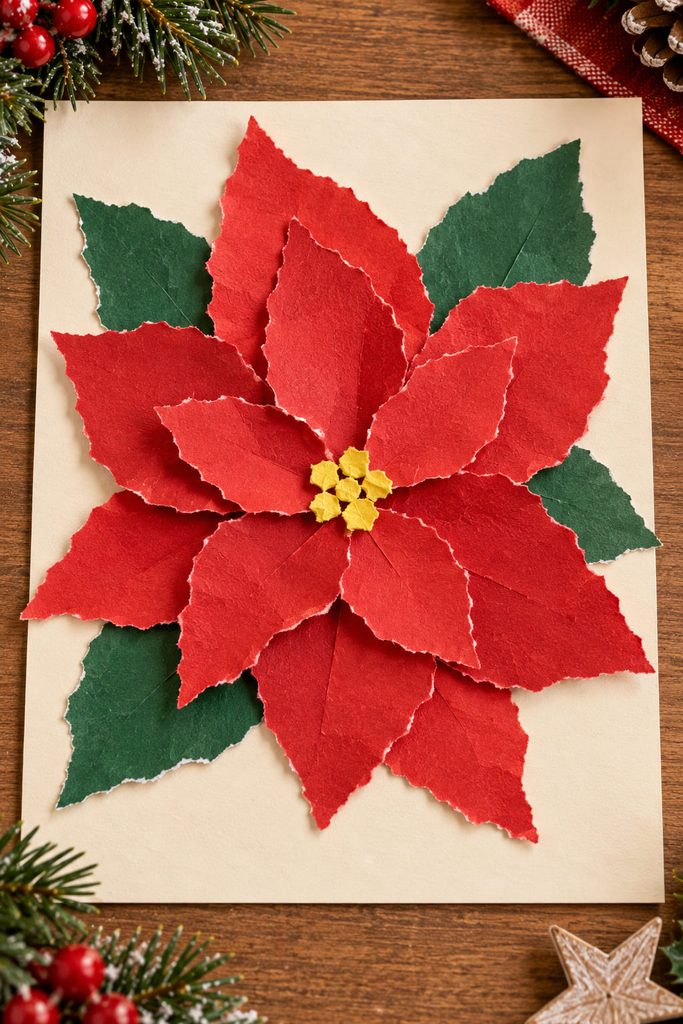
Torn construction paper is useful when crisp scissor-cut petals would make a poinsettia feel stiff. Tear broad red petal shapes with the paper grain pulling into slightly feathered edges, overlap them around a small yellow center, and add only a few dark green leaves behind the flower. Mounting one oversized bloom on a contrasting sheet gives the ragged edges room to show; filling the whole background with tiny pieces would hide the material effect that makes this collage different.
11. Spiral-Cut Snowman Hanging Spinner
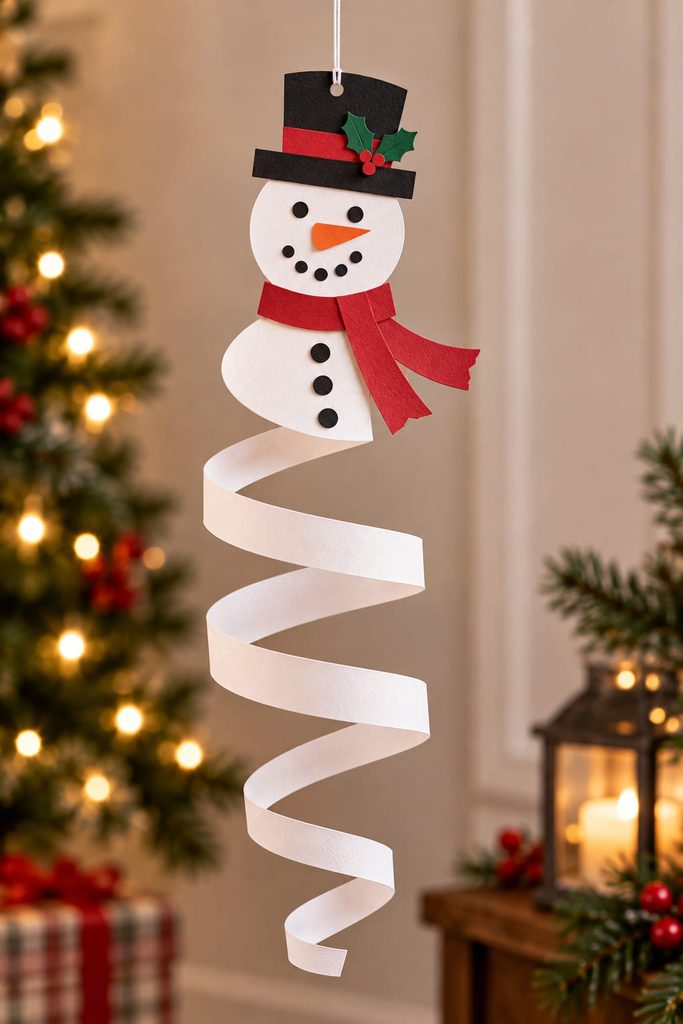
A spiral-cut snowman turns a flat circle into a hanging decoration that moves with small air currents. Draw a broad spiral through a white construction-paper circle, cut along the line, and leave a solid center disk at the top for the snowman’s face and hanging point. Small scarf, hat, and button shapes can sit near that center without weighing down the long paper coil.
Hang the spinner from the reinforced center rather than from the thin end of the spiral. Let the tail descend freely, and keep enough clearance from the wall, tree branches, or a lampshade for the paper coil to turn without catching. If the spiral hangs crooked, remove a heavy decoration or move it closer to the center instead of adding weight to the opposite end.
12. Folded Christmas Favor Basket with a Reinforced Handle
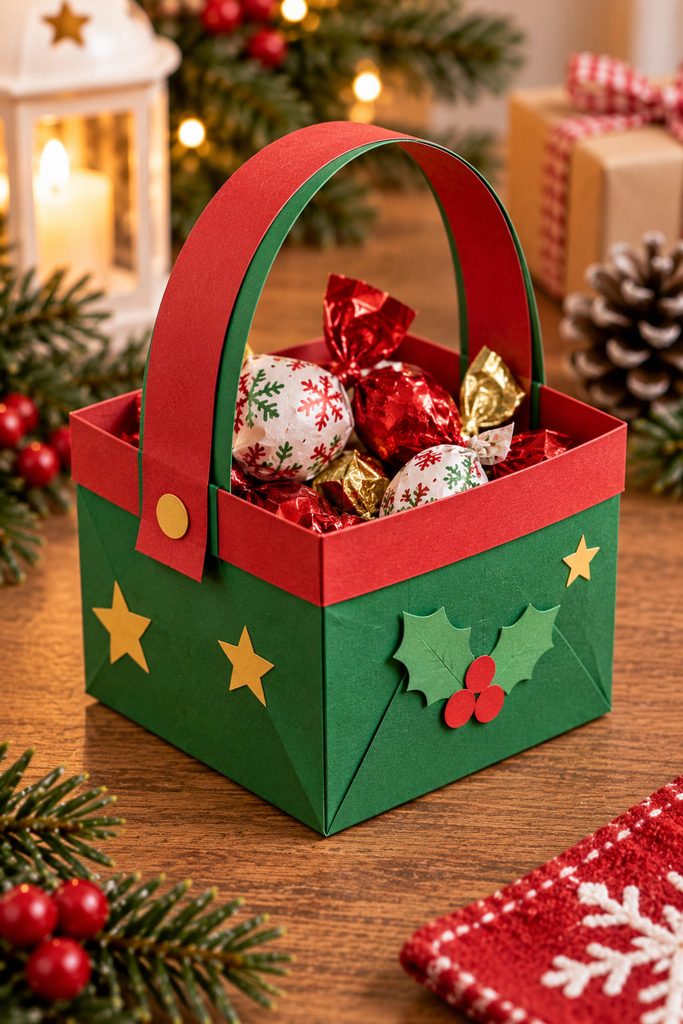
An open favor basket asks more of construction paper than a flat ornament, so the base and handle need reinforcement before decoration. Start with a square sheet scored into a center base and four side panels. Fold the sides upward, overlap small corner tabs inside the basket, and glue those tabs where they cannot interfere with the contents. A second square glued inside the bottom spreads the load across the base.
The handle should be a doubled strip attached low on opposite side walls, not a single strip glued only along the rim. Keep the basket for light, wrapped treats; construction paper is not a substitute for boxboard when the load becomes heavy.
Build and test it in this order:
- Score the base square and side folds before cutting the corner tabs.
- Form the basket empty and check that all four walls rise to the same height.
- Add the inner base reinforcement, then attach the doubled handle to the side walls.
- Load a few light wrapped treats and lift the basket only after the adhesive has set.
Handle check: if the side walls bow inward when lifted, shorten the handle span or widen its attachment patches. The repair should move the load into more paper area, not simply add another decorative strip over a weak joint.
13. Looped Construction-Paper Gift Bow for Small Packages

Construction paper makes a good small-package bow when the loops are broad enough to curve instead of crease. Cut equal strips, bring both ends of each strip toward the center to form paired loops, and glue the pieces around a flat paper disk.
For batch making:
- keep strip width constant;
- shorten only the top-layer loops;
- let glue set before stacking tiers;
- use the bow on a broad, flat package surface where the base disk can stay attached.
How to Make Construction Paper Christmas Crafts Hold Their Shape
Construction paper is softer and more flexible than many cardstocks, so the best projects use that behavior instead of fighting it. Score important folds with a ruler edge before creasing, double only the parts that need extra stiffness, and keep glue away from visible open areas where dampness can distort the sheet. For hanging pieces, reinforce the hole or attachment point with a second small paper layer.
When a project has to carry weight, stand for hours, or survive repeated opening, scale it modestly. Small pockets, light ornaments, and short spans are a better match for ordinary construction paper than large loaded boxes or long unsupported structures. If a craft needs a rigid frame or hanging support, treat those extra materials as structural helpers rather than pretending the paper can do every job alone.
Choose by What the Paper Needs to Do
Start with the project whose function matches where it will live. The mitten pocket and treat pouch make sense when the craft needs to hold something; the reindeer and accordion tree suit a tabletop; the star, angel, door hanger, and spinner depend on hanging behavior; and the pop-up card or favor basket are better choices when the construction itself is part of the fun.
For a broader mix of folding, hanging, wrapping, and dimensional holiday projects, continue with 17 Paper Christmas Crafts That Feel Festive, Not Fussy. The published page covers a wider range of paper types, while this collection stays deliberately focused on construction paper.








