
This post contains affiliate links. As an Amazon Associate I earn from qualifying purchases, at no extra cost to you. Thank you for supporting Diynify!
Paper mache Christmas ornaments are especially good when you want the tree to feel collected, sculptural, and visibly handmade. Instead of relying only on flat cut paper, paper mache can create rounded shells, raised texture, hollow forms, curved silhouettes, and small moving parts while still keeping the finished ornament relatively light.
Most of these projects use torn paper, paper-mache paste, acrylic paint, cardboard or recycled-paper armatures, scissors, and ribbon or thread. A few also use fine paper pulp, cardstock reinforcement disks, cardboard tubes, or a removable round form such as a small balloon. The useful starting point is the finished shape: decide whether the ornament needs to hang straight, move freely, open, or hold a tiny paper keepsake before adding decorative details.
1. Striped Globe Bauble With a Reinforced Hanging Cap
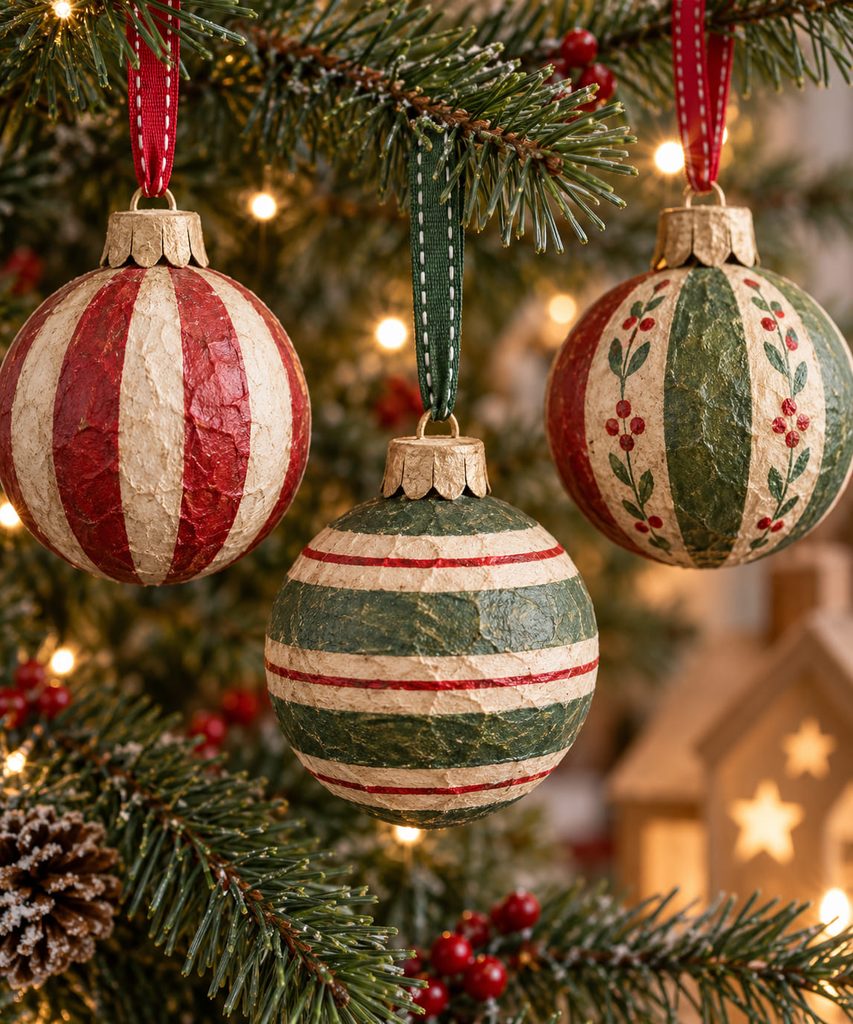
A lightweight sphere only works as a tree ornament if the hanger loads more than one thin spot in the shell. Form the bauble over a small balloon or round removable form with thin overlapping paper-mache layers, let it dry fully, then remove the form. Before painting, strengthen the top from inside with a small cardstock disk or a second patch of paper so the hanging loop cannot tear through the crown.
For an old-fashioned striped finish, paint broad bands rather than trying to hide every handmade ripple. Slight surface variation makes the stripes feel painted onto a real object instead of printed on a plastic ball. A narrow paper cap can cover the reinforced top and give the ribbon a clean exit point.

Hanger Cap Check: Lift the unfinished bauble by its final loop before adding decorative trim. If the top dimples, widen the internal reinforcement rather than adding more paste to the outside.
2. Ribbed Teardrop Finial With an Elongated Paper Core
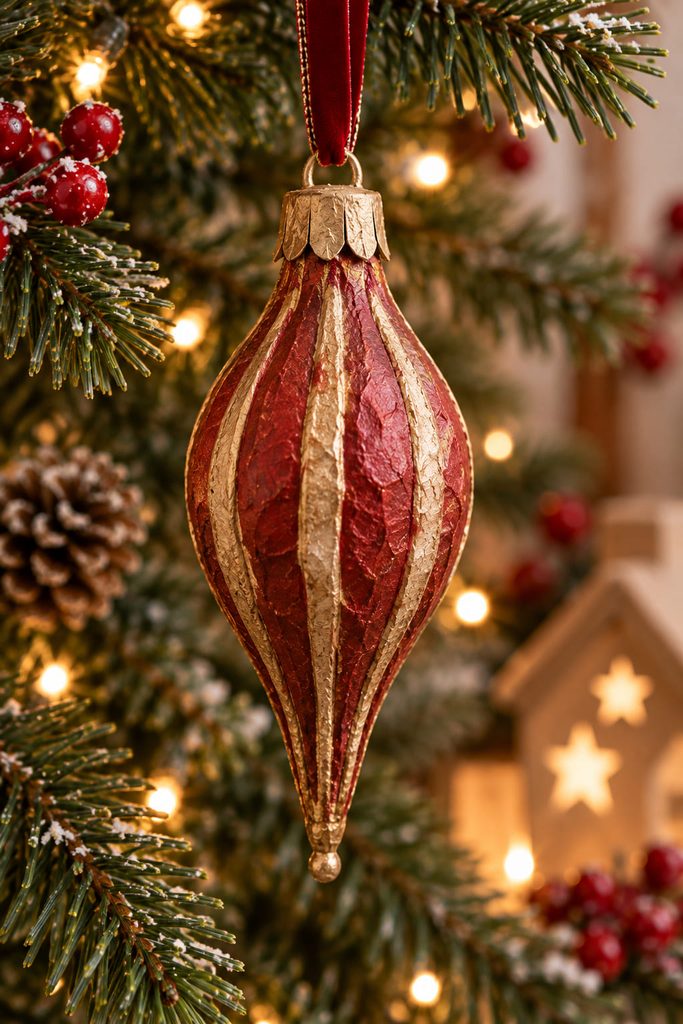
Long teardrop finials bring a different rhythm to the tree because they fill narrow vertical gaps between round ornaments. Start with a tightly rolled paper core or a slender cardboard armature, bulk out the upper half with crumpled paper, and taper the lower end before covering the shape with small paper-mache pieces.
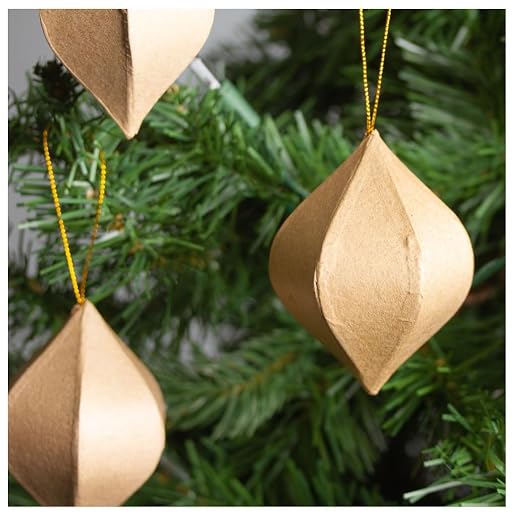
Raised ribs are easiest to control before the final skin. Add narrow twisted-paper cords from top to bottom, then cover them with one thin smoothing layer so the ridges remain visible without looking glued on. A metallic dry brush catches those ribs, while the recessed areas can stay matte. Keep the hanger centered at the blunt top; even a small offset is noticeable on a long ornament because the point exaggerates the lean.
3. Folk Bird Ornament Balanced From the Back
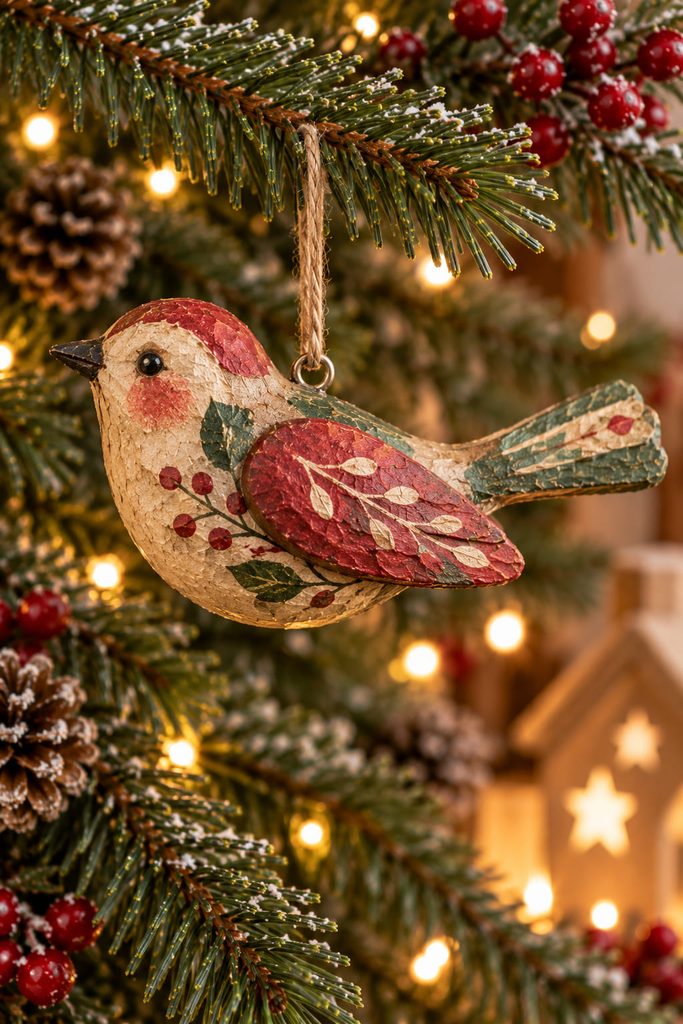
A paper-mache bird can look perfectly level on the table and still nose-dive once it hangs. Build the body around a compact crumpled-paper core, add a lighter head and tail, and keep the wings broad but thin. Do not fix the hanging loop permanently until the shell is dry enough to test.
Set a temporary thread loop around the upper body and slide it forward or backward until the bird rests at the angle you want. Mark that point, then replace the temporary loop with a reinforced paper tab or a small hole backed by an extra patch inside the shell.
If the bird still tips after the tail or wing paint is added, correct the attachment point rather than hiding weight inside the opposite end. Extra ballast makes the ornament harder on the branch.
Balance Check: Viewed from the side, the finished bird should hold its intended flight angle without the beak or tail touching nearby needles.
4. Retro Mushroom Ornament With a Separate Cap and Stem
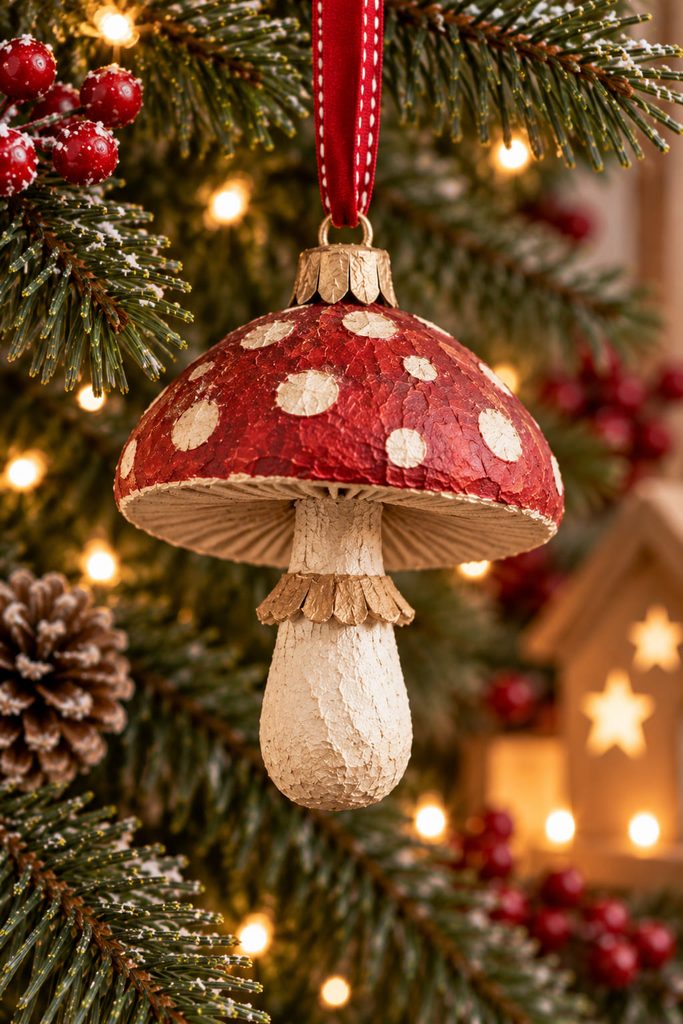
Build the mushroom cap separately from the stem so each part can keep a clear silhouette while drying. A shallow bowl-shaped paper form makes the cap; a short rolled-paper tube or crumpled core makes the stem. Once both shells are firm, join them with a broad paper collar hidden under the cap instead of relying on a narrow glue line at the stem tip.
A slightly oversized cap gives the ornament its retro character, but proportion affects hanging. Too much weight at one edge makes the mushroom list sideways, especially if the cap is heavily textured. Keep dots, scallops, or snowy paint thin and repeat them around the cap rather than concentrating decoration on one face.
Trap the hanging loop through a reinforced patch at the top center of the cap. When the mushroom is lifted, the stem should drop directly beneath that point with a little clearance around the branch.
5. Mini Toy Drum Ornament With Laced Side Detail
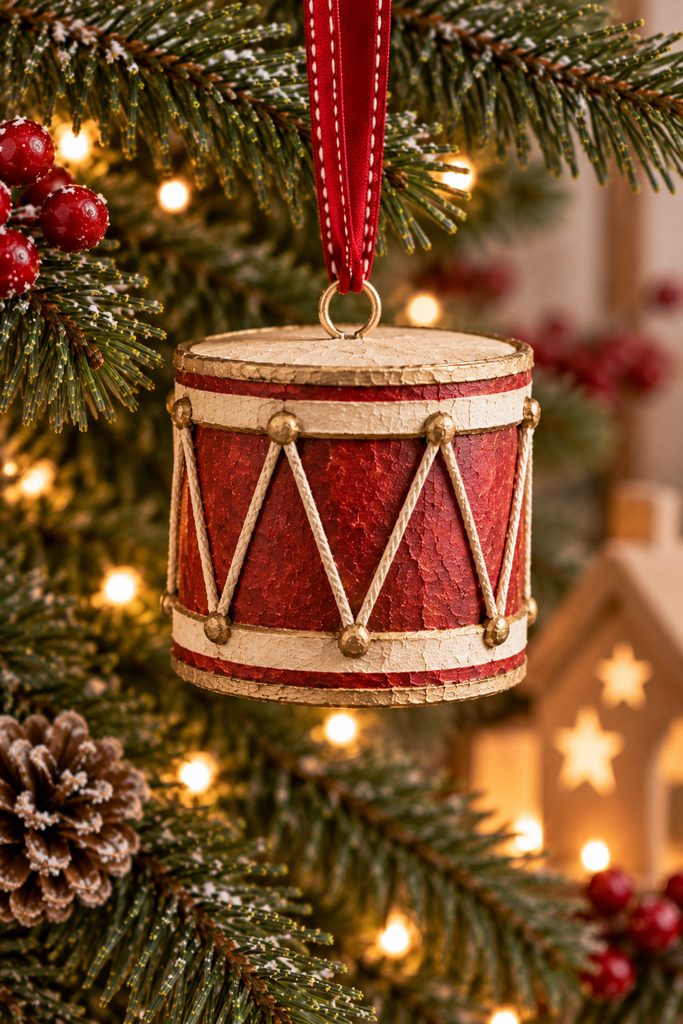
For a nostalgic ornament that reads clearly from across the room, a miniature toy drum has a useful advantage: the cylinder gives you strong horizontal bands and a clean bottom edge. Use a short cardboard tube as the core, close both ends with card disks, then add a thin paper-mache skin.
Choose the side detail by weight and texture:
| Detail Route | Best Result |
|---|---|
| Painted diagonal lacing | Lighter and flatter for a batch |
| Twisted paper cord | More shadow and tactile relief |
Attach the hanger through the top disk and reinforce it inside before closing the shell. Keep the bottom disk crisp and flat; that circular edge makes the drum feel intentional even when the paint is softly aged.
6. Sculpted Pinecone Ornament With Paper-Pulp Scales
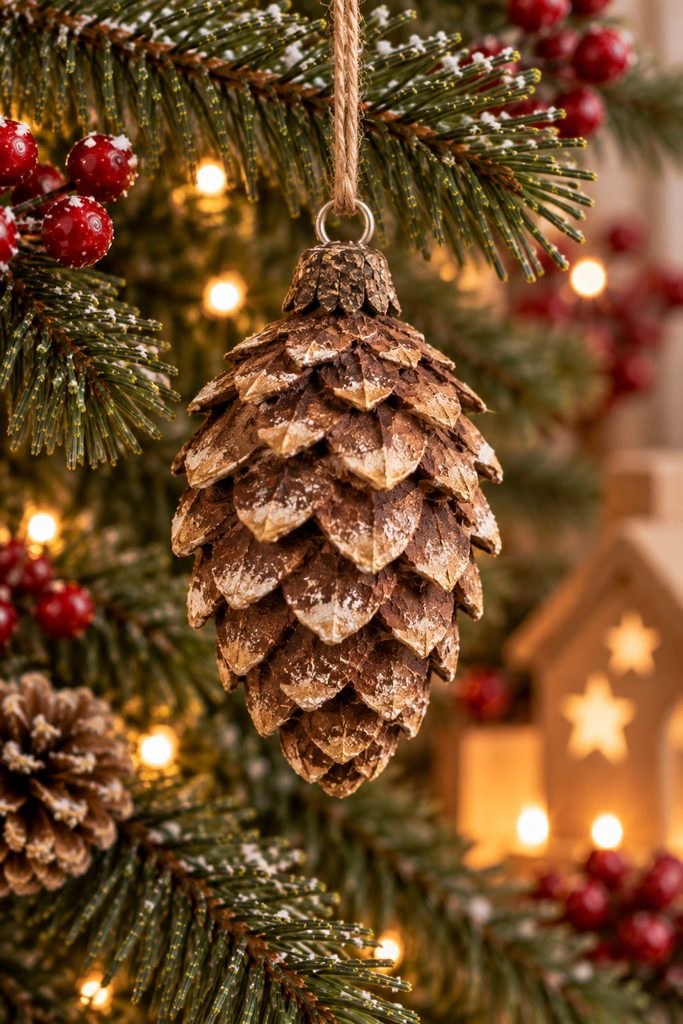
Paper pulp earns its keep here because a pinecone needs surface relief, not a stack of separate cut-paper scales. Shape a small tapered core from tightly crumpled paper, coat it with a thin base shell, and let that shell harden before sculpting the texture. Then press small amounts of fine pulp into overlapping scale forms, working from the lower end upward so each row visually tucks under the next.
If the pulp is applied too thickly, the ornament gains weight fast and the scale edges can crack as the center stays damp. Keep each ridge shallow and let texture come from shadow. A dry brush of lighter paint across the raised edges can emphasize the pattern without adding another material.
For the hanger, embed a folded paper loop or reinforced cord tab at the narrow top while the last structural patch is still accessible. The attachment should connect to the firm core area, not only to the sculpted outer scales.
7. Candy Cane Ornament Built Around a Bent Cardboard Spine

The curve is the project. A candy cane will not look convincing if a soft wet shell is expected to create the hook by itself, so make the bend in the armature first.
- Laminate narrow cardboard strips with their grain directions offset.
- Bend the top around a round form and hold it until the curve sets.
- Bulk the spine lightly with scrap paper, then wrap it in thin paper-mache strips.
- Paint spiral bands only after the shell is fully dry.
If the hook opens while drying, re-form the cardboard spine before adding another wet layer. Extra paste makes the problem heavier, not straighter.

8. Crescent Moon Ornament With a Free-Swinging Star

Once a second piece is allowed to move inside the silhouette, a crescent ornament becomes more than a flat moon shape. Build the crescent around a firm cardboard core and cover both faces with a thin paper-mache skin. A small star can be formed separately from pulp or two shallow molded halves, then suspended from the upper inner tip on its own short thread.
The top hanger and the star thread have different jobs. The hanger must sit close to the crescent’s balance point, while the inner thread needs enough length for the star to swing without striking the lower tip. Test both before sealing decorative patches over the attachment areas.
Swing Clearance: Hang the unfinished crescent and move the branch gently. The star should travel freely inside the opening without wrapping around the hanger or knocking against painted edges.
Leave the inner curve visually quiet. Too many dots, beads, or raised motifs around that negative space make the moving star harder to read.
9. Victorian Boot Pocket Ornament for Tiny Notes

Leave the cuff open, and a tiny Victorian-style boot becomes both an ornament and a pocket for a paper note. Build the foot and ankle around a compact cardboard profile with crumpled-paper bulk on both sides, then cover the form in thin paper-mache layers. Stop the shell below the cuff opening so the top remains accessible instead of sealing it like a sculpture.
The pocket only needs to hold something very light—a folded wish, name tag, or paper slip. Keep the opening wide enough for fingers and line the inside edge with a smooth strip of cardstock if the dried shell feels rough. A ribbon hanger works best through two reinforced holes near the upper sides so the boot stays upright when the pocket is empty.
Avoid loading it with candy or metal trinkets. The charm comes from the usable opening, not from turning a lightweight tree ornament into a heavy container.
10. Textured Acorn Ornament With a Rough Pulp Cap
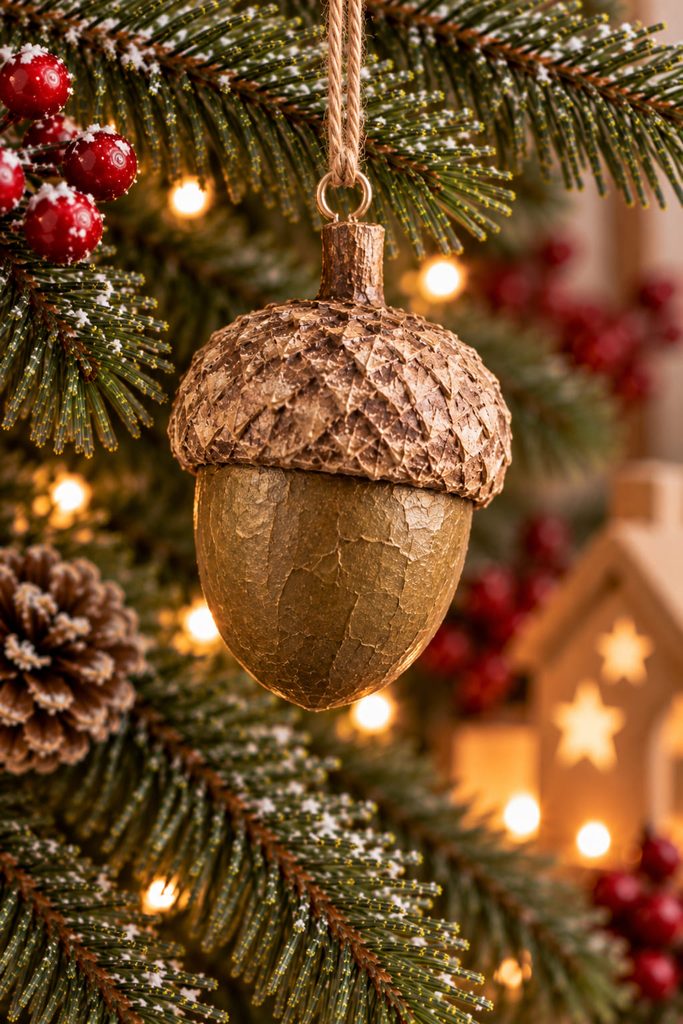
Smooth body, rough cap: that contrast is enough to make an acorn ornament read clearly without painted detail everywhere. Form the lower oval around a compact paper core, then add a separate cap of fine pulp with shallow crosshatching or irregular dimples. Let the cap overlap the body slightly so the seam looks intentional.
Keep the hanger at the stem area and reinforce it through the firm core. A muted brown, deep green, or antique gold finish suits the woodland shape, but the tactile difference between cap and body should do most of the visual work. If the cap texture becomes deep enough to catch on neighboring needles, flatten the highest ridges before painting.
11. Wrapped Gift Box Ornament With Raised Ribbon Bands
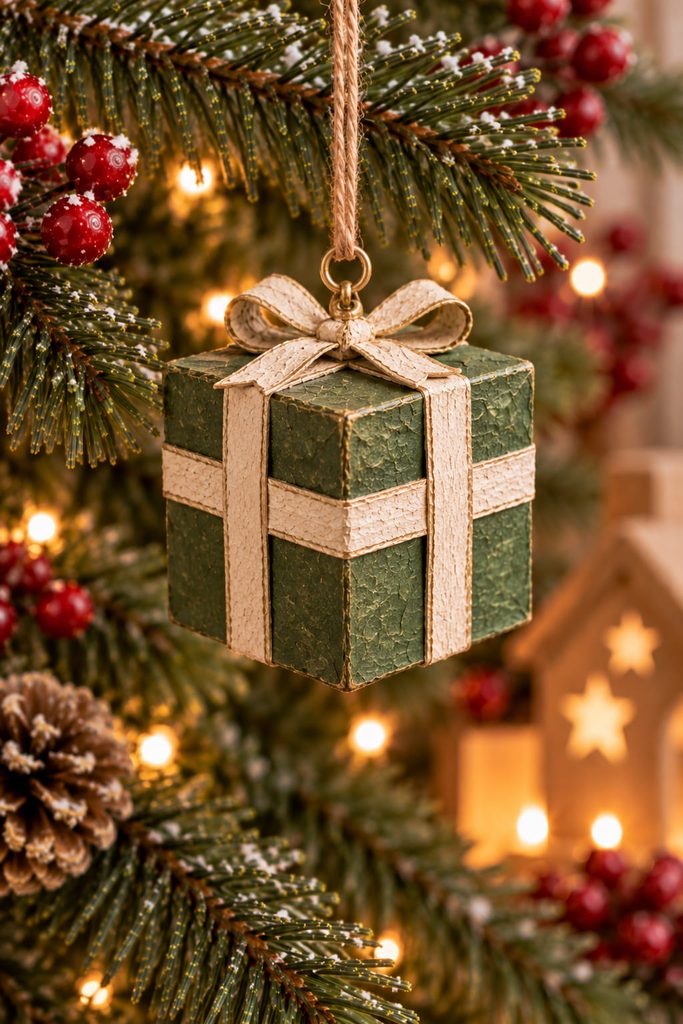
Square forms expose warped corners faster than round ones, which makes a wrapped-gift ornament a good test of controlled drying. Build a small closed box from lightweight chipboard or firm cardstock first, then cover it with short paper-mache pieces that turn neatly around the edges. Work opposite faces in stages instead of saturating the whole box at once.
Once the shell is dry and square, add raised ribbon bands from narrow rolled-paper strips or low pulp ridges. Cross them at the center and keep the bow shallow so it does not overpower the box.
A reliable sequence is:
- Reinforce the top panel from inside and install the hanging loop.
- Close the box and apply the structural paper-mache skin.
- Let it dry on a flat surface, rotating it as needed so no face stays damp against the table.
- Add the ribbon relief only after the corners are firm.
If one face bows inward, correct the box structure before decorating; raised trim will emphasize the distortion rather than hide it.
12. Two-Piece Surprise Bauble With a Slip-Fit Equator
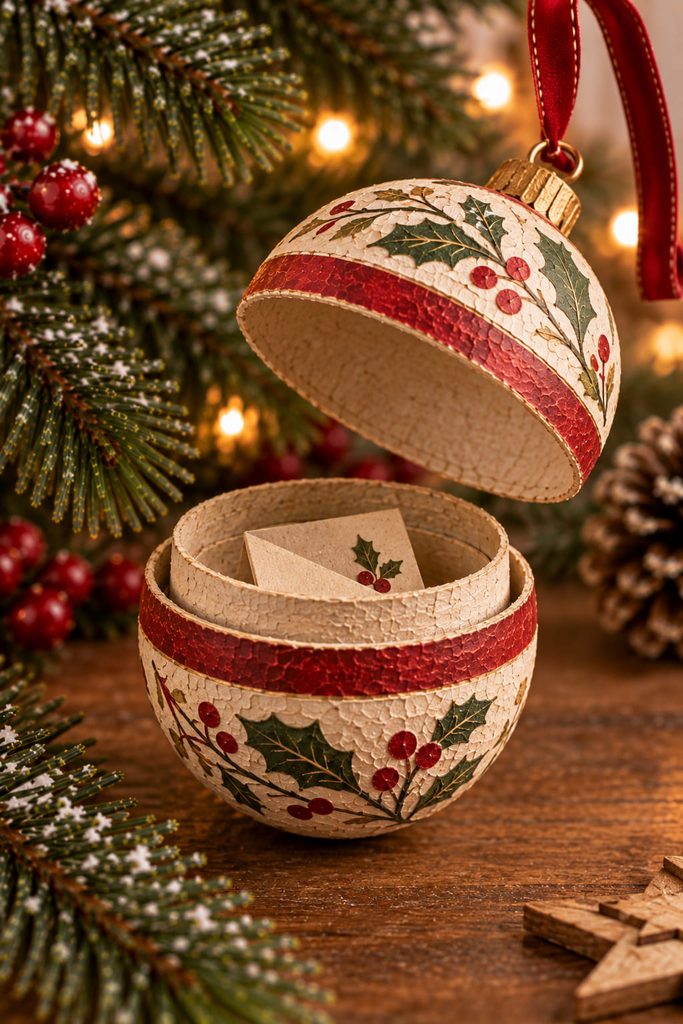
Decide what the bauble must hold before you choose the seam. A two-piece surprise ornament needs a real slip fit at the equator, not two decorative halves that happen to touch. Build the upper and lower shells over the same round form, but create a narrow inner paperboard collar on one half so it can slide inside the other. The collar carries alignment; the outer rim provides the visual seam.
Keep the contents extremely light—a folded note, a paper fortune, or a tiny photograph. The lower half needs enough depth to hold the item without it sitting in the joint, and the upper half needs a reinforced hanger that does not pull the lid off when the ornament is lifted.
Use this fit sequence before any final paint:
- Dry both shell halves completely and trim the equator edges even.
- Glue the collar inside the lower half with part of its height projecting above the rim.
- Slide the upper shell over the collar and check for an even seam all the way around.
- Add paint and sealer in thin coats near the joint, testing again between coats.
Equator Fit Check: The ornament should open with a deliberate pull but should not separate under its own weight. If the lid binds, sand or trim the collar lightly. If it wobbles, add a thin paper shim to the collar rather than thickening the outer shell.
This is a better choice for a keepsake message than for food or anything dense. The opening mechanism is the point, so decoration should stay clear of the seam.
13. Recessed Diorama Orb With a Cutout Window
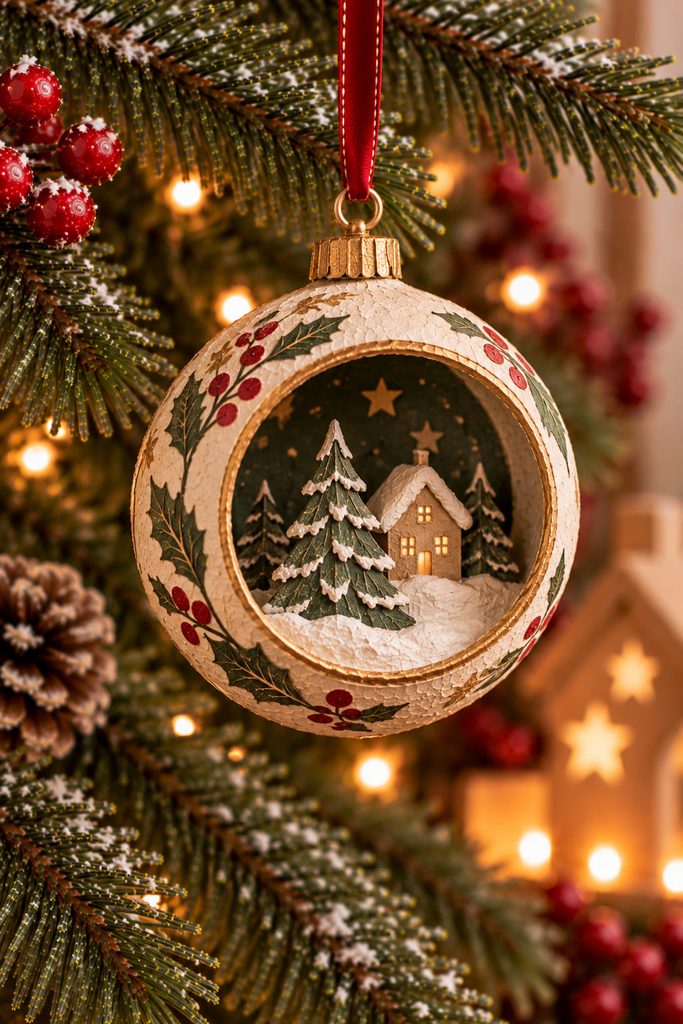
Cutting away part of the sphere turns a paper-mache orb into a tiny stage, but the opening also removes structure. Begin with a fully dried hollow sphere and mark a front window that leaves a generous rim around the top, sides, and bottom. Cut the window only after the shell is firm, then reinforce the inside edge with narrow paper strips so the remaining ring does not flex when handled.
Build the miniature scene on a separate lightweight insert rather than trying to glue details deep inside the orb. A small curved cardstock floor can carry a bottlebrush-style paper tree, a snowy paper mound, or a simple house silhouette; slide the finished insert through the opening and attach it at two or three broad contact points. Keep the background shallower than the front rim so the window reads as depth instead of clutter.
The hanger needs its own load path. Reinforce the top inside surface before attaching the loop, and keep the internal scene low enough that it does not pull the orb forward. Hang the unfinished piece and view it from several feet away: the opening should read as one clear framed scene, not a dark hole.
If the orb tips toward the window, either lighten the insert or move it slightly backward before shifting the hanger. Correcting the internal weight first preserves the top attachment and keeps the exterior silhouette centered.
For finish, let the rim do some of the framing work. A narrow metallic or painted edge can separate the interior from the outer shell, while the rest of the orb stays matte and handmade-looking.
Choosing Paper Mache Christmas Ornaments by Branch Weight
The armature, wet layers, sculpted pulp, hanging hardware, and added decoration all affect how an ornament behaves on a tree. Outer branch tips are better suited to compact acorns, candy canes, or hollow globe shells, while the drum, surprise bauble, and diorama orb are easier to place farther inward where a branch has more support.
Check the finished hanger before committing to a batch. Lift the ornament from the actual ribbon or thread, look for deformation around the attachment, and make sure dimensional pieces have clearance from nearby needles. When extra decoration starts making a piece noticeably heavier, simplify the surface rather than asking a thin shell or delicate branch to carry unnecessary weight.
Start With the Silhouette Your Tree Needs
Choose the first ornament by the gap you want it to fill. A teardrop or candy cane works well in narrow vertical spaces, the bird and crescent create wider silhouettes, and the globe or acorn gives you an easy compact form for repeating around the tree. Save the opening bauble or diorama orb for when you want the construction itself to become part of the ornament’s appeal.
For another route using lighter folded, woven, quilled, and layered paper techniques, continue with Diynify’s 16 Festive Paper Christmas Ornaments for a Handmade Tree.








