This post contains affiliate links. As an Amazon Associate I earn from qualifying purchases, at no extra cost to you. Thank you for supporting Diynify!
Paper snowflakes are a practical winter craft for beginners because a handful of cuts can create a complete repeating design. The trick for a first attempt is to work with broad shapes, sturdy paper bridges, and folds you can open without tearing.
Most of these projects use copy paper, lightweight craft paper, origami paper, a pencil, and sharp scissors. A few add coffee filters, light cardstock, glue, thread, or a cardstock ring. Start with the first few flat designs if you want to understand how folded cuts repeat; move to layering, connected chains, and slot-together construction when you are ready to make the paper do more than lie flat.
1. First-Cut Triangle Snowflake
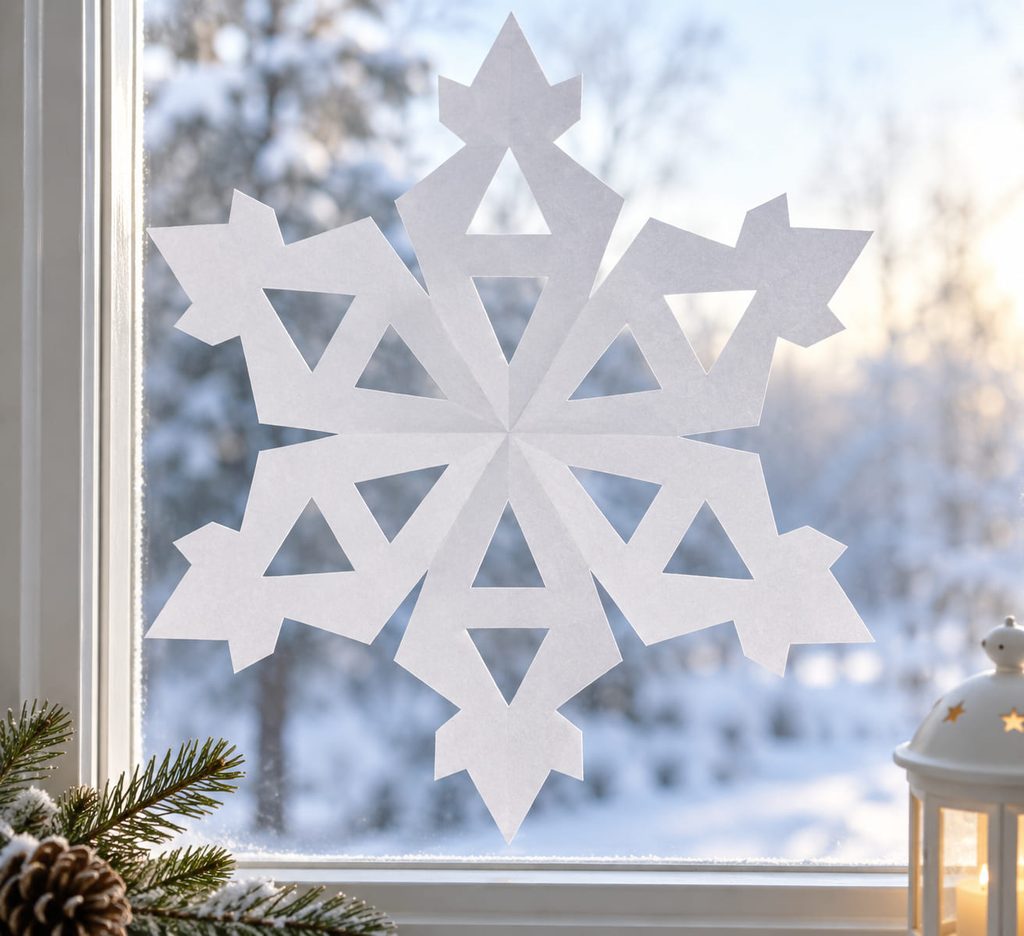
Start with a square of ordinary copy paper and give yourself permission to make only a few cuts. Fold the square diagonally into a triangle, crease it in half once to mark the center, then reopen that last fold. Bring the left and right corners across the center so the triangle overlaps in three sections, fold the packet in half, and trim the uneven top. The goal is not lace; it is learning how one cut becomes a repeated shape after unfolding.

- Cut one medium triangle from one folded side.
- Add a smaller triangle from the opposite side, leaving a wide strip of paper between the two openings.
- Clip the outer tip into a simple point or shallow V.
- Unfold one layer at a time instead of pulling the snowflake open from two arms.
If all six arms remain connected and the openings repeat around the center, the fold-and-cut relationship is working. That clear feedback makes this the best place to start before trying curves, narrow bridges, or tiny details.
2. Rounded Scallop Garland Snowflake
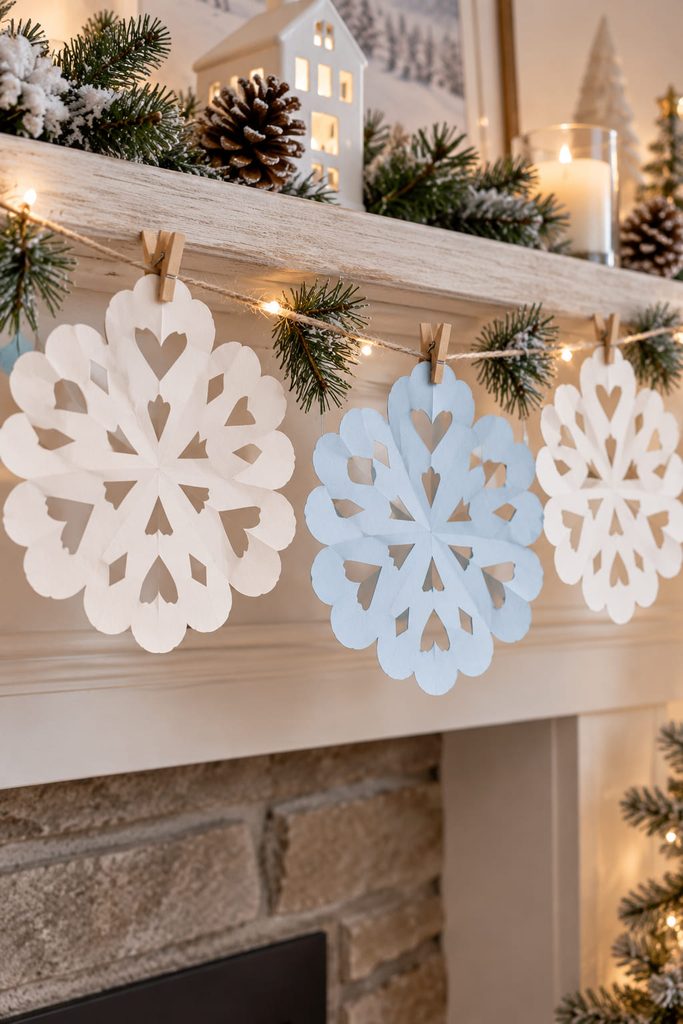
Soft scallops appear when you round the wide end of the folded wedge before making any side cuts, then add two shallow half-circle notches. When the paper opens, those simple curves repeat into a gentle edge that looks finished without requiring precise interior detail.
This version is especially forgiving on a garland because broad edges stay readable from several feet away and are less likely to catch on neighboring decorations. Lightweight paper is easier to fold cleanly, but avoid very thin tissue here; the rounded perimeter benefits from enough body to hang flat.

3. Solid-Center Gift Wrap Snowflake

For gift wrap, the center matters as much as the pattern because adhesive needs a solid place to grip. Keep the pointed center of the folded wedge intact and concentrate your cuts in the outer half. After unfolding, the result has a small solid hub surrounded by open arms instead of a fragile hole at the middle.
Use that hub for a glue dot or a short strip of double-sided tape on a wrapped box, envelope, or paper band. The solid center also gives you somewhere to press while attaching the piece, so your fingers do not have to push on the cut arms. Keep the overall snowflake modest in size; a small, sturdy shape reads more cleanly on a package than a large lace pattern that folds over corners.
4. Wide-Bridge Hanging Snowflake
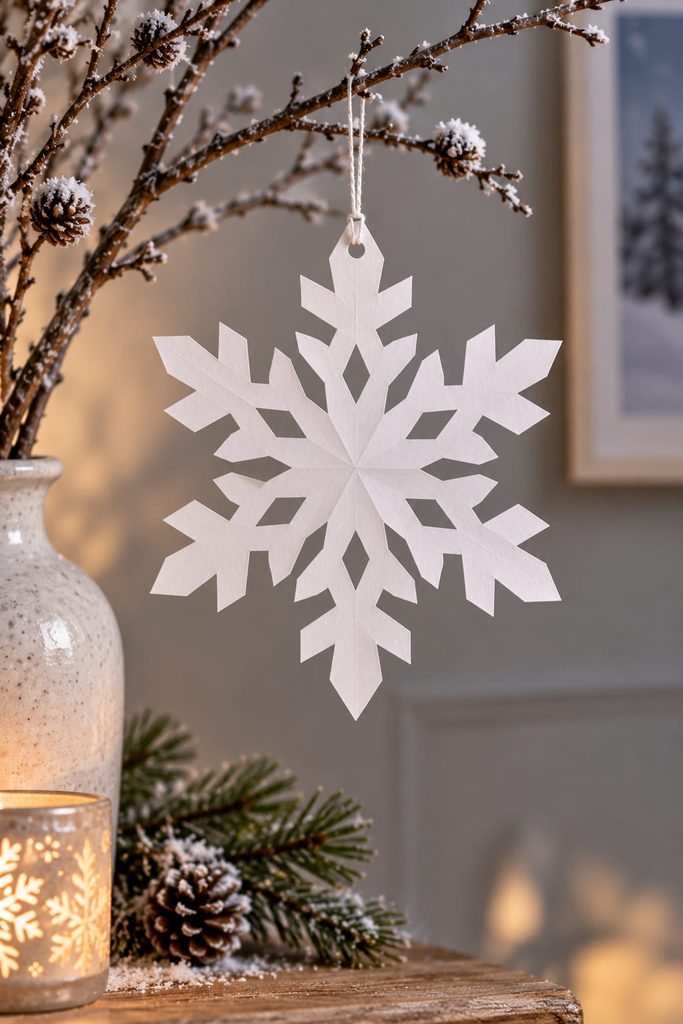
If a first snowflake tears during unfolding, the problem is usually not the symmetry; it is the amount of paper left between neighboring cuts. For a hanging ornament, make the bridges intentionally broad and leave one arm with an uncut area near its tip so a thread loop has something substantial to pass through. That small structural decision matters more than adding another decorative notch.
Bridge Check

- If two openings nearly meet, stop cutting between them.
- If the center looks pinched into hair-thin spokes, leave the next center area solid.
- If the hanging point bends as soon as thread is added, move the hole or loop farther inward onto a wider section of paper.
A successful ornament should lift by its hanging point without one arm folding sharply under the snowflake’s own weight. If it does fold, simplify the next version rather than reinforcing every edge with tape.
5. Small Star-Center Card Snowflake
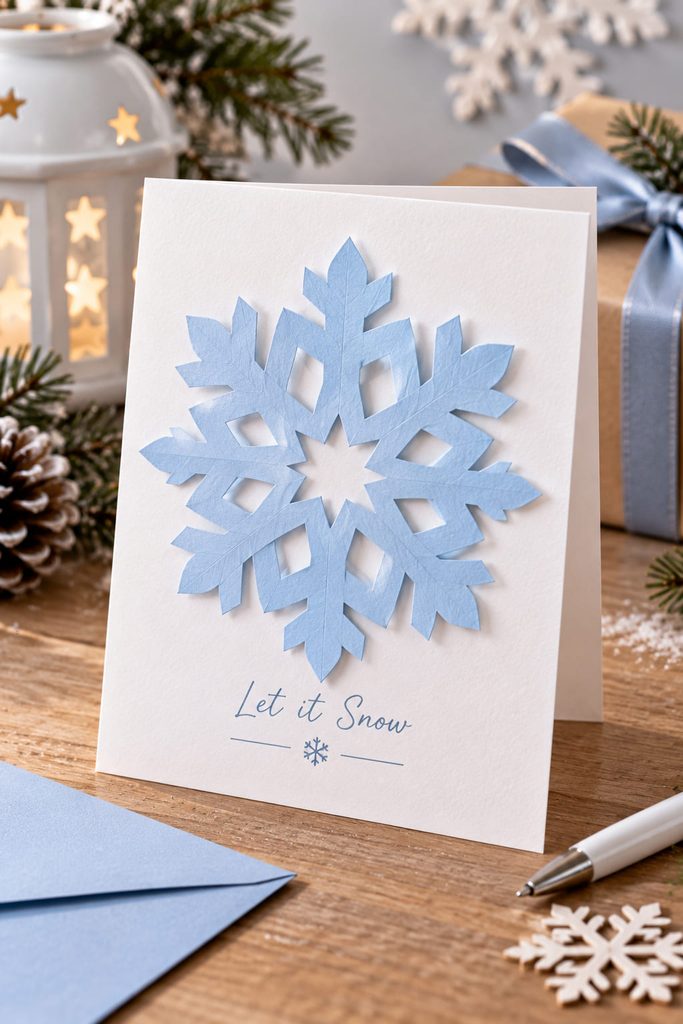
One tiny snip at the pointed tip controls the center and can create the strongest feature in the whole snowflake. Trim only a small triangle from that tip, then keep the rest of the cuts simple and farther out.

When opened, the center becomes a compact star-shaped opening surrounded by broader paper, which makes the design easy to mount on a card front without losing the focal point. Stop the center cut sooner than you think; enlarging it is easy on a second attempt, while putting paper back is impossible.
6. Staggered-Notch Mini Snowflake
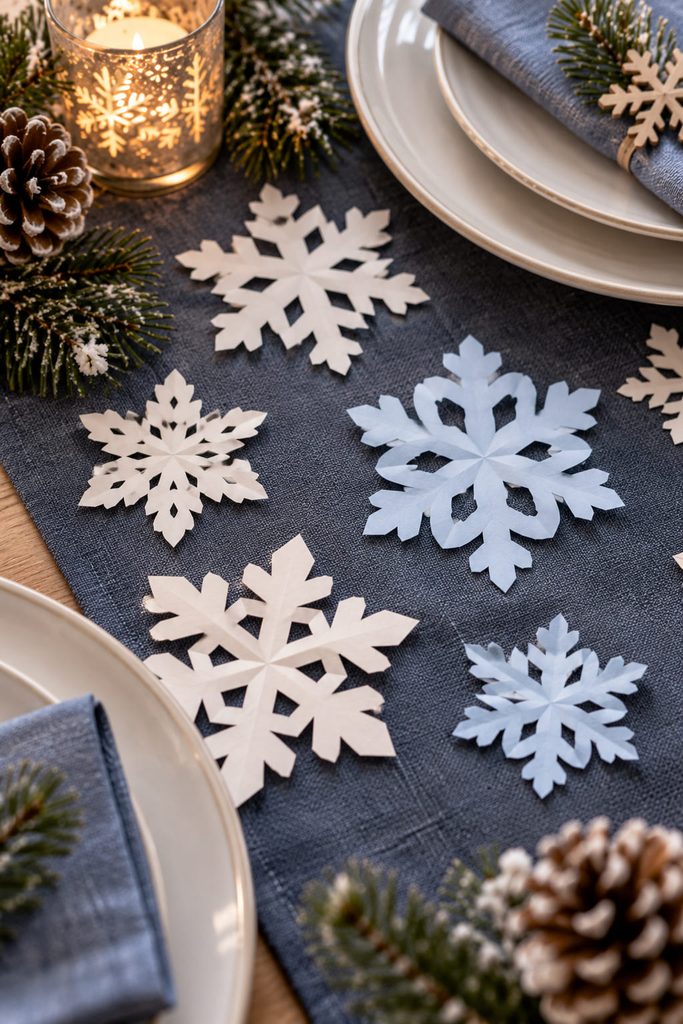
Instead of lining several cuts up across the folded wedge, stagger the notches when you want more detail without creating one weak line. There are two beginner-friendly routes. For a crisper look, alternate small triangles from side to side. For a softer look, mix one shallow curve with one angled notch and keep both cuts well separated.
Choose the first route for tiny snowflakes used as table scatter because the angular openings stay legible at small scale. Choose the second when the piece will be seen closer, such as on a place setting or gift tag. In either version, do not line up several deep cuts at the same distance from the center. Offsetting them leaves continuous paper running through the arm, so the snowflake is easier to unfold without splitting.
7. Teardrop Petal Snowflake
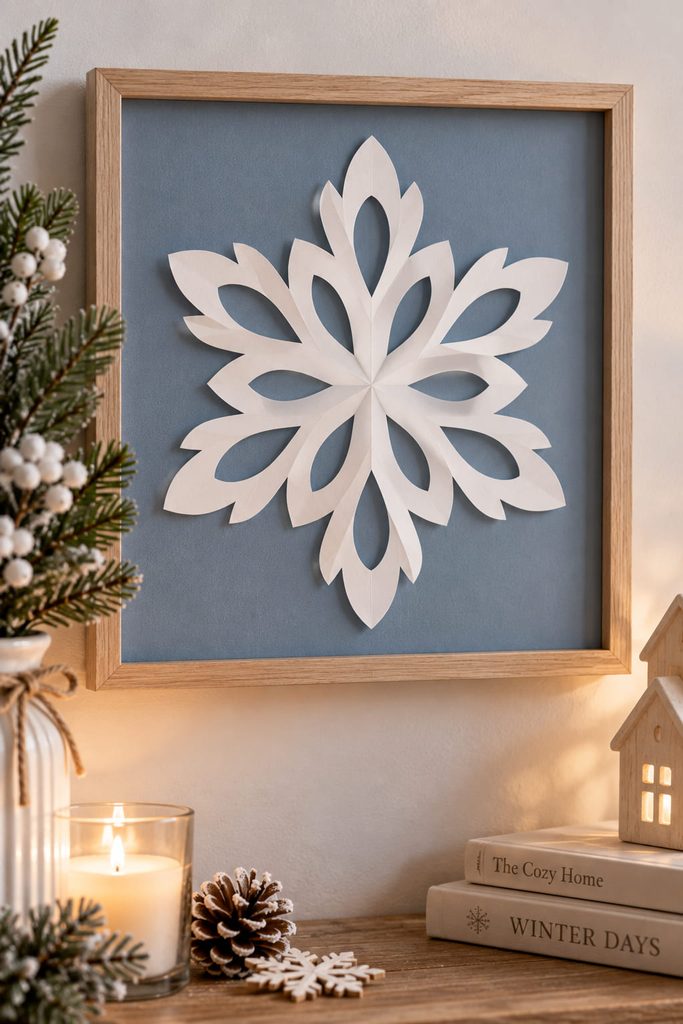
Because curved cuts ask the scissors to turn through several trapped layers of paper, they can feel harder than simple triangles. Use a slightly larger square for this one and make a single teardrop-shaped opening rather than a row of tiny curves. Begin with a short straight entry cut, round the scissors through the middle of the teardrop, and return toward the same folded edge without closing the shape into a loose scrap ring.
After opening, the repeated teardrops create a petal-like rhythm that looks more intricate than the cutting actually was. If the curve comes out lumpy, do not trim the opened snowflake freehand; the symmetry will disappear. Refold it along the original creases and adjust the same cut through all layers. This is a useful practice piece for framed snowflakes, where smooth negative space matters more than the number of openings.

8. Bold Block-Cut Wall Snowflake
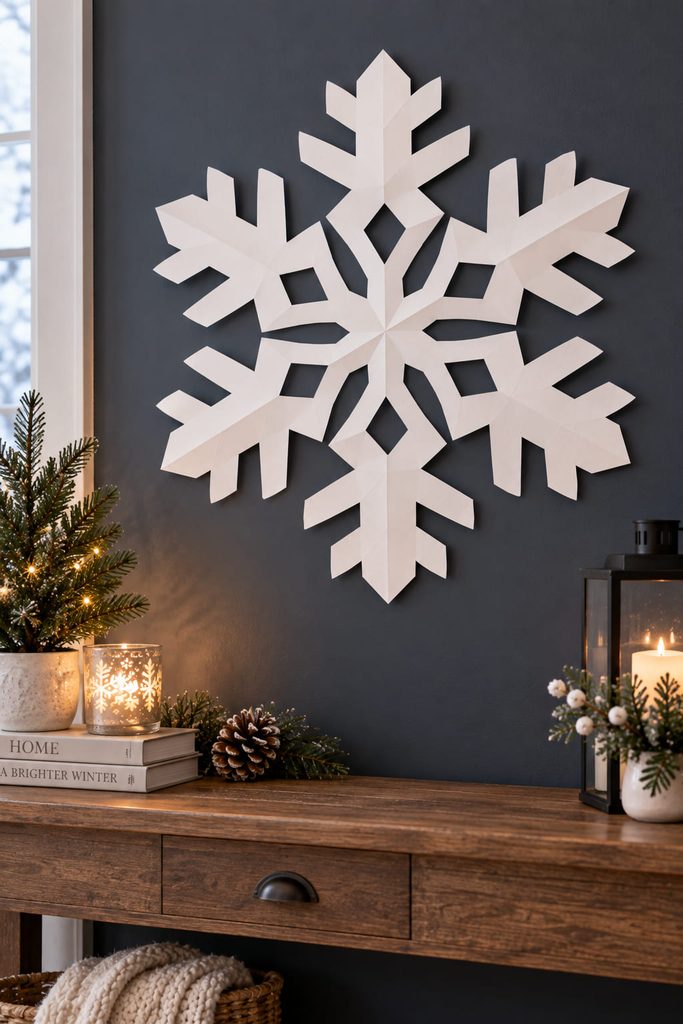
When precision is still developing, large rectangular and triangular cutouts can make a snowflake look cleaner, not plainer. Keep the outer silhouette broad, then remove only a few bold blocks from the sides of the folded wedge. The open areas become strong geometric windows that still read clearly on a wall or dark backing.

Before unfolding, check three things: at least one continuous strip of paper should run from the center toward the outer edge; no block cut should reach completely through the folded spine; and the smallest remaining bridge should be visibly wider than the tip of your scissors.
This is a good choice when cutting accuracy is still developing because each opening has room for a minor wobble. The finished design depends on contrast between solid paper and open space rather than perfectly matched micro-details.
9. Two-Layer Snowflake Medallion
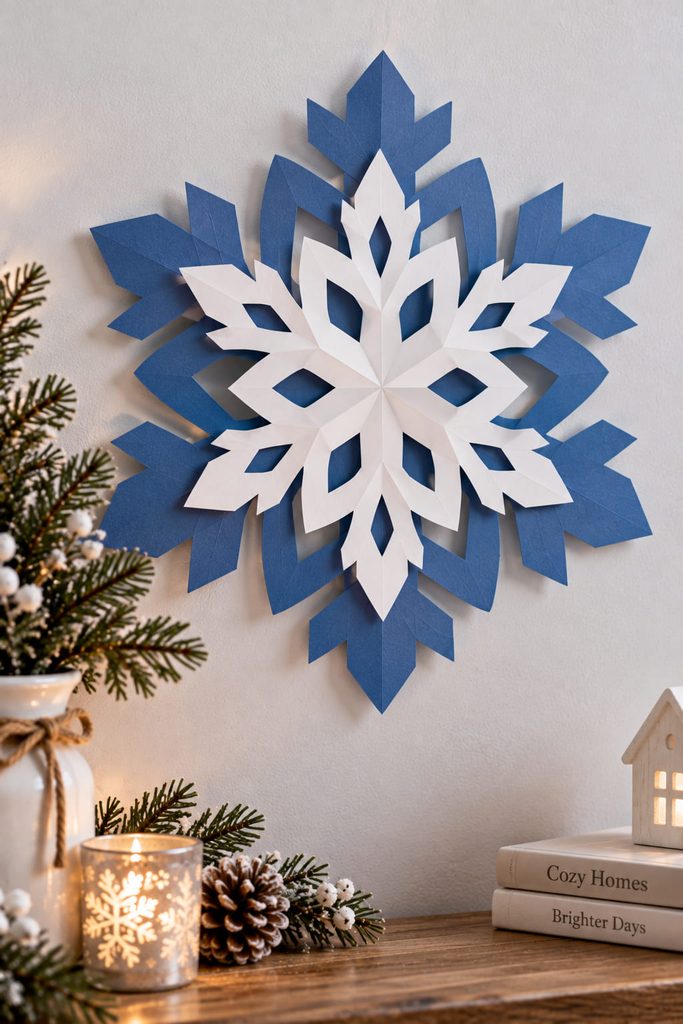
Layering two simple snowflakes is an easier way to create visual depth than trying to cut one extremely intricate design. Make a larger base snowflake with broad openings and a smaller top snowflake with fewer, slightly narrower cuts. Use two papers that differ clearly in value or color so the lower layer remains visible through the upper openings.
The important part is alignment. Rotate the smaller snowflake until its arms sit between, rather than directly on top of, the strongest openings in the base. That offset keeps both silhouettes readable. Apply adhesive only at the solid centers and, if needed, at one or two broad arm sections. Gluing every point flattens the layers and often causes thin paper to wrinkle.

Layer Fit Test: set the pieces together without glue and view them from arm’s length. You should be able to identify the outline of both snowflakes. If the top layer hides most of the base, either reduce the top size or rotate it before attaching. This medallion works well as a card focal point or a flat wall accent because the layering adds depth without requiring a dimensional frame.
10. Coffee Filter Window Snowflake
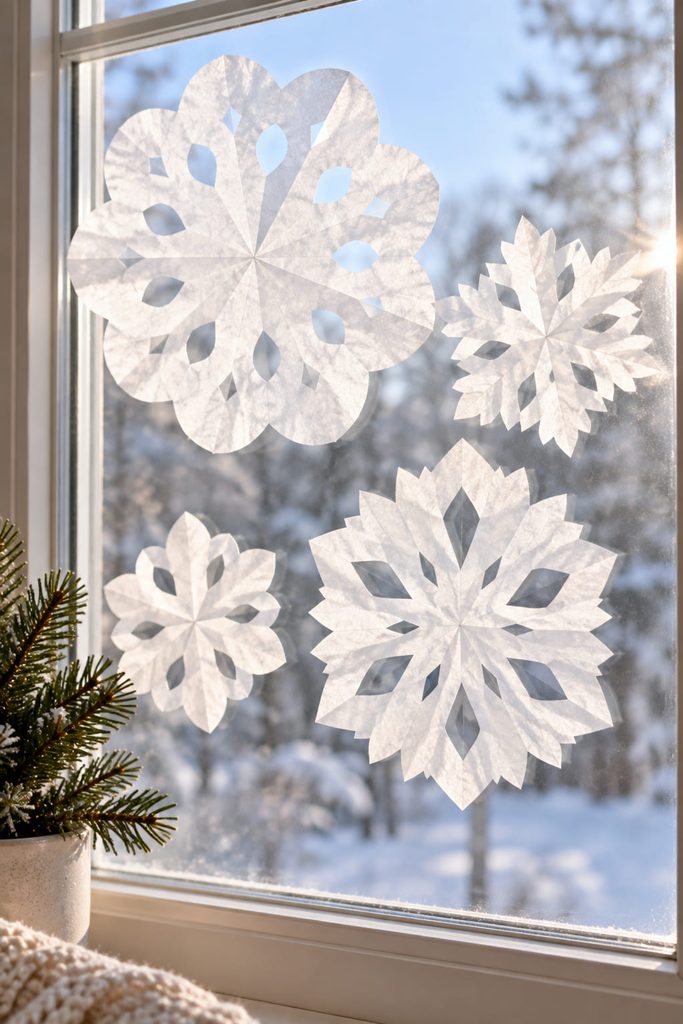
Unlike copy paper, coffee filters are thin, soft, and already round, so the job shifts from shaping the outer edge to controlling the interior cuts. Fold one filter into an even wedge and use only a few broad snips; dense cutting can leave the soft fibers too weak to unfold comfortably.
The finished snowflake has a light, slightly translucent quality that suits a bright window cluster. Press it flat under clean paper after unfolding if the creases stand up, and attach it with a removable method that will not require tugging on the fragile arms later.
11. Accordion Strip Snowflake Chain
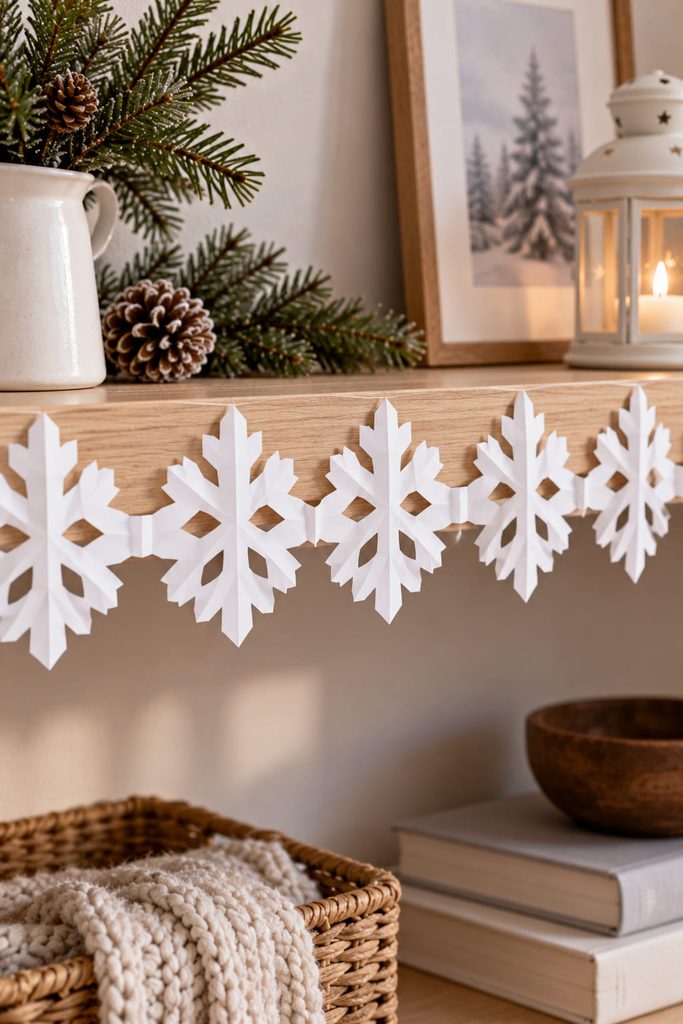
With an accordion strip, one simple snowflake silhouette can repeat into a connected winter border without refolding separate squares. Cut a long paper strip, fold it back and forth into equal rectangular panels, and draw a bold snowflake shape on the top panel. Let one broad arm touch each folded side; those contact points become the bridges that keep neighboring snowflakes joined.
- Make the accordion folds first and crease each one firmly.
- Draw a large, simple snowflake with only two or three interior notches.
- Mark the side bridges before cutting so they are easy to protect.
- Cut around the silhouette and through the stack with slow, full scissor strokes.
- Open the chain gradually and flatten the folds only as much as the display requires.
If the border separates into individual pieces, the side bridges were cut through; widen those connection points on the next strip. Hang the finished chain along a shelf edge or across a narrow window where the repeated rhythm is easier to read than a single large snowflake.
12. Beginner Snowflake Wreath
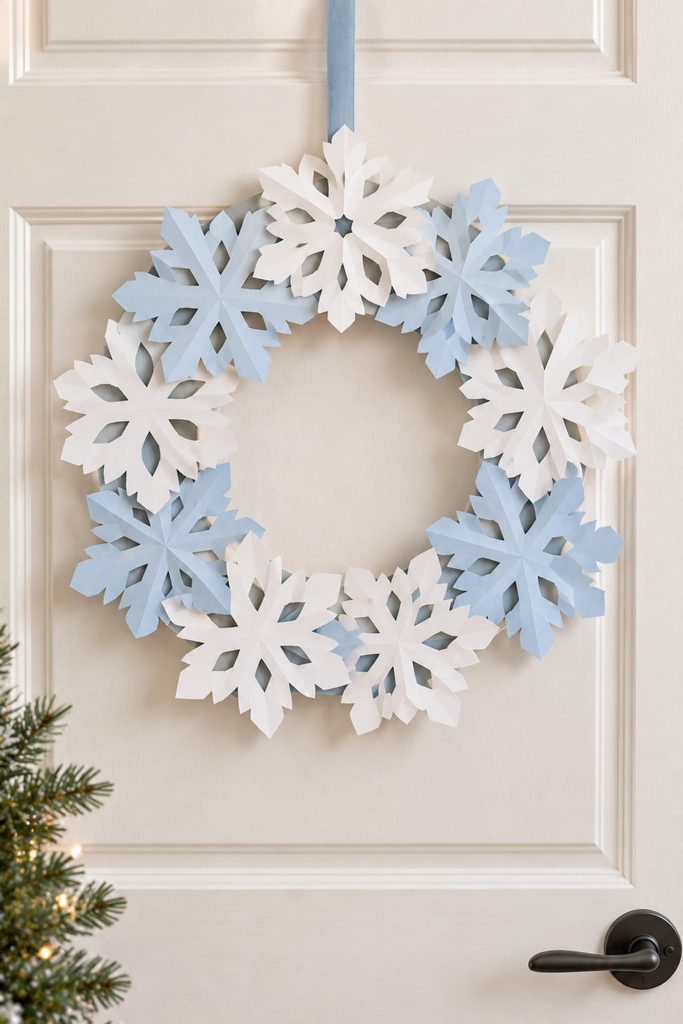
For a small wreath, beginner snowflakes become a batch project, so consistency matters more than complexity. Choose one sturdy cut pattern—broad triangles, a solid center, and no narrow lace—and make several snowflakes from squares of the same size. Refold and cut one finished example first, then use it as the visual reference for the rest rather than trying to make every notch mathematically identical.
Build the support from a cardstock ring wide enough to give each snowflake a real glue area. Lay the cutouts around the ring before attaching anything, overlapping neighboring arms just enough to hide the support without covering the open centers. Alternate the rotation slightly so the wreath does not look like stacked copies.
Batch Shortcut: fold all paper squares first, then cut one snowflake at a time. Stacking several folded snowflakes together may seem faster, but the extra thickness makes the scissors harder to control and can shift the layers.
Press adhesive only onto solid hubs or broad arm sections. After the wreath is dry, lift it from two points on the ring rather than from a snowflake tip. If the ring flexes or shows between pieces, add another cutout where coverage is thin instead of stretching the existing snowflakes farther apart.
13. Slot-Together Standing Snowflake
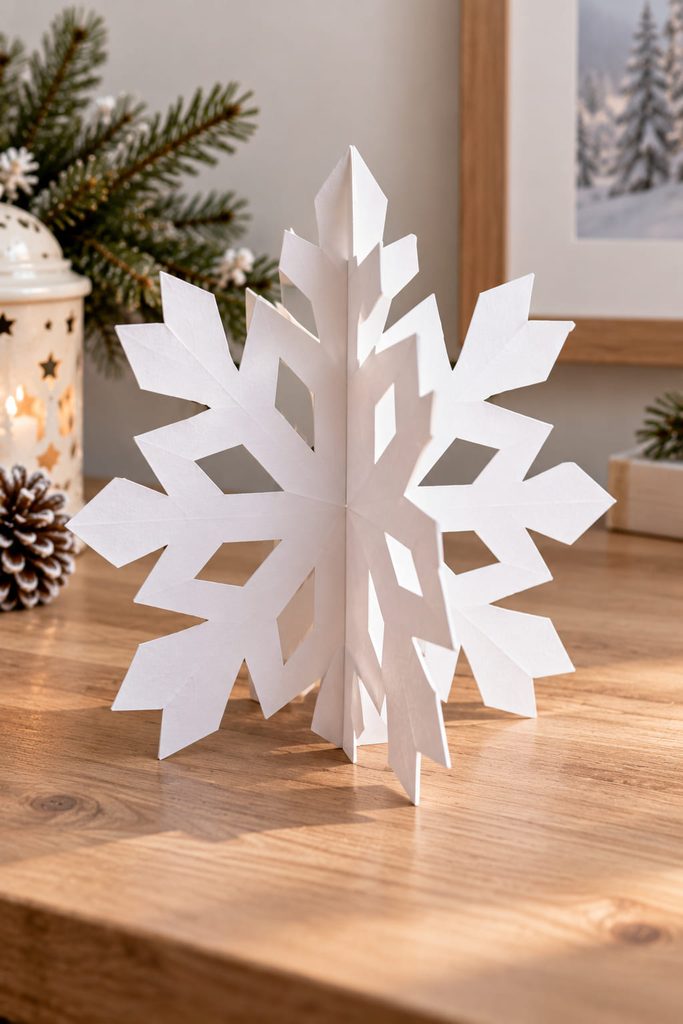
To turn two flat snowflakes into a standing decoration, add one straight slot to each piece. Cut two matching snowflakes from light cardstock rather than copy paper; they need enough stiffness to hold each other upright. Keep the centers solid and the main arms broad. On the first snowflake, cut a slot from the top edge down to the center. On the second, cut from the bottom edge up to the center. Each slot should be only slightly wider than the cardstock thickness.
Slide the two pieces together until their centers meet and the snowflakes cross at roughly a right angle. Set the assembly on a flat surface before adding any decoration. All four lower contact areas should share the load; if one side floats above the surface, the slots are misaligned or one has been cut too far. Shorten the effective slot with a tiny paper shim glued inside, or remake the weaker piece rather than forcing the cross joint.
The finished snowflake stands without a separate base and introduces a useful beginner lesson: a cut can create structure, not just pattern. Keep this version medium-sized so the cardstock does not have to support long, floppy arms.
How to Keep Paper Snowflakes From Tearing When They Open
A folded snowflake stays together because every opening is surrounded by an uncut path of paper. The easiest way to protect that path is to think in bridges rather than holes: after every cut, look at what still connects the center to the outer edge. If two cuts nearly meet, leave the space between them alone.
The pointed tip of a six-point wedge affects the center, cuts along the folded sides repeat through the arms, and the wide end controls much of the outside silhouette. Beginners usually get a stronger result by making fewer, wider openings first. Open the finished piece one fold at a time; pulling opposite arms apart can put all the stress on the narrowest bridge.
Start With One Skill, Then Add Detail
For a first session, choose one snowflake that teaches a single clear skill: the triangle version for fold-and-cut repetition, the wide-bridge ornament for strength, or the coffee-filter version for easy curved snips. Once those relationships make sense, denser patterns become easier to plan because you know which areas of the folded wedge control the center, edge, and repeated openings.
When you are ready to move from beginner exercises into a wider pattern library, continue with 15 Paper Snowflake Pattern Ideas From Classic to Creative.