This post contains affiliate links. As an Amazon Associate I earn from qualifying purchases, at no extra cost to you. Thank you for supporting Diynify!
Paper snowflake patterns can be as simple as a few bold triangle cuts or as intricate as lace, arches, branches, and tiny repeated windows. The useful part is learning what each cut controls: the pointed tip of the folded wedge affects the center, the wide end shapes the outside edge, and cuts along the folded sides create the repeated negative spaces that appear when the paper opens.
Most of these ideas work with square sheets of copy paper, lightweight craft paper, or origami paper, plus sharp scissors and an optional pencil for sketching. A few display variations use light cardstock, removable tape, thread, glue, or a contrasting paper backing. Start with the bolder patterns if you want sturdy decorations; save the narrow bridges and dense cutwork for thin paper and close-up display.

1. Classic Triangle-and-Diamond Six-Point Snowflake
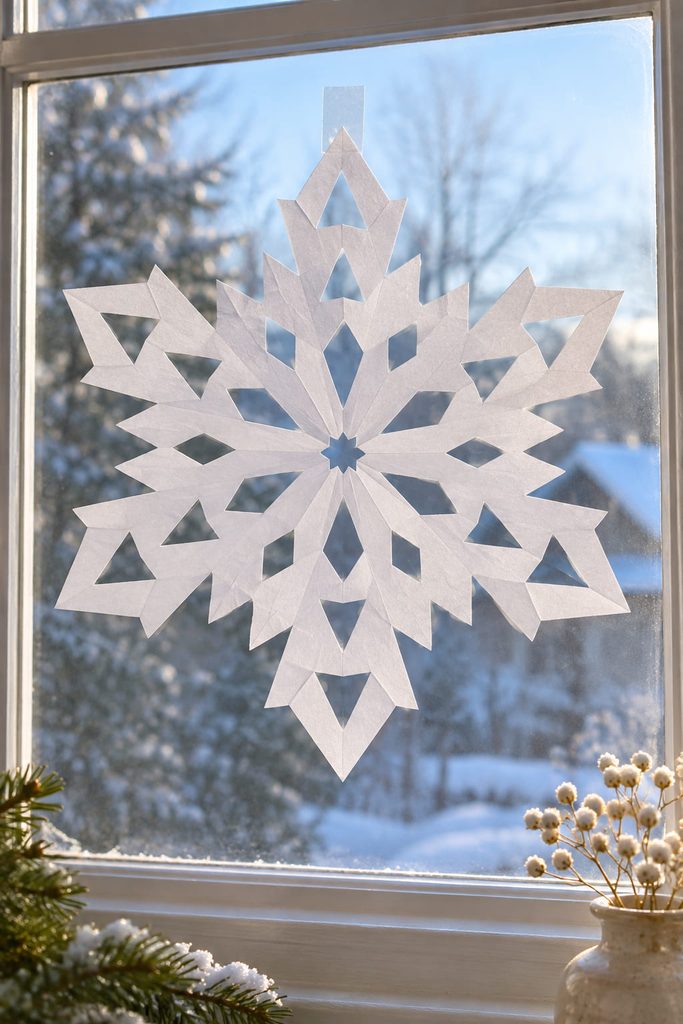
Start with a six-point fold and use only two cut families: triangles for crisp notches and small diamonds for open windows. Keeping the vocabulary limited makes the finished snowflake easy to read from across a room, which is why this pattern works especially well on a bright window.
- Trim the wide end of the folded wedge to establish a pointed outer edge.
- Cut one medium triangle from each folded side, leaving a solid bridge between them.
- Add one smaller angled notch closer to the center point without cutting through the spine.
- Open the paper slowly and press it flat under a book if the folds want to spring up.
The first version does not need to be highly detailed. What matters is seeing how one side cut mirrors into a repeated opening; once that relationship is clear, more complex patterns become much easier to plan.

2. Broad Scallop Snowflake
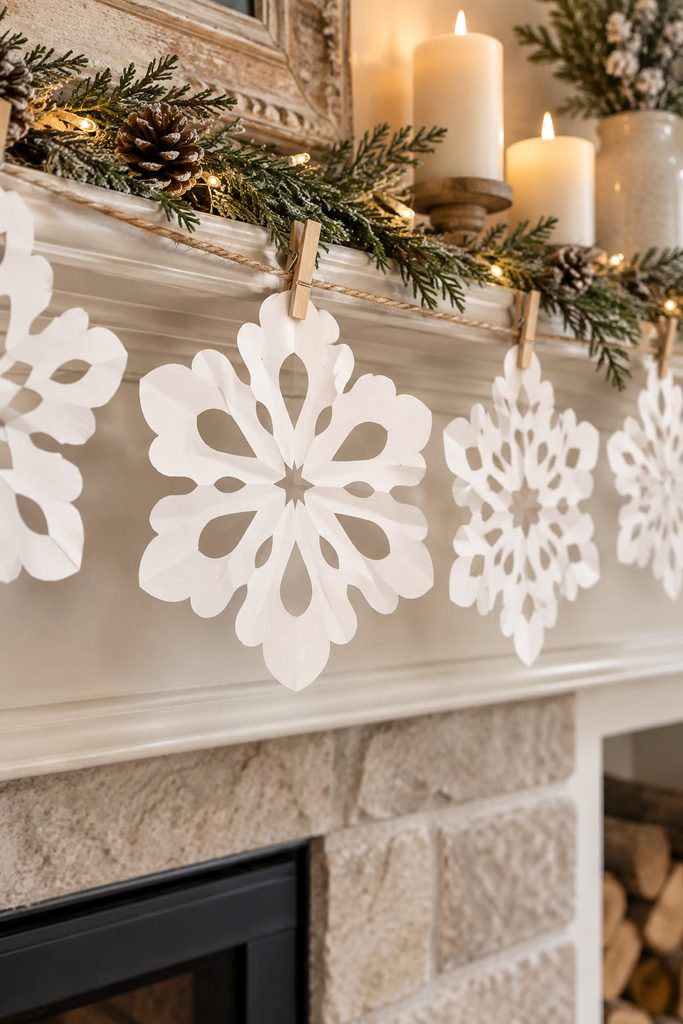
When the finished snowflake needs to survive clipping onto a garland or moving between storage and display, broad curves are more useful than fragile lace. Round the outer edge of the folded wedge, then add two or three shallow half-circle cuts along the sides. The opened snowflake develops soft scallops with wide paper bridges between them, so the silhouette stays decorative without depending on hair-thin connections. Use a slightly larger sheet for this pattern; the curves read better when they have room to open.

3. Fine Lace Micro-Notch Snowflake
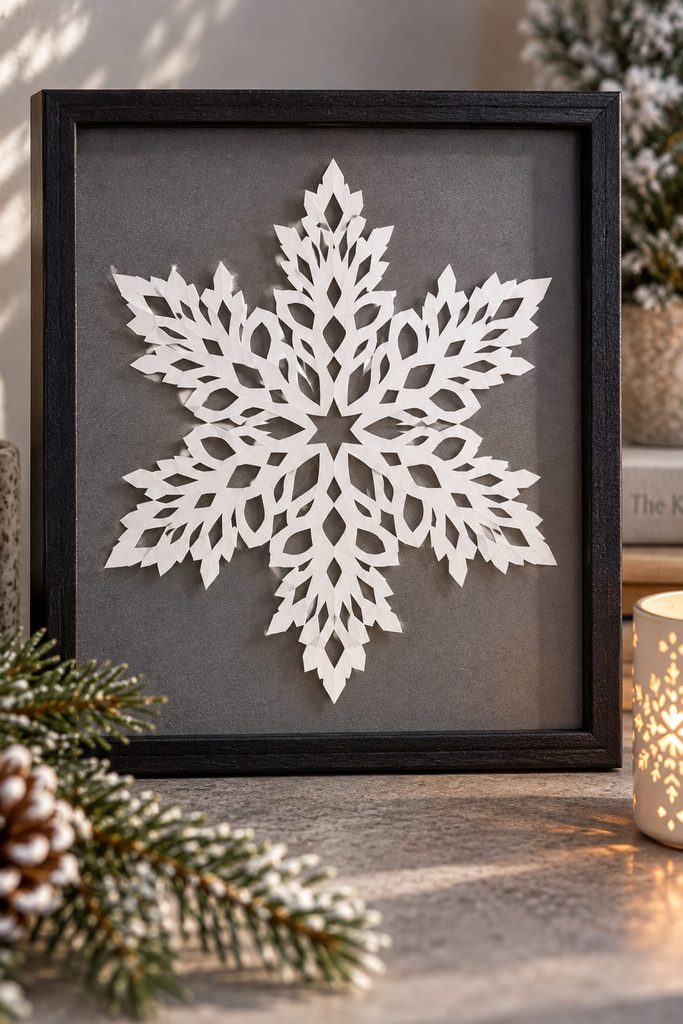
For dense lace, the amount of paper left between cuts matters more than the raw number of openings. Use thin paper, make several narrow notches of different depths, and stagger them rather than lining every cut up at the same distance from the edge. The stagger keeps one weak line from running across the whole folded wedge.
The most important decision is where to stop. Leave a visible uncut spine through the wedge and protect a small solid zone around the center point. If the remaining bridges look narrower than the paper can comfortably support, remove one planned cut instead of squeezing it in.
Tear-Risk Check
- If the snowflake rips while unfolding, the cuts are too deep or too closely aligned.
- If the lace looks solid after opening, widen one or two existing openings rather than adding many new ones.
- If the arms curl badly, switch to thinner paper before making the pattern more intricate.
This is a close-view pattern for windows, framed paper art, or layered displays where the tiny openings can actually be seen.
4. Open Star-Center Snowflake
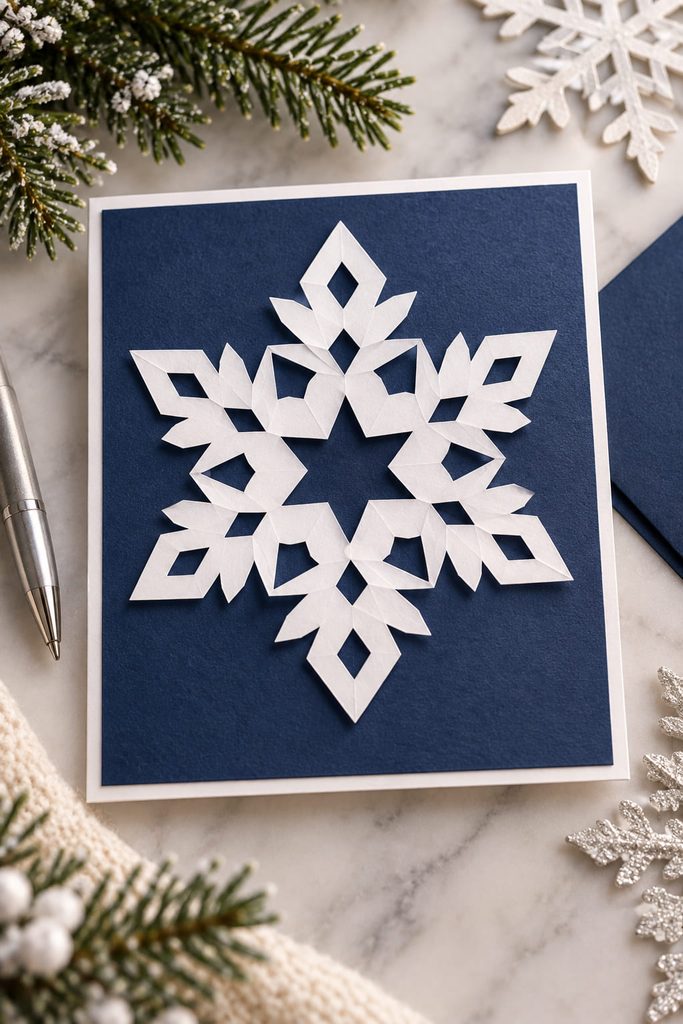
At the pointed end of the folded wedge, a deliberate cut can create a strong focal opening at the center of the finished snowflake. Snip a small V or angled slice from the tip, then keep the next cuts farther away so a ring of paper remains around the new center. That untouched ring prevents the middle from turning into one large weak hole.
Use simpler side cuts toward the outer half of the wedge—perhaps one triangle and one shallow curve per side. The open star center then reads as the main feature instead of competing with dense cutwork. Mounted over dark blue, kraft, or metallic paper, the center becomes especially clear because the backing shows through one bold shape.

5. Teardrop Petal Snowflake

For a softer pattern, replace sharp notches with long curved cuts that taper toward one end. A half-teardrop cut made into a folded edge opens into a fuller mirrored shape, while a second smaller curve nearby creates a petal-within-petal rhythm. Keep the outer edge smooth and let the internal curves do most of the work. This pattern suits gift toppers and cards because the rounded openings still look graceful at a smaller scale, where tiny angular cuts can become visually busy.
6. Chevron Branch Snowflake
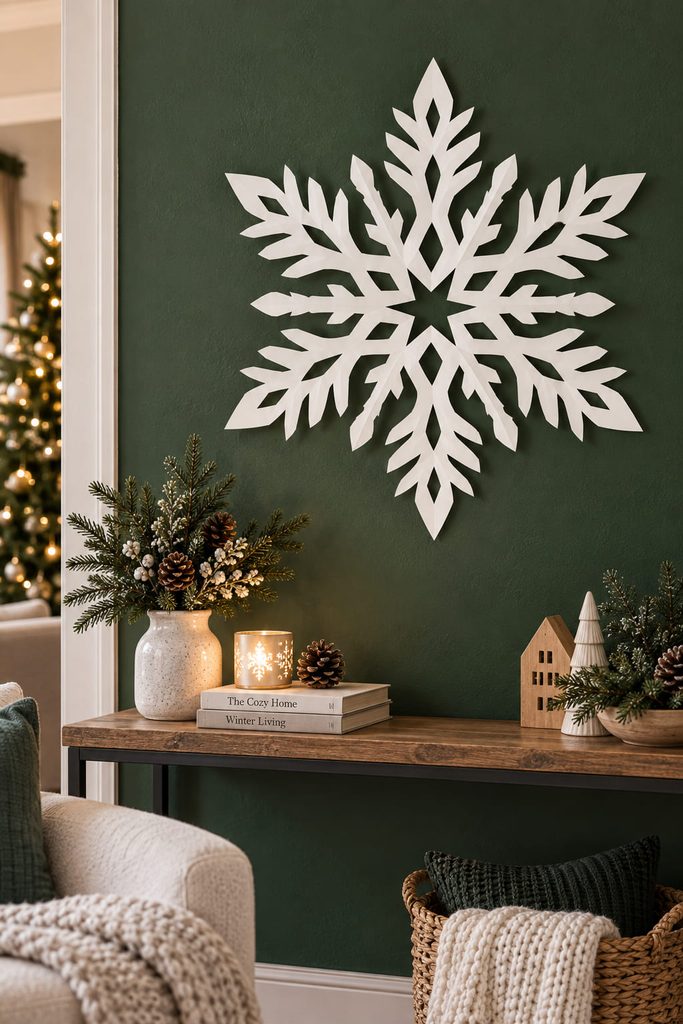
Choose chevrons when you want each arm to look branched rather than perforated. Cut angled V-shaped notches at two or three distances from the center, with the points of the Vs aimed toward the snowflake tip. The repeated angles create a directional rhythm that resembles a crystalline branch once the paper opens.

The depth of the V changes the result more than adding another notch. Shallow cuts keep broad, sturdy arms; deeper cuts make the branches look finer but reduce the width of the connecting paper.
- Shallow chevrons: better for large wall snowflakes and repeated sets.
- Deep chevrons: better for a lighter, more delicate window silhouette.
If you are making several pieces together, keep the chevron angle consistent and vary only one cut depth. The group will feel related without every snowflake being identical.
7. Split-Tip Crystal Snowflake

What changes the silhouette fastest? A split outer point can make a basic snowflake look more crystalline without filling the whole wedge with extra cuts. Shape the wide end with a centered V, then add only a few internal notches so the divided tip remains visible after unfolding. Because the outer edge controls the perimeter, even a small change there can alter the silhouette more dramatically than several tiny interior cuts.
Before cutting a full batch, check three things:
- The two tip branches are wide enough not to fold over.
- The nearest side notch does not narrow the tip connection into a thread.
- The center remains simpler than the edge so the silhouette stays legible.
Scale Check: On a small ornament, make the split shallower. A deep fork that looks elegant on a large sheet can disappear into a weak, floppy tip when the whole snowflake is only a few inches wide.
8. Bold Block-Cut Modern Snowflake
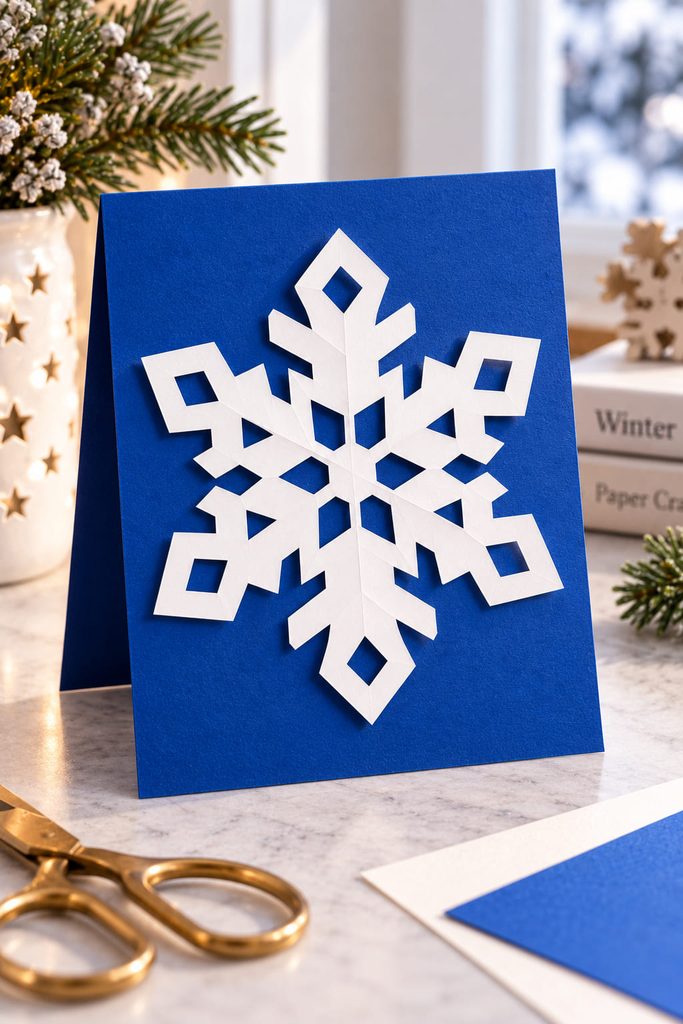
If the snowflake will be used as a small tag, card accent, or high-contrast graphic, rectangular and stepped cuts can work better than delicate curves. Cut one square notch near the outer edge, a shorter rectangular notch closer to the center, and leave broad bridges between them. The result is a chunky geometric rhythm with enough solid paper to remain readable at small size. Use white paper over a saturated backing, or reverse the contrast with dark cardstock over a pale card.
9. Heart-Window Snowflake

Want a pattern that still reads as a snowflake but has a softer secondary motif? Place half-heart cuts along a folded edge so the fold supplies the mirror line. Keep the hearts small and surround them with simple triangular openings; otherwise the snowflake can start to read as a ring of hearts rather than a winter pattern.
- Mark one small half-heart on the outer half of the folded edge.
- Cut it cleanly without reaching the opposite side of the wedge.
- Add one narrow triangle closer to the tip for a sharper snowflake detail.
- Shape the outer edge with a simple point or shallow scallop, then unfold.
This version works well as a gift-wrap topper or winter card insert because the heart detail is only visible on closer inspection.
10. Feathered Fringe Snowflake
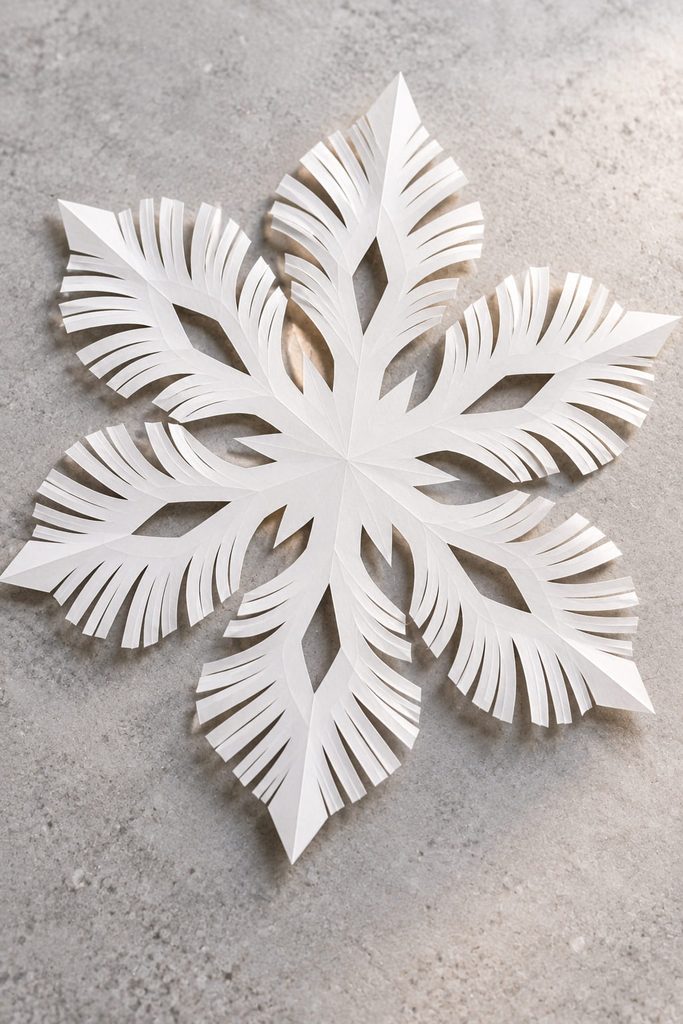
Cut narrow parallel slits for a feathery texture, but keep in mind that they concentrate stress in one part of the paper. Make the slits from the outer half of the folded wedge and stop each one well before the central spine. Vary the slit length slightly so the opened branches taper instead of ending in a blunt comb.
Keep The Spine Intact
- Fringe separates into strips: leave a wider uncut band next time.
- The pattern looks heavy: remove every second slit instead of cutting them deeper.
- The tips droop: shorten the longest slits or use a smaller sheet.
A fringe pattern is strongest when it has one quiet area. Leaving the center relatively solid gives the eye somewhere to rest and gives the paper a stronger hub for mounting or taping.
11. Diamond Lattice Snowflake
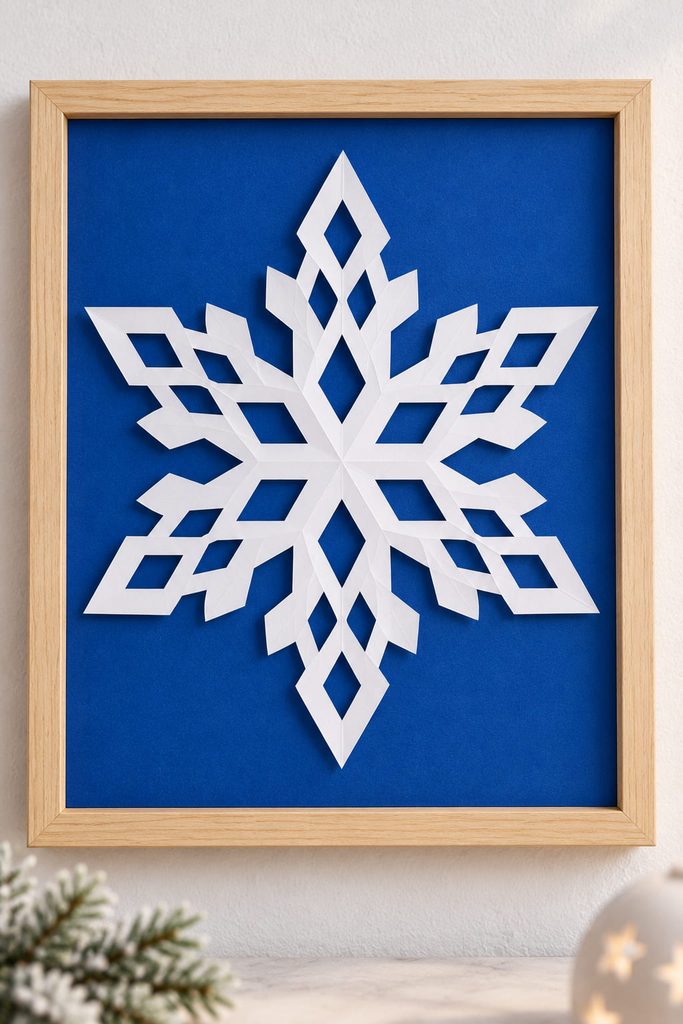
Mirrored geometry does the work in a lattice pattern, so you do not need dozens of tiny openings. Place one slanted cut on each side of the wedge at roughly the same level, then repeat the pair farther out with a different depth. After unfolding, the mirrored cuts create a chain of diamond-like negative spaces around the arms.
Use this pattern when the snowflake will sit over colored paper or inside a simple frame. The backing makes the openings easier to read and turns the design into a graphic layer rather than a purely white-on-white decoration. Avoid crowding the outer edge; the lattice needs a solid perimeter to keep its geometry crisp.
12. Cathedral Arch Snowflake
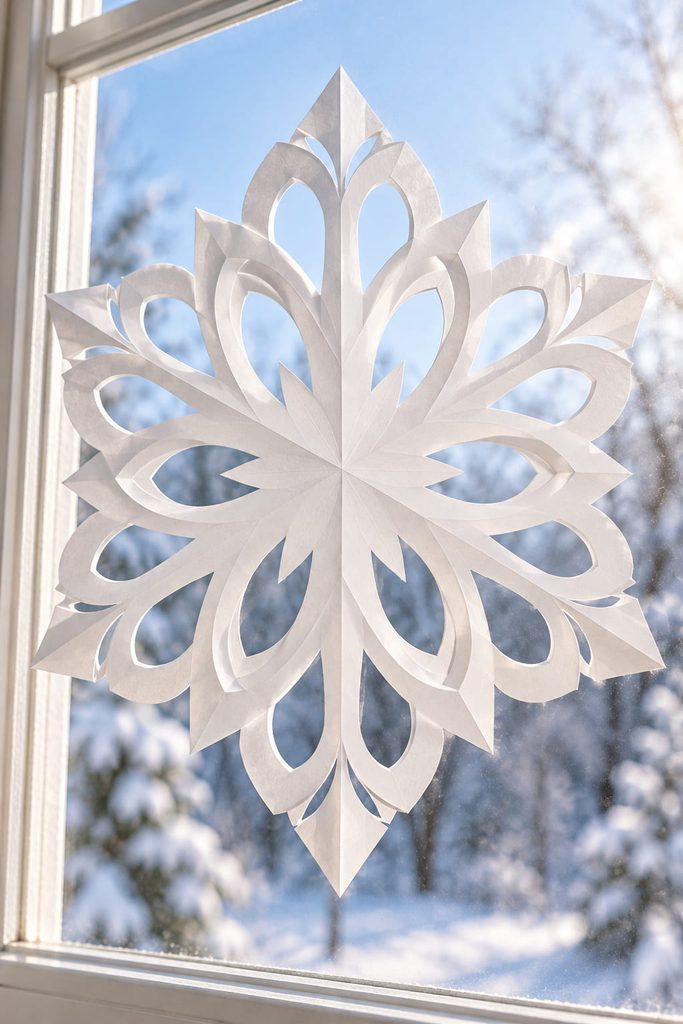
How deep should an arch go? The answer determines whether the opening reads as broad and graphic or narrow and ornate. Shallow U-shaped cuts near the folded edges produce broad rounded windows, while deeper arches narrow the paper between openings and create a more ornate, tracery-like effect. That makes this a useful pattern for deciding how much delicacy you actually want before committing to dozens of cuts.
Build the design around three zones: a protected center, a middle band of arches, and a simpler outer edge. Cut one test wedge first on scrap paper and open it before repeating the pattern. The test tells you whether the arch is reading as an opening or simply removing too much structure.
Arch Depth Test
- Wide solid bands between arches: stable enough for a larger hanging piece.
- Thin bands with clean openings: best for a protected window or framed display.
- Arches touching after unfolding: reduce depth or increase spacing.
- Center twisting while opening: keep the next version’s innermost arch farther from the tip.
For a more architectural look, use one large arch as the dominant opening and support it with only one smaller repeat. Repeating three or four equal arches usually makes the pattern busier without making it more interesting.
13. Solid-Hub Medallion Snowflake
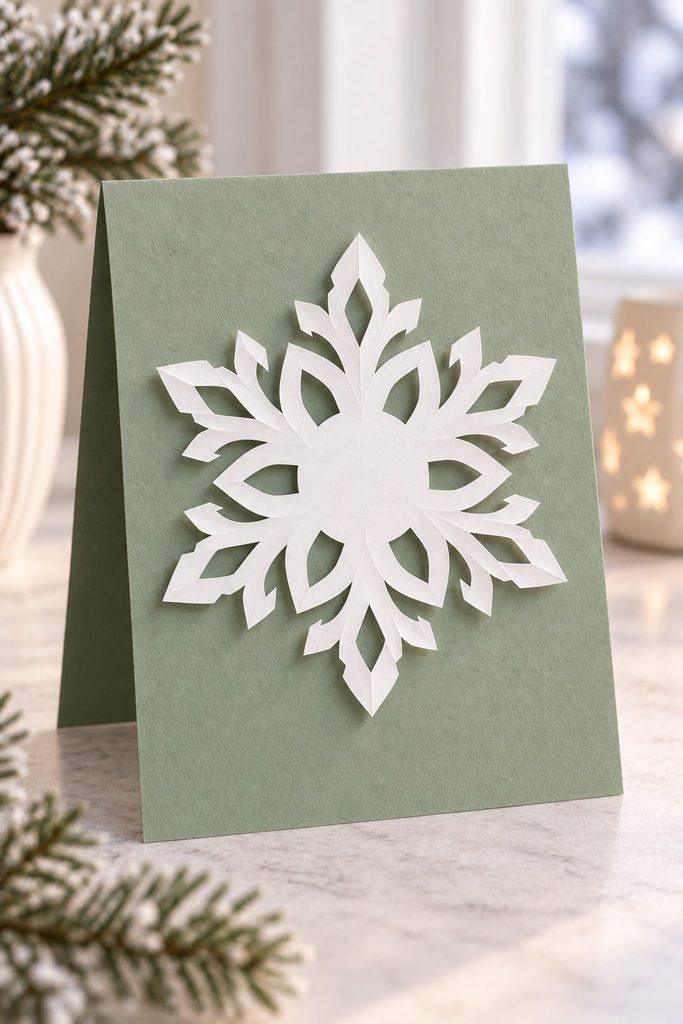
When the finished piece will be mounted as a gift topper or card medallion, keep the center almost untouched. Instead of cutting the pointed tip, begin the first opening farther up the wedge and concentrate the pattern toward the outer half. The opened snowflake gets a compact solid center with airy arms around it. That hub gives a glue dot or small foam pad a real landing area, so the adhesive can hold the snowflake without grabbing one of the fragile cut arms.
14. Long-Slot Starburst Snowflake
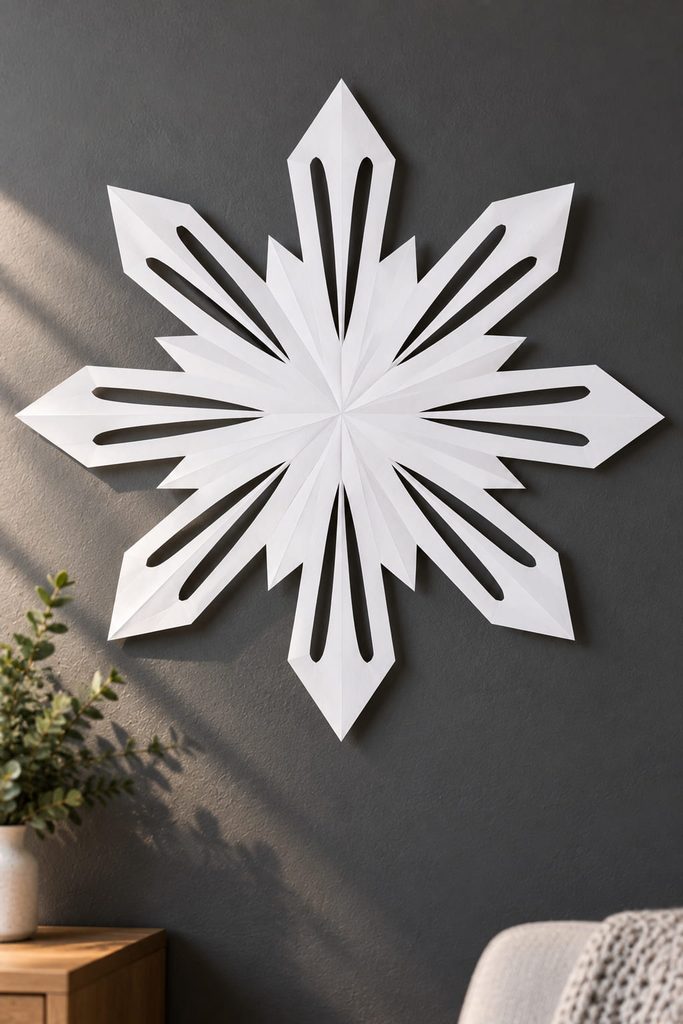
Placing one long, narrow cut along each side of the wedge creates a stronger radial burst than a cluster of small notches. The trick is to stop the slot before it reaches either the center spine or the outer edge, leaving a continuous frame around the opening.
- Draw one slim tapered slot through the middle third of the wedge.
- Cut a shorter companion slot closer to the outside edge.
- Leave generous paper between the two openings so they do not merge when unfolded.
- Open the snowflake and place it over a colored backing to judge the starburst effect.
Because the negative space is long and directional, this pattern reads clearly from farther away. It is a good choice for a simple wall grouping where intricate lace would disappear.
15. Mixed-Scale Gallery Snowflake
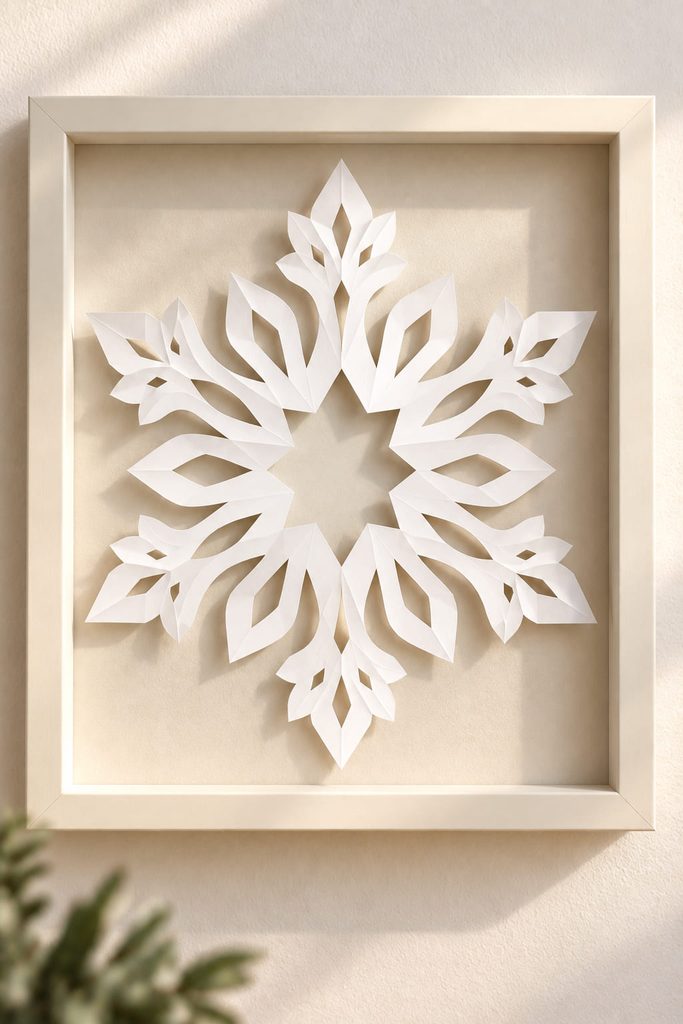
To make a varied group feel designed rather than random, use hierarchy instead of maximum detail. Combine one large opening, two medium cuts, and a handful of tiny accents, then leave at least one broad area of untouched paper. The large opening gives the eye a focal point; the smaller cuts create texture without turning the snowflake into an even field of holes.
For a gallery-style group, repeat that scale relationship instead of repeating the exact pattern. One snowflake might use a large star center, another a broad side opening, and another a dominant outer notch, but all can share the same ratio of large, medium, and small cuts. That makes the set feel intentional while preserving visible differences between pieces.
How to Keep Paper Snowflake Patterns Connected
Every cut removes structure as well as paper. Before cutting, identify three zones on the folded wedge: the center spine, the paper bridges between side cuts, and the outer edge that defines the silhouette. None of those zones has to stay completely solid, but at least one continuous path of paper must remain from the center toward each arm.
A useful way to plan is to sketch the largest opening first, then place smaller cuts around the paper that remains. If a design fails, do not automatically make the next version thicker everywhere. Find the exact weak point: two cuts may be meeting across the fold, one long slit may be too deep, or a center opening may be consuming the hub. Correcting that one relationship usually preserves the character of the pattern better than simplifying the entire snowflake.
Pick a Pattern by Distance, Not Just Detail
Start with the viewing distance. Broad scallops, block cuts, chevrons, and long slots hold their shape visually across a room; lace, hearts, arches, and lattice work reward a closer look. If you are unsure where to begin, cut one bold pattern and one detailed pattern from the same size paper and compare them in the place where they will actually hang.
Once you want to move beyond flat pattern variations into ornaments, mobiles, luminaries, boxes, and dimensional decor, continue with 15 Paper Snowflakes DIY Ideas Worth Cutting This Winter.