
This post contains affiliate links. As an Amazon Associate I earn from qualifying purchases, at no extra cost to you. Thank you for supporting Diynify!
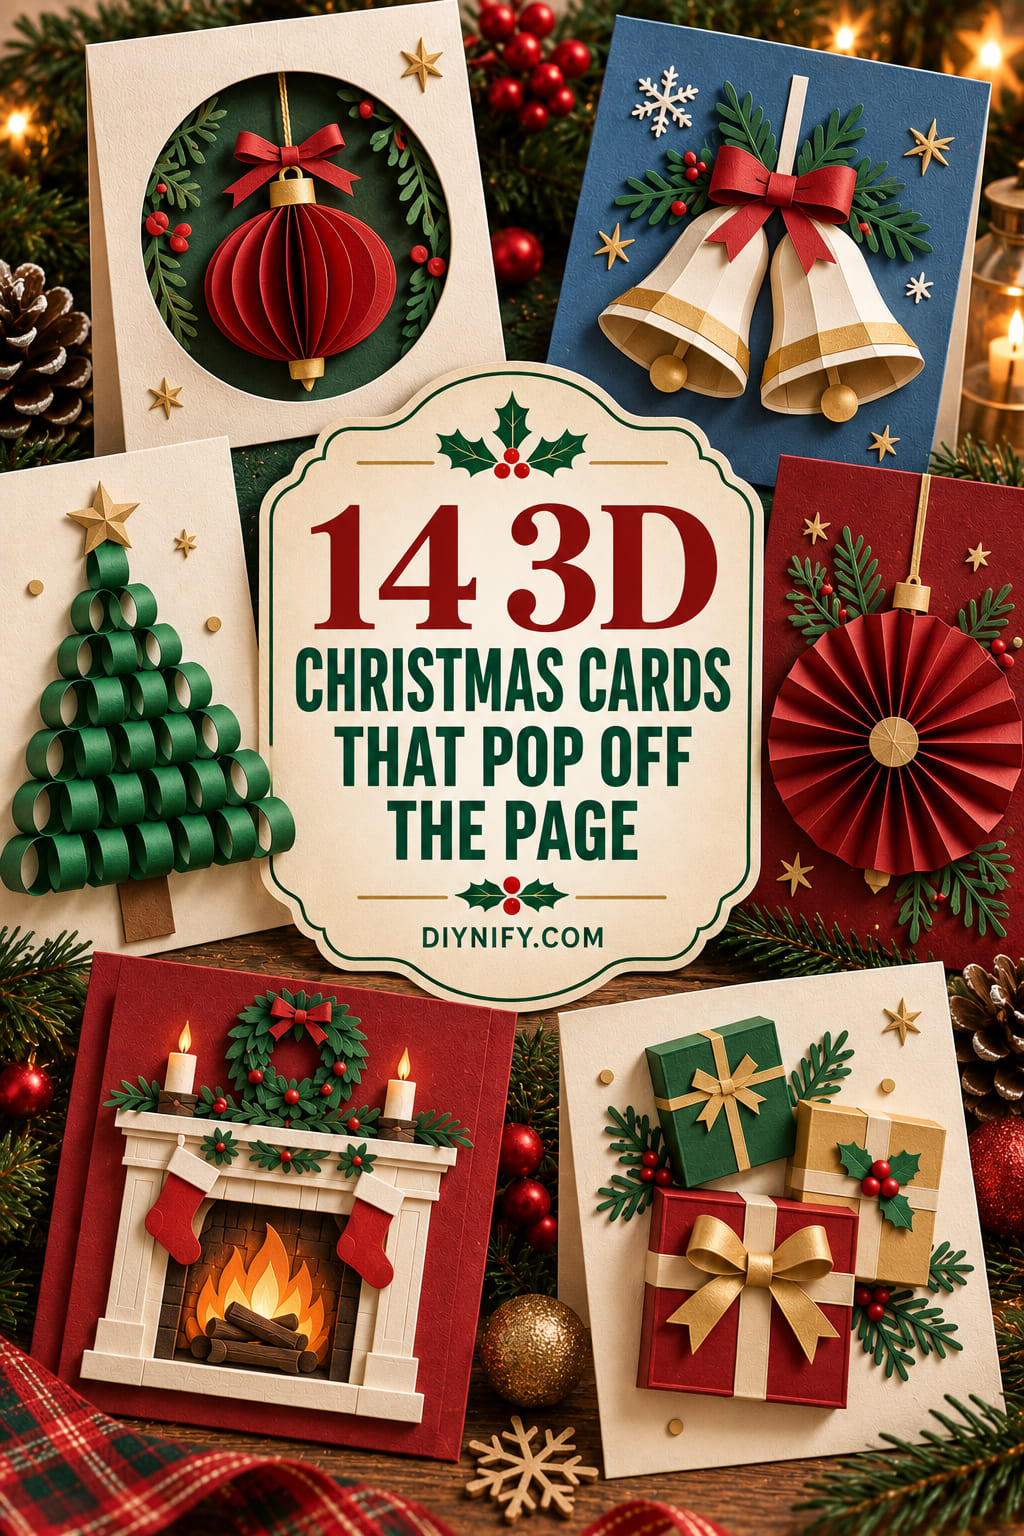
3D Christmas cards do not have to hide their dimension inside a pop-up. A raised front can create just as much impact with rolled paper, curved leaves, pleats, folded modules, suspended ornaments, shallow frames, and sculpted layers that catch real side light before the card is even opened. These 14 ideas keep the greeting itself conventional while turning the cover into the dimensional feature.
Most projects use folded cardstock, decorative paper, scissors or a craft knife, a ruler, a scoring tool, and paper glue. A few also need vellum, narrow paper strips, thread or twine, foam tape, or stacked-cardstock spacers. If the card needs to travel by mail, favor low relief and protected edges; save deeper cones, boxes, and suspended details for hand-delivered cards or roomier packaging.

1. Rolled Paper Candle Trio Card
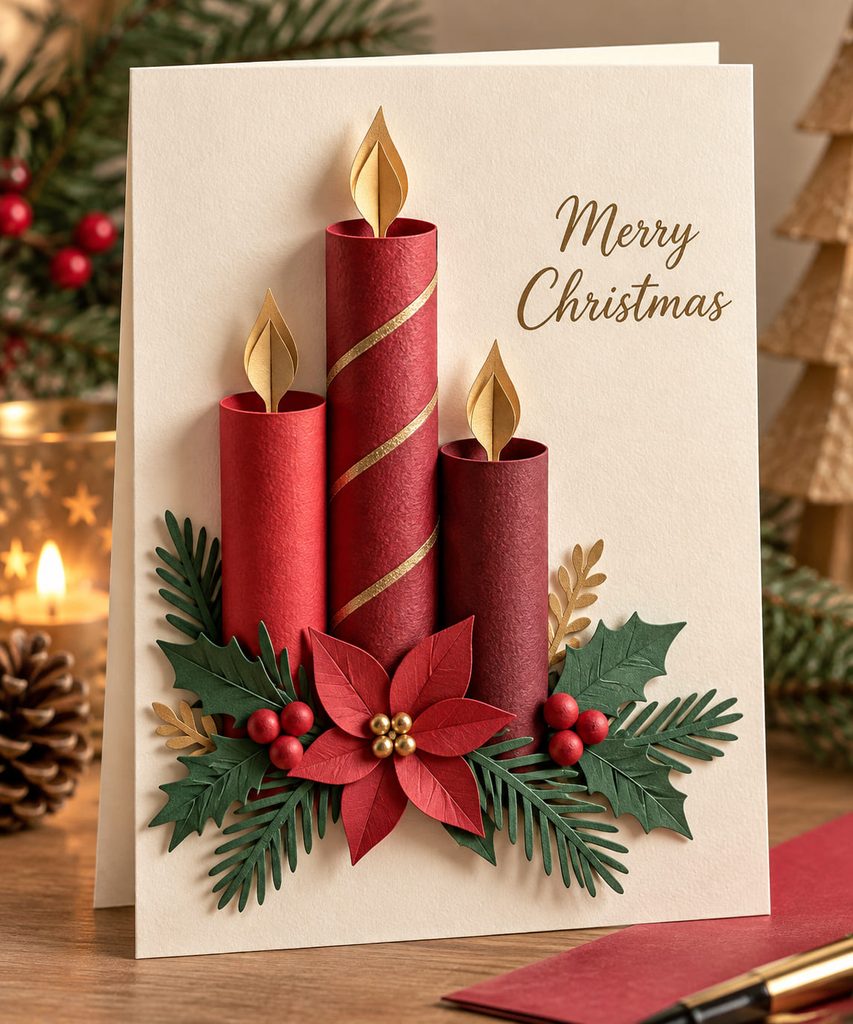
Three slim paper candles create immediate height without making the whole card front bulky. Roll narrow rectangles of medium-weight paper around a skewer or thin dowel, glue each seam, then slide the form out so the tubes stay hollow. Trim the candles to staggered heights and attach them along one side rather than flattening the entire back; that small contact line lets each cylinder keep its round profile.
A tiny folded flame can sit in a slit at the top, while flat holly leaves or a paper tray shape anchors the bases. The useful constraint is thickness: wide tubes look dramatic but need more envelope clearance, so keep the diameter modest when the card will be mailed. For a hand-delivered greeting, slightly deeper rolls give stronger shadows and make the trio read almost like a miniature candle arrangement.
2. Sculpted Holly Branch Relief Card
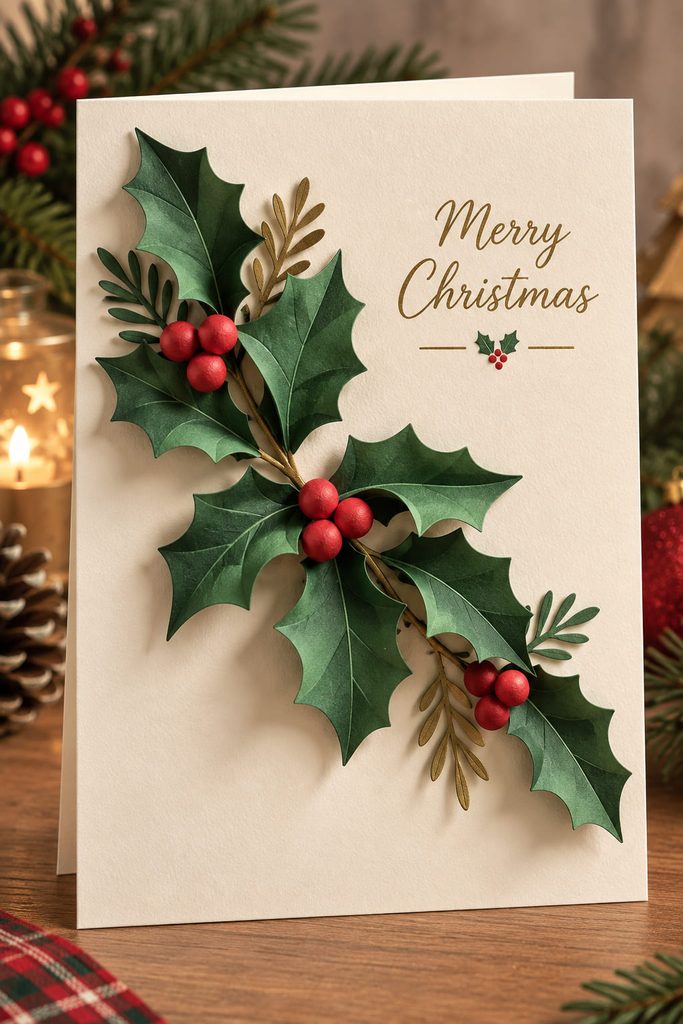
Score each holly leaf down the center before it touches the card base. That crease creates a ridge, and a gentle curl along both halves gives the leaf a raised profile without adding another backing layer.
- Cut several holly leaves from firm green cardstock and score the center veins.
- Pull each leaf lightly over a bone folder or the barrel of a smooth tool to curve it.
- Glue only the center vein or stem end, leaving the outer edges free to lift.
- Tuck small berry circles between the leaves, using one extra cardstock disk underneath only where a berry needs more height.
Keep the branch diagonal so the lifted edges cast separate shadows instead of stacking into one dark cluster. This construction is especially useful when you want real dimension but still need a card that can slip into an ordinary envelope.
3. Origami Gift Bow Front Card
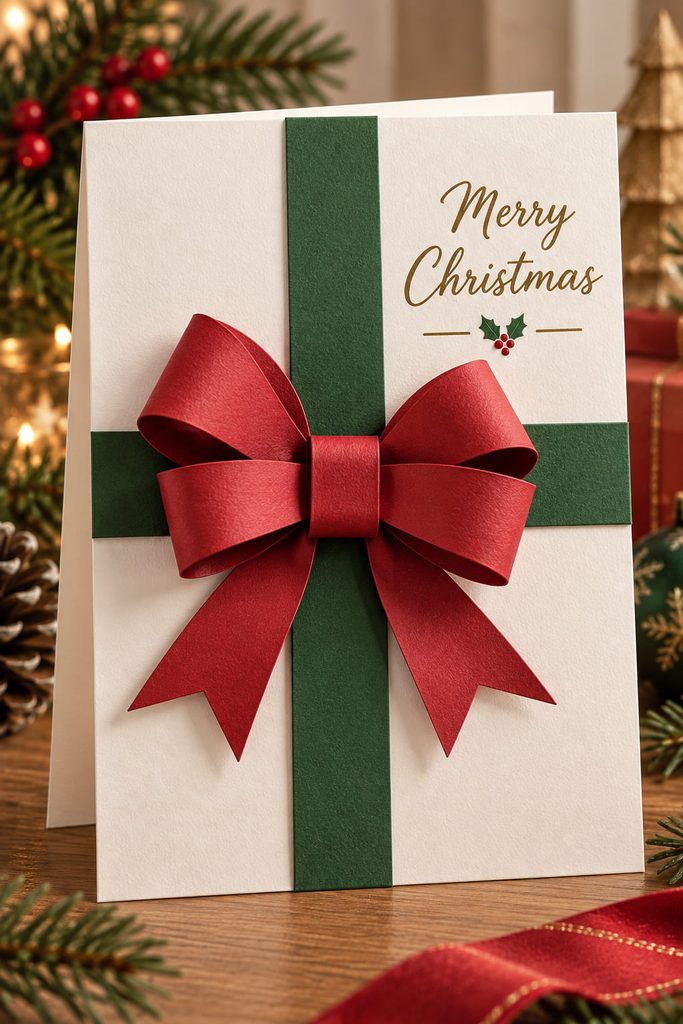
For a card that already accompanies a present, a folded paper bow lets the front echo the gift without needing a full scene. Use one folded strip or two loop pieces with a narrow center wrap. The loops should hold their shape; if they collapse, the paper is too soft or the center wrap is too tight.
Mount the bow over two flat paper “ribbons” crossing the card front. Because only the bow rises, the composition stays clean. Metallic, vellum, or patterned paper can change the mood, but the fold geometry is what makes the design feel three-dimensional.
4. Curved Paper Lantern Card With Vellum Glow Effect
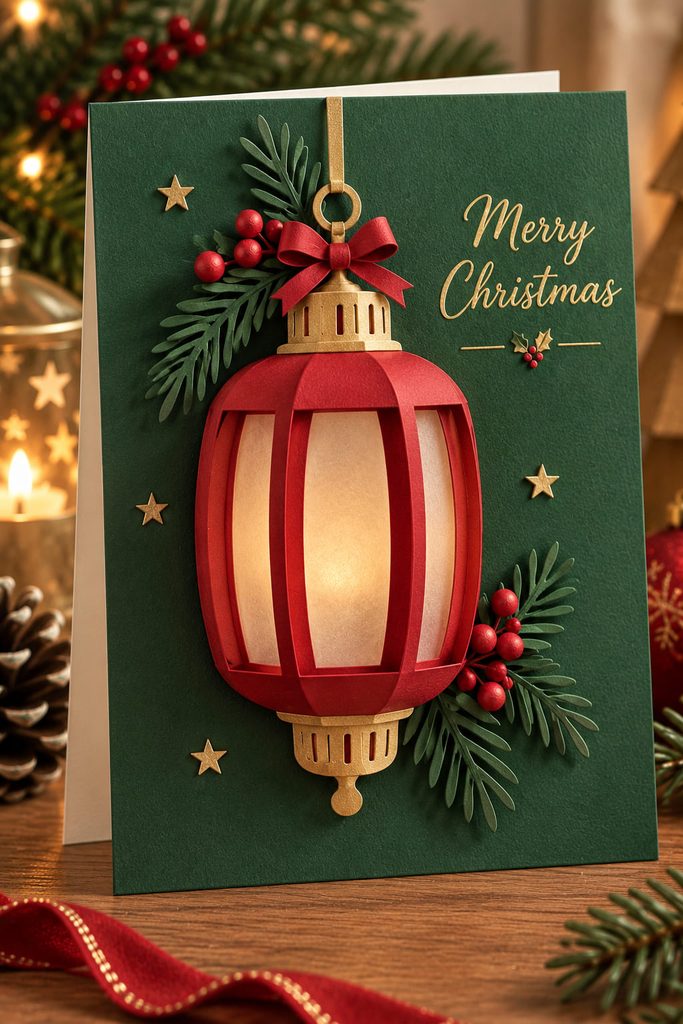
If a paper lantern looks like a flat rectangle, the side attachments are too close to the front plane. The shell needs a controlled bow. Cut a lantern-shaped outer frame from cardstock, back the opening with vellum, then attach narrow side tabs so the center projects forward while the top and bottom remain visually aligned.
Lantern Curve Check: View the card from the side before adding trim. The lantern should form one smooth shallow arc, the vellum should stay behind that curve without wrinkling, and the side tabs should disappear from the normal front view. If the shell kinks, widen the curved panel or reduce the projection rather than forcing a sharper fold.
Use a dark card base behind pale vellum for stronger contrast, or a warm ivory base with deep red or forest-green framing for a softer look. This is an atmospheric effect rather than a working luminary, so there is no need to add a light source or turn the card into a bulky enclosure.
5. Accordion Rosette Ornament Card
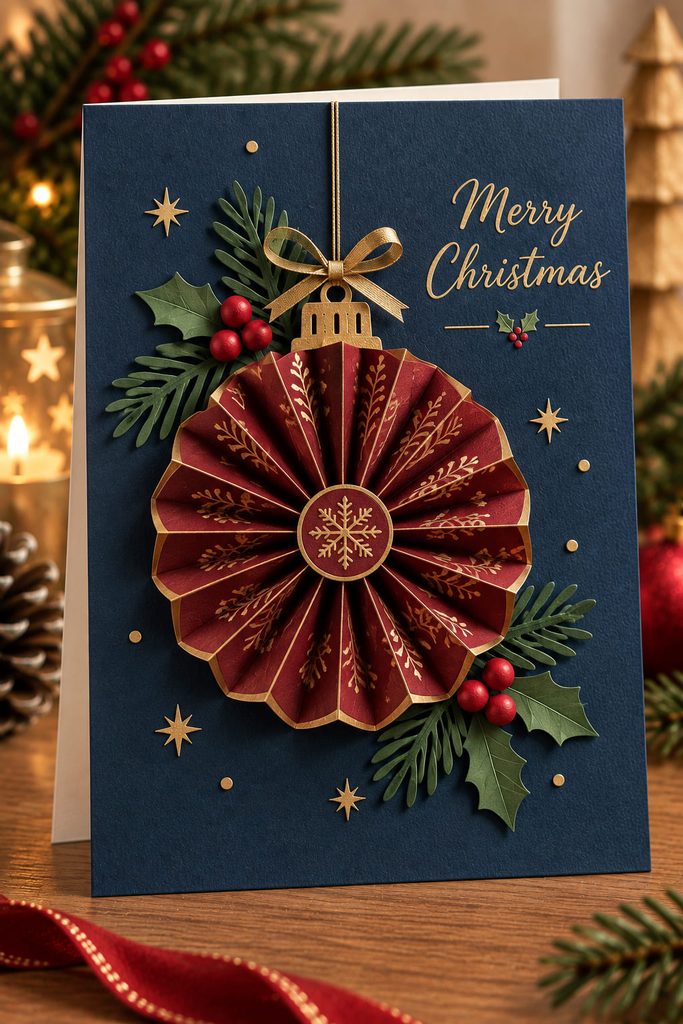
Radial pleats turn a narrow strip of paper into a round ornament with crisp ridges and a naturally raised center. Score an even accordion, join the short ends into a ring, then press one edge inward until the pleats fan into a disk. A small paper circle glued over the center locks the shape and gives you a stable place for a cap or snowflake detail.
Before attaching the rosette, check that its ridges are evenly distributed and that the center does not buckle upward. A slightly loose ring spreads more smoothly than one forced into a tiny diameter. Keep the surrounding decoration flat so the pleated disk remains the single strong texture on the card front.

6. Modular Folded Star Relief Card
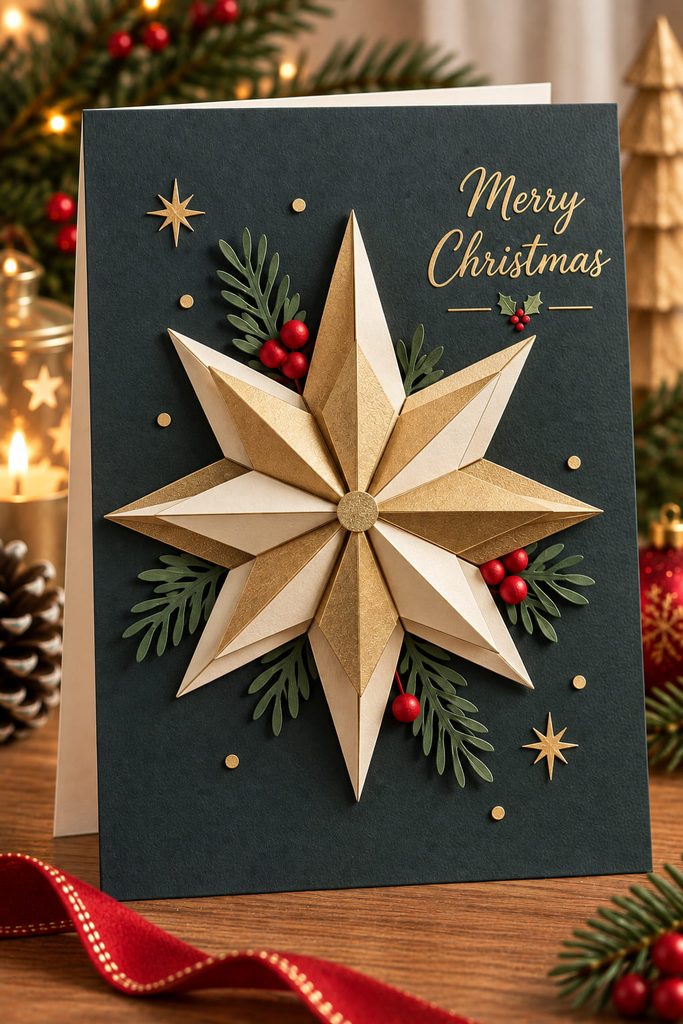
Instead of cutting one large star and lifting it on foam, build it from separate folded points. Score small kite-shaped units lengthwise, crease shallow ridges, and arrange them tip-out around a center. Each unit changes plane, so side light defines the star without thick spacers.
Dry-arrange the ring before gluing. If the inner edges crowd each other, trim the bases rather than squeezing the points tighter; pressure at the center can force the star into an uneven dome. A slim backing circle gives every unit the same anchor.
Use two related papers—matte and metallic, or dark and light—so the folds stay readable without extra decoration.
7. Layered Paper Pinecone Card
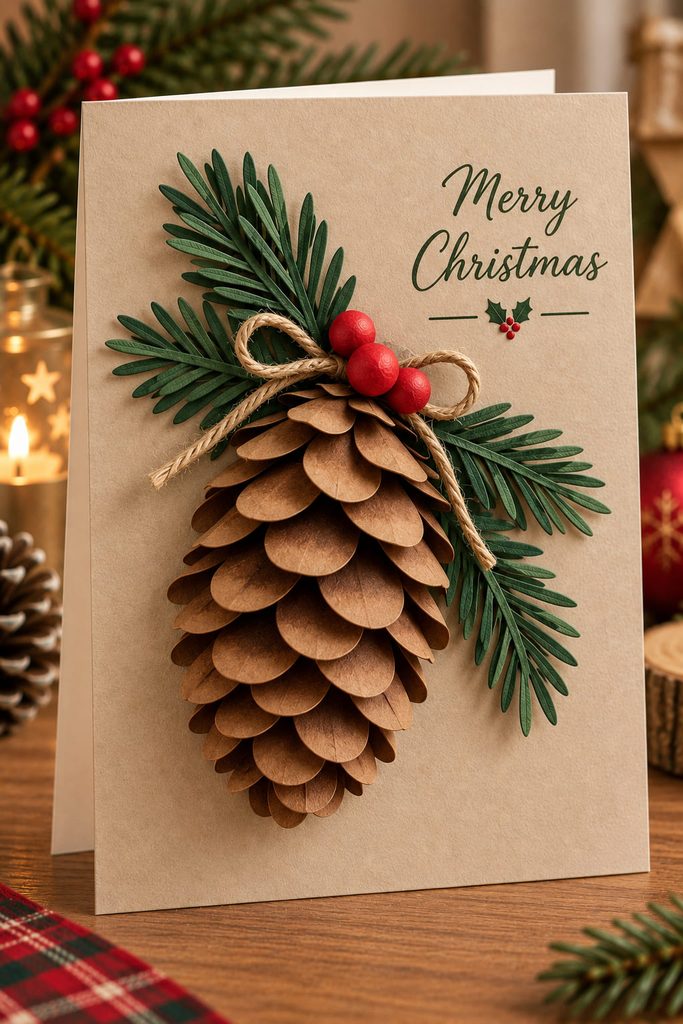
Build the pinecone from the bottom upward so every curled scale overlaps the attachment point of the row beneath it. Teardrop or rounded-diamond pieces work well: curl the wide end slightly, leave the narrow tip flatter, and glue only that tip to the backing shape.
- Start with a small oval backing panel in a color close to the scales.
- Attach the widest lower row with the curled ends pointing down and away from the card.
- Add shorter rows above, offsetting the pieces so the gaps do not form straight vertical lines.
- Finish with a tight top cluster and a flat evergreen sprig that hides the upper edge.
The pinecone should feel layered, not fluffy. If every scale is curled to the same steep angle, the silhouette becomes bulky and the lower rows can catch on an envelope. Let the curl increase only where you want the strongest shadow.
8. Shallow Shadow-Box Fireplace Card
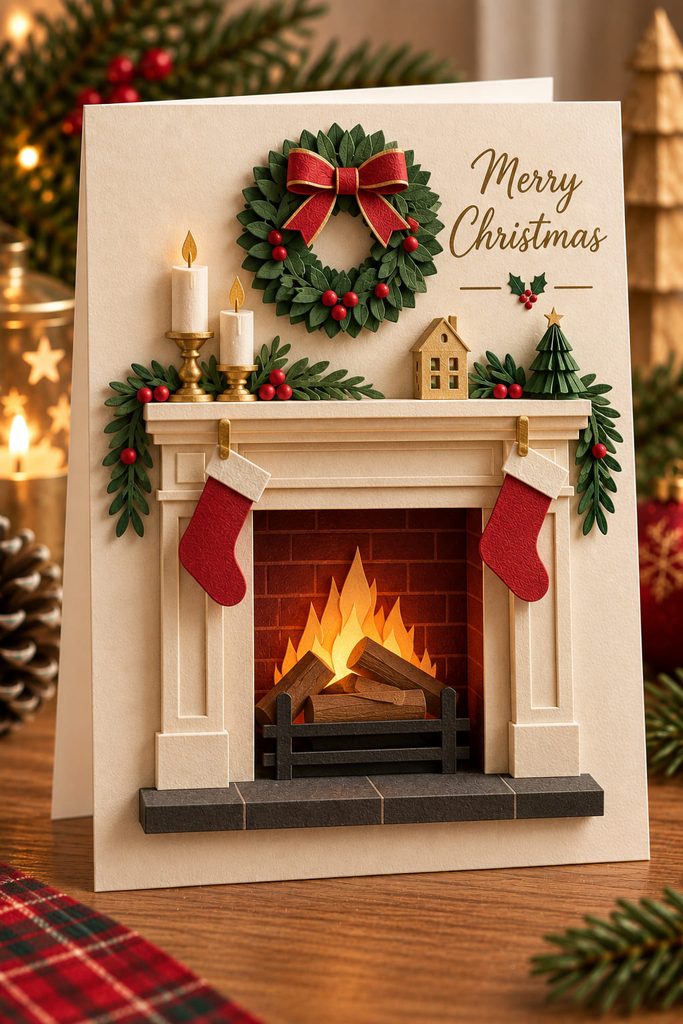
How deep should a fireplace card be if the dimension is on the front rather than inside? Choose the finished use before building the frame, because a display-first card and a mailing-first card need different spacer depths.

| Route | Best For | Construction Choice |
|---|---|---|
| Low-profile frame | Mailing or stacking with other cards | Use one or two thin cardstock spacer layers and a simple mantel silhouette |
| Deeper frame | Hand delivery or mantel display | Use a narrow folded rim or several stacked spacers to create a stronger recess |
Cut a rectangular opening in the top card-front layer, then place the firebox, logs, and back wall on a lower panel. The mantel and outer surround sit on the highest plane. Keep the spacer width equal on all four sides; uneven support is what makes a shallow shadow box twist or sink at one corner.
Depth Test: Press lightly at the center of the finished frame. The top layer should not collapse into the scene. If it does, add support near the long edges instead of filling the recess with random extra pieces.
9. Hanging 3D Ornament Window Card
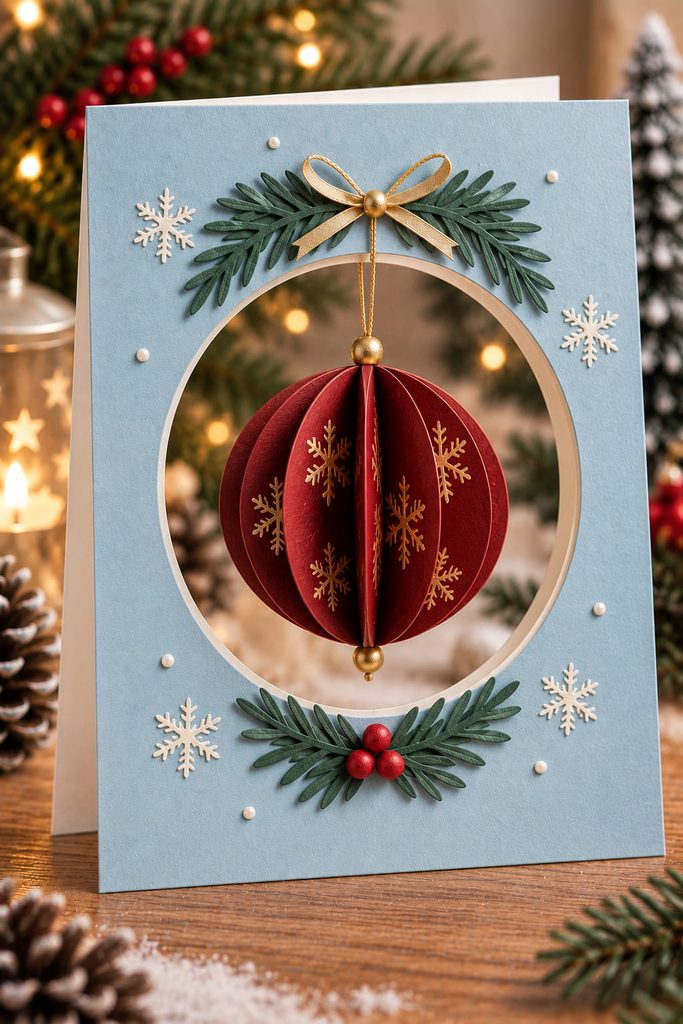
One suspended ornament can create more visual movement than a front covered with small raised pieces. Cut a generous window in the card front, hang a lightweight folded paper bauble with thread or fine twine, and leave enough open space around it for the shape to swing without striking the frame. Sandwich the thread securely between two cardstock layers at the top rim so the ornament’s weight pulls against the laminated anchor rather than a single cut edge.

A simple folded bauble can be made from several identical paper circles creased in half and glued back-to-back. Keep the outermost halves unglued until the thread is trapped along the center seam, then close the form. The window protects the ornament from some side contact while still letting the recipient see the full volume from the front.
10. Faceted Paper Bell Pair Card
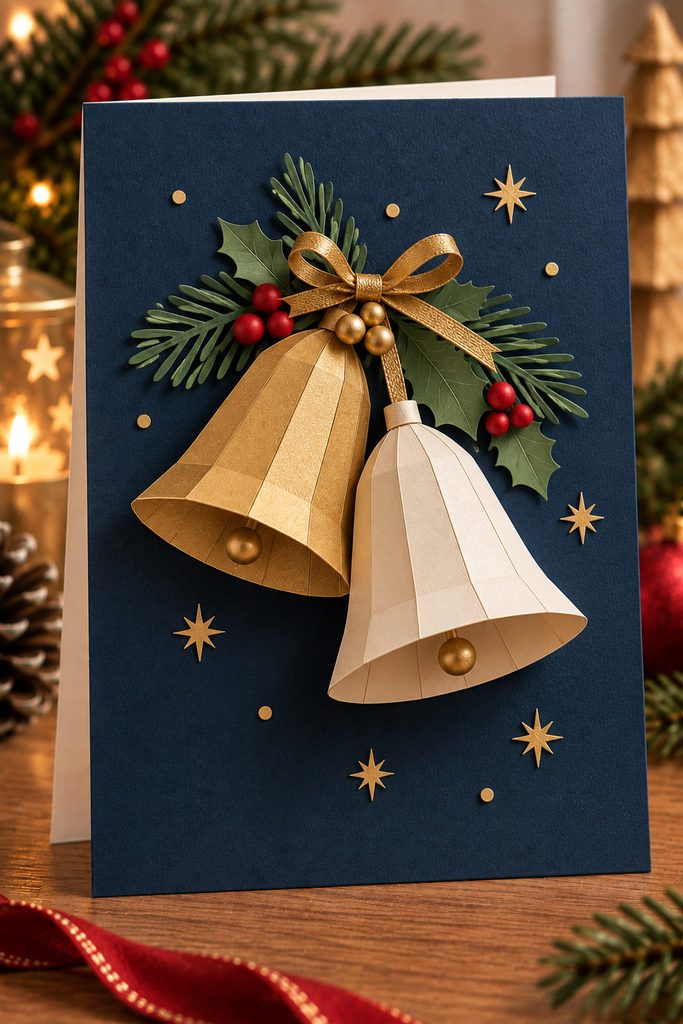
Curling a flat sector into a shallow cone is what gives these bells their body. Cut two broad fan-shaped pieces, score a few lines from the narrow top toward the lower edge, and overlap the side edges just enough to create a tapered bell rather than a tight cone.
If the bells refuse to sit cleanly:
- If the lower rim flares too far from the card, reduce the overlap at the side seam.
- If the center collapses, use firmer paper or fewer score lines.
- If the pair looks heavy, shorten one bell and overlap the silhouettes rather than shrinking both.
- If the rims snag during handling, add a narrow flat shadow shape behind them to protect the edges.
Attach each bell near the top and along part of one side, leaving the lower edge free. That open rim makes the dimensional construction readable even without extra shading or printed detail.
11. Faceted Nutcracker Relief Card
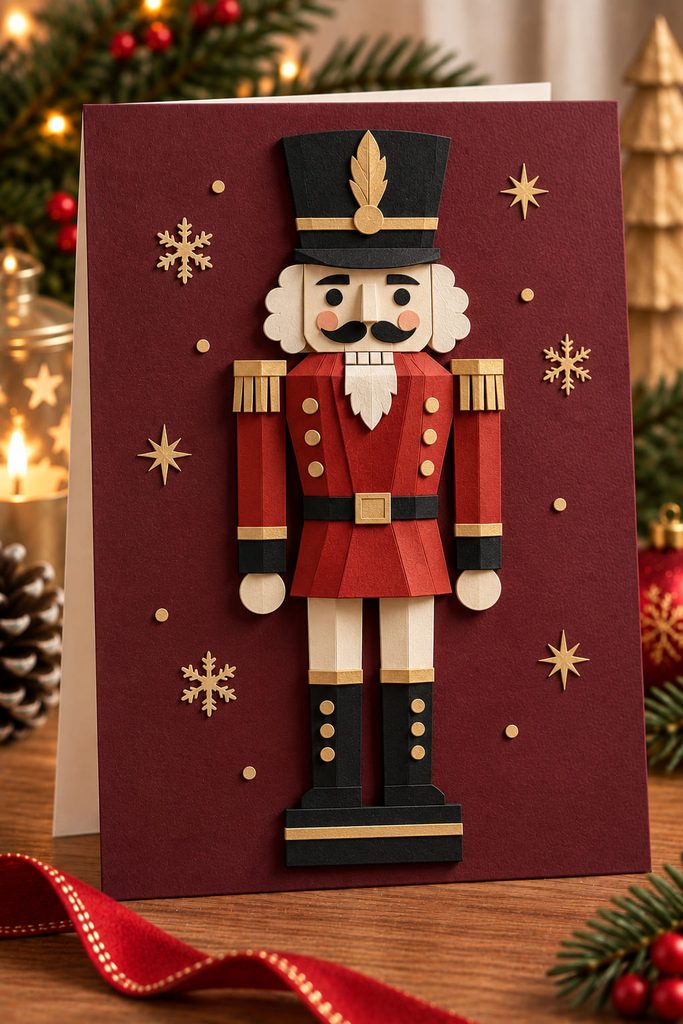
The challenge with a raised nutcracker is keeping the figure dimensional without turning the card into a thick paper sculpture. Treat the torso as the structural core. Score a vertical cardstock strip into three or five narrow planes, fold it into a shallow projecting shell, and attach the two side flanges to the card front. The center face stays forward while the flanges carry the load.
Build the head on a separate shallow box or folded bridge so the chin does not sit directly on the torso. Flat shoulder pieces can overlap both sections and hide the transition. Keep the hat and boots mostly planar; if every part projects equally, the figure loses hierarchy and becomes difficult to protect.
Before decorating, press the side flanges with one finger and gently tap the center plane with another. The torso should spring only slightly and remain centered. If it twists, compare the flange widths and score spacing before adding more glue. If the card must be mailed, reduce projection at the torso rather than flattening the nose, buttons, and shoulder details that make the relief readable.
A strong version uses depth selectively: torso first, face second, trim last. That sequence makes the structure believable and keeps the small decorative parts from doing work they cannot physically support.
12. Paper-Chain Christmas Tree Card
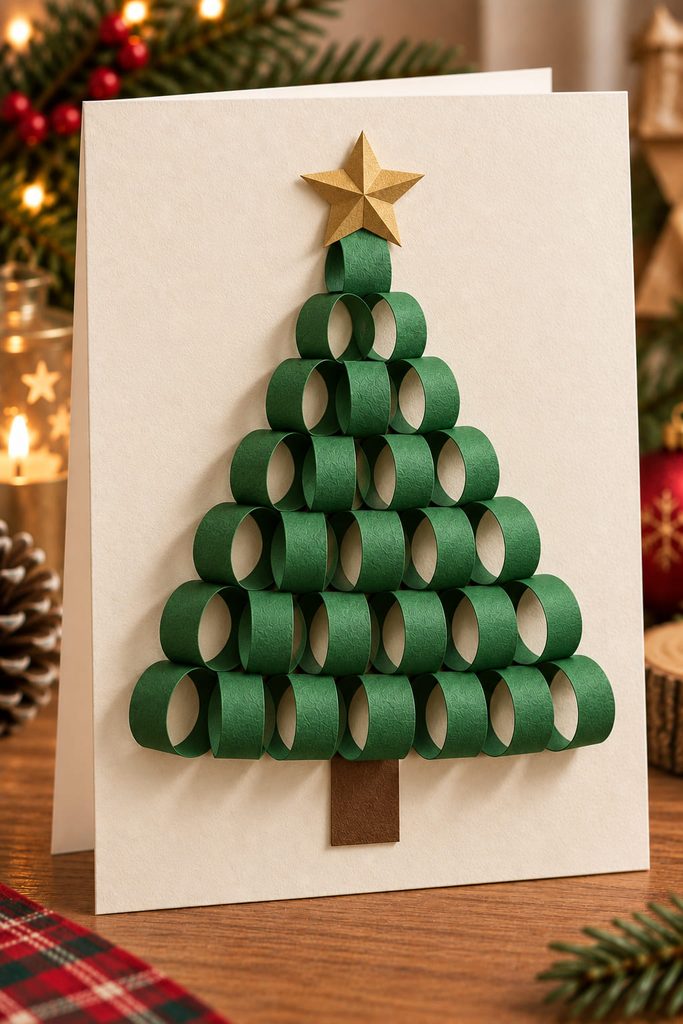
Start with the loops, not the triangle. Make a small batch of narrow paper links, close each ring securely, and then arrange the loops into a tree silhouette so their openings remain visible from the front.
- Glue the lowest row by attaching only a small section of each loop to the card.
- Nest the next row between the loops below instead of stacking it directly on top.
- Reduce the row width as you move upward, finishing with one loop or a small folded star.
- Add a flat trunk after the loop spacing is set, so it cannot force the lower row apart.
The open centers create both shadow and rhythm, which means the tree does not need tiny ornaments on every link. For easier mailing, make the loops narrow and shallow; for a gift-topper style card, larger loops can stand farther from the surface.
13. Bowed Snowdrift Landscape Card
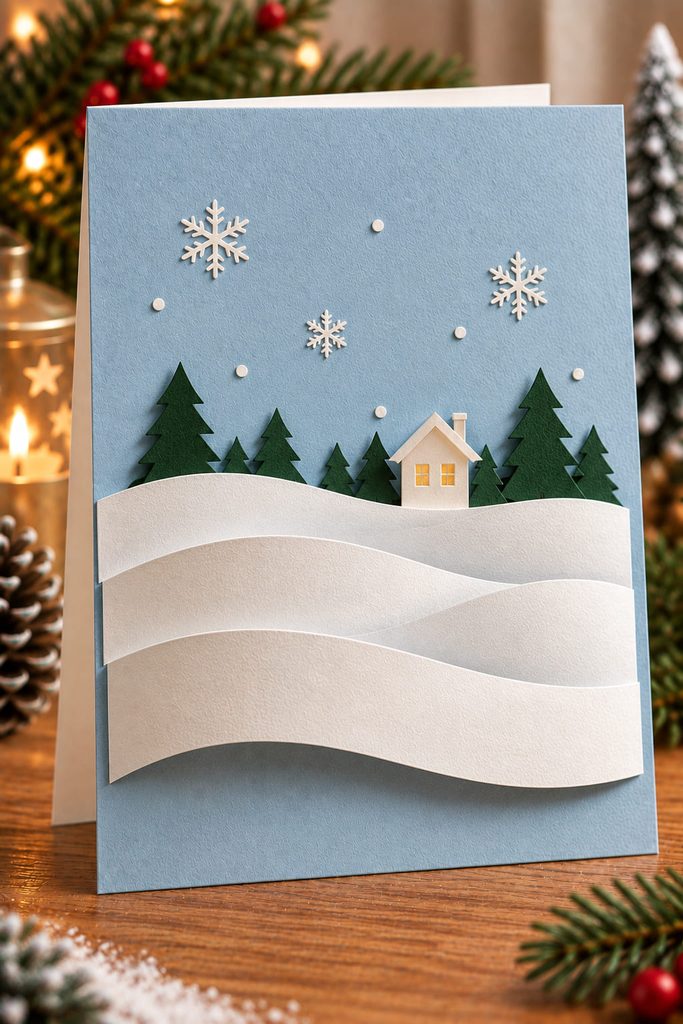
When a paper strip is slightly longer than the distance between its attachment points, it bows forward on its own. Use that behavior to make a winter landscape from two or three curved snowbanks rather than stacking flat white strips.
Cut each snowdrift with a smooth upper contour and add narrow tabs at both ends. Attach the back drift first, then position the next layer so its arc sits lower and projects a little farther. Small trees or a house can remain flat on the background; the changing curvature of the snow provides the foreground depth.
Keep the tab positions symmetrical. If one end is pulled tighter than the other, the drift will twist instead of forming a clean arc. This approach is especially effective on wide horizontal cards, where the curved bands can travel across the front without needing thick spacers.
14. Shallow Paper Parcel Boxes Card

A dimensional card front can carry tiny “wrapped gifts” without borrowing the stair-step mechanism of an interior pop-up. Build each parcel as a shallow paper box face: a front rectangle, a narrow folded rim around the sides, and a flat back flange that glues to the card. The rim creates a controlled gap between the front face and the base.
Make the boxes in two or three sizes, but keep the projection depth consistent so they stack visually without leaning. Ribbon strips belong on the front faces before assembly; bulky bows added afterward can interfere with neighboring boxes and make the cluster much thicker than the boxes themselves.
For the cleanest stack:
- Assemble every shallow box and check that the side rims sit square.
- Arrange the largest parcel low on the card and overlap smaller boxes only at their flat edges.
- Press the card gently from the side to confirm no box is twisting away from its back flange.
- Add one raised bow to the focal parcel and keep the remaining ribbon details flat.
Mailing Reality Check: This is a better hand-delivered design once the parcel depth becomes pronounced. If you need ordinary-envelope handling, reduce the rim depth and use fewer boxes rather than compressing the finished relief.
How to Keep 3D Christmas Cards Dimensional Without Too Much Bulk
The most useful way to control thickness is to decide where the card needs real air space and where a flat layer can imitate depth. Rolled candles, bowed snowdrifts, bell rims, and paper loops need room because their silhouette depends on a physical curve. Background greenery, ribbon tails, stars, and small labels usually do not. Keeping those secondary elements flat protects the dimensional focal point and prevents the whole front from becoming uniformly thick.
Also check exposed edges before you call the card finished. A lifted holly leaf can flex safely, while a sharp cone rim or large paper loop is more likely to snag. For cards that must be mailed, place a loose protective sheet over the front before sliding the card into its envelope and avoid forcing a sculpted design into packaging that visibly compresses it.
Choose the Kind of Dimension You Want
Start with the effect you want the recipient to notice before the card is opened. Rolled candles, bells, loops, and parcel boxes create obvious projection; holly leaves, modular stars, and snowdrifts stay lower and are easier to protect. The lantern, hanging ornament, and shallow fireplace use negative space as part of the design, so they suit cards where the surrounding cardstock should feel just as intentional as the raised paper.
If you want the dimensional surprise to happen after the card opens instead, continue with 15 Pop Up Christmas Cards That Feel Extra Special.








