This post contains affiliate links. As an Amazon Associate I earn from qualifying purchases, at no extra cost to you. Thank you for supporting Diynify!
Origami Christmas ornaments bring a different kind of texture to the tree: the decoration comes from creases, pockets, inflated forms, interlocked modules, and paper that changes direction in the light. These 14 ideas stay focused on pieces meant to hang, rather than folded place cards, gift toppers, or tabletop models, so every project has to solve the same practical problem in a different way: how to keep a paper form recognizable while it is suspended.
Most use crisp origami or lightweight decorative paper plus thread or narrow ribbon. Modular designs need several accurately sized sheets; the lucky-star and Fröbel-star ideas use paper strips; the kusudama ball may use a small amount of paper-safe adhesive for assembly. Scissors or a paper trimmer are useful if you are preparing strips or the hexagonal sheet yourself. A needle can help with threaded ornaments, but many hangers can be trapped inside folds instead of piercing a fragile point.

1. Inflated Waterbomb Bauble With a Hidden Hanging Loop
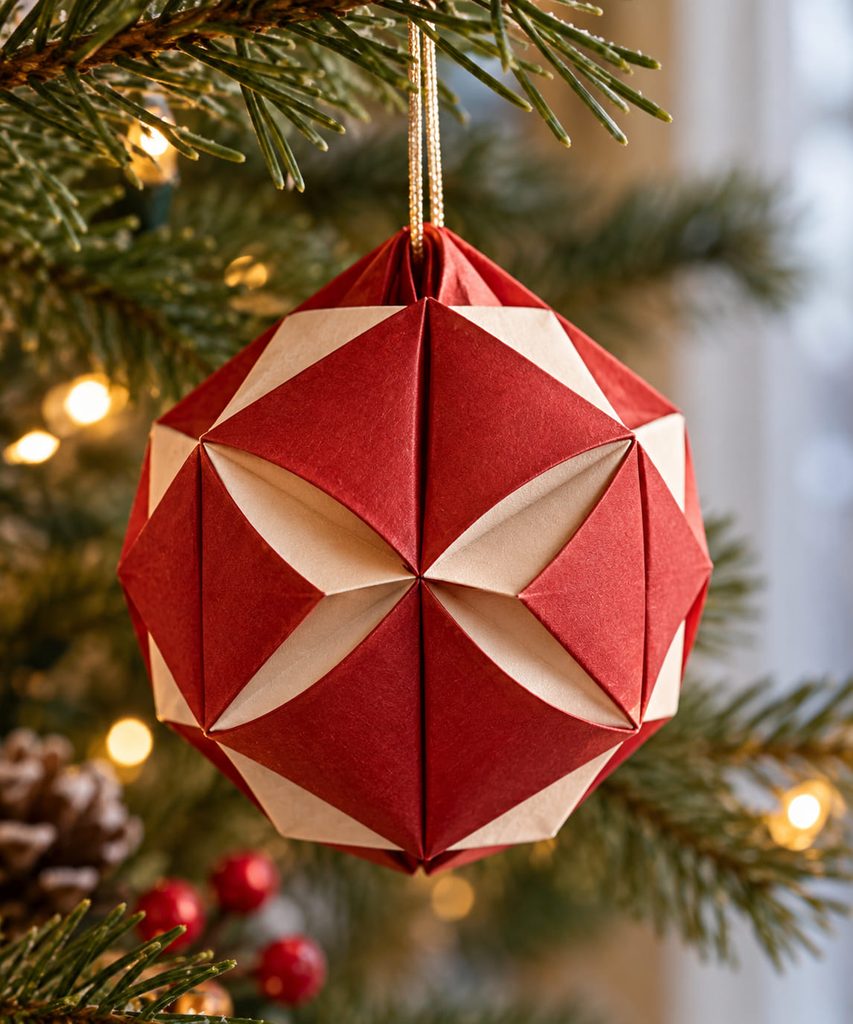
A flat square becomes a surprisingly full ornament when a waterbomb-style base is expanded through its small inflation opening. The useful part of this construction is that the volume comes from the crease network itself: paired triangular faces push outward while the corners stay defined, so the bauble reads as geometric rather than simply crumpled round. Double-sided paper is especially effective because small flashes of the reverse color can appear where the folds open.
Plan the hanger before the final inflation. A short thread loop can be trapped beneath a sturdy top flap or threaded through a reinforced fold junction, keeping the pull away from the tiny opening used to puff the model. Once inflated, rotate the bauble by its loop and check that no face caves inward. If one does, reopen the inflation point and ease that panel outward rather than pinching the surrounding creases harder.
2. Sonobe Cube Ornament With Interlocking Corners
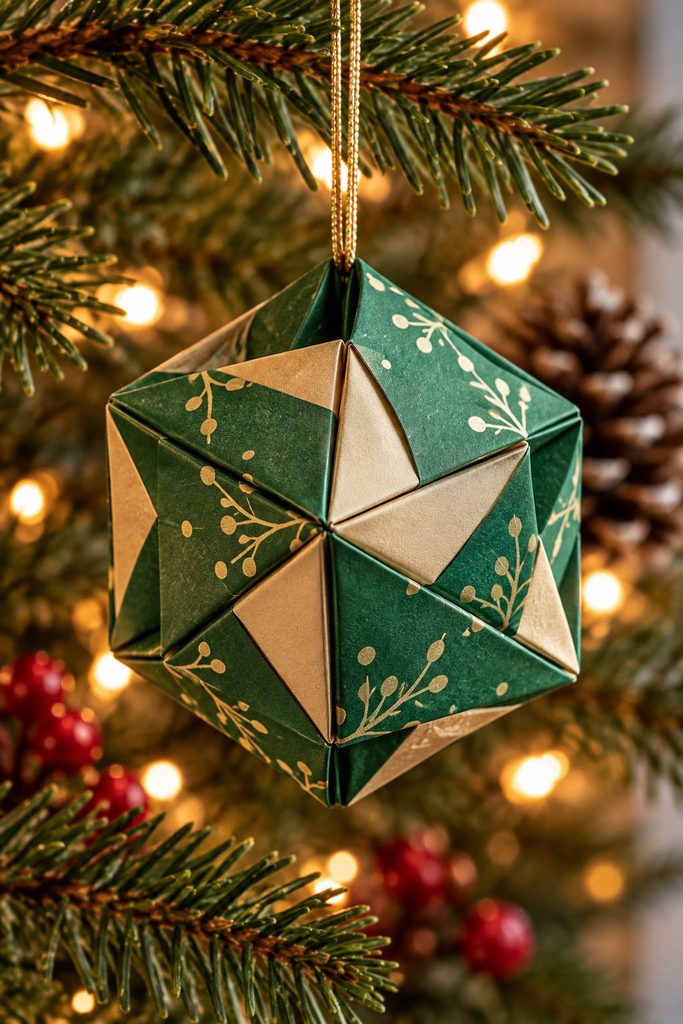
The appeal of a Sonobe cube is its clean edge logic: identical modules lock into one another through pockets and tabs, so the finished ornament has no central seam to disguise. Consistency matters more than decorative detail because one module folded slightly shorter changes the tension at three neighboring corners.
A reliable assembly order is:
- Fold all modules before connecting any of them, keeping the pocket direction identical.
- Build one three-module corner first; each tab should enter a pocket fully without buckling the receiving layer.
- Add the remaining units around that corner, closing the cube gradually instead of forcing the final module into an undersized gap.
- Trap a hanging loop inside a top corner before the last connection closes, leaving only the loop visible outside.
Corner lock check: Lift the empty cube by the hanger over a table. If a corner begins to separate, the problem is usually shallow tab insertion or a reversed module, not lack of glue. Reopen that joint, reseat the tab to the same depth as its neighbors, and test again.
3. Kusudama Flower Ball With Layered Folded Petals
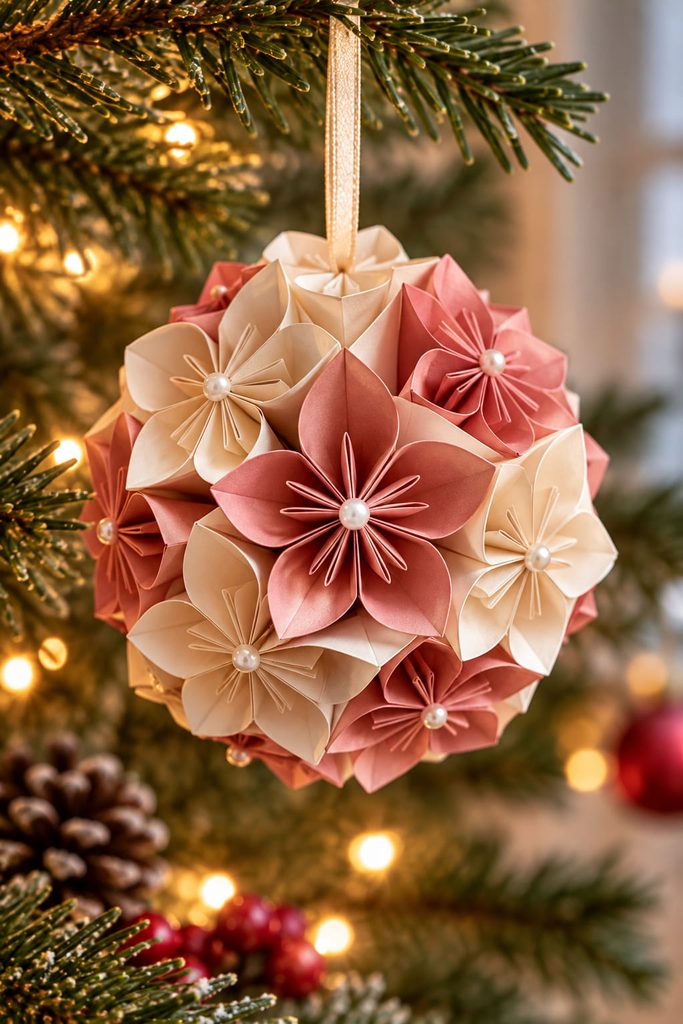
Choose a kusudama-style flower ball when you want the ornament to look soft and floral without asking the paper to imitate a smooth sphere. Repeated folded petals create small cups and ridges; when the flower units meet around the form, those raised edges break up reflected tree lights and make the ball look detailed from several directions.

This is one of the few ideas here where a little paper-safe adhesive can be practical, depending on the module style. Keep the glue inside petal seams or at module contact points so it supports the assembly without flattening the folded relief. The hanger should be anchored through the center of the top module or trapped between several connected units rather than glued to one petal tip.
Before closing the last section, check three things:
- the flower centers are distributed evenly rather than clustering on one side;
- the hanging loop exits close to the sphere’s centerline;
- the final opening can be closed without crushing neighboring petals.
4. Balanced Origami Crane for an Airy Branch Tip
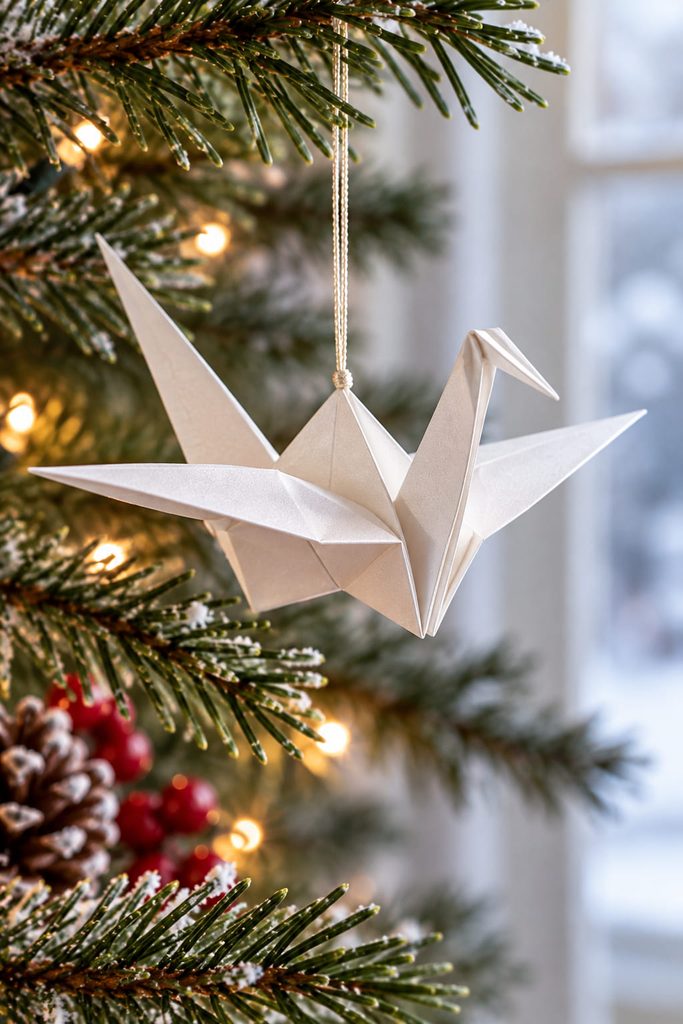
Long neck, tail, and opened wings shift a crane’s balance point away from the center of the original square. Finish the bird, support it along the upper body until it sits at the flying angle you want, then place the thread near that point through a folded layer or trapped loop.

If the head drops, move the loop slightly forward; if the tail drops, move it back. Give the wings enough branch clearance to hang without being pushed off level.
5. Puffy Lucky Star Drop With a Threaded Center

Tiny lucky stars work better as a vertical drop than as isolated ornaments because their puffed five-point forms are visually strong but physically small. Each star begins with a narrow paper strip wrapped into a compact knot; the remaining strip winds around that base, and gentle pressure between the edges puffs the faces outward. Thread several finished stars through their thick center zones, spacing them with small knots so they do not collapse into one cluster. Keep the largest star lowest on the strand to encourage a straight hang. The narrow finished drop fits branch gaps where a wide bauble would disappear into the foliage.

6. Poinsettia Rosette Ornament With Color-Reversal Petals

Color-reversal folds can give a poinsettia rosette its red petals and lighter center without stacking thick decorative pieces on top. Arrange the folded petal units around a compact folded hub, tucking or securing each base at the same depth so the points radiate evenly and the outer petals remain broad enough to show their crease structure from a few feet away.
For a clean tree ornament:
- keep every petal unit at the same insertion or overlap depth;
- let the reverse side of the paper appear intentionally at the center rather than in random slivers;
- place the hanger behind the hub so the rosette faces outward instead of tipping toward the floor;
- avoid a heavy center embellishment that makes the flat radial form sag forward.
This is a useful choice for shallow branch spaces because it gives a strong front-facing silhouette without needing a deep three-dimensional body.
7. Accordion-Twist Icicle With a Helical Fold Pattern
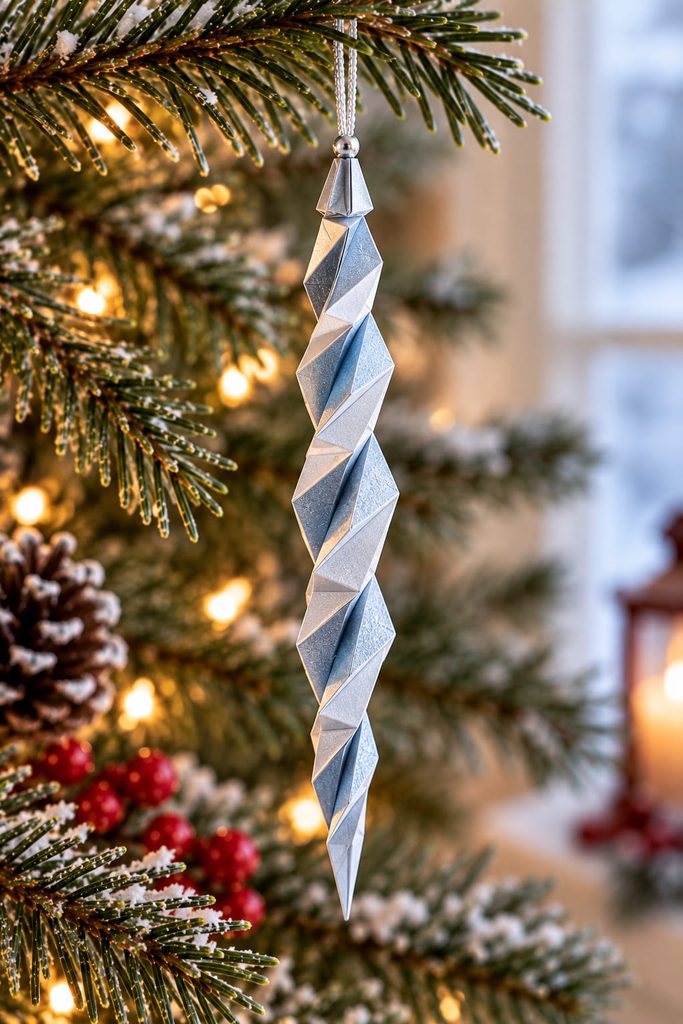
The icicle gets its movement from a crease sequence rather than from cutting a spiral. Start with a long, narrow sheet and establish evenly spaced crosswise folds, then add a repeating set of diagonals that all follow the same directional logic. When those creases are collapsed together, each segment rotates slightly relative to the one above it, turning a flat strip into a narrow helical pendant.
The order matters. Pre-crease the full pattern while the paper is still flat; trying to invent the twist while collapsing tends to produce one sharp kink instead of a continuous rotation. Begin the collapse at one end, settle two or three segments, then continue along the strip while allowing the already formed section to turn naturally. Do not force the bottom to face a predetermined direction.
The hanger belongs at the strongest top fold, with the load running along the icicle’s central axis. A small folded cap can trap the thread if the top segment is too narrow to carry a hole safely. Leave the bottom point unweighted so the repeated folds, not a charm, create the vertical pull.
Twist diagnosis: If the icicle bends sideways, compare diagonal direction and segment depth around the bend. One reversed diagonal or one under-collapsed pleat can interrupt the helix. Reopen only that local section, restore the crease direction, and recollapse before tightening the rest.
8. Reindeer Head Medallion With Reverse-Fold Antlers
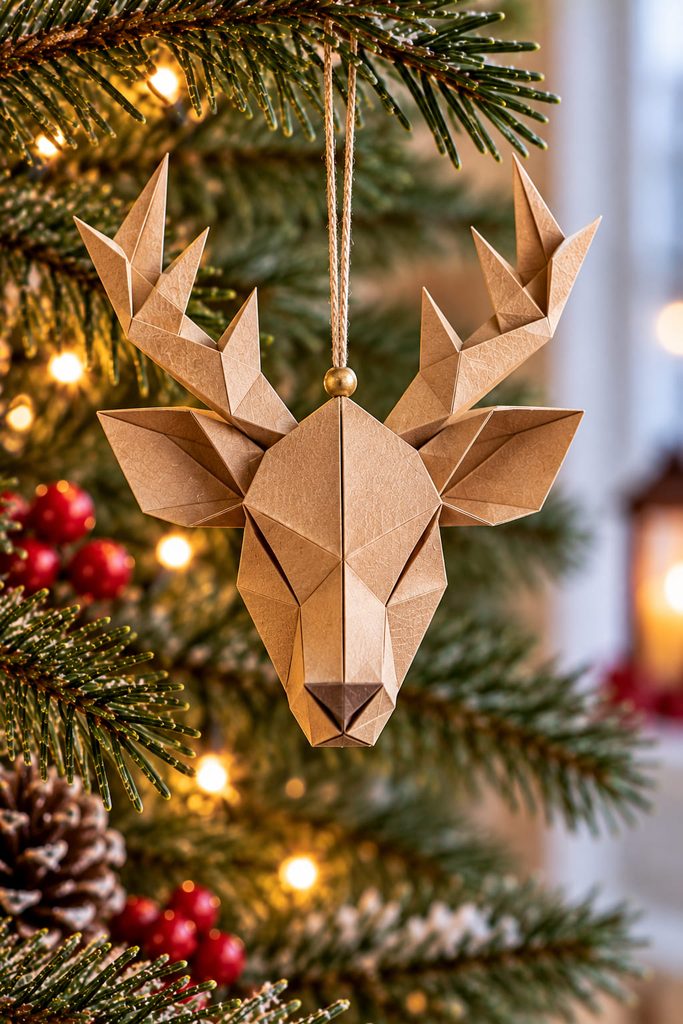
For a flat ornament that still feels unmistakably origami, let the reindeer features come from changes in fold direction instead of glued-on shapes. Layered triangular folds can establish the face, while narrow upper flaps become antlers through controlled reverse folds. Suspend the medallion from a reinforced top-center fold, never from an antler, so those narrow extensions carry no hanging load. Leave a little open branch space behind the head; the silhouette reads more clearly when the antlers are not lost against dense needles.

9. Double-Pyramid Diamond Ornament With an Equator Join
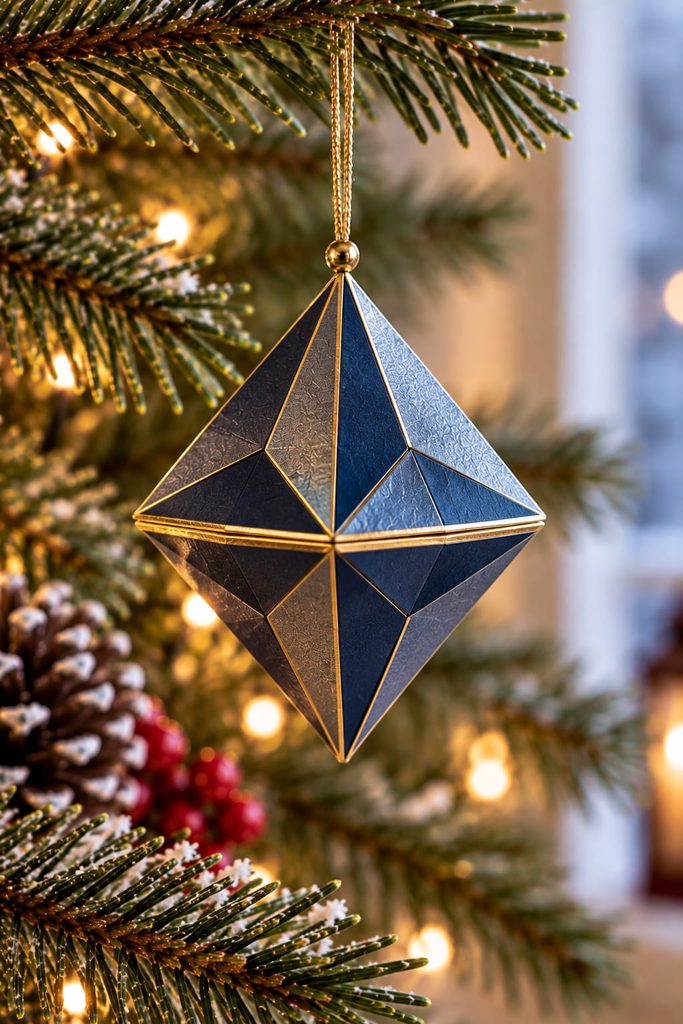
Two shallow folded pyramids can meet base-to-base to create a crisp diamond ornament with a clear equator. This route is useful when you want deep facets without asking one heavily layered sheet to collapse around itself. The trade-off is the join: the two halves need matching perimeter geometry or the finished diamond will look pinched on one side.
There are two sensible ways to close the equator. A tucked join keeps the construction closest to pure paper folding and can reopen for storage, but it requires accurately matched edge pockets. A minimal adhesive join is easier to keep aligned on very small ornaments, although it gives up the fold-flat option. In either case, trap the hanging loop inside the top pyramid before closing the halves.
Set the ornament on its side before hanging it and sight along the equator. The seam should form one level ring, with the top and bottom points on the same axis. A crooked equator is better corrected at the join than disguised by squeezing the facets.
10. Origami Bow Ornament With Open Folded Loops
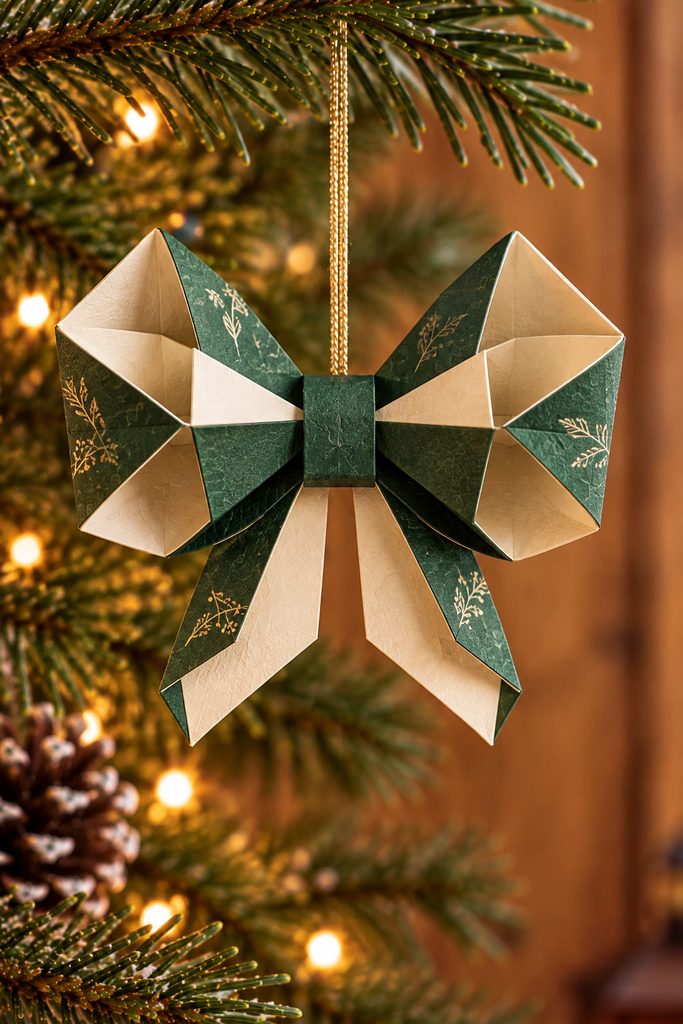
Open folded loops are what separate a tree-ready bow from a flat gift-topper shape. Double-sided paper helps because the inner faces remain visible, while a narrow folded center band keeps both sides visually connected.
Fold it in this order:
- Establish the center and diagonal references before forming either loop.
- Open the left and right sections into matching pocket-like loops, creasing only the bases so the rounded areas retain volume.
- Fold or wrap the center section tightly enough to hold the loop bases without crushing them.
- Trap the hanger behind that center band, then let the tails fall below the suspension point.
Hold the bow by the thread and look at it from the side. If one loop closes more than the other, reopen that pocket and match the base crease rather than pulling the thread tighter.
11. Woven Fröbel Star With Four Locked Paper Strips

A Fröbel star uses a different paper-folding logic from square-sheet models: four long strips weave through a central lock, then fold back into points and raised loops. Both faces carry structure, so the ornament can turn on the branch without exposing a plain back.
Keep the strips equal in width. The first woven square should sit snugly without buckling because every later fold references that center. Attach the hanger through the locked central weave or around a strong strip junction; hanging from one outer point can pull the star off axis and loosen the core.
12. Heart Pocket Ornament for a Tiny Paper Note

Fold the front layers into a genuine shallow pocket and the heart can hold a tiny paper note instead of serving only as a silhouette. The pocket opening should remain visible and reachable after the side folds shape the heart, while a tucked lower flap or layered base keeps the note from sliding through.
Size the note after the heart is folded, not before. It should drop below the opening without forcing the pocket walls apart, and enough of one edge should remain accessible to remove it. Keep the hanger independent of the pocket opening by trapping thread at the upper center fold; otherwise loading the note can disturb the suspension point.
Because the ornament may be opened during the season, avoid sealing decorative layers across the pocket mouth. A firm but thin paper gives the heart enough memory to hold its shape while still flexing for access.
13. Collapsible Tessellated Bellows Ornament With Open Ridges
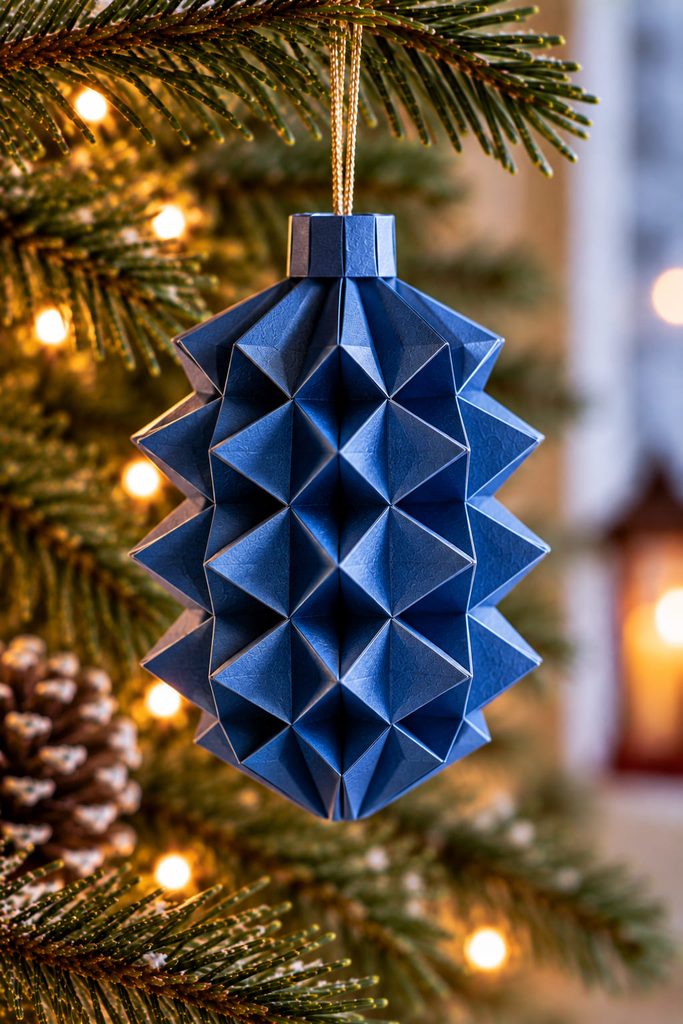
A tessellated bellows ornament is a good advanced choice when storage matters as much as the shape on the tree. Its volume comes from a repeated grid of mountain and valley folds that expands into ridges when opened and compresses toward a flatter state when the same joints are pushed back together. Unlike an inflated bauble, it does not rely on internal air; unlike a modular ball, it has no separate units to disconnect.
Pre-crease the entire grid before trying to form depth. Choose one reference edge, establish the repeating mountain-valley pattern there, and propagate the same logic across the sheet. During collapse, work across a narrow band at a time so each cell agrees with the next. If random sections are pushed inward out of sequence, the paper can lock in a skewed state even when every individual crease seems present.
The top suspension needs a separate reinforced zone outside the moving cells. A folded collar or doubled top flap can carry the thread while leaving the bellows free to expand below it. When the ornament is hanging, the lower ridges should open without one side stretching farther than the other.
For storage, reverse the expansion slowly along the existing creases instead of flattening the whole ornament under a book. The success test is simple: the model should return to its compact state without introducing new creases through the tessellation.
Collapse correction: If one ridge refuses to nest, stop at the first cell that changes direction unexpectedly. Reversing that single mountain/valley assignment is often more effective than pressing harder on the entire structure.
14. Hexagonal Twist-Lock Ornament With a Spiral Face
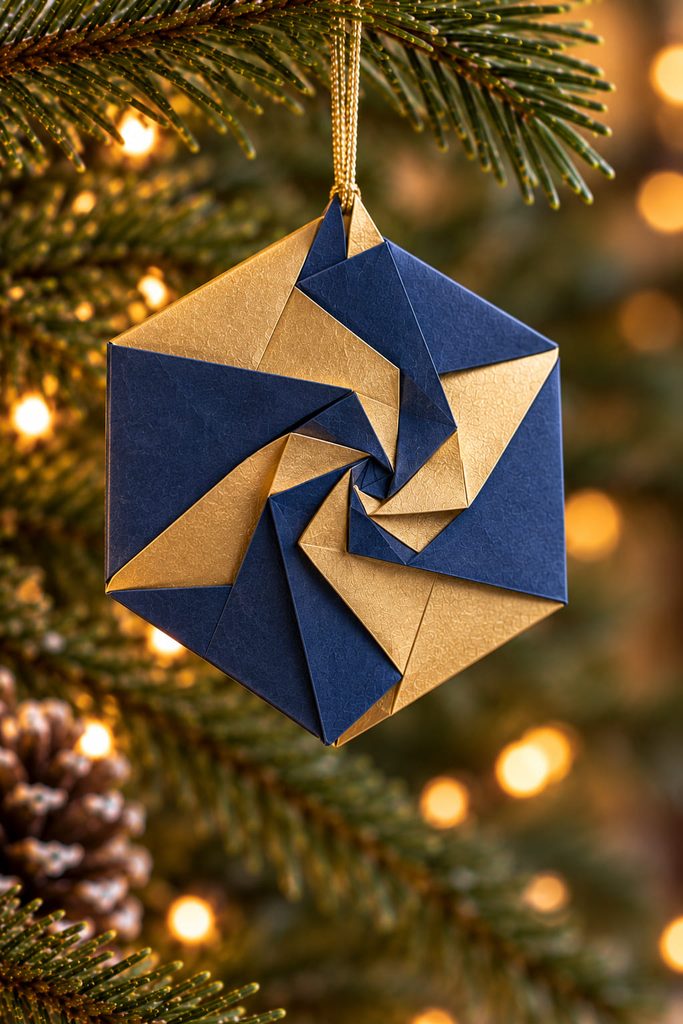
Start with a prepared hexagonal sheet, then rotate repeated diagonal folds toward the center until they lock into a visible spiral. The finished piece stays relatively shallow, but the overlapping faces catch light in different directions, making it useful where a full ball would crowd neighboring ornaments.
Use crisp paper that can hold several layers at the center without becoming bulky. As the final flaps rotate inward, keep the outer six edges evenly spaced; if the center drifts, back out one flap and re-seat the sequence rather than tightening the last tuck. Place the hanger through a doubled outer corner or trap it behind one upper fold so the twist itself is not carrying the tree load.
Before making a batch, check the first medallion from both front and side. The spiral should stay centered, and the ornament should hang nearly vertical instead of curling toward the branch.
Choosing Paper for Origami Christmas Ornaments
Paper behavior matters more than matching every ornament to one holiday print. Thin, crisp sheets are useful for models with many stacked layers, such as the crane, twist-lock medallion, or tessellated bellows. Slightly firmer decorative paper can help an inflated bauble, bow, or heart pocket keep its volume. Modular projects benefit from consistency: sheets or strips that vary in size or thickness make interlocks harder to seat evenly.
Choose the hanger method at the same time as the paper. A trapped thread loop is usually kinder to a layered fold than a hole placed through a thin tip. When piercing is part of the design, use a doubled or reinforced zone and keep the load aligned with the ornament’s center. For dense branch areas, favor shallow rosettes, medallions, and hearts; for open gaps, use cubes, flower balls, cranes, and longer drops that have room to turn.
Fold the Shape Your Tree Is Missing
Start with the gap you actually want to fill. The waterbomb bauble, cube, and kusudama ball add compact volume; the crane and bow spread sideways; the lucky-star drop and twisted icicle use narrow vertical space; the heart and twist-lock medallion sit closer to the branch. That makes it easier to build a mixed handmade tree without hanging fourteen ornaments that compete for the same silhouette.
If you want to keep folding after the ornaments are finished, continue with 15 Origami Christmas Tree Ideas from Simple to Striking for folded trees that move into tabletop, card, garland, and hanging formats.