This post contains affiliate links. As an Amazon Associate I earn from qualifying purchases, at no extra cost to you. Thank you for supporting Diynify!
Torn paper art makes the edge itself part of the design. Instead of hiding every cut behind a crisp outline, these projects use exposed fibers, uneven contours, overlap, and hand-shaped fragments to create wall art, hanging decor, tabletop pieces, and soft dimensional relief.
Most ideas can be made with colored paper, cardstock, recycled paper, a rigid backing, and paper-safe glue. Individual projects may also use old book or magazine pages, foam spacers, a wreath base, thread, a dowel, paper-mâché paste, a bowl mold, translucent paper, a battery-powered LED light, a wood tray, or decoupage medium. For an easy starting point, choose a landscape, sunburst, or botanical panel; the mobile and lantern ask for more attention to balance, clearance, or safe access.

1. Layered Torn-Paper Mountain Landscape
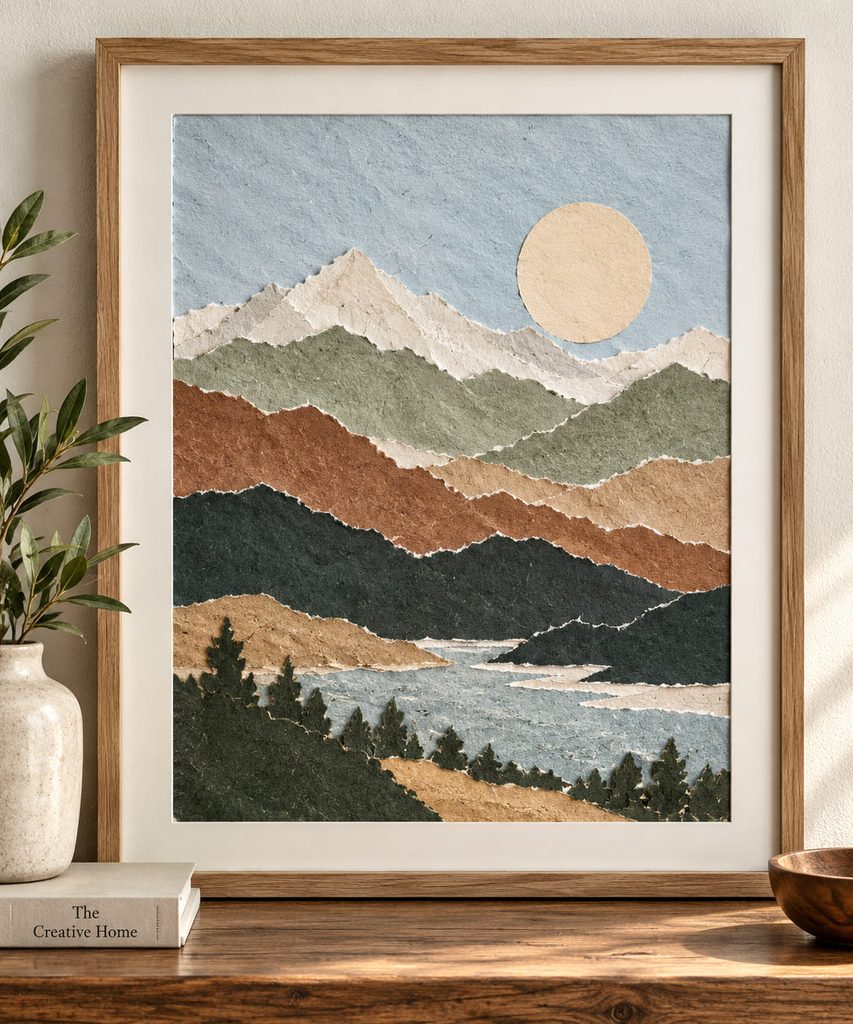
A mountain scene is a useful first torn-paper project because the irregular edge already resembles a distant ridge line. Tear broad bands from several papers, then overlap them from the horizon toward the foreground so each new layer hides the adhesive edge beneath it. Pale, low-contrast papers can recede while darker or more saturated pieces come forward, but value contrast matters more than matching a literal landscape palette.
Keep the sky comparatively open. If every inch is filled with texture, the torn contours lose their ability to separate one plane from another. A rigid backing also helps the finished piece stay flat when several glued bands pull in different directions as they dry. Frame it with a generous mat if you want the rough paper boundary to read as the artwork rather than as an unfinished edge.
2. Deckled Botanical Specimen Panel
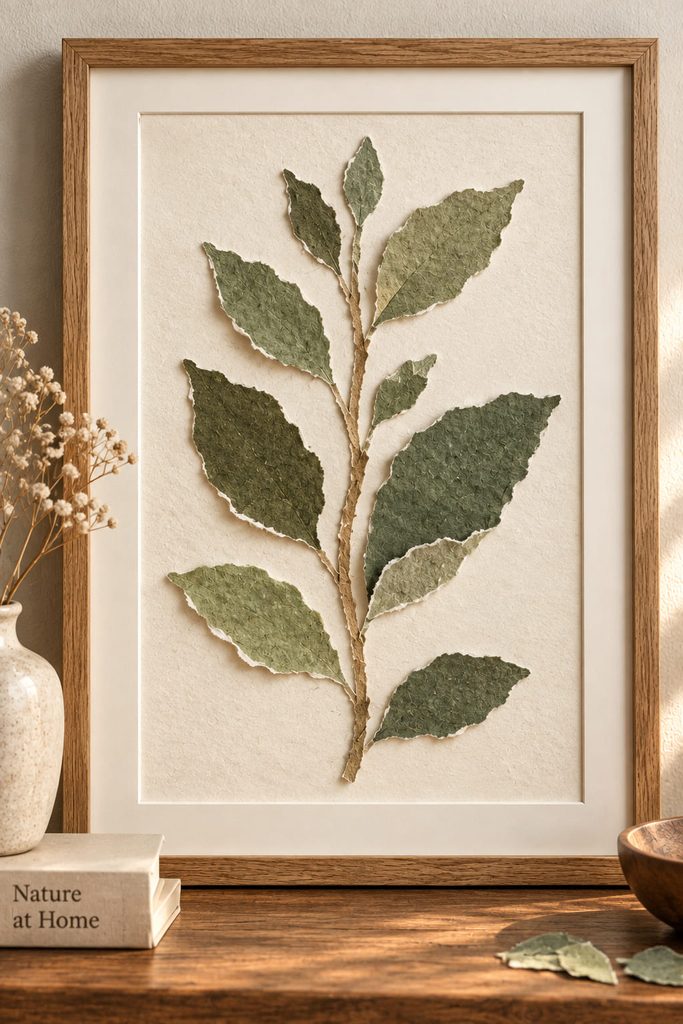
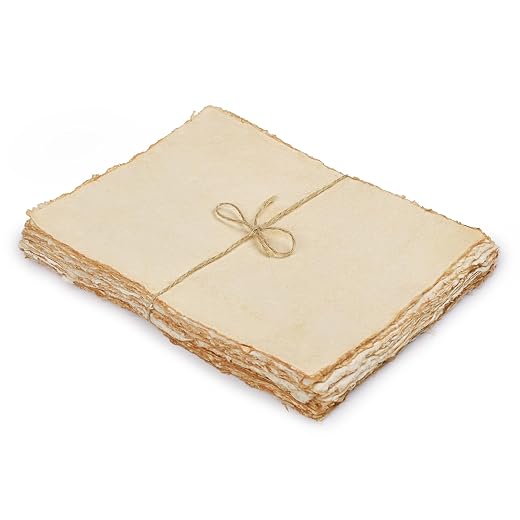
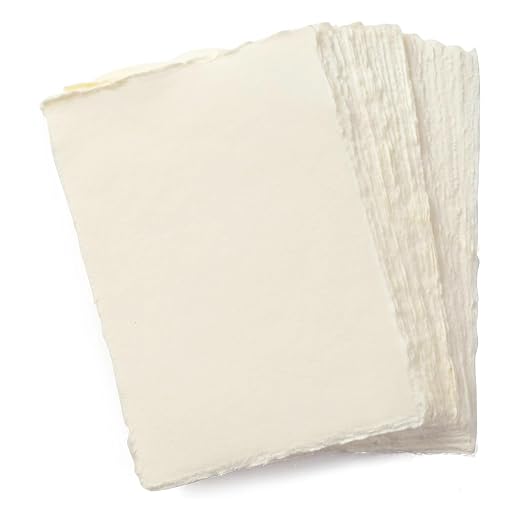
Instead of tearing complete leaf silhouettes, build a botanical stem from a few deliberately simple fragments: a narrow paper strip for the stem and broad almond, oval, or half-leaf pieces placed around it. Handmade paper, kraft paper, mulberry-style sheets, and other papers with visible fibers make the deckled edges especially noticeable against a calm backing.
Material cue: use one fibrous paper for the plant shapes, one smoother paper or board for the ground, and a thin paper-safe adhesive that can be kept behind the fragments. The contrast between a fuzzy edge and a clean background does more visual work than adding many colors.
3. Torn Paper Art Portrait With Magazine Scraps

A portrait made from torn magazine scraps works best when it is treated as a value mosaic rather than a collection of recognizable photos. Sort scraps loosely into light, middle, and dark groups, then use the largest value blocks to establish the face, hair, clothing, and background before filling smaller transitions. The torn pieces do not need to match the exact outline of a cheek or jaw; a few angular gaps can make the image feel more handmade and keep it from becoming a pasted imitation of a photograph.
4. Torn-Paper House Portrait Collage
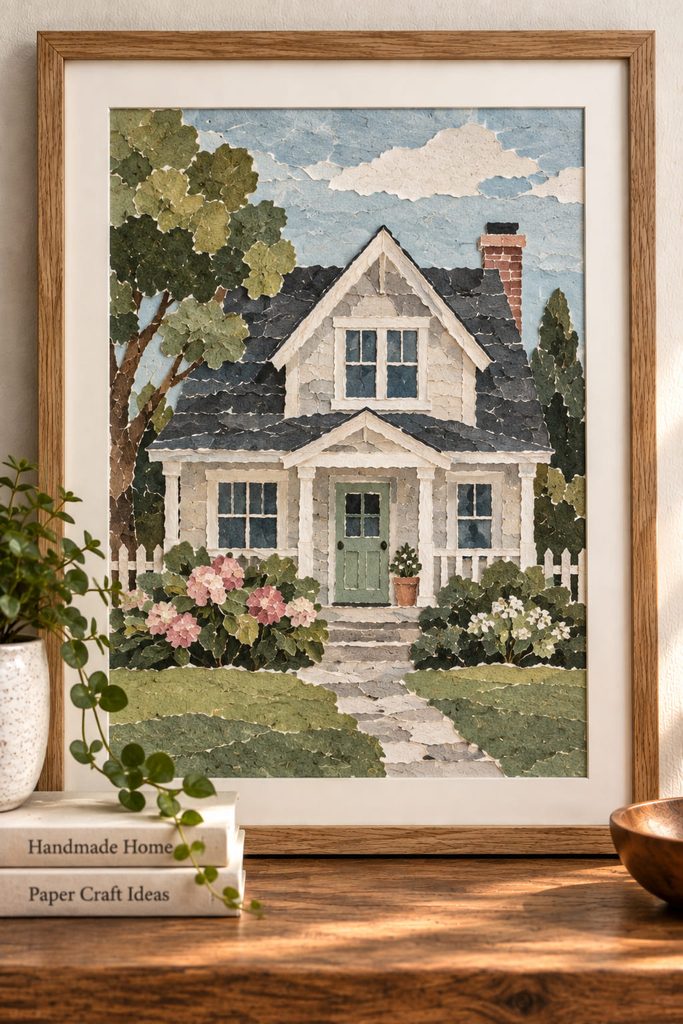
For a house portrait, the challenge is keeping an irregular technique readable enough to preserve the building’s proportions. Start with a simple front-facing reference and reduce it to roof, wall mass, door, windows, and one or two landscape shapes.
- Tear the largest wall and roof pieces first and test their proportions on the backing.
- Add doors and windows as simple blocks instead of chasing tiny architectural details.
- Use narrow torn strips for trim, porch lines, or a path only where they clarify the structure.
- Step back before gluing the final accents; the house should still read from across the room.
Because the edges are intentionally soft, one straight anchor is helpful. A level baseline, rectangular mat opening, or clean frame gives the eye enough geometry to understand the house without forcing every paper edge to become precise.
5. Ocean Wave Shadow Box With Rough Edges
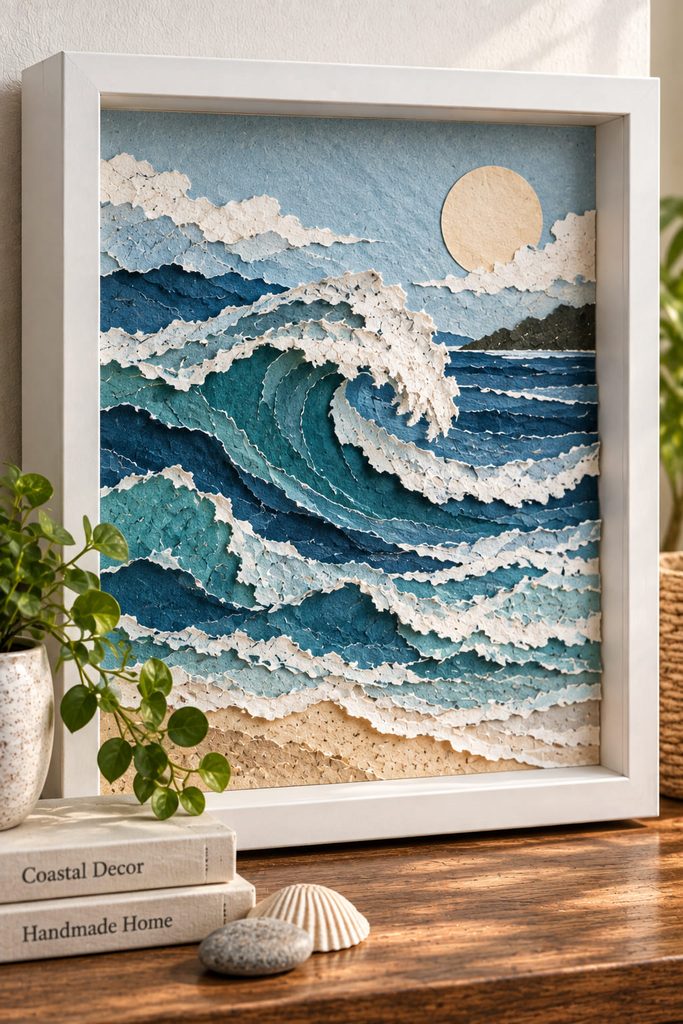
A shadow box turns torn blue and neutral papers into actual depth rather than simulated depth. There are two useful construction routes. Flush layering keeps the piece shallow and graphic, while foam spacers between selected wave bands create deeper shadows and a more sculptural crest.
| Route | Best Effect | Construction Trade-Off |
|---|---|---|
| Mostly flush layers | Calm, poster-like waves | Easier to frame, but less real shadow |
| Selected spaced layers | Stronger foam-and-surf depth | Needs a deeper frame and careful spacer placement |
Build the farthest water layer first, then add only enough raised bands to create a front-to-back rhythm. Put spacers behind broad areas rather than tiny tips so the paper has stable contact points; unsupported narrow crests are more likely to bend or twist. If every layer is lifted equally, the shadow box can look like a stack of shelves instead of moving water.
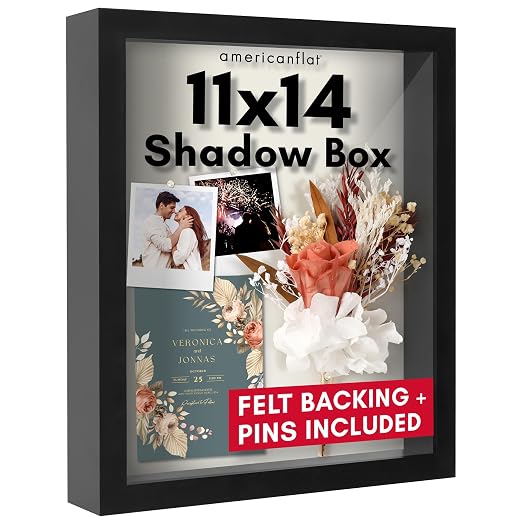
Depth Check: place the dry stack upright before gluing. If the front wave hides most of the layers behind it, reduce its height or shift the overlaps before adding spacers.
6. Vintage Book-Page Sunburst Panel
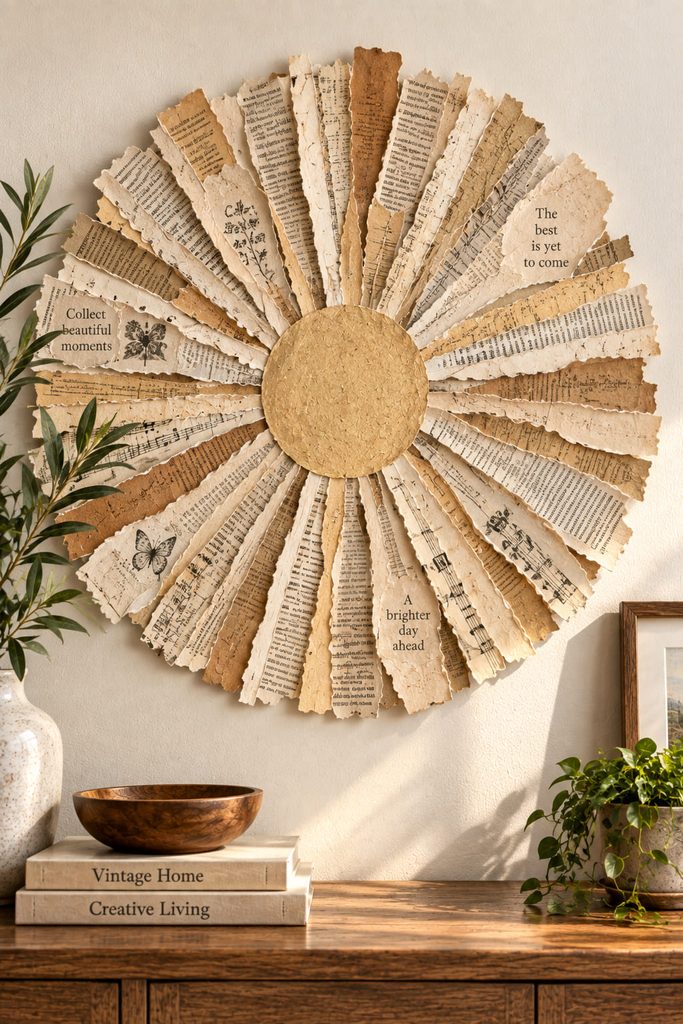
Old book pages, damaged sheet music, photocopied text, or other expendable printed paper can create a radial piece without needing crisp cutting. Tear long tapered wedges, arrange their narrow ends around a central disk, and let the outer ends remain uneven. The controlled center keeps the composition intentional while the perimeter stays loose and tactile.
A sunburst becomes busy quickly, so decide whether the interest comes from typography or from color. If the paper already contains dense print, a limited palette and a plain center are usually enough. If the pages are mostly blank or pale, a painted or colored backing can provide the contrast instead. Avoid using irreplaceable books; discarded or duplicated pages give the same visual language without sacrificing something you meant to keep.

7. Layered Scrap-Paper Wreath
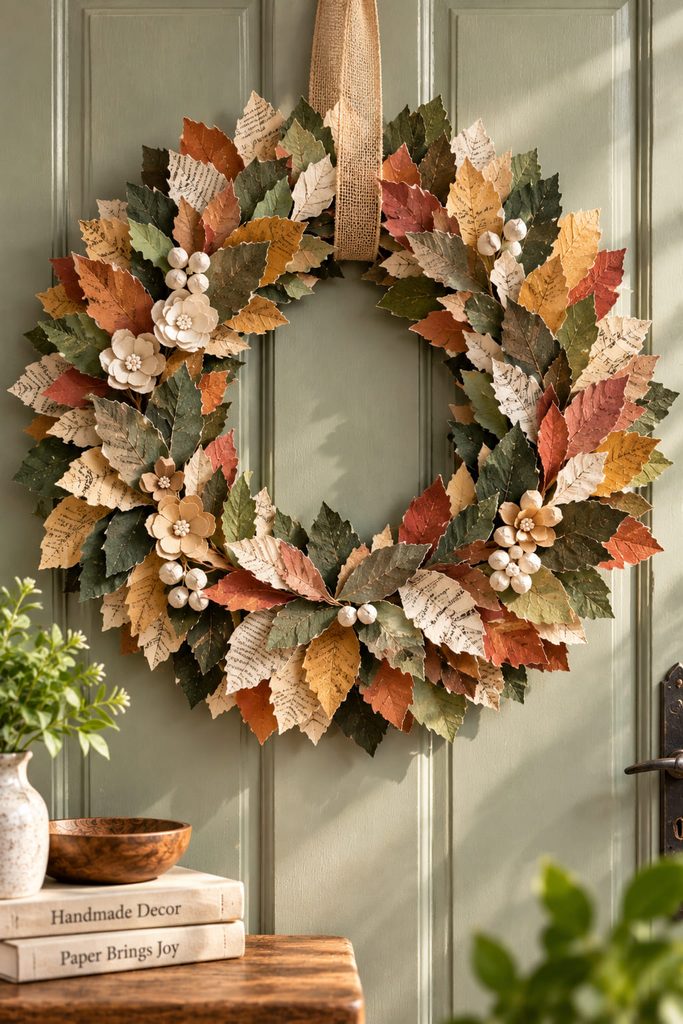
Build the torn-paper surface on a rigid ring rather than relying on the scraps to hold the circle. A sturdy chipboard, corrugated cardboard, or purchased wreath ring can carry the weight of overlapping paper leaves, scales, loops, or folded tabs without the decorative layer becoming the structure. Work around the ring in one direction so each new piece hides the previous attachment point.

Before covering the whole base, test a small section and check three things.
| Check | What You Want To See | Correction If It Fails |
|---|---|---|
| Base stiffness | Ring stays flat when lifted | Laminate a second ring or switch to heavier board |
| Attachment | Scraps stay fixed at the glued end | Increase contact area instead of flooding the paper with glue |
| Hanging point | Weight does not make the ring rotate | Add the hanger to the base before the final paper layer |
Leave the center opening visibly open. Filling it with too many inward-facing pieces can erase the wreath silhouette and turn a structural ring into a dense paper disk.
Hanging Point: attach ribbon, cord, or a concealed loop to the base rather than to a decorative scrap. The carrier should take the load.
8. Suspended Organic-Shape Paper Mobile
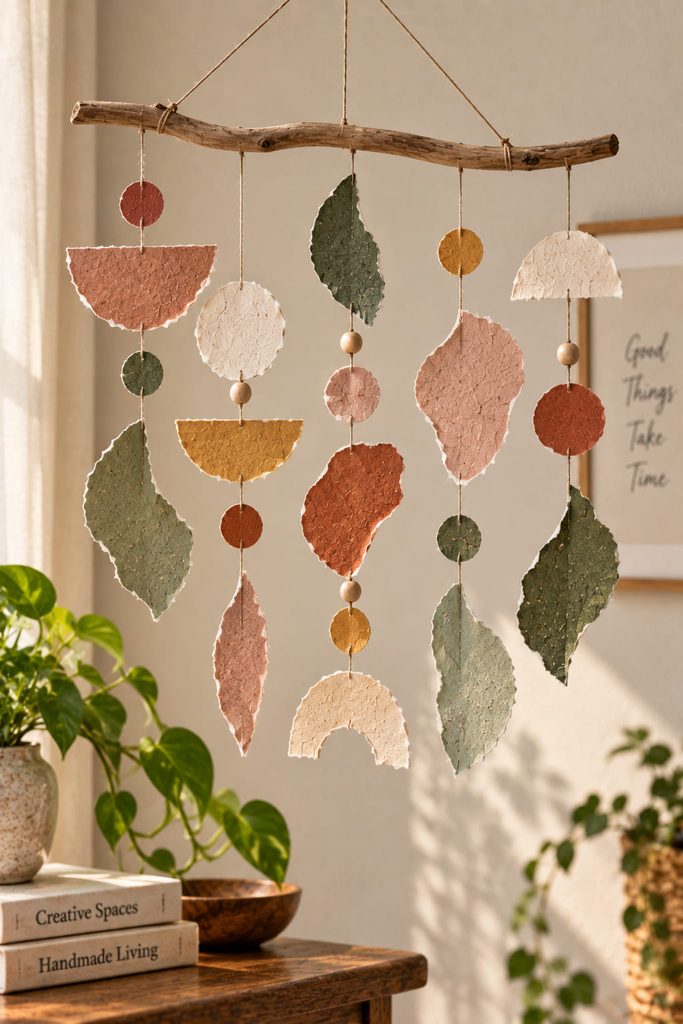
Once torn shapes hang from thread, gravity starts deciding the composition. Use paper with a reasonably clean reverse or laminate two thin pieces back-to-back, then tear several unequal organic forms, reinforce their suspension points, and distribute them across a light crossbar, branch, or balanced armature.
| Symptom | Likely Cause | Practical Fix |
|---|---|---|
| One side drops | Too much weight on that arm | Slide the hanging point or move a shape inward |
| Shapes collide | Suspension lines are too close | Increase spacing or shorten one line |
| Paper curls badly | Sheet is too thin or loaded with wet glue | Use drier joins or a slightly heavier paper |
Balance the mobile in the place where it will hang, not flat on a table. The finished object has to work under gravity with enough clearance from the wall and neighboring pieces to move without constant contact.
9. Torn-Strip Wall Tapestry
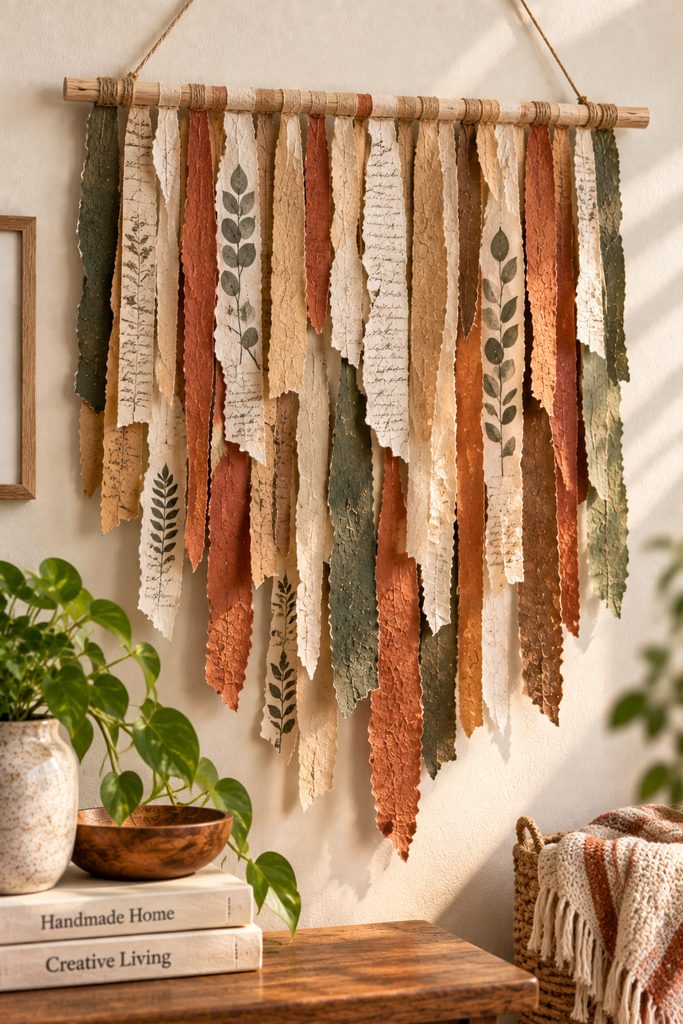
Long torn strips can behave more like fiber than collage material when they hang freely from a dowel. Tear papers into varied widths, fold or wrap the top inch around a wood dowel, and secure only that top connection so the lower edges remain loose. Mixing kraft, handmade paper, lightweight cardstock, or printed scraps changes the stiffness and the way each strip hangs. Keep the silhouette deliberate: a stepped lower edge, asymmetrical slope, or shallow arch reads more intentional than dozens of strips ending at nearly random lengths, and it gives narrow textured scraps a useful role instead of forcing them into a larger collage.
10. Papier-Mâché Sculptural Bowl
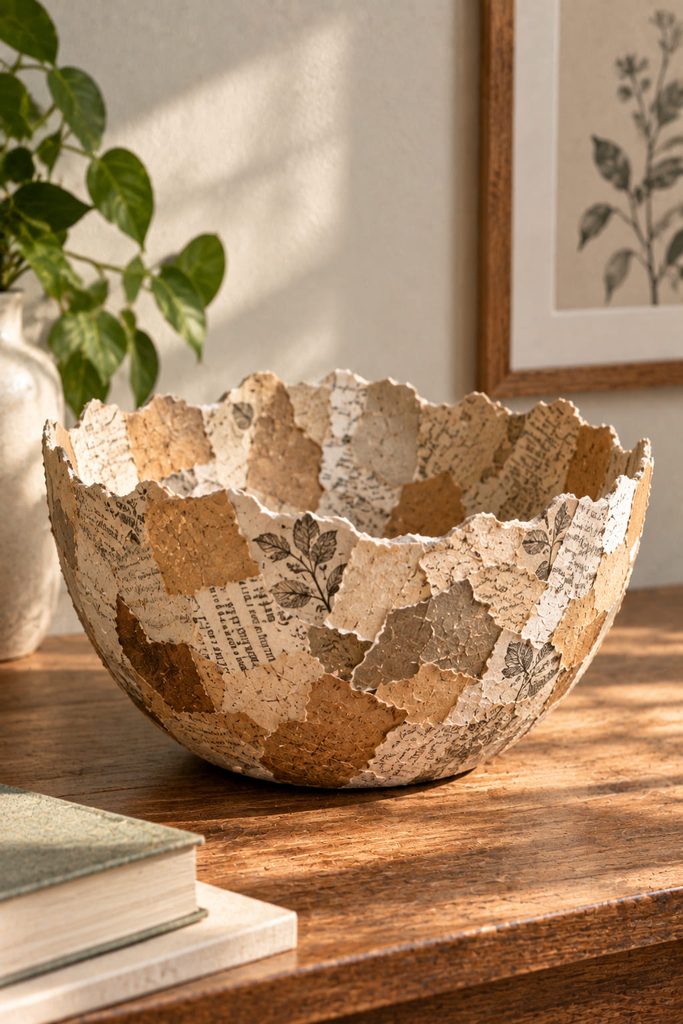
Tearing paper is structurally useful in papier-mâché because overlapping strips can conform to a rounded mold without the hard corners created by large cut panels. Protect a bowl-shaped form with a suitable release layer, then overlap adhesive-coated paper strips across the surface in changing directions. Several thin, well-bonded layers are generally easier to shape than one thick mass of wet paper.
Let the shell dry thoroughly before removing it from the mold, then trim or deliberately tear the rim depending on the finish you want. A visibly deckled rim suits kraft paper, newsprint, or muted handmade papers; a cleaner rim makes sense if the exterior will receive a more controlled decorative layer. Treat the result as a dry decorative vessel rather than assuming it is food-safe or water-resistant unless the materials and finish are specifically rated for those uses.
11. Translucent Torn-Paper LED Lantern Sleeve
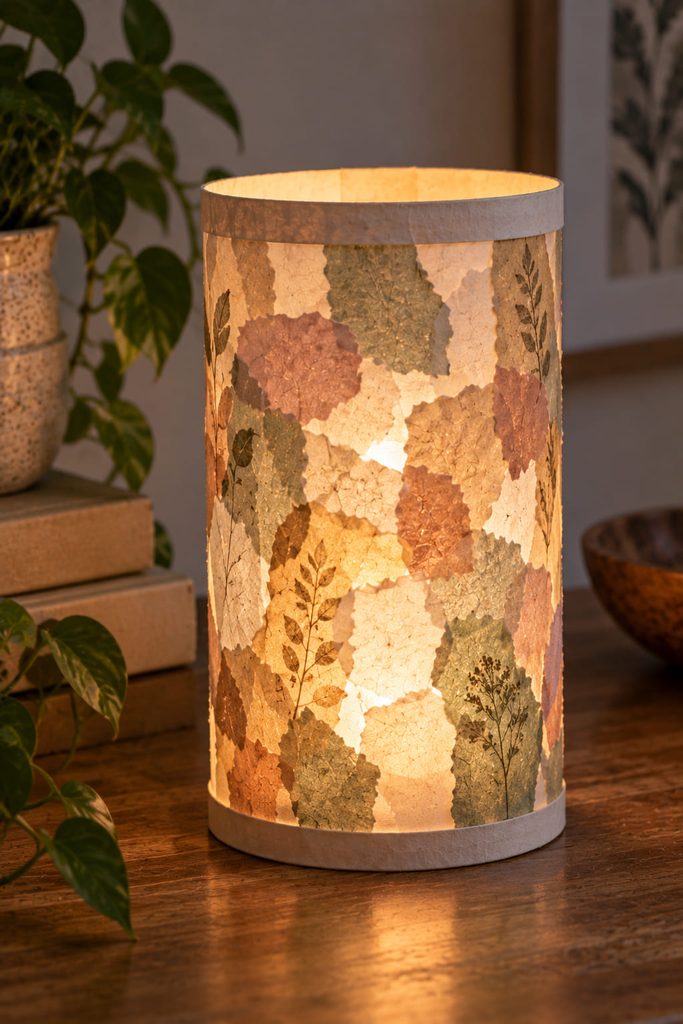
Light has to pass through the torn layers, so the openings and overlaps must be planned around the light path rather than added as surface decoration. Start with a stable vellum or translucent-paper cylinder supported by a cardstock ring at the top and bottom. Apply small torn tissue or lightweight translucent fragments to the outside, leaving some pale or uncovered areas so the glow does not become a dark patchwork.
The light source should remain removable. A small battery-powered, cool-running LED can sit inside the sleeve or beneath a separate inner diffuser, but the paper should not be sealed around the light or made dependent on the LED for structural support. Keep the base wide enough that the lantern stands securely, and leave a clear opening for switching the light on, changing batteries, and removing the unit.
Before finishing the outer collage, test the sleeve in a dim room. If the center looks blocked, remove or thin the darkest overlaps rather than adding brighter material elsewhere. If the cylinder buckles, strengthen the paper rings instead of stiffening the whole translucent wall with heavy glue.
Light Safety: use a cool-running battery LED only. Do not place a flame, candle, or heat-producing bulb inside a paper lantern.
12. Torn-Paper Decoupage Tray
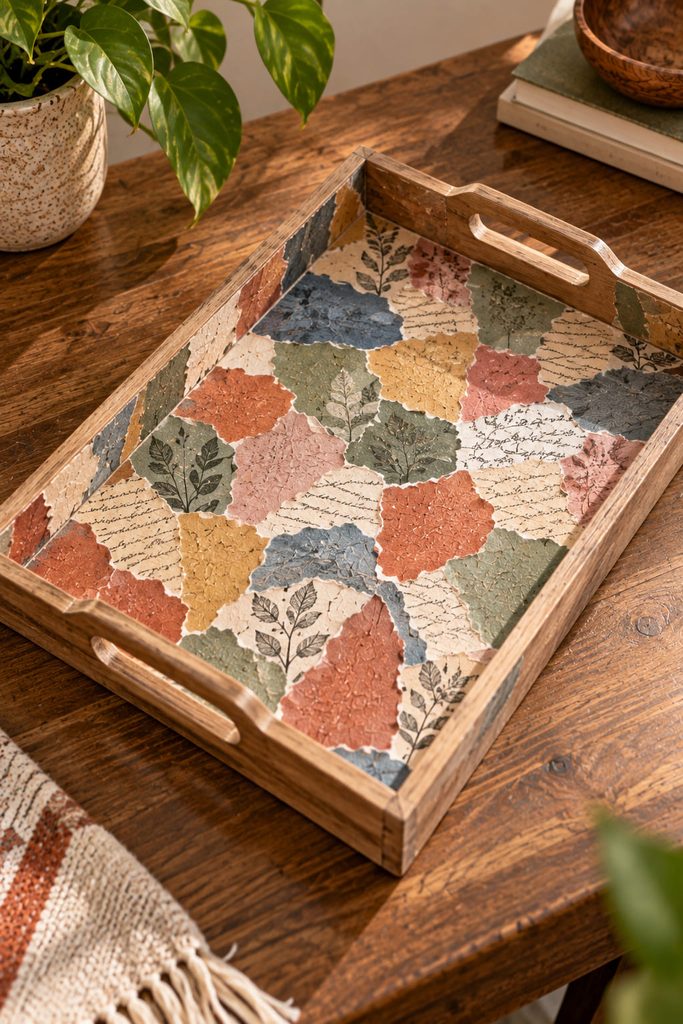
Covering a shallow wood or rigid craft tray with torn paper turns the collage into functional surface decor, and the adhesive method changes the look. Edge-to-edge placement creates a patchwork with obvious boundaries; overlapping scraps produces a denser, more painterly surface with fewer exposed gaps.
| Method | Visual Result | Best Use |
|---|---|---|
| Edge-to-edge | Graphic patchwork | Larger scraps and clear color blocks |
| Overlapped | Softer, layered field | Thin paper and mixed printed fragments |
Work on the flat tray base first and keep paper away from moving hardware, deep corner seams, or handles that need a clean grip. Once the surface is fully dry, use a compatible protective finish if the tray will be handled regularly. The project is decorative functional craft, not a substitute for a food-contact surface unless every material used is specifically intended for that purpose.
13. Raised Floral Petal Relief
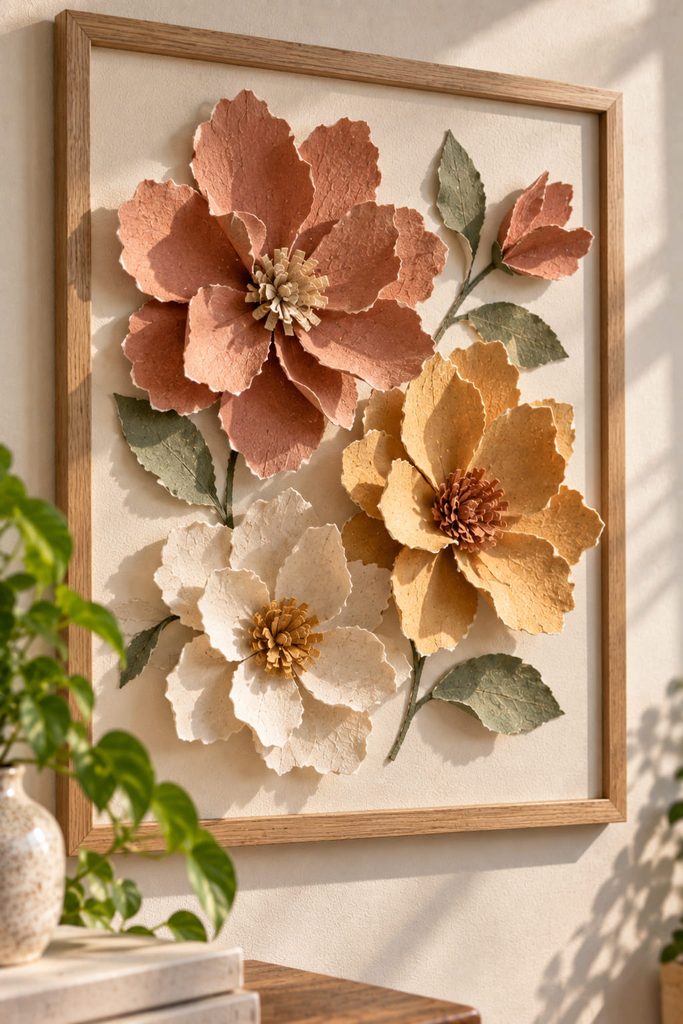
Torn petals can look convincing without imitating a precise botanical template. Tear broad teardrops and rounded strips, pinch or crease only the base of each piece, then cluster them around a small center so the outer edges lift away from the backing. Keeping the attachment close to the petal base preserves the shadow underneath.
Useful supplies: medium-weight colored paper for petals, a rigid panel, paper-safe adhesive, and small folded paper tabs or narrow foam spacers if a bloom needs more lift. Use a few large flowers rather than filling the entire board with equal-size blooms; open backing space helps the raised petals cast readable shadows.
14. Torn Skyline Triptych
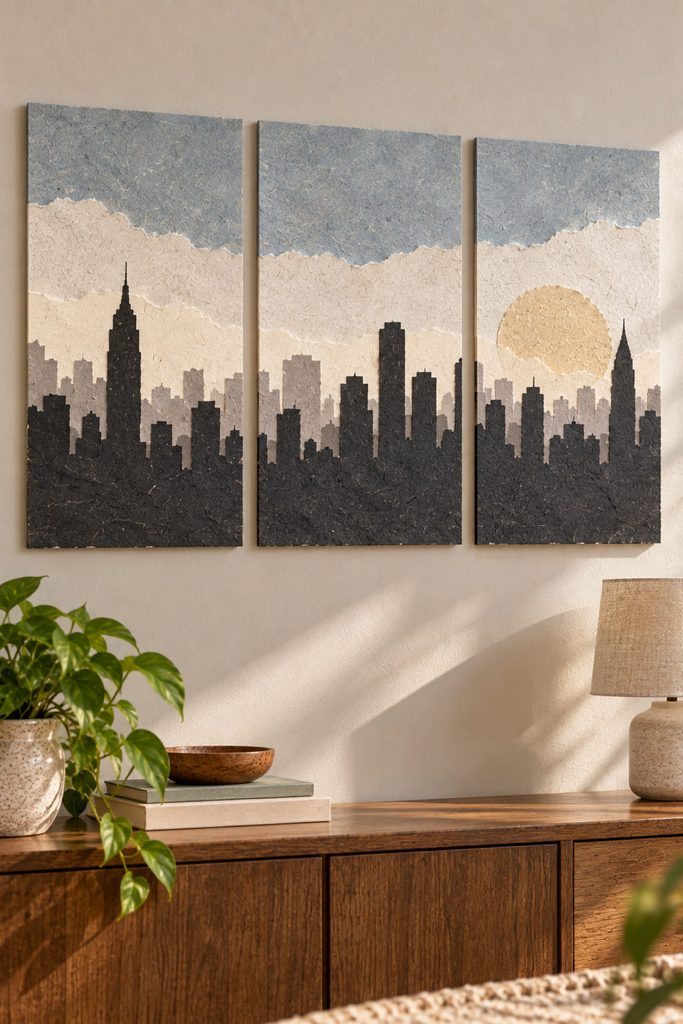
Across three panels, a torn roofline can become the visual thread that connects the entire city scene. Tear a long dark strip into a varied skyline, then divide the composition across three equal or intentionally unequal backing boards. Keep a few major heights aligned from panel to panel so the eye reads one continuous city rather than three unrelated scraps.
The main decision is how much architecture to imply. A sparse version can rely on one jagged silhouette and a wide sky; a denser version can add a second, lighter layer behind the first to suggest distance. Avoid tiny torn windows unless the paper is large enough to support them cleanly. Negative space between the panels is part of the composition, so mock up the spacing on the wall before committing to hangers.
Choosing The Right Torn Edge For The Project
Not every sheet tears the same way, and that difference can be useful. Thin paper gives softer, more feathered edges but can wrinkle under wet adhesive. Cardstock makes bolder contours and stronger freestanding pieces, although tight curves are harder to tear. Magazine and coated papers often create sharper color blocks, while fibrous handmade papers emphasize the deckled edge itself.
Test one scrap before committing to a full project. Tear in both directions, try the adhesive you plan to use, and let the sample dry on the intended backing. That small check tells you more about the paper’s edge, curl, and glue response than choosing by color alone.
Start With The Kind Of Decor You Want To Keep
Choose the first project by its finished job. A mountain landscape or botanical panel is forgiving if you want framed wall art; the wreath and tapestry make better sense when texture matters from across a room; the mobile and lantern are better next steps when movement, balance, or light are part of the result.
If you want to move from rough-edge collage into more engineered depth, continue with 20 Stunning 3D Paper Art Ideas for Handmade Decor.