
This post contains affiliate links. As an Amazon Associate I earn from qualifying purchases, at no extra cost to you. Thank you for supporting Diynify!
Christmas origami ideas do not need to begin with complicated bases or a long vocabulary of folds. For a first holiday project, it is more useful to choose models with clear symmetry, visible crease lines, and a finished job you can understand as you fold—holding a page, topping a gift, standing at a place setting, or hanging from the tree.
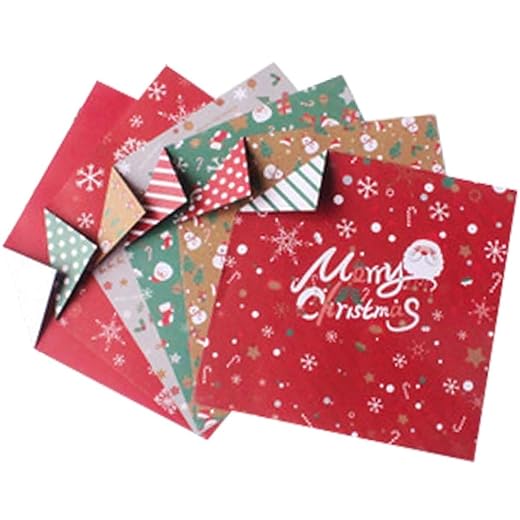
Most of these ideas work with origami paper, lightweight gift wrap cut into squares, or thin decorative paper plus a firm surface for creasing. A few finished projects need thread or ribbon for hanging, a wrapped treat, or a tiny removable adhesive dot for display. Start with the flat tree, Santa face, heart, or corner bookmark if you want the shortest learning curve; save the box, envelope, and standing pieces for when you are ready to manage pockets and three-dimensional form.

1. Flat Christmas Tree Gift Tag

Fold a square into a narrow triangle, then create staggered branch layers by turning the lower points back out from the center. The useful part of this beginner model is that every major crease stays visible from the front, so it is easy to compare the left and right edges before committing to the next fold. A small punched hole near the top turns the flat tree into a gift tag or lightweight ornament without changing the folded structure.
Keep the lower branch layers progressively wider rather than making every flap the same depth. That widening is what makes the silhouette read as a fir tree instead of a stack of chevrons.
2. Santa Face Gift Topper

For a first character fold, a Santa face gives you a lot of recognition from only a few directional changes. A red square with a pale reverse side is especially useful because turning down the top corner can reveal the face while the outer red area remains the hat. Two small side folds narrow the cheeks, and one final point can become the hat tip.
Because this version stays flat, it is easy to attach to a wrapped box with a small removable adhesive dot or tuck under ribbon. Keep drawn facial details minimal; the color change and hat triangle should do most of the visual work.
3. Reindeer Corner Bookmark
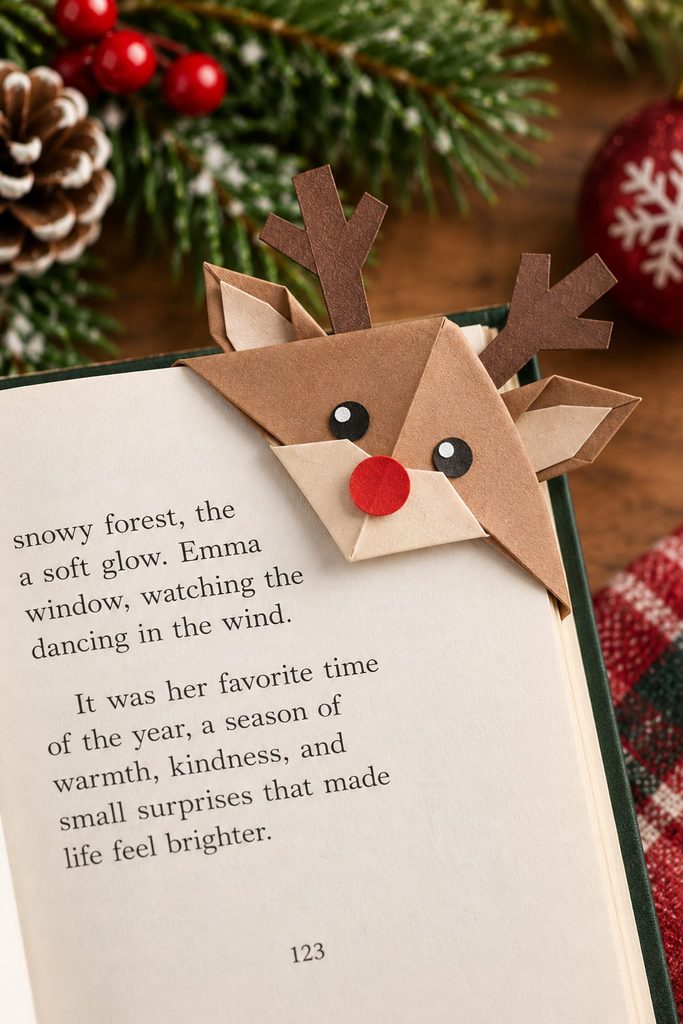
The corner pocket is the mechanism that makes this idea more than a flat animal face. Fold a square into a triangle, bring the two side points toward the top, then open them again so the top layer can be folded down and the side points tucked into the pocket. The result grips the corner of a page without needing a clip.
- Build the triangular pocket first and make sure the opening is clean.
- Tuck both side points fully inside so the bookmark lies flat.
- Add simple folded or paper antlers only after the pocket slides on and off a page easily.
If the bookmark feels bulky, the problem is usually too many decorative layers near the pocket mouth. Keep the nose and antlers light so the page can still enter without catching.
4. Origami Christmas Heart Ornament

A heart is a forgiving first ornament because small differences between the two sides are easy to correct before the top corners are locked in. Begin with a square, establish a center line, then bring matching edges toward that guide so the lower point stays centered. Folding down and softening the upper corners creates the familiar heart shape.
For hanging, thread can pass through a tiny punched hole in a reinforced top area, or the heart can sit under ribbon on a present. Double-sided paper is useful here because both faces may be visible once the ornament turns.

5. Simple Masu Gift Box

If a folded box lid sits crooked, the error usually began much earlier than the final tuck. A masu-style box depends on a square divided by accurate center creases; each wall rises from folds that need to meet at the same depth. That makes it a good first three-dimensional project because the finished box immediately shows whether the geometry is balanced.
Use one square for the base and a second, very slightly larger square for a lid if you want a closed gift box. Fold both diagonals and the horizontal and vertical center lines cleanly, bring the corners to the center, then form opposite walls before lifting and locking the remaining ends. The paper should open into a square footprint with four upright sides, not a diamond-shaped base.
Box Fit Check: Before placing a gift inside, set the empty lid over the empty base. If it binds, reopen the lid and reduce the wall depth slightly rather than forcing the corners. Lightweight paper is easier to learn with; thicker cardstock makes small measuring differences much less forgiving.
6. Stocking Treat Pocket
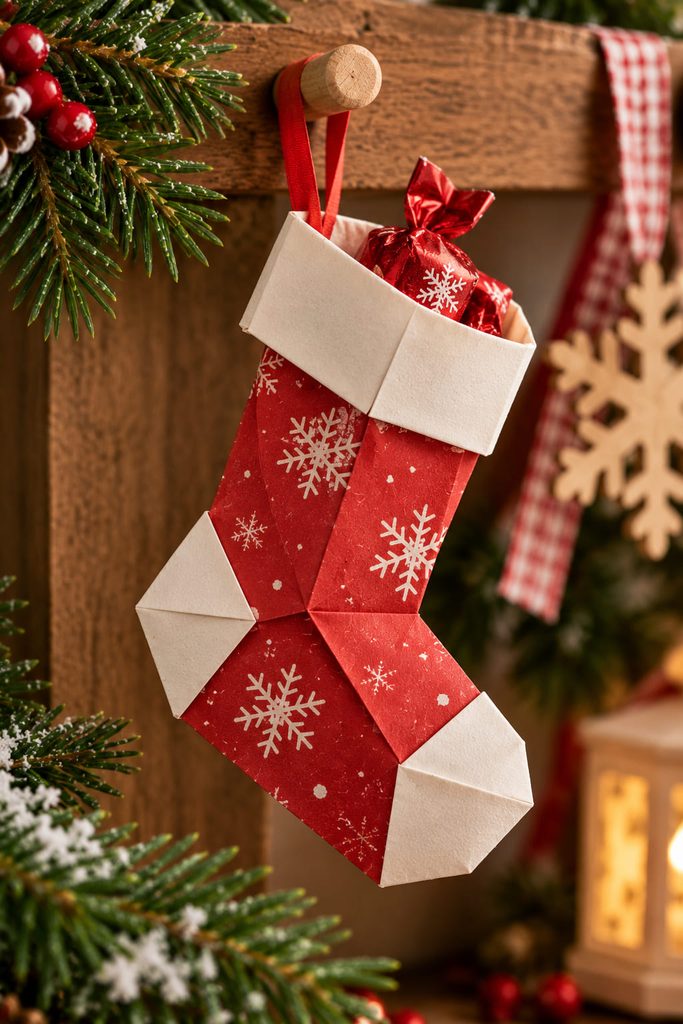
Thin paper works better than stiff card for a stocking pocket because several layers collect around the toe and cuff. The goal is not to build a deep container; it is to create a shallow folded sleeve that can hold one flat wrapped sweet, a note, or a small paper token without springing open.
A good version leaves the top edge open for loading and uses an overlapping body fold to keep the contents from sliding out sideways. Before adding a hanging loop, test the pocket with the actual item: if the paper bows outward or the cuff will not lie flat, use a smaller treat rather than tightening the fold around it.

7. Standing Christmas Tree Place Marker
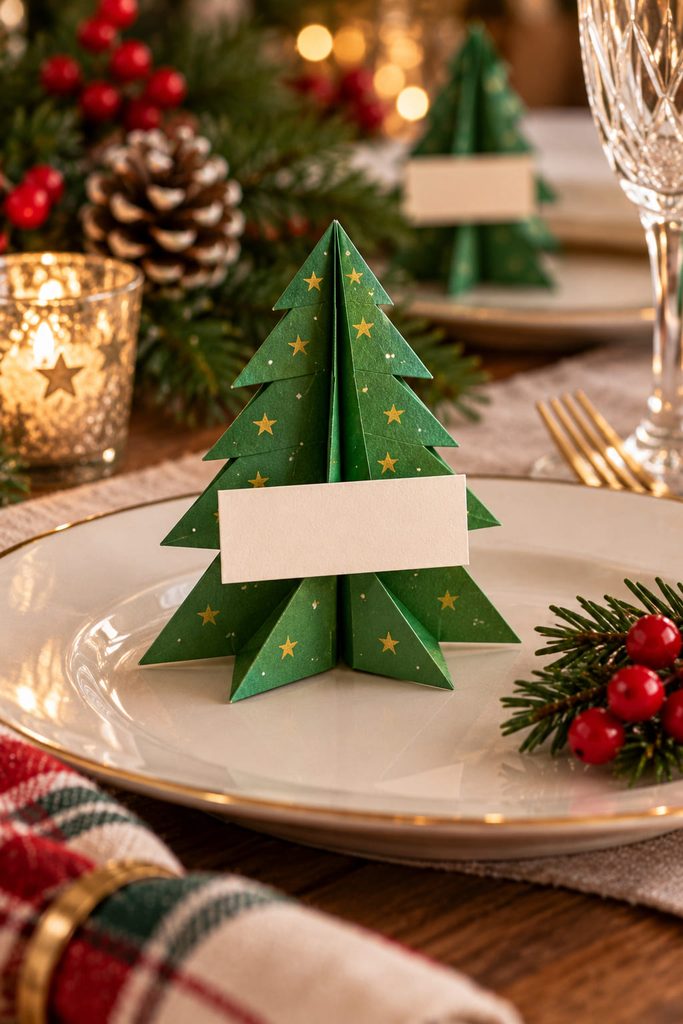
Want a Christmas tree that does something different from a flat tag? Choose a fold with an opening lower section that spreads into a small footprint. The center crease keeps the trunk line upright, while the lower layers separate just enough to support the model on a plate or table.
- Make the main triangular tree shape and sharpen the vertical center crease.
- Open the bottom folds gradually instead of flattening them back together.
- Set the tree on a level surface and adjust both sides until it stands without leaning.
For a place marker, slide a narrow cardstock name strip into a front fold rather than writing across the model. That keeps the tree reusable and makes the base, not the decoration, responsible for stability.
8. Folded Bell Garland Piece
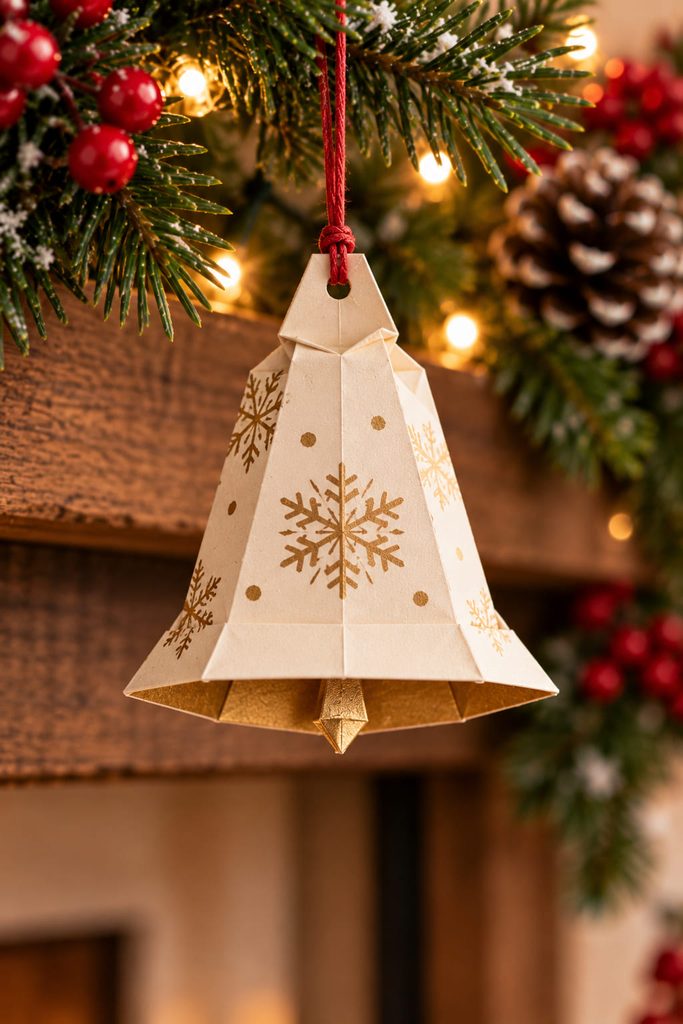
For a garland, keep the bell flat and light. A strong horizontal crease defines the body, angled side folds taper the top, and a narrow turned edge suggests the flared rim. Pierce the hanging point through a doubled layer near the top, then leave enough space between bells that they can swing without overlapping across a doorway or mantel.

9. Puffy Lucky Star Ornament

A narrow strip of paper can become a small three-dimensional star by first tying a flat pentagon-like knot, wrapping the remaining strip around that core, and then pinching the five edges inward. Unlike a flat star, the final shape depends on controlled pressure: the wrapped layers create a hollow center that puffs when each side is pressed.
For a first attempt, use a strip that folds crisply but is not so thick that the wrapped layers resist the final pinch. Keep the wraps aligned with the existing edges instead of steering them by eye.
If the star stays flat: loosen the last tucked end slightly and pinch each edge midway between the points.
If one point collapses: stop squeezing that side and reshape the opposite edge first.
If the strip slips open: tuck the tail farther under the nearest wrap before puffing.
Several finished stars can sit in a clear ornament or be threaded into a lightweight garland, but make the individual stars successfully before planning the display.
10. Santa Hat Place Card
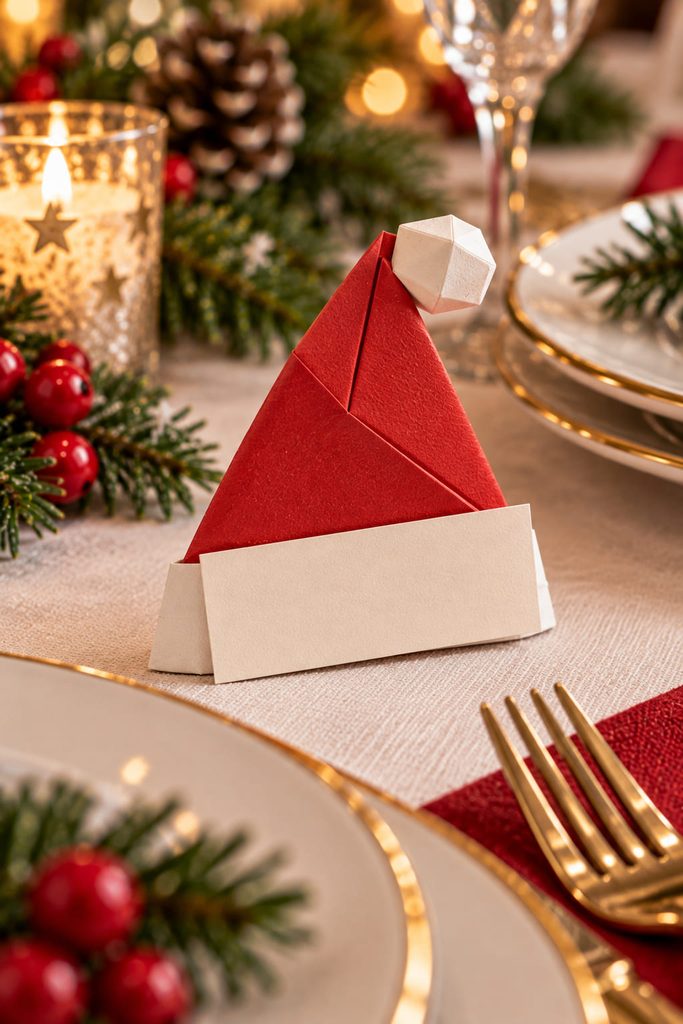
At a holiday table, a tiny folded Santa hat can replace a separate place-card holder. The most useful version has a broad folded lower edge that acts as both the white “trim” and the contact area against the table, while the upper point leans slightly rather than standing perfectly vertical.
Use paper with a contrasting reverse side if you want the trim to appear through folding alone. A narrow paper name strip can rest against the front edge.

Check the model from table height, not only from above: if the hat disappears into a thin triangle, open the lower fold a little wider so the silhouette and name remain visible to someone sitting down.
11. Origami Gift Card Envelope
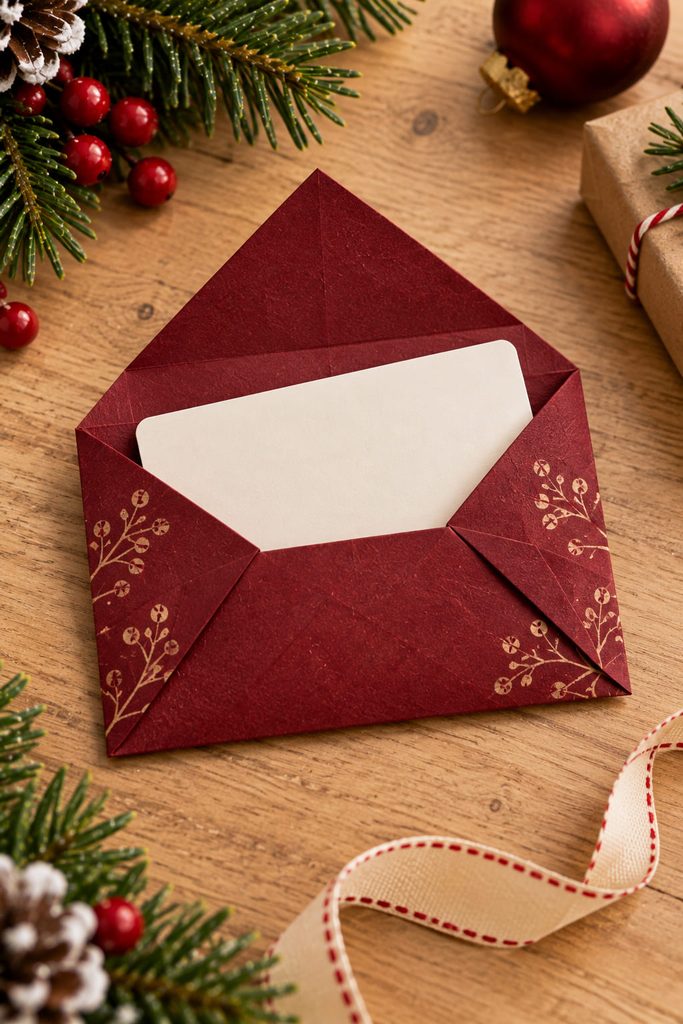
The envelope works only if three things agree: the card can slide in, the side folds overlap enough to retain it, and the closing flap reaches past the opening. Start by laying the gift card on the paper before making the final creases; it provides a real sizing reference without requiring a memorized measurement.
- Leave a little clearance on both long edges so the card does not scrape the folds.
- Crease the lower pocket firmly before closing the sides.
- Test the card in the pocket before locking the top flap.
- Use a removable sticker only as a closure aid if the folded flap will not stay down on its own.
A flat decorative square is usually easier to handle than heavy cardstock. If the envelope bows after the card goes in, reopen the side folds rather than forcing the card deeper.
12. Candy Cane Folded Gift Tag

Build the bend into the paper path instead of relying on drawn stripes to make the shape recognizable. Begin with a long narrow strip, establish a sequence of diagonal folds, then turn the upper section back on itself to form the hook. Alternating red and white stripes can come from patterned paper, but the silhouette should still work in a solid color.
- Crease the straight stem first so the strip stays narrow and even.
- Form the hook with two or three directional folds rather than one hard crumple.
- Flatten the finished tag under a book briefly if the layered hook wants to spring open.
The long stem gives you a natural place for a punched hole or a short handwritten name, while the hooked top can tuck under gift ribbon.
13. Folded Poinsettia Gift Bow

There are two beginner-friendly ways to approach a paper poinsettia: one larger folded flower with fewer petals, or several small repeated petal units arranged around a center. The single-sheet route is quicker but asks more from the central folds; the repeated-petal route takes longer yet makes it easier to correct one uneven piece without rebuilding the whole flower.
For a first-time folder, repetition is often the calmer choice. Keep every petal unit the same size, crease the center line sharply, and overlap the bases in a small circle so the pointed ends radiate outward. If adhesive is used, it should only secure the finished petal arrangement; the petal shape itself still comes from folds.
Choose this route when: you want a decorative bow that can be made in batches and you do not mind a small assembly step.
Choose the single-sheet route when: you already feel comfortable keeping several folds aligned around one center point.
14. Simple Dove Hanging Ornament
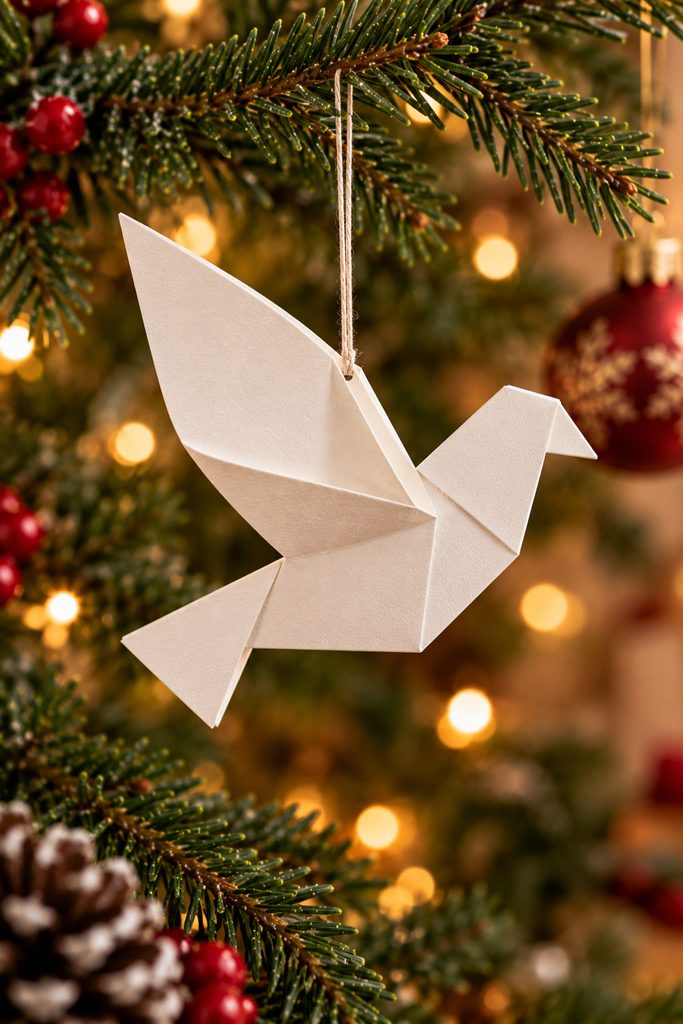
Skip the classic crane if your goal is a very first bird-shaped Christmas fold. A simpler dove silhouette can use a diagonally folded square, one lifted flap for the wing, and a small directional fold at the narrow end for the head. Proportion matters more than extra detail: keep the wing broad, the head compact, and enough body below the hanging point to prevent the bird from flipping. Thread through a doubled central layer and lift the ornament before tightening the knot; a nose-down tilt means the hanging point needs to move slightly toward the tail.
15. Folded Angel Place Setting
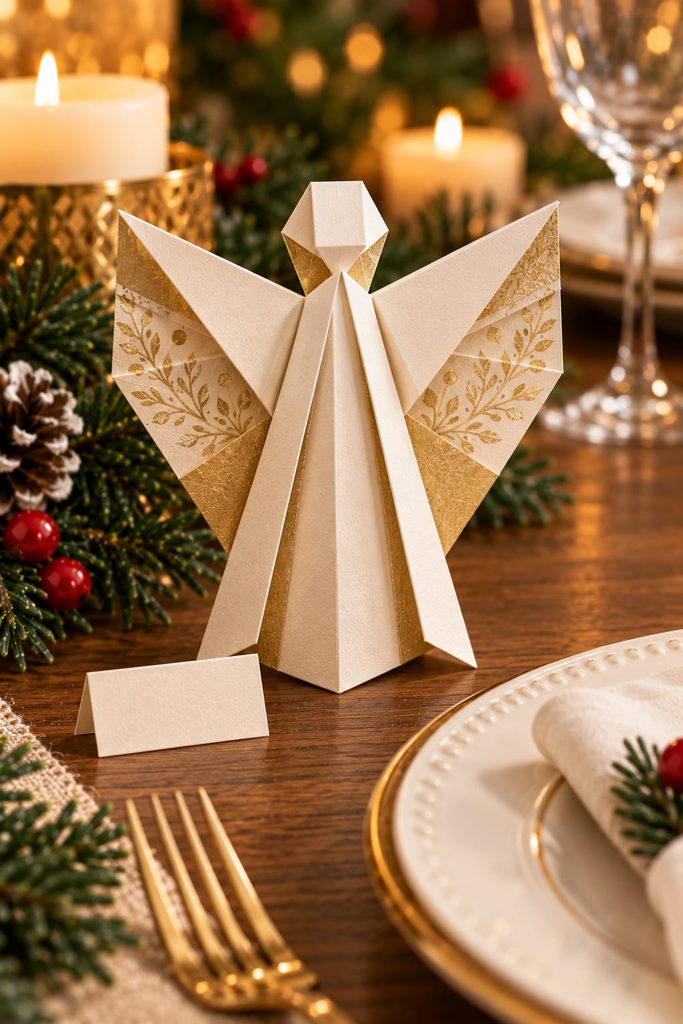
An angel is a useful final beginner project because it combines symmetry, a standing base, and layered wings without requiring a complicated moving mechanism. Start with a square or a simple paired-paper construction that produces a narrow central body and two broad side sections. Those side sections must open evenly; they are not only decorative wings but part of the visual balance that keeps the figure from looking twisted.
The base needs a real contact area. Open the lowest folds just enough for the angel to stand, then set it down before adjusting the head or wing angles. A figure that looks centered in your hand can still lean once gravity acts on the layers.
For place-setting use, keep any name strip low and light. Heavy labels or thick embellishments on one wing shift the balance and can pull the figure sideways.
Standing Check
- Both lower edges touch the table.
- The body center line is vertical.
- The wings clear the surface instead of propping the figure up.
- The name strip does not change the balance.
Once those four points work, the model can stand on a plate, beside a napkin, or in a small holiday tablescape without needing a separate holder.
How to Choose Christmas Origami Ideas for Your First Fold
The easiest first project is usually the one whose finished function matches a fold you can see and test. Flat tags and toppers are forgiving because they do not need to support weight. Bookmarks add a pocket but stay flat. Standing trees and angels introduce balance, while boxes and envelopes ask you to control inside space and edge alignment.
Paper choice matters more as the model gains layers. Thin origami paper is useful for pockets, stars, birds, and any fold that stacks several thicknesses at one point. Slightly firmer decorative paper can help a standing tree or place card hold its shape, but heavy cardstock quickly becomes frustrating when corners must tuck inside other layers. If you are unsure, learn the fold in ordinary lightweight paper first, then repeat it in your holiday paper.
Pick a Fold With a Clear Job
For the quickest win, start with the flat tree, Santa face, or heart and focus on making left and right creases match. Move to the corner bookmark or gift-card envelope when you want to learn how folded pockets behave. The masu box and standing angel are better next steps once you are comfortable opening a model back up and shaping it in three dimensions.
After those feel manageable, the broader Diynify collection 20 Christmas Origami Ideas to Fold This Holiday Season adds modular stars, wreaths, faceted baubles, and other projects that ask for more repetition or structural control.








