
This post contains affiliate links. As an Amazon Associate I earn from qualifying purchases, at no extra cost to you. Thank you for supporting Diynify!
Decoupage Christmas ornaments are especially convincing in a vintage style because the technique naturally works with old-looking paper: botanical prints, sheet music, postcards, maps, labels, wallpaper scraps, and sepia photo copies. The trick is not to paste a different picture onto the same blank sixteen times. Changing the base changes how the paper has to behave, where the hanger can be anchored, and how much of the original material should remain visible.
Most of these ornaments use printed paper or thin decoupage paper, a compatible water-based decoupage medium, a soft flat brush, small scissors, and ribbon or cord. Individual projects also call for clear acrylic blanks, wood slices, papier-mâché forms, air-dry clay, clean metal lids, embroidery hoops, chipboard, craft sticks, clothespins, linen, wooden spools, or matchboxes. Print copies rather than irreplaceable antique photos or ephemera, especially when the paper will be sealed permanently.

1. Reverse-Decoupage Clear Disc With Victorian Scrap Art
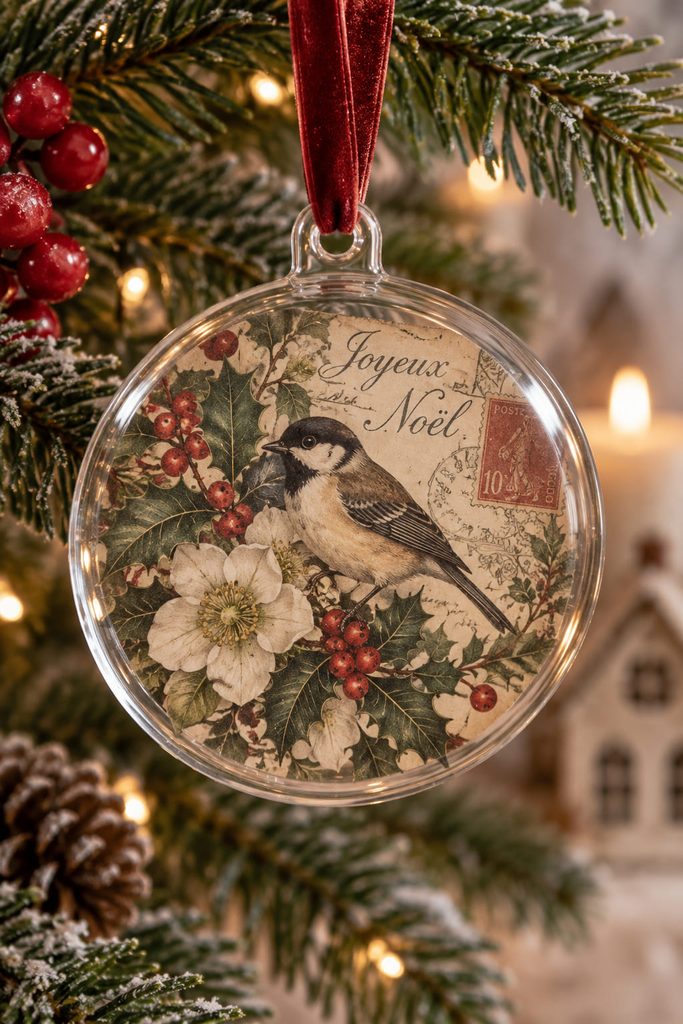
Transparency does most of the work here. Use a clear flat acrylic ornament blank and apply a thin paper image to the back face, with the printed side facing the acrylic. From the front, the artwork appears protected beneath a glossy layer while the edge of the ornament stays clear. Victorian florals, birds, angels, or small chromolithograph-style scraps suit the effect because their irregular silhouettes leave pockets of transparency rather than turning the whole disc opaque.

The order matters more than extra decoration: image first, then a pale backing layer only where the print needs more contrast. Keep adhesive away from the hanging hole and test the ribbon after everything is fully dry. If the paper turns cloudy, the medium layer is usually too thick; several light coats preserve the transparent edge better than one heavy coat.
Clear-Edge Check: Hold the finished ornament against both a light wall and dark greenery. The picture should stay readable without losing the glassy border that makes reverse decoupage distinctive.
2. Bark-Edge Wood Slice With an Antique Botanical Print
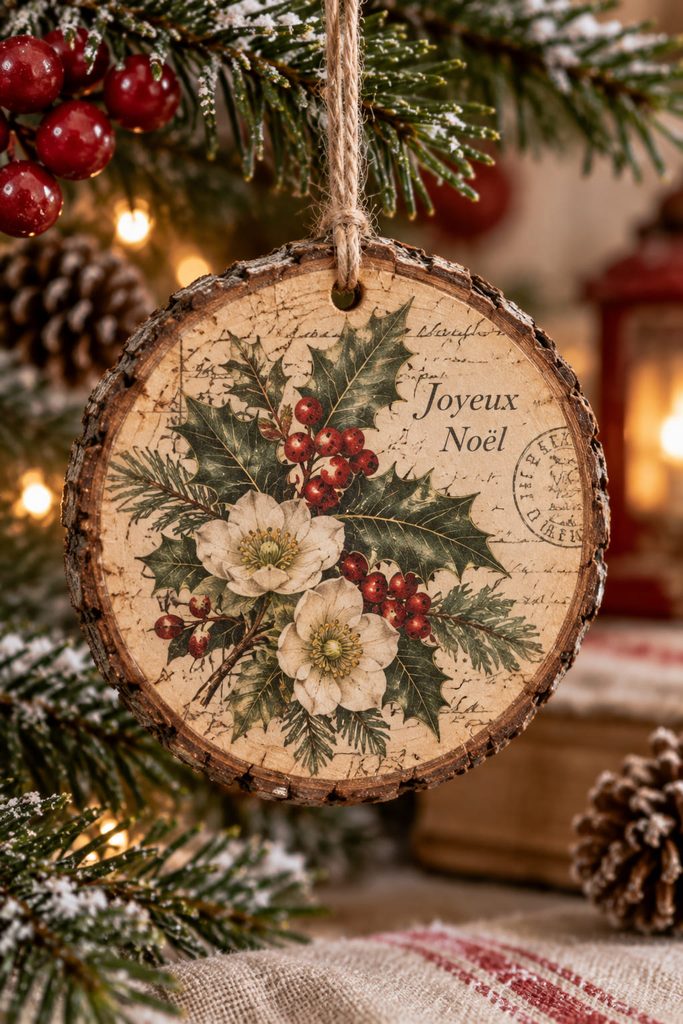
Leave the bark visible instead of covering the whole wood slice. Sand the front face smooth, then center a botanical sprig, winter berry engraving, or small bird print well inside the natural rim so the slice reads like an old specimen frame rather than a paper-covered disk.
Thin paper follows wood grain better than heavy scrapbook stock. Drill the hanging hole or set a small screw eye through solid wood near the top, not through loose bark, and keep the image low enough that the hardware has clear space.

3. Papier-Mâché Globe Wrapped in Torn Sheet-Music Fragments

A spherical blank punishes large paper pieces: broad rectangles wrinkle because the paper has to compress around a double curve. Torn sheet-music fragments solve that problem by creating many small overlaps that can change direction gradually. Choose passages with varied notes and staff spacing, then rotate fragments as you work so the globe does not look like one page awkwardly wrapped around a ball.
For the smoothest wrap:
- Tear narrow, irregular pieces rather than cutting perfect squares.
- Work from the equator toward the top and bottom, overlapping edges by a few millimeters.
- Brush each piece outward from its center so trapped air can escape.
- Let the surface dry before sealing and before reinstalling or tightening the hanger.
The equator is the easiest zone because the curve changes slowly there; the poles are where pieces need to become narrower. If you reach the top with the same width used at the middle, the excess paper has nowhere to go except into pleats. Treat those final areas almost like tiny gores on a globe, using tapered fragments that can meet without stacking into a thick cap.
The vintage effect is strongest when the notation remains legible in places. Heavy antiquing can turn every overlap into a dark seam, so age the surface selectively rather than glazing the entire sphere brown. A few warmer fragments or a softened edge are enough to suggest age while the black notes remain crisp.
Wrinkle Diagnosis: A small radial crease can be pressed flat while the paper is damp. A long ridge usually means the piece is too large for that part of the curve; lift it, tear it narrower, and try again.
4. Air-Dry Clay Cameo Medallion With a Decoupaged Portrait Center
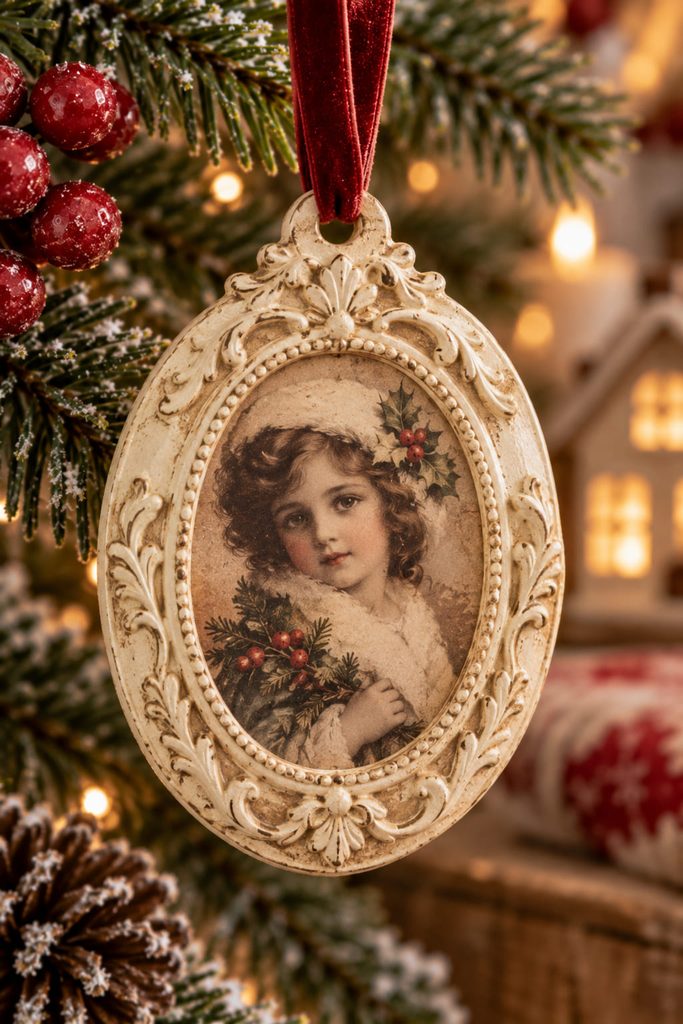
If you want the ornament to resemble a small heirloom plaque, let clay create the frame and decoupage supply the image. Roll an even slab, cut an oval or round medallion, press a shallow border, and make the hanging hole before the clay dries, leaving enough material around it to resist cracking.
After the clay is fully dry, seal a porous center if needed and add a copied portrait, silhouette, or cameo-style figure inside the relief. Keeping the paper below the raised edge creates a real shadow line; a thin matte finish preserves that molded detail better than a heavy glossy coat.
5. Tin-Lid Miniature Frame With a Vintage Postcard Scene
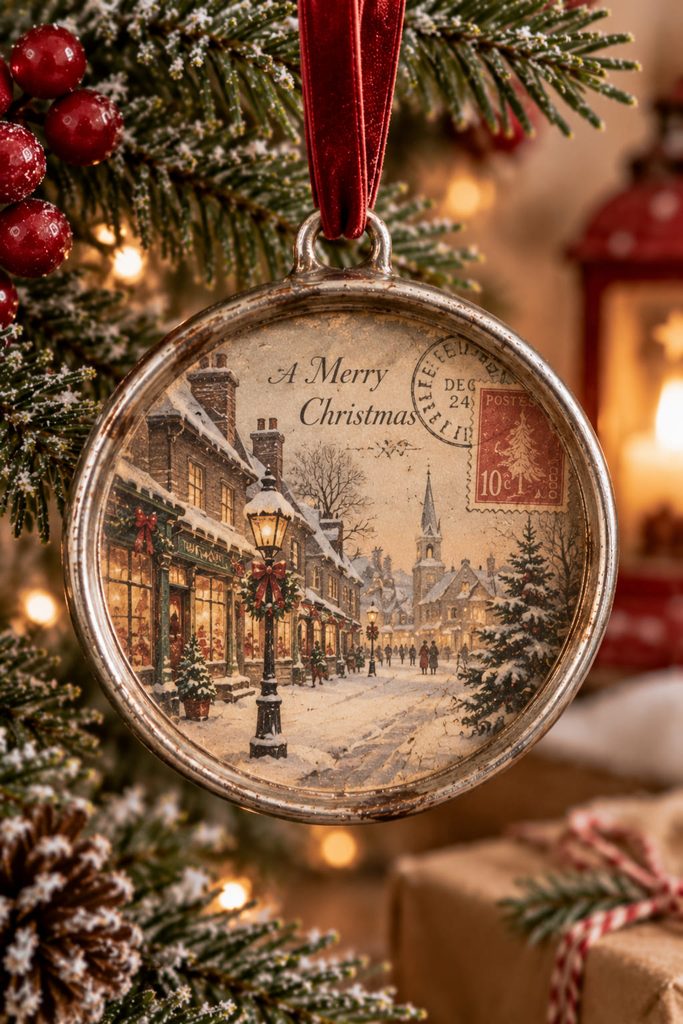
A shallow metal lid already provides a recessed frame, which makes it useful for a postcard-style ornament without building a separate border. Cut a sturdy paper circle or oval to fit the inside, decoupage a winter street scene or old Christmas postcard reproduction onto that backing, and attach the finished insert only after it is dry. Keeping the art on a separate liner also prevents adhesive from pooling in the rolled metal edge and lets you replace the picture later if the insert is mounted reversibly.
The hanger needs its own structure. If the lid can be safely punched, use a clean hole near the rim and smooth any sharp edge before threading ribbon; otherwise bond a strong hanging tab to the back and cover the tab with a second cardstock patch to spread the pull. Avoid lids with rust, jagged cut edges, or unknown residue, especially pieces cut from cans rather than manufactured with a finished rim.
Frame Depth Advantage: The narrow shadow around the insert supplies dimensional contrast, so the image can stay cleaner and less distressed than it would on a plain flat disk.
6. Embroidery-Hoop Ornament With a Decoupaged Linen-Look Center
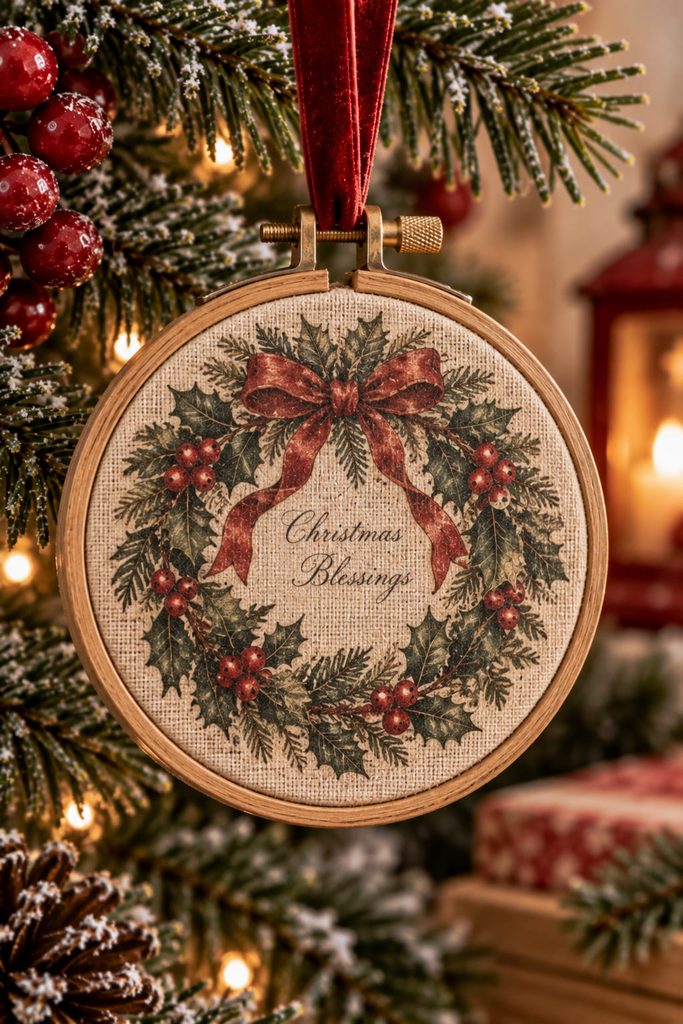
Instead of coating the wooden hoop itself, treat the hoop as the tensioning frame. Decoupage a vintage wreath, monogram, or redwork-style illustration onto a piece of tightly woven light fabric or sturdy fabric-backed paper, let it dry flat, then clamp it in a small embroidery hoop. The image stays taut and the exposed wood creates a warm rim with almost no added weight.
The two center materials behave differently:
| Center | Best For | Main Trade-Off |
|---|---|---|
| Woven fabric | Soft textile character and stitched-looking artwork | Needs a medium intended for fabric and must dry fully before tensioning |
| Paper mounted to thin fabric | Crisp linework, tiny type, and clean trimming | Feels less like true needlework and can buckle if the paper is too wet |
Finish the back only after the hoop is tensioned. A thin paper or felt circle can hide trimmed edges, but keep it clear of the screw block and do not seal the fabric so heavily that the center loses its textile surface. The metal screw naturally defines the top, which makes it easy to place a ribbon loop without guessing where the ornament will balance.
7. Accordion Book-Page Rosette With a Christmas Ephemera Medallion

Pleat first and decoupage second. The ornament gets its volume from an accordion-folded strip of book-page copy, while the wet medium stays on a flat center disk; coating the pleats would stiffen the paper and fight the fan geometry.
Join the strip into a ring, press it into a rosette, and trap it between two cardstock circles. Decoupage a small Santa scrap, toy label, holly illustration, or seal onto the front circle, then sandwich the hanging loop behind the rear circle. Keep the medallion modest enough that the radiating folds still read as the main silhouette.
8. Chipboard Luggage-Tag Ornament With Old Map Collage
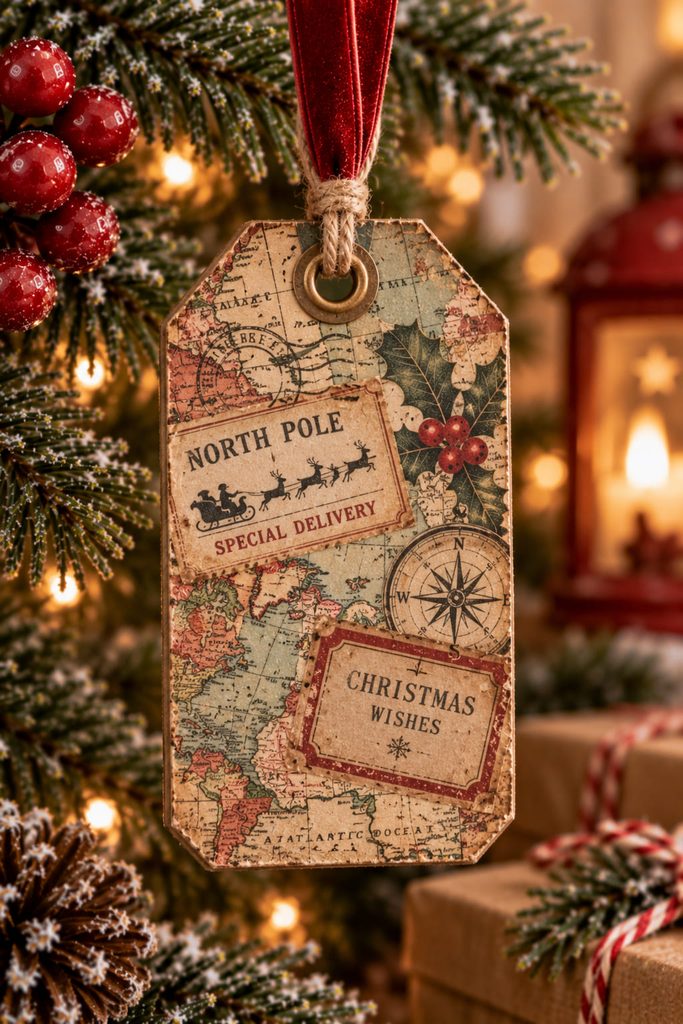
Old map fragments suit a luggage-tag silhouette because the object already suggests travel ephemera. Cut the tag from dense chipboard, collage a few overlapping map pieces across the face, and add one small baggage-label graphic as the focal layer. Keep the chipboard edge kraft-brown or paint it as a deliberate border, then reinforce the hanging hole if the board is thin. This is the easiest design in the set to personalize with a meaningful city or route without changing the construction.
9. Wooden Spool Ornament Wrapped With a Vintage Toy-Shop Label

The narrow waist of a wooden spool gives this ornament a built-in registration line. Measure the straight barrel between the flared ends, cut a paper strip to that height, and wrap a miniature toy-shop label, apothecary-style Christmas label, or striped mercantile print around the center. The decoupage stays on the cylindrical band while the spool ends remain visible as the frame.

Thread the hanger through the spool’s center hole rather than attaching it to the paper surface. A knotted cord, lightweight bead, or tiny paper tassel can hang below, but keep the added weight modest so the spool remains upright. If the paper seam lifts, overlap the strip slightly instead of trying to meet two cut edges exactly on a curved surface.
Seam Placement: Turn the overlap to the back before the final coat dries; the front should show one uninterrupted label panel.
10. Double-Sided Bell Ornament With Vintage Wallpaper Scraps

Bell silhouettes are useful when both sides of a tree are visible. Cut two matching bell faces from thin chipboard, decoupage each separately with small-scale vintage wallpaper or toile, and seal them flat before assembly. Sandwich narrow spacers between the faces so the finished bell gains a slim edge rather than behaving like a single floppy tag.
The hanger should pull from a reinforced top bridge between the two faces. A lightweight paper clapper can hang from the lower center, but it needs clearance inside the bell outline rather than rubbing on the edge. View the piece from the side before closing the final seam; one spacer that sits farther inward than the others can twist the bell once it is suspended.
This design earns its extra assembly time when the tree can be seen from several directions, because neither face becomes an unfinished “back.” For a wall-hung branch or one-sided display, a wood slice or tag gives nearly the same image area with less construction.
11. Linen Heart Ornament With a Decoupaged Vintage Rose Motif

Lightweight cloth changes the feel of decoupage completely. Apply a thin rose, ribbon, or Victorian floral motif to the center of a linen or cotton front panel using a medium specifically suitable for fabric, and let it cure flat before sewing. Once the image is stable, pair it with a plain back panel, stitch the heart around the edge, add a ribbon loop at the top, and fill it lightly so the center stays soft rather than ballooning outward.
Too much stuffing can crack or crease a stiff decorative layer, especially if the medium forms a firm film. Keep the fill behind the outer lobes and lower point instead of packing it directly under the image. A hand-stitched edge or narrow piping can support the vintage textile look without adding another paper layer.
Flex Test: Before sewing the full ornament, bend a small treated fabric scrap gently. If the image flakes or feels brittle, the coating is too heavy for a stuffed form.
12. Mini House Ornament With Decoupaged Wallpaper Facade

The roofline is what makes a tiny house readable among tree branches, so build the silhouette before thinking about surface detail. Use lightweight chipboard for a simple front, back, two side walls, and pitched roof. Decoupage the wall panels while they are still flat with miniature wallpaper prints, faded ledgers, or narrow strips that imitate old clapboard; assemble the shell only after the pieces dry.
A convincing small house needs restraint. Keep the door and windows broad enough to read from several feet away and use layered paper shapes rather than fragile cut-through openings unless the chipboard is thick enough to support them. Let the wallpaper establish the age, then choose one structural accent—a dark roof, contrasting door, or narrow corner trim—instead of covering every surface with separate motifs.
The hanger must be part of the roof assembly. Trap the cord beneath an interior chipboard tab that spans more than one roof panel; gluing ribbon to a decorative chimney creates a weak lever at the highest point of the house.
| Check Before Closing the Roof | What It Tells You |
|---|---|
| Walls meet without force | The shell is square rather than being pulled into shape by glue |
| House hangs level from the cord | The hanger is centered over the finished weight |
| Interior surfaces feel dry | No trapped moisture will soften the shell after closure |
If the house hangs nose-down, move the roof anchor slightly toward the back before adding more decoration. Balance is easier to correct at the cord than by adding weight to the opposite wall.
13. Craft-Stick Sled With a Decoupaged Vintage Advertisement Panel
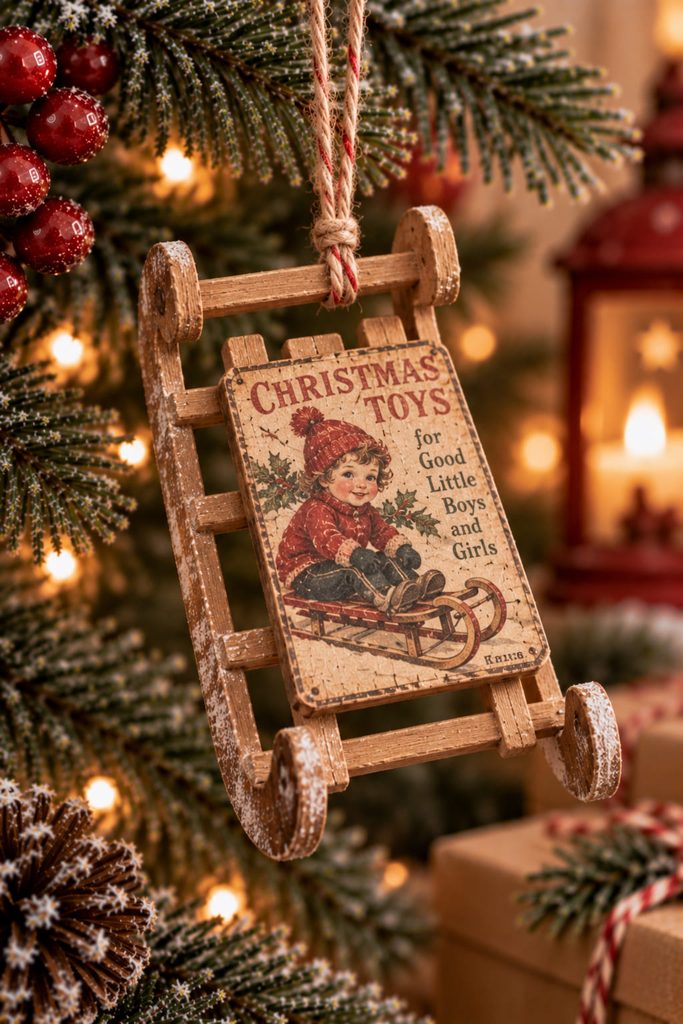
For a sled ornament, the decoupage panel should ride on a structure rather than pretend to be the structure. Build two narrow runners from craft sticks or thin wood strips, bridge them with short crosspieces, and add a small seat panel carrying one cropped department-store ad, toy-catalog figure, or product label.
Keep the paper panel smaller than the sled bed so the wood perimeter stays visible. Tie the hanger around the front crosspiece, where the pull reaches both runners, and avoid shrinking a full advertisement onto the seat; one bold product or figure remains readable at ornament scale.
14. Scalloped Cardboard Photo Frame With a Sepia Image Copy
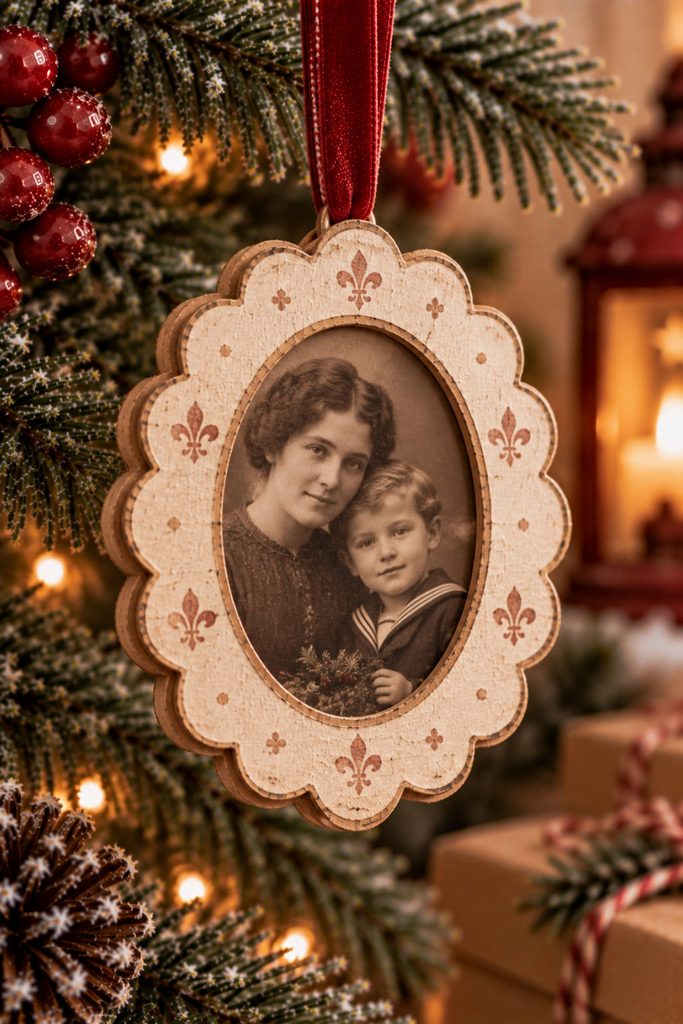
Photographs need more protection than decorative scraps because faces become distracting as soon as bubbles, brush marks, or torn edges cross them. Build the ornament as a layered cardboard frame: a solid back, a centered sepia photo copy, and a scalloped front mat with a clean window. Decoupage the copied image to the back first and add the mat only after the surface is dry.
The mat handles cropping more gracefully than scissors. Keep the copied photo rectangular underneath and move the window until the face, shoulders, and background feel balanced; then glue the frame in place. If a portrait is very small, a narrower oval opening often reads better than adding more decoration around it.
Use a copied or scanned print rather than an irreplaceable original. Print Test: If your inkjet copy smears when touched with a damp brush, change the print method or seal a test copy before committing the portrait to the ornament.
15. Clothespin Star With an Antique Script Center

Build the star before adding the paper focal point. Arrange wooden clothespin halves into a radial form and glue the wood-to-wood joints so the structure does not depend on decoupage medium; then cover a small cardstock disk with antique script or a postage-style seal and attach it over the center hub. Hang from a reinforced upper gap, and if the star tips, move the loop toward the true balance point instead of weighting the lower arms.
16. Matchbox Keepsake Ornament With Travel Ephemera
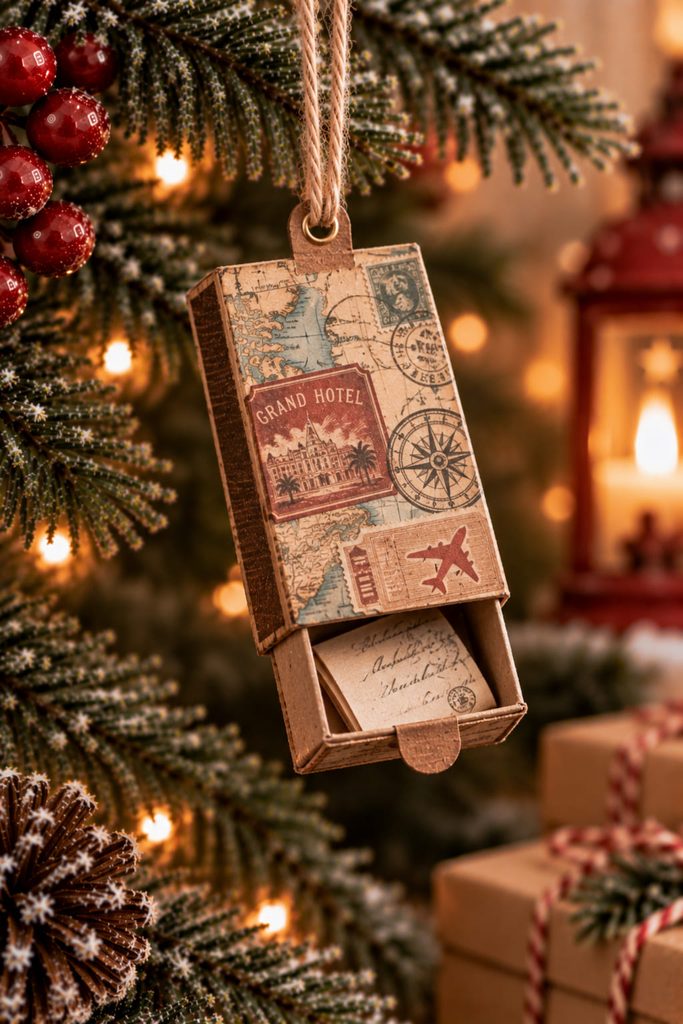
The most interactive idea in the set is a tiny matchbox that still opens after it goes on the tree. Decoupage the outer sleeve with map fragments, hotel-label copies, ticket graphics, or vintage luggage stickers, keeping all paper and sealer clear of the sliding edges. The inner tray can hold a folded note, a tiny printed photo, or a paper wish, turning the ornament into a miniature keepsake container rather than another flat surface.
The hanging loop belongs to the outer sleeve, not the moving drawer. Reinforce the top inside with a small chipboard patch, pierce or slot that reinforced area, and keep the knot or cord ends out of the tray’s travel path. If the sleeve is very thin, add the patch before decorating so the reinforcement becomes part of the wall instead of a lump glued over the finished paper.
Clearance is the critical measurement. Decoupage adds thickness exactly where a matchbox has the least tolerance, so trim every wrap flush with the sleeve opening and keep sealing coats lighter along the long sliding edges. Test the bare box first, again after the paper layer dries, and once more after sealing. If resistance appears only after the final coat, do not force the drawer; polish the high spot lightly or add a narrow paper pull to the tray so it can be opened without crushing the sleeve.
The keepsake itself also affects balance. One folded note or small photo adds almost no bulk, while beads, coins, or metal charms can pull the box downward and make the top anchor work harder. Keep the contents light enough that the ornament still behaves like paper craft rather than a weighted container.
Closed-State Check: Hang the loaded ornament and gently tilt it. The tray should stay seated under its own friction but still slide out with finger pressure. If it slips freely, add a tiny paper stop or narrow sleeve liner rather than gluing the drawer shut.
How to Keep Decoupage Christmas Ornaments Looking Vintage, Not Busy
Vintage style reads best when the base, image, and finish do different jobs. Let wood grain, cloth weave, metal rims, clay relief, or folded paper remain visible instead of covering every surface with imagery. On a small ornament, one readable botanical, portrait, label, or postcard crop usually has more impact than a dense collage of equally strong elements.
Scale is just as important as aging. Before gluing, hold the cut image at arm’s length against a branch or dark background. If faces, lettering, or fine linework disappear, crop tighter or choose a simpler source image. “Older” does not require darker: brown glaze over every edge can flatten differences between paper, wood, fabric, and metal.
Use copies of valuable ephemera and test unfamiliar print methods with your chosen medium. Also seal only as much as the base needs. A heavy glossy film can erase the textile character of linen, fill tiny clay relief, or make a papier-mâché sphere look plastic.
Choose the Base Before the Picture
Start with the construction that suits where the ornament will hang. Lightweight rosettes, tags, and hoops work well on branch tips; wood slices, clay medallions, sleds, and keepsake boxes are better on sturdier inner branches. If you want a project that teaches the decoupage technique itself, the wood slice is forgiving. If you want the structure to be part of the visual payoff, try the reverse-decoupage disc, mini house, or opening matchbox ornament.
For another tree-focused collection built around folding, weaving, quilling, layering, and dimensional paper mechanisms, continue with 16 Festive Paper Christmas Ornaments for a Handmade Tree.