
This post contains affiliate links. As an Amazon Associate I earn from qualifying purchases, at no extra cost to you. Thank you for supporting Diynify!
Paper star lanterns turn folded and cut paper into more than a holiday silhouette: the paper also controls where light escapes, how softly it diffuses, and whether the finished piece works on a table, in a window, on a garland, or overhead. These 16 ideas use genuinely different structures, including vellum-window prisms, pierced kraft shells, accordion halos, modular points, woven ribs, collapsible gussets, and layered tunnels.
Most projects use cardstock or decorative paper, scissors or a craft knife, a ruler or scoring tool, and paper-safe adhesive. Several also need vellum or translucent paper, thread, lightweight paperboard, a fairy-light strand, or a small hanging support. For every working luminary here, use only a cool-running battery-powered LED or decorative LED strand, keep the light source accessible, and never place a candle or open flame inside the paper structure. Choose the project by the kind of glow you want first: diffused windows, pinprick sparkle, projected shadows, or a broad halo.

1. Five-Point Vellum Window Star Lantern
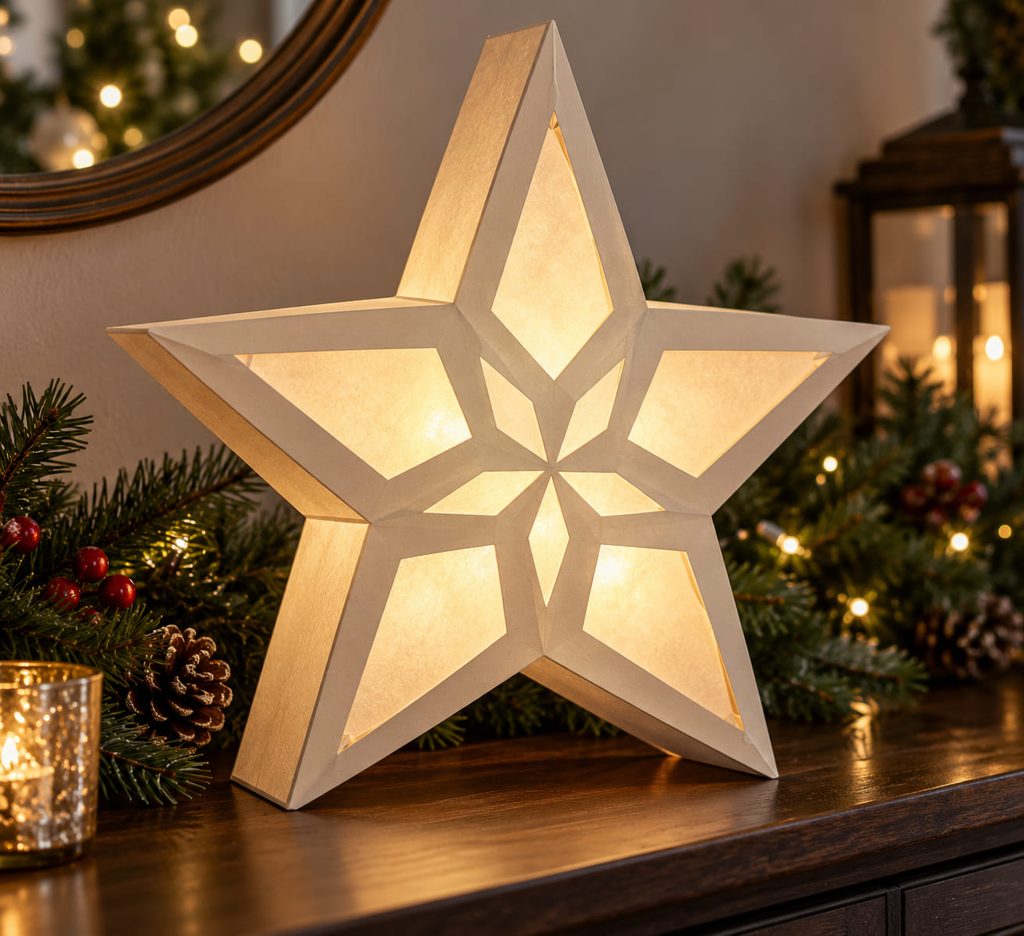
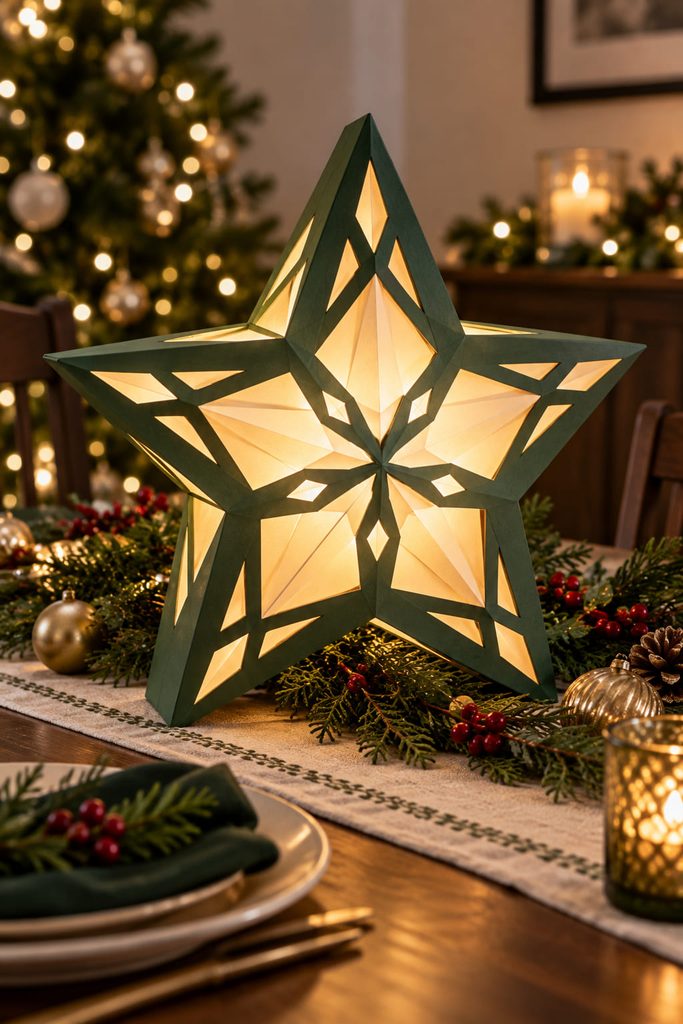
A classic five-point lantern works best when the star itself provides the structure instead of sitting as a flat decoration on a box. Cut matching front and back star faces from medium-weight cardstock, remove broad window shapes from each point, and back those openings with vellum. A scored sidewall strip joins the two faces into a shallow prism, giving the lantern enough depth to stand on a shelf while keeping the star silhouette clear from the front.
Leave one rear panel or a section of the sidewall removable so a cool battery-powered LED can be inserted and switched on without bending the paper. The vellum should sit inside the cardstock frame, not against the light, and the base point should be wide and square enough to carry the weight of the shell. If the finished star rocks, correct the bottom seam before adding decorative trim; extra layers at the top will only make the lean more obvious.

Light-Path Check: Before closing the lantern, turn on the LED behind one loose vellum panel. If the center glows but the points stay dark, widen the internal openings or reduce bulky tabs that are blocking light between the center and the five arms.
2. Pierced Kraft Star Lantern With Pinprick Light
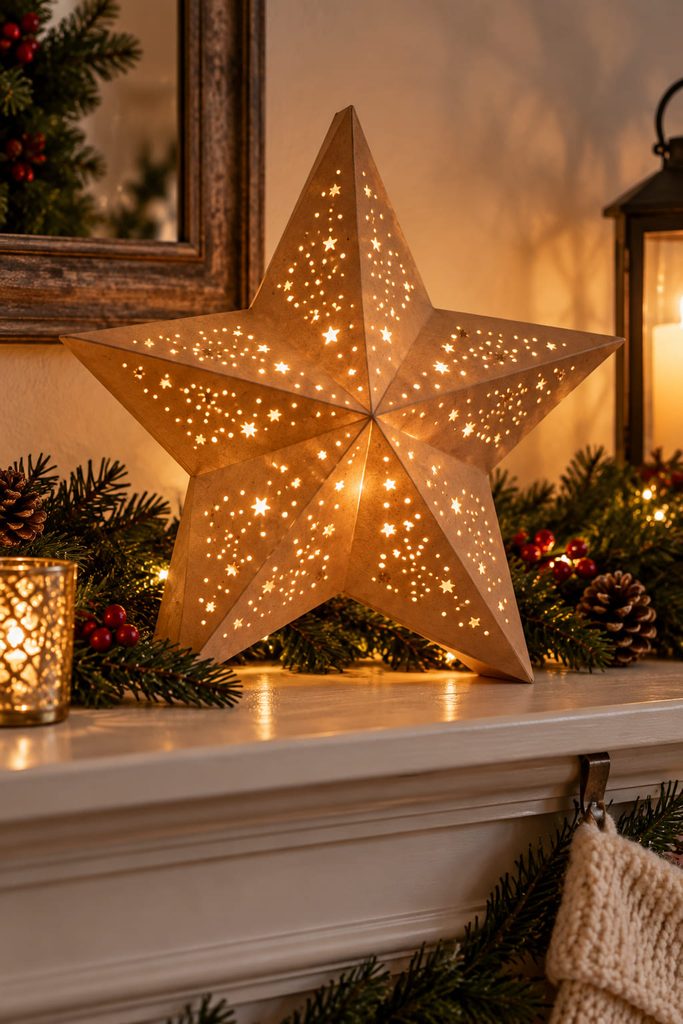
Punching light through kraft paper produces a quieter star than large cutout windows, but the pattern has to leave enough unpierced paper to keep the shell crisp. Use a shallow double-face star with a spacer strip between the layers, then build the dotted pattern while the faces are still flat.

- Mark a simple constellation of holes with generous spacing around the center and along each point.
- Pierce from the decorative side onto a cutting mat so ragged fibers are pushed toward the interior.
- Glue the spacer strip around the back face, keeping the bottom section open for LED access.
- Add the front face only after checking that no adhesive crosses the pierced light path.
- Set a cool battery LED toward the center and view the star in a dim room before sealing the access flap.
A sparse pattern usually reads better than hundreds of tiny holes because each point of light stays distinct and the kraft surface remains strong enough to hold its shape.
3. Accordion Halo Star Lantern
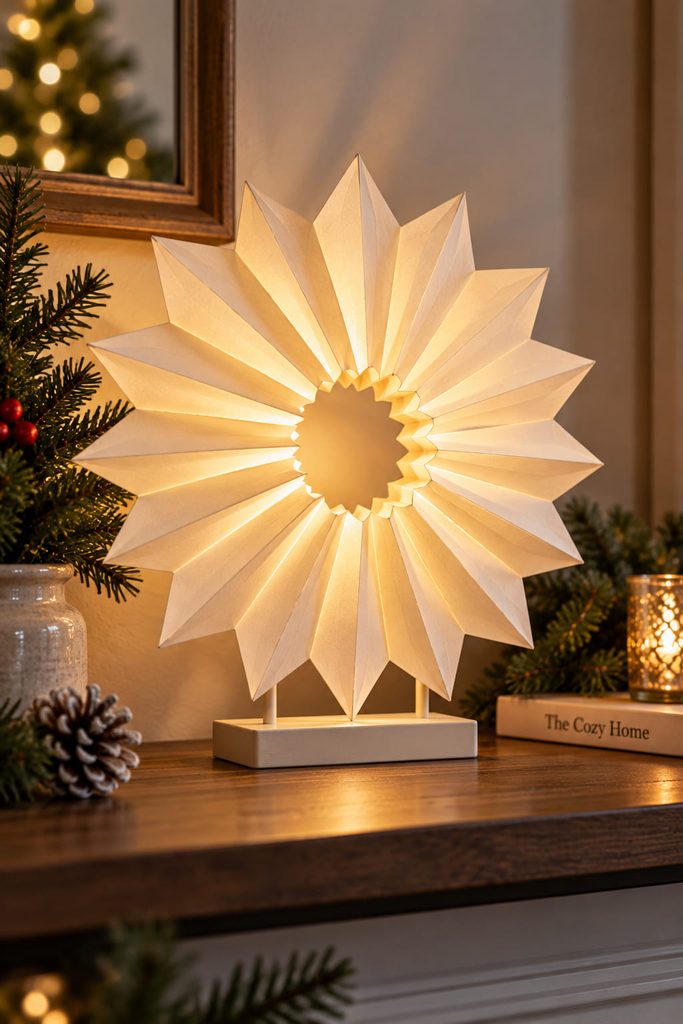
Pleating turns a flat paper strip into a star-shaped halo that can glow without trapping the light source inside paper. Score a long strip at even intervals, accordion-fold it, trim one outer edge into points, join the ends, and press the center into a rosette. Instead of sealing the middle with a decorative disk on both sides, mount the pleated star slightly forward from a small backing plate and place a cool LED puck behind the open center. The gap lets light wash across the folds, so the alternating ridges become the feature rather than translucent windows. This is a good mantel or shelf option when you want visible paper texture but easy access to the switch and battery compartment.

4. Double-Shell Star Lantern With a Soft Inner Glow
For a softer glow, separate the jobs of shaping the star and diffusing the light. Build an opaque outer shell from cardstock with generous cutouts, then fit a smaller translucent star core inside it. The outer layer carries the crisp points; the inner vellum layer hides the hard outline of the LED and spreads brightness into the openings.
The two routes create noticeably different results:

- Single translucent shell: lighter, faster, and brighter at the center, but the LED can show as a concentrated hotspot.
- Opaque shell plus vellum core: deeper shadows and more even diffusion, with extra tabs and slightly more bulk.
Keep the inner core removable from the back or bottom rather than gluing both shells permanently together. That small construction choice makes it much easier to reach the LED and to replace wrinkled vellum later without dismantling the decorative outer star.
5. Many-Point Modular Star Lantern
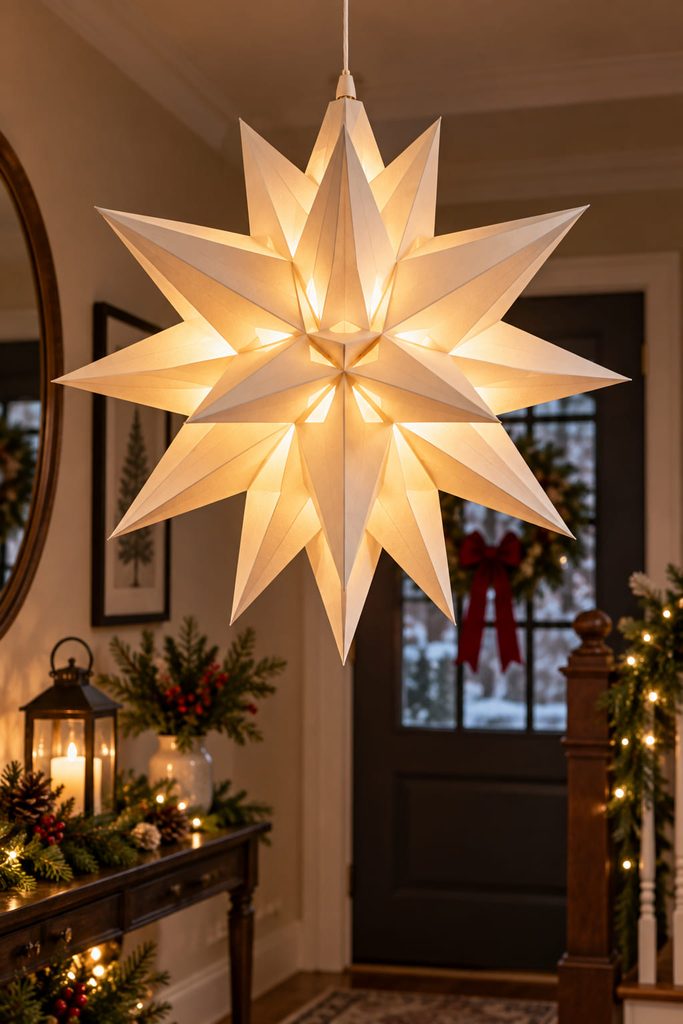
With many projecting points, the internal core matters more than it does in a flat five-point lantern because each paper pyramid adds leverage to the seams around the center. Start with a small closed paper core, then attach individual tabbed pyramidal points around it. The core carries the geometry and hanging load; the points should be treated as lightweight shells, not as places to attach the cord. Leave one point or a discreet top panel removable so the LED can be reached from the outside.

Build opposite areas in sequence instead of completing one side at a time. Add one point, then the point across from it, checking that their bases meet the same reference lines on the core. Continue around the body in balanced pairs. If the star begins to twist, stop and correct the last point before the remaining pieces magnify the error. A small vellum diffuser around the LED can soften the center without filling the cavities inside the points.
Hanging-Load Check: Lift the unfinished core by its reinforced hanger before adding every point. If the paper around the hanger bows or tears, widen the reinforcement patch or move the attachment closer to the centerline. The finished lantern should hang from the core, never from the tip of one decorative point.
6. Cutwork Lace Star Window Lantern
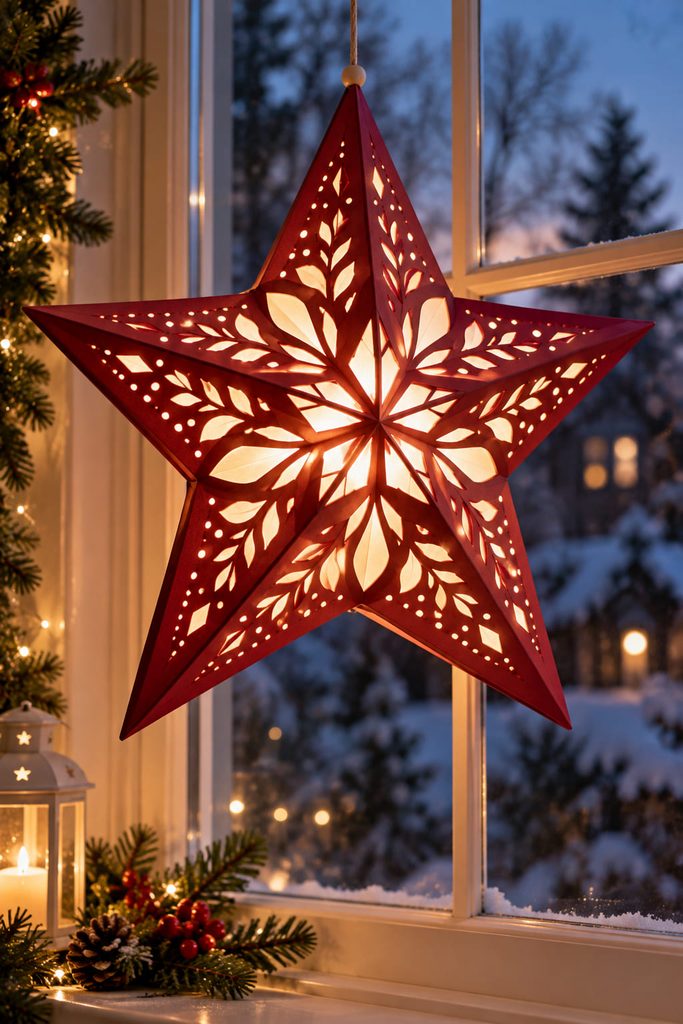
Intricate cutwork can make a window star glow beautifully, but the same cuts can weaken the frame or block the effect if they are too small to read through vellum. Build the lantern as a shallow star prism, back the decorative face with vellum, and reserve a rear access flap for a cool battery-powered LED before diagnosing the pattern while the panel is still flat.
- If a point bends near a cutout: the bridge between the opening and outer edge is too narrow. Enlarge the solid border rather than adding another backing layer over the design.
- If the glow looks muddy: too many tiny openings are merging into one gray area. Remove a few cuts and create larger negative spaces.
- If the center is bright but the tips disappear: an inner tab or seam is blocking the light path. Shorten or relocate that tab.
- If the vellum wrinkles: adhesive is too close to the visible opening. Move glue onto the solid cardstock frame and press the vellum from the center outward.
The goal is not the finest pattern you can cut; it is a lace effect that still behaves like a structural lantern face.
7. Rolled Paper Cone Starburst Lantern
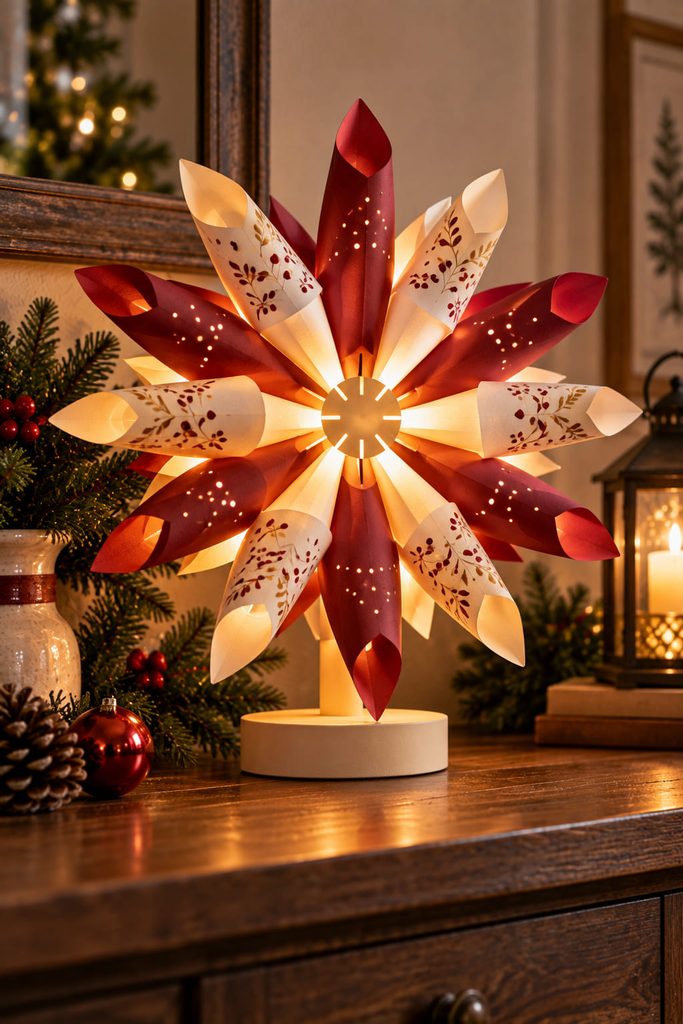
Rolled paper cones can create a starburst lantern with almost no closed outer shell. Make a ring of tapered cones from medium paper and attach their wide ends around a vented circular hub, leaving the narrow ends pointing outward like rays. A cool LED sits behind or inside the hub, while the cone openings carry narrow beams of warm-looking light toward the room. Because the cones are decorative light channels rather than load-bearing feet, mount the whole starburst on a firm backing disk or shallow paper pedestal. Keep the central opening large enough to reach the LED from behind; if the glow disappears at normal viewing distance, shorten a few cones or widen their mouths rather than adding more light sources.

8. Fold-Flat Pop-Open Star Lantern
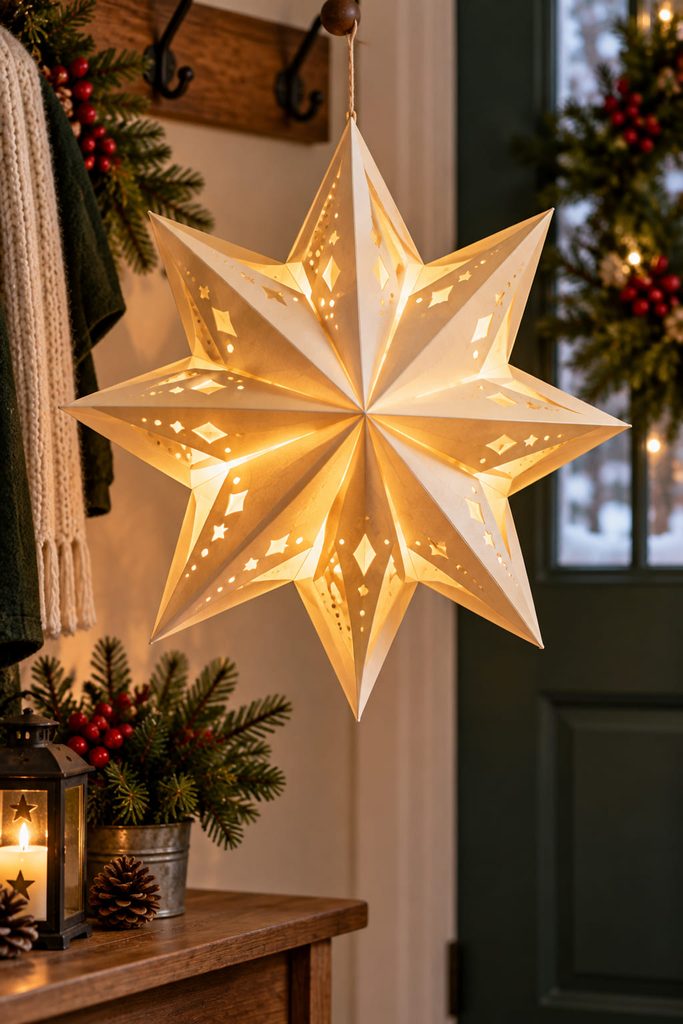
A fold-flat lantern is useful when holiday storage matters as much as the finished shape. Two matching star faces can collapse together if the sidewalls are made from alternating gusset panels instead of one rigid strip. The critical geometry is at the valleys between the points: those folds must reverse cleanly so the sides tuck inward rather than bunching against each other.
- Score both star faces and all side gussets before gluing.
- Attach the gussets to one face, alternating mountain and valley folds around the perimeter.
- Add the second face while the lantern is partially collapsed, not fully opened.
- Build a removable locking tab at the bottom or back that holds the star at display depth.
- Insert the cool LED only after the lantern opens without forcing any crease.
Close the empty lantern once before decorating it. The two faces should approach each other evenly, with no point catching on a neighboring gusset.
Fold-Flat Correction: If one arm refuses to collapse, check the direction of the two gusset folds beside that arm. Reversing a wrongly scored hinge is more effective than trimming the outer point, because the problem is in the joint geometry rather than the silhouette.
9. Woven Paper-Rib Star Cage Lantern
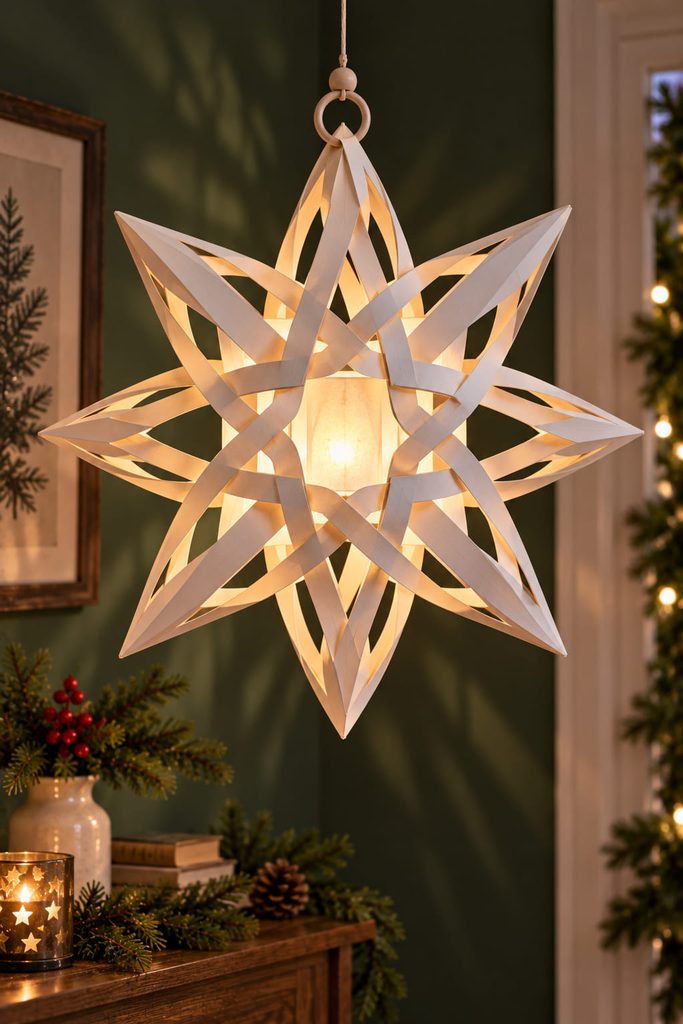
Instead of cutting windows from solid faces, build an airy star from paper ribs that cross and lock around a central ring. Use narrow cardstock strips with matching slots so each rib passes over one member and under the next, forming a real interlaced cage rather than a stack of strips glued on top of one another. The repeated intersections distribute the shape around the ring and leave large open paths for light.
A small vellum cylinder or faceted diffuser can sit at the center around a cool LED, separated from the ribs so the cage remains visually open. Attach the hanging loop to the central ring or to a reinforced crossing above it, not to the end of a rib. When suspended, the lantern should keep the same star outline as it slowly turns; if one side droops, compare rib lengths and slot positions before adding any decorative paper bands.
10. Mini Star Lantern Garland for a Mantel
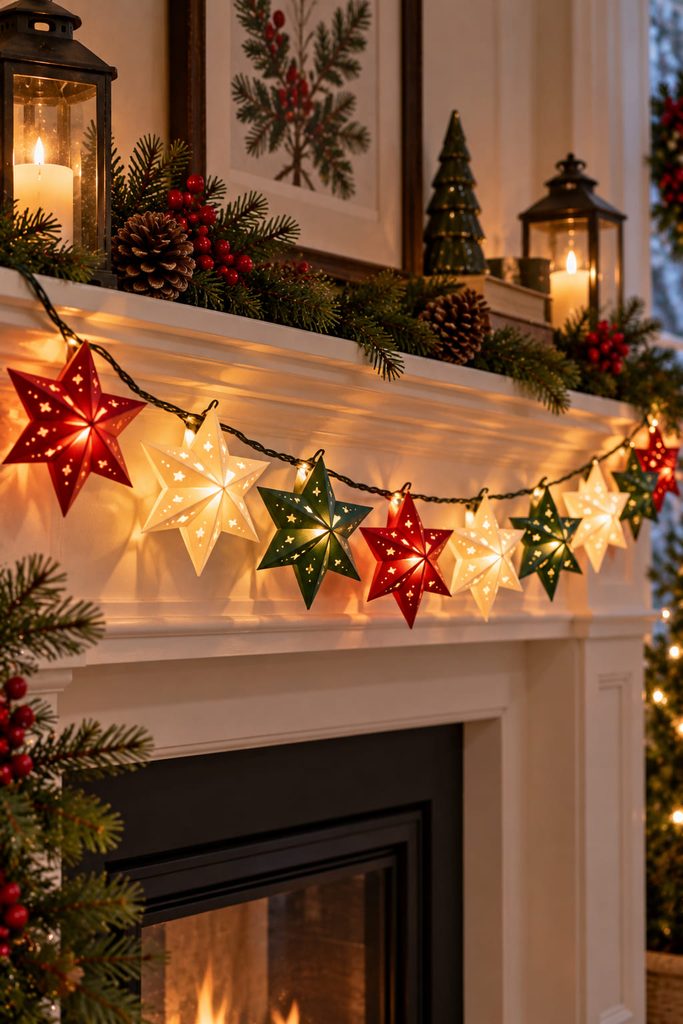
Mini lantern stars work well as a mantel garland when each paper shell fits one LED rather than wrapping the entire wire. Score shallow star cups with open backs, make one test piece around a single cool fairy-light LED, and only then repeat the pattern for the full strand.
Before assembling the batch, check:
- every LED is a cool-running source intended for decorative use;
- the paper shell does not pinch or sharply bend the wire;
- the open back leaves the bulb and wire junction accessible;
- neighboring stars have enough spacing that their points do not catch;
- the strand still drapes naturally after one star is fitted.
Once the test shell fits, use it as the size reference for the rest. Batch-scoring all faces first, then folding, then gluing is faster and more consistent than finishing one miniature lantern at a time, and it makes spacing errors easier to spot before the whole garland is assembled.
11. Layered Star Tunnel Lantern
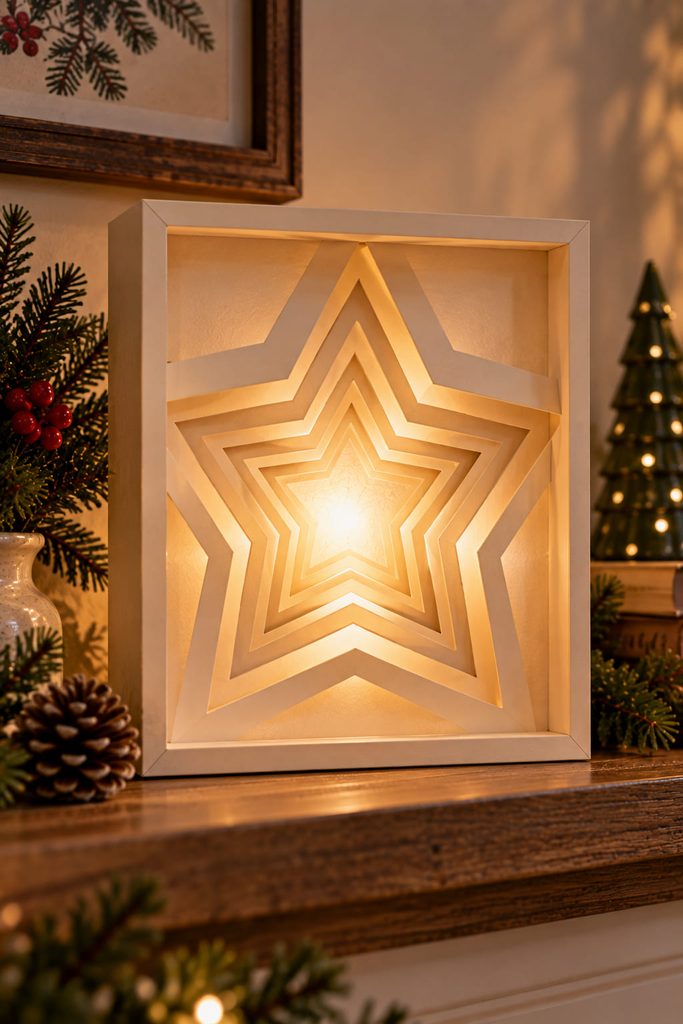
A star tunnel lantern creates depth by repeating the same opening rather than building a thick star-shaped box. Cut several square or rectangular paper frames with centered star apertures that gradually step down in size, separate them with narrow cardstock spacers, and close the stack with a vellum back panel. A cool battery-powered LED behind that diffuser sends light through every opening, so the nested edges read as a glowing corridor toward the center. Keep the rear panel removable so the light can be switched on and taken out without disturbing the spacer stack. Keep the spacers narrow enough that they disappear from a straight-on view but deep enough to prevent the layers from collapsing together. This construction suits a shelf or console because the outer frame provides the stable footprint; if one side of the tunnel looks darker, square the spacer stack before changing the LED position.
12. Hanging Two-Face Window Star Lantern
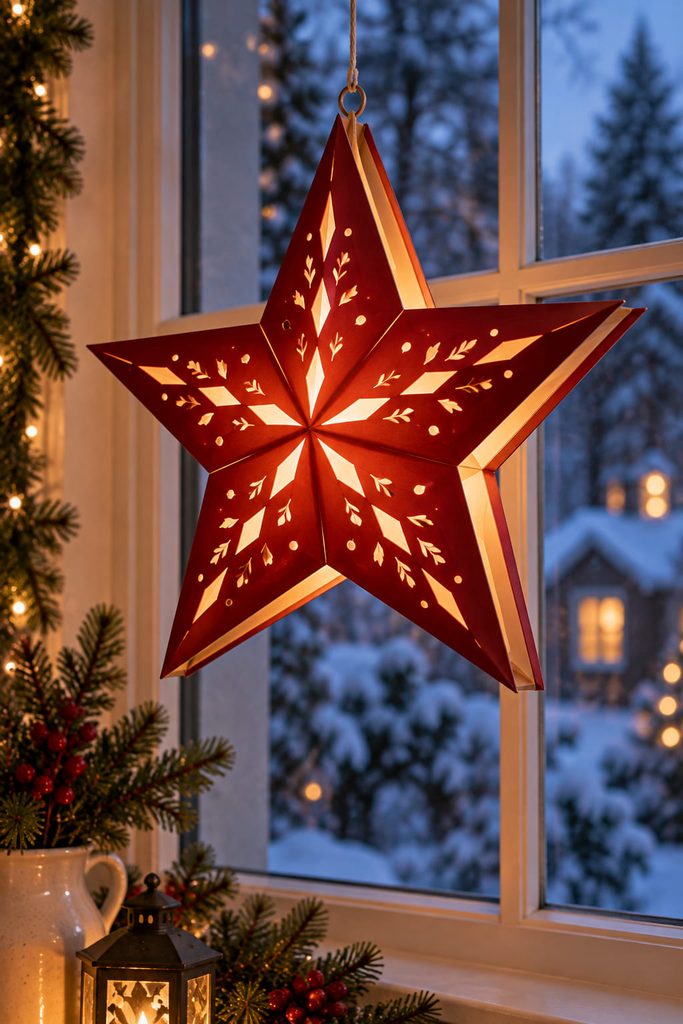
Against a window, both sides of a lantern become visible, which changes the value of a finished back. A single decorative face can work against a wall, but against glass it often exposes tabs, wiring, and the blank rear of the construction from outside. A two-face star solves that by giving both viewpoints a deliberate silhouette.
Choose the route by the window and viewing distance:
- One finished face with a plain back: lighter and easier to hang, useful when the exterior view does not matter.
- Two matching star faces around a narrow rim: cleaner from indoors and outdoors, but heavier and less forgiving of uneven seams.
For the double-face version, place a small cool battery-powered LED pocket near the center of the rim and leave the top section accessible. Suspend the lantern from two reinforced points or from one centered reinforced bridge so it does not rotate into the glass. Keep enough clearance that the star can hang freely without its paper points scraping the pane.
Window-Clearance Check: Nudge the lantern gently after hanging it. If a point touches the glass, shorten the suspension, move the hook outward, or reduce the depth before adding more weight.
13. Standing Star Lantern With a Cross-Braced Base
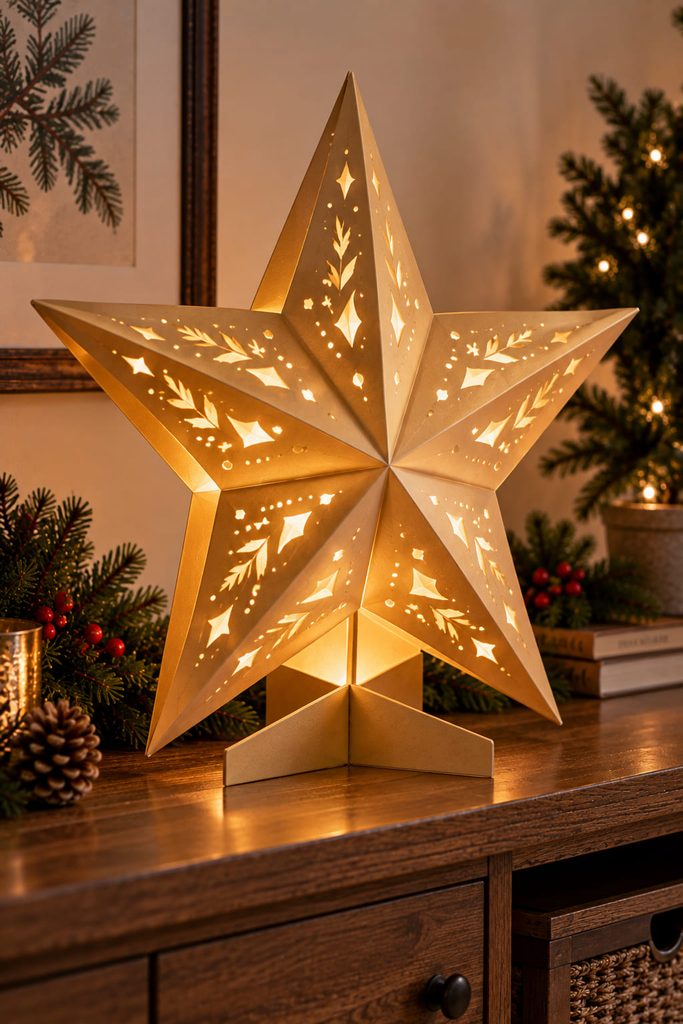
Treat the support as part of a large standing star rather than hiding it as an afterthought; on a tabletop or console, that decision is what keeps the lantern practical. Build the glowing star shell first, keeping the bottom access panel broad enough for the LED, then seat it on two slotted cardstock or lightweight paperboard feet that cross into an X. The brace should extend farther left and right than the narrow bottom point of the star, creating a footprint that resists tipping without turning the whole piece into a box.
Dry-fit the empty shell on the base and press lightly near the upper points. If the feet lift or the star rocks, widen the brace or move the shell deeper into the slot before adding the light. Place a small cool battery-powered LED low and centered so its weight contributes to stability rather than pulling the lantern forward, and keep the access panel clear of the brace. For a console, hearth-height shelf, or floor display away from foot traffic, the visible cross brace can become a clean architectural detail instead of something to disguise.
Base Test: The lantern should stand level with the LED removed. A light source can add weight, but it should never be the part that makes an unstable paper structure balance.
14. Translucent Vellum Star Lantern Cluster
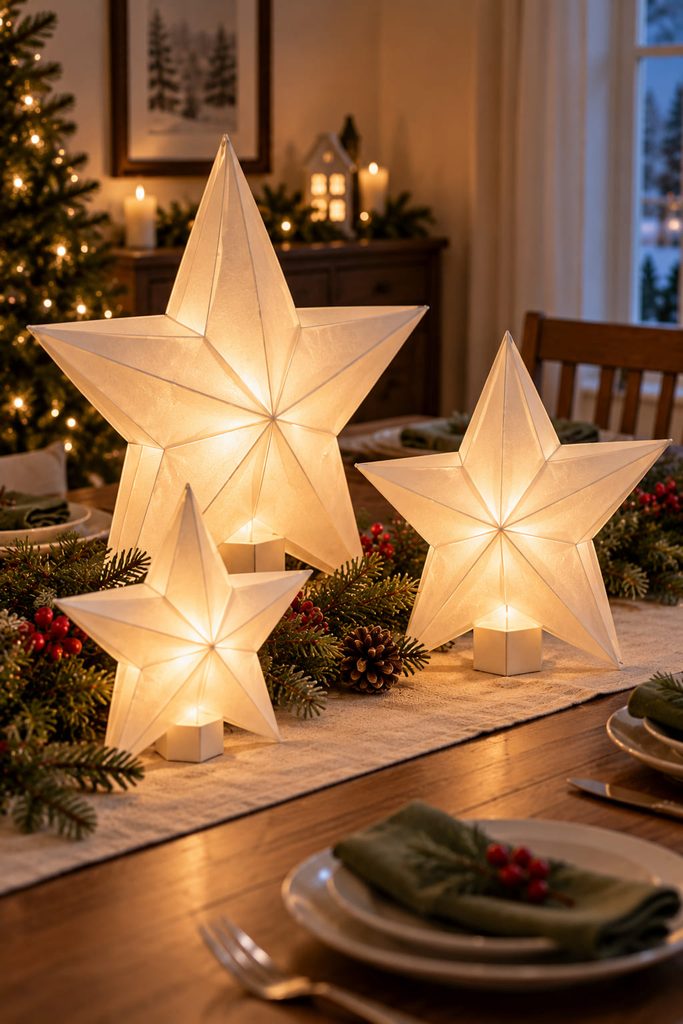
For a coordinated translucent cluster, change the scale more than the decoration. Use the same vellum or translucent paper for three sizes, then alter the fold depth and placement so each lantern has its own volume while the material keeps the group visually connected.
- Make the largest star first and confirm that its base or hanger supports the full shell.
- Reduce the second pattern enough that the silhouette is clearly smaller, not just slightly tighter.
- Build the smallest star with broader seams so tiny tabs do not overwhelm its faces.
- Give every lantern its own removable LED access instead of wiring the paper shells together.
- Arrange the group with uneven heights and a little empty space between points so the stars do not merge into one bright mass.
This approach works particularly well in an entryway or along a long table because the repeated translucency creates cohesion while the changing scale keeps the cluster from looking like a row of duplicates.
15. Star Lantern Tree Topper With an Open Back
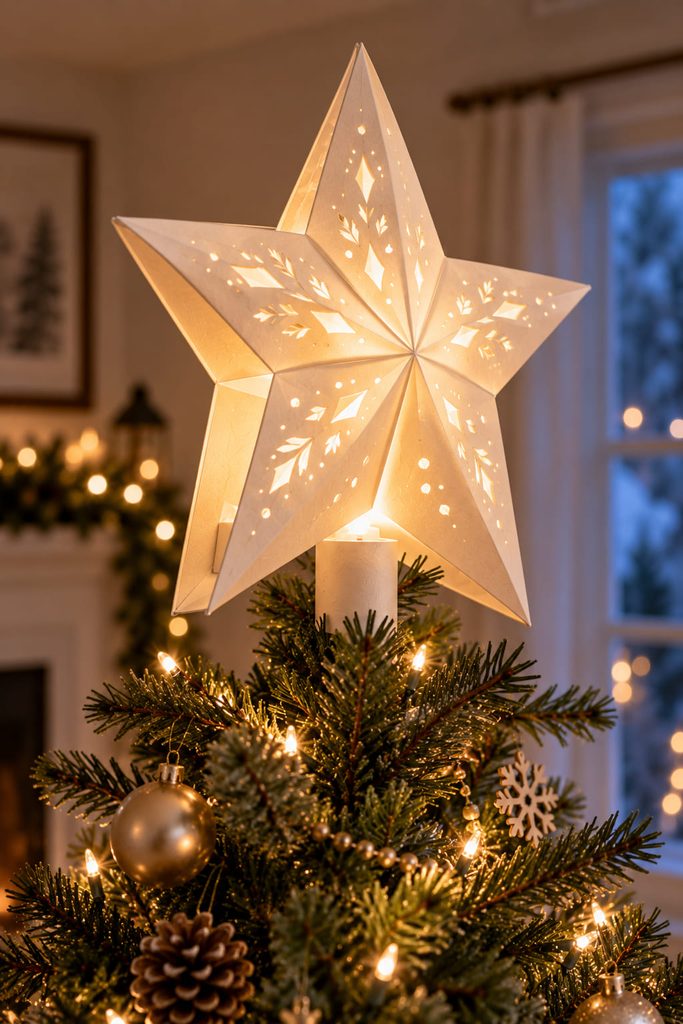
Keeping a lighted tree topper shallow and light prevents the branch or support from becoming the weak link. Build only the front and narrow side facets of the star, leaving the back largely open for a tiny cool LED and for direct access to its switch. At the bottom, add a reinforced paper collar or short open tube sized to slide over the tree-top support; the collar carries the topper, while the decorative star sits above it. Test the empty shell on the tree before inserting the LED. If the top bends or the star tilts, reduce depth and paper weight rather than strengthening the lantern with more layers. The open back also prevents the project from becoming a sealed paper enclosure and makes seasonal removal simpler.
16. Nested Star Pendant Lantern With Radiating Cutouts
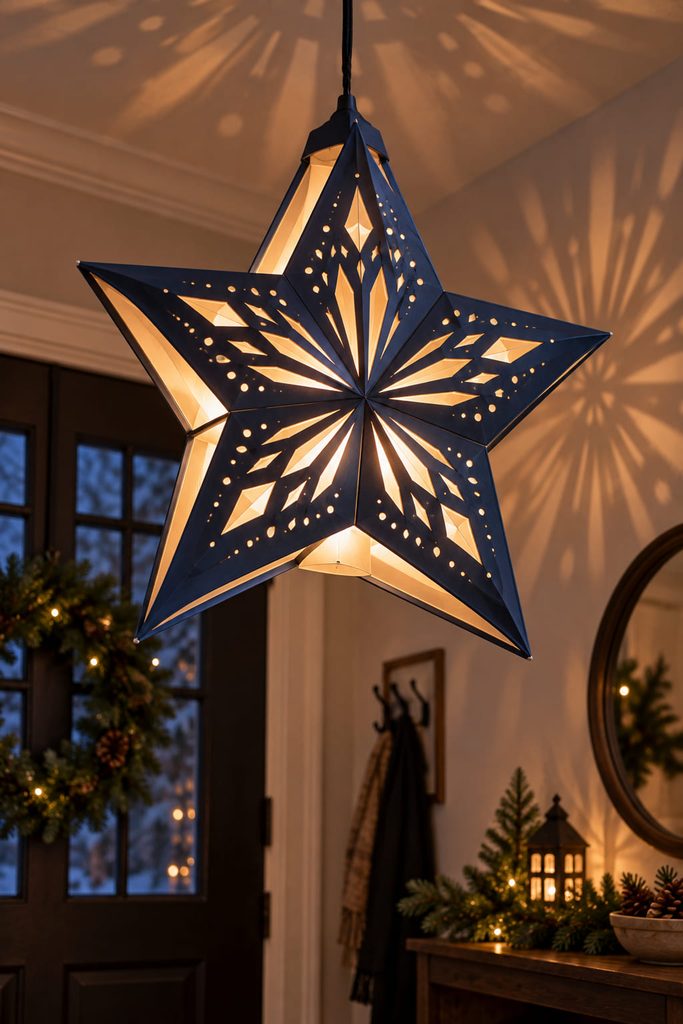
Nested layers give a hanging pendant a richer light pattern because the outer star and inner diffuser can do different jobs. Build a deep star prism from cardstock, pierce or cut radiating openings into its faces, and suspend a smaller vellum diffuser around the cool LED inside. The outer shell creates sharp beams and shadows; the inner layer softens the brightest center so the points do not disappear in glare.
Make the top cap removable and reinforce the hanger through that cap into an interior bridge. The LED, battery pack, or switch must be reachable without pulling apart the star body. Before final closure, hang the empty pendant and check that the points clear nearby walls, greenery, and other decorations.
Use this final test sequence:
- lift the lantern by the actual hanger and watch for distortion around the top seam;
- insert the diffuser and confirm that it does not touch or block the access opening;
- add the LED, close the cap, and verify that light reaches both the center and outer points;
- if one side is noticeably dimmer, inspect the diffuser position and internal tabs before adding another light.
The result should be a pendant that looks dimensional in daylight and still has a deliberate shadow pattern after dark, with no need to hide the service opening.
Choosing Paper and LEDs for Paper Star Lanterns
Match the paper to the job the lantern has to do. Medium cardstock is useful for structural faces, bases, ribs, and tabs because it holds scores cleanly; vellum or another translucent paper is better as a diffuser than as the only load-bearing wall. Kraft paper gives pierced designs a warm, matte surface, while very heavy card can become awkward at tiny tabs and deep folds. When a design needs both strength and translucency, separate those functions into an opaque frame and a lighter inner panel instead of asking one material to do everything.
The LED should remain removable and should not be squeezed between paper layers. Build access into the base, back, or top cap before you decorate the lantern, and test the empty structure for balance or hanging strength before adding the light. If the glow is weak, look for blocked openings, oversized tabs, dense inner layers, or a diffuser pressed too close to one side before assuming the lantern needs a brighter source.
Choose the Light Pattern Before the Star Shape
Start with the effect you want after dark. Vellum-window stars give the most even glow, pierced and cutwork shells create visible patterns, open rib and cone structures throw stronger shadows, and fold-flat or open-back designs make storage and access easier. That decision will narrow the construction choices faster than picking a paper color first.
If you want the star shape without building around a light source, the next useful direction is 15 Beautiful Paper Star Decor Ideas for a Cozy Christmas, where the emphasis shifts to pleats, faceted folds, rolled paper, and display styling rather than lantern mechanics.