

This post contains affiliate links. As an Amazon Associate I earn from qualifying purchases, at no extra cost to you. Thank you for supporting Diynify!
Paper bag stars turn an ordinary stack of lunch bags into large, sculptural holiday decor with surprisingly little material. Most of these projects begin with the same useful base: align gusseted paper bags in one direction, glue each layer down the center and across the closed end, shape the open end with scissors, then fan the stack into a full star. From there, the display method changes what the craft has to do.
Most ideas need paper bags, scissors, and paper-safe glue. A few also use twine, binder clips, cardstock, a wreath ring, a dowel or hoop, removable ties, mini clothespins, or a cool battery-powered LED. Choose the project by where the finished star will live: walls reward scale, windows reward open cuts, tables need support, and moving displays need reinforced hanging points.

1. Oversized Kraft Paper Bag Star for a Wall Focal Point
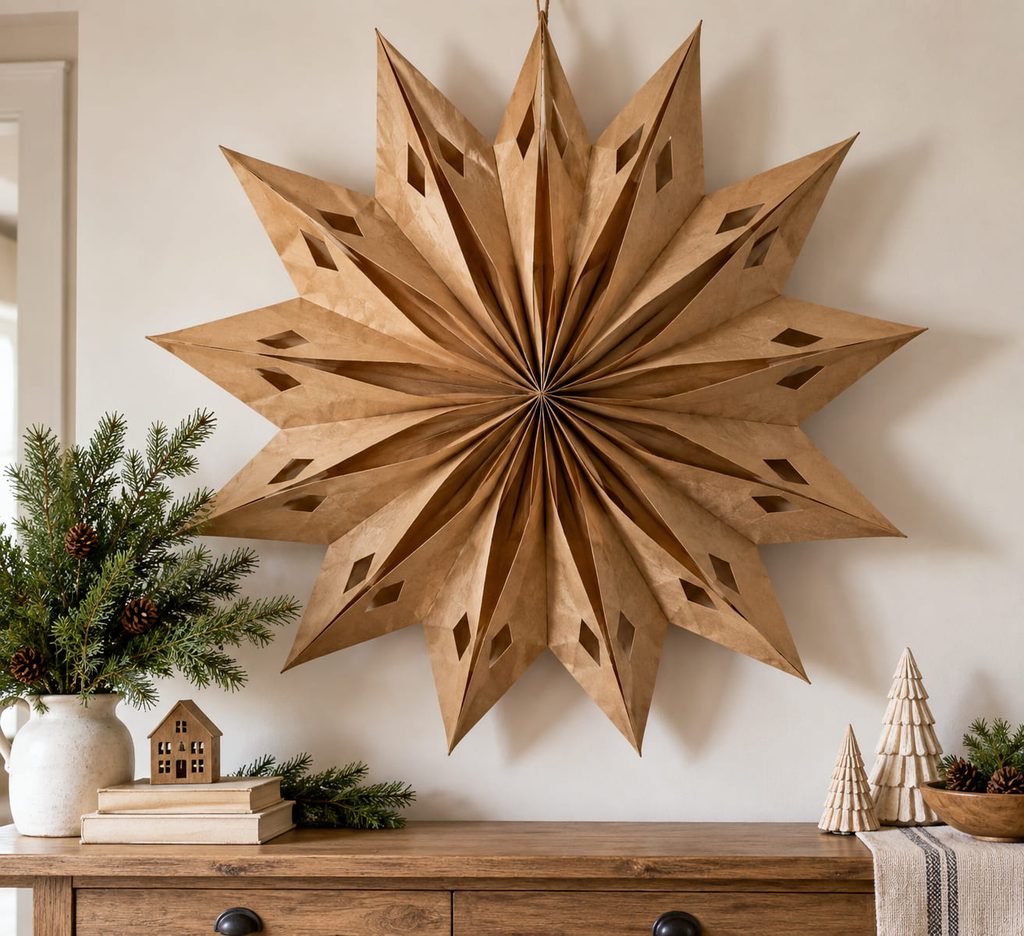
A single oversized kraft star works best when the wall around it stays quiet. Make the bag stack tall enough to give the finished piece real visual weight, but keep the cuts broad rather than fussy; narrow bridges can disappear from across the room and are easier to weaken while cutting through several layers. When the star is opened, reinforce the seam area where the hanging loop sits instead of punching a hole through a delicate outer point. Mounted slightly off-center above a console, bench, or mantel, the radiating folds create enough shadow that the star does not need extra embellishment to read as a focal piece.

2. Lace-Cut Paper Bag Star for a Bright Window
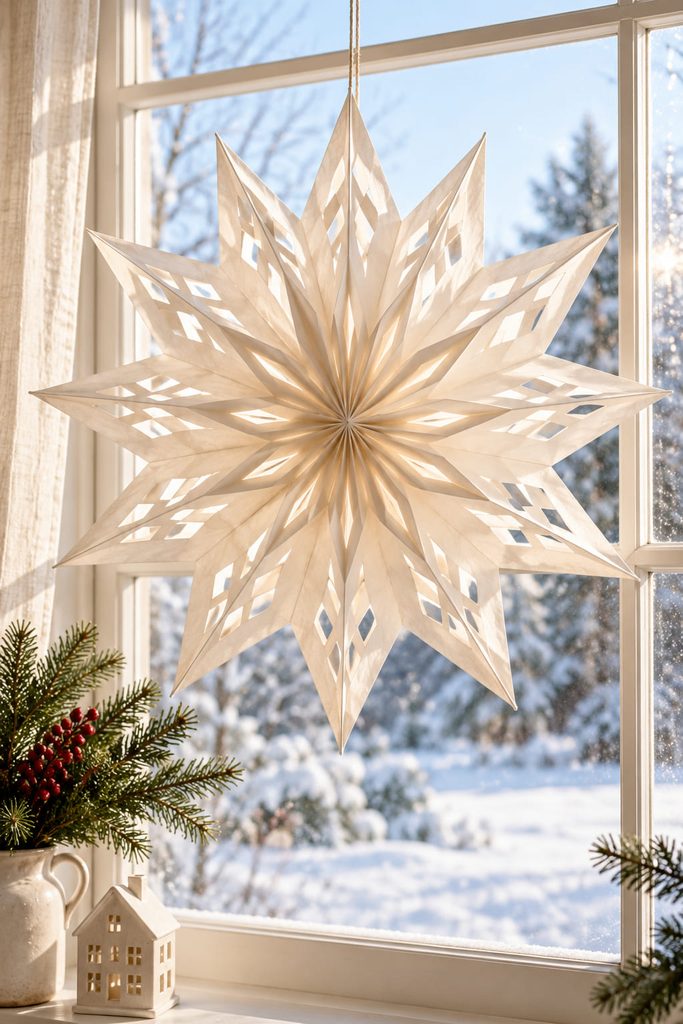
Daylight makes the cut pattern more important than the bag color. Cut generous triangles, arches, or teardrop openings along the side edges while the stack is flat, leaving an uninterrupted glued spine so the layers stay connected. Once opened, the repeated cuts become a ring of negative space.
Hang the star slightly away from the glass so light can pass through the openings and reveal the folded cells. If the pattern already looks busy against a bright background, stop cutting; a window star needs enough intact paper to keep its shape readable.
3. Reusable Fold-Flat Paper Bag Star for Seasonal Storage
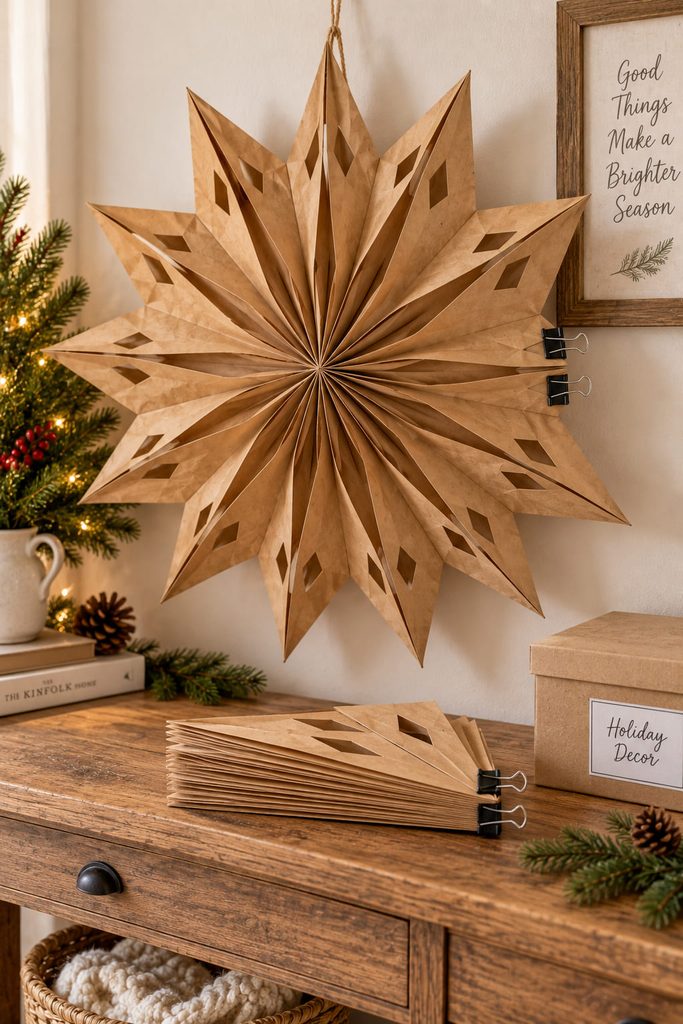
Permanent glue at the final seam turns the star into a fixed ring. If storage space matters, leave the first and last bag faces unglued and close them with two small binder clips, paper clips, or removable fasteners placed where they will not crush the visible points. The star can then open for display and collapse back into a flat stack after the season.

Closed-State Storage Check
- The two end faces meet without stretching the paper when the star is open.
- Fasteners grip near the seam, not through a thin decorative cutout.
- The collapsed stack lies flat without forcing the gussets backward.
- Hanging string stays attached to a reinforced area so it does not have to be re-punched each year.
This version is especially useful for large stars because the storage advantage increases with diameter.
4. Nested Double Paper Bag Star Medallion
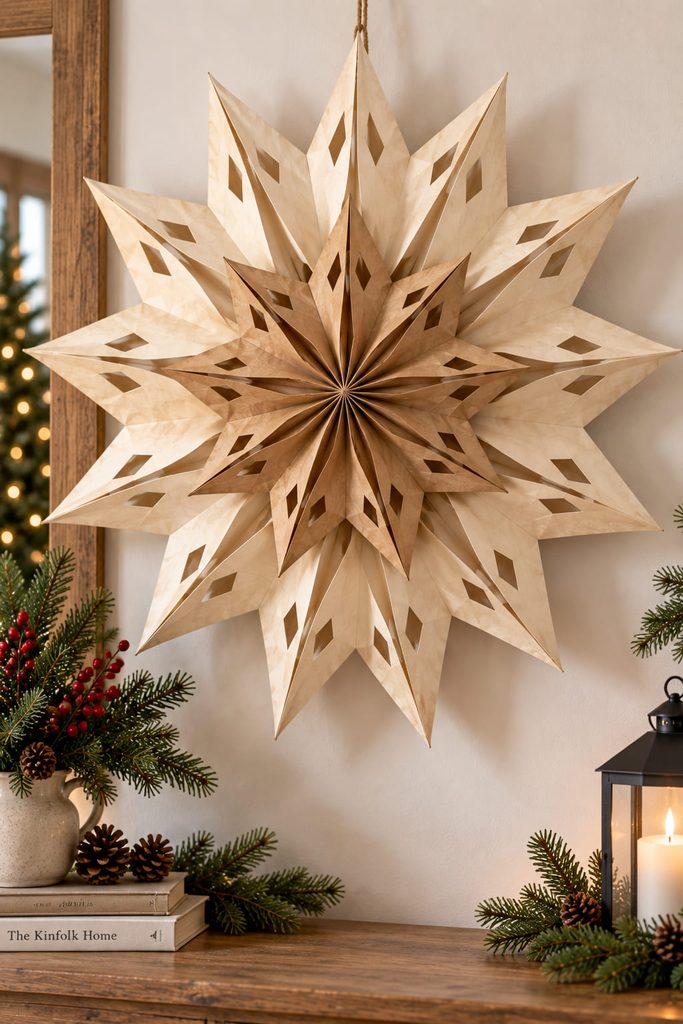
Two complete stars can share one wall position without becoming the same decoration twice. Make a broad outer star with simple cuts, then build a smaller star whose pattern leaves a clearer, denser center. The smaller piece mounts over the front of the larger one, turning the usual hollow center into a layered medallion.
There are two practical ways to join them. A flush center keeps the profile shallow and is easier to hang on a narrow wall. A spaced center uses a small cardstock ring or shallow paper spacer between the stars, which creates a visible shadow line and makes the inner star read as a separate layer. Whichever route you choose, attach the inner star only through its reinforced center zone; gluing its points to the outer star flattens the folds and makes both layers look like one thick rosette.
5. Half-Star Paper Bag Fan for a Mantel
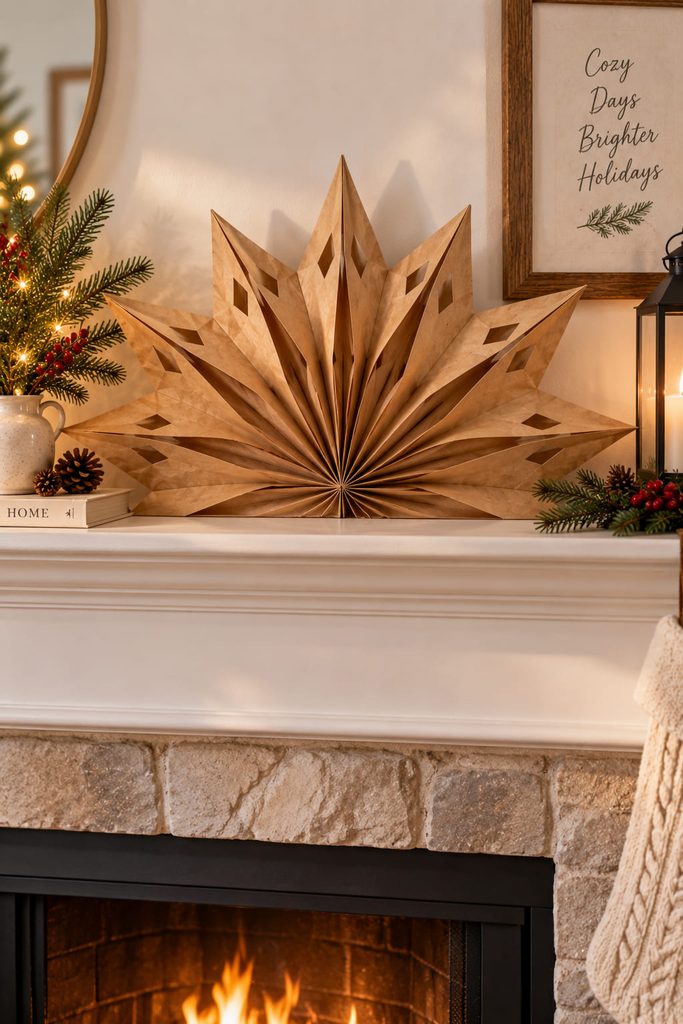
A full circular star is not always the best fit for a shallow shelf. A half-star uses the same stacked-bag fan mechanism but stops at a semicircle, so the flat edge can sit against a wall or backing panel while the points spread outward over the mantel.

- Build and cut the bag stack as usual, but do not join the first and last faces into a circle.
- Open the stack only until it forms a broad half-fan and check that the folds are evenly distributed.
- Glue or clip the two outer bag faces to a narrow cardstock backing strip that keeps the fan from relaxing.
- Add a folded cardstock foot or low-profile support behind the backing if the piece needs to stand instead of being lightly wall-mounted.
The useful test is simple: viewed from the front, the support should disappear while the lowest paper points remain clear of the shelf surface.
6. Mini Paper Bag Star Wreath for a Door or Wall
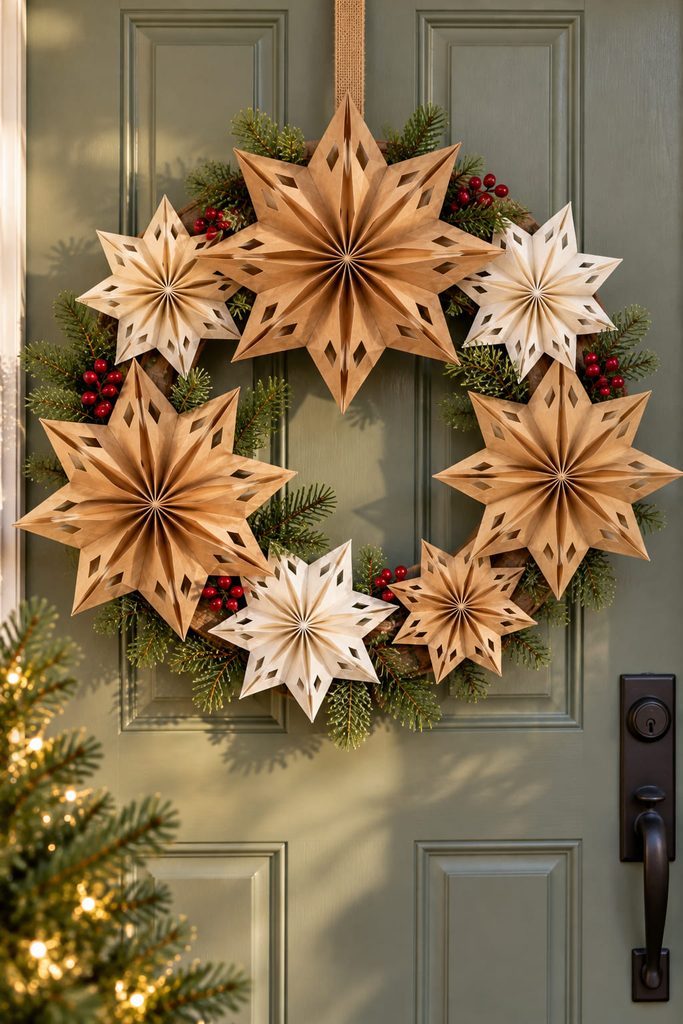
A wreath needs a visible circle underneath the star shapes, or the composition can turn into a jagged mass. Use several small paper bag stars rather than one giant one, and attach them to a lightweight chipboard or sturdy cardstock ring at uneven intervals. Let some of the ring show between stars so the eye can still follow the wreath shape.
Keep the deepest stars toward the front and flatter, tighter stars near the hanging point, where extra bulk can push the wreath away from the wall. A reinforced loop on the ring should carry the load; the paper stars are decoration, not structure.
Before fixing the last star, hold the wreath at normal viewing distance. If all the points merge into one rough edge, remove one piece or open a larger gap instead of filling every remaining space.
7. Paper Bag Star Garland for a Long Mantel or Shelf
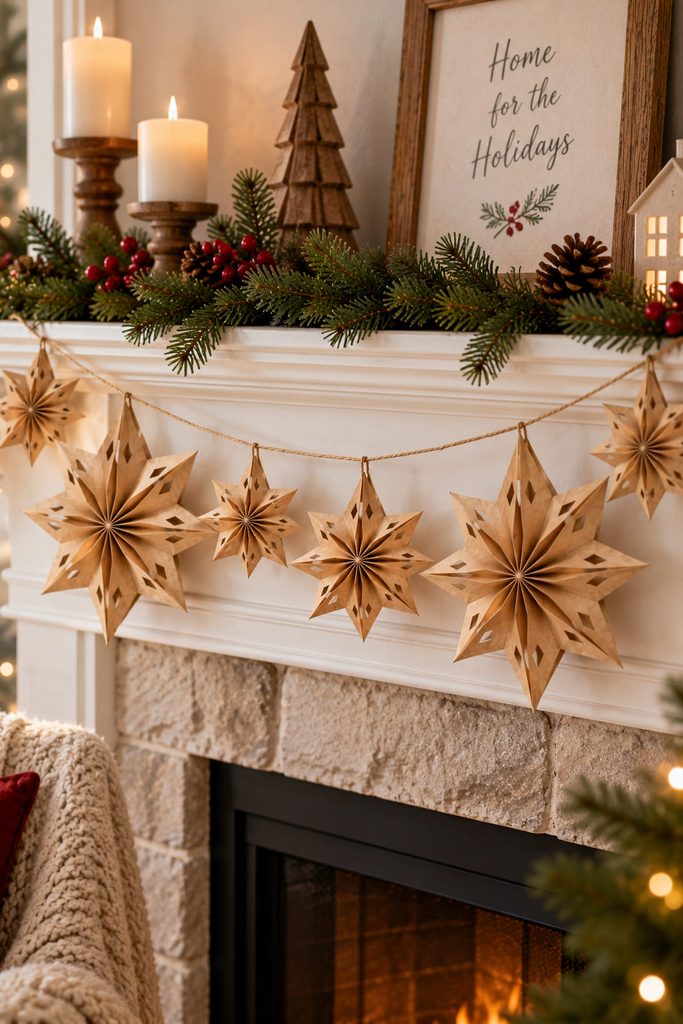
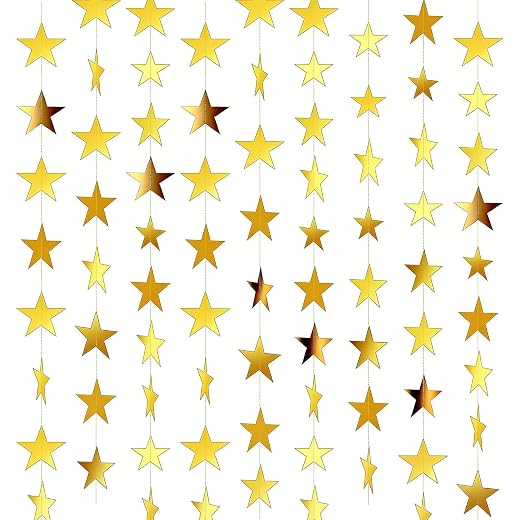
Small stars can travel across a long surface more cleanly when the cord controls the rhythm. Make several compact stars, reinforce one seam on each, and thread or tie them to a length of twine rather than piercing random outer points. Leave enough cord between stars for each shape to stay readable instead of stacking point over point.
Batch-Making Order
- Glue all bag stacks first.
- Cut one sample star and confirm the scale.
- Use that stack as a rough cutting guide for the rest.
- Open and secure every star before measuring the final spacing on the cord.
- Hang the cord, then slide or retie the stars until the gaps look balanced in the actual space.
This works especially well across a mantel, open shelf, or wide doorway where a single star would look visually stranded.
8. Cascading Paper Bag Star Curtain for a Window
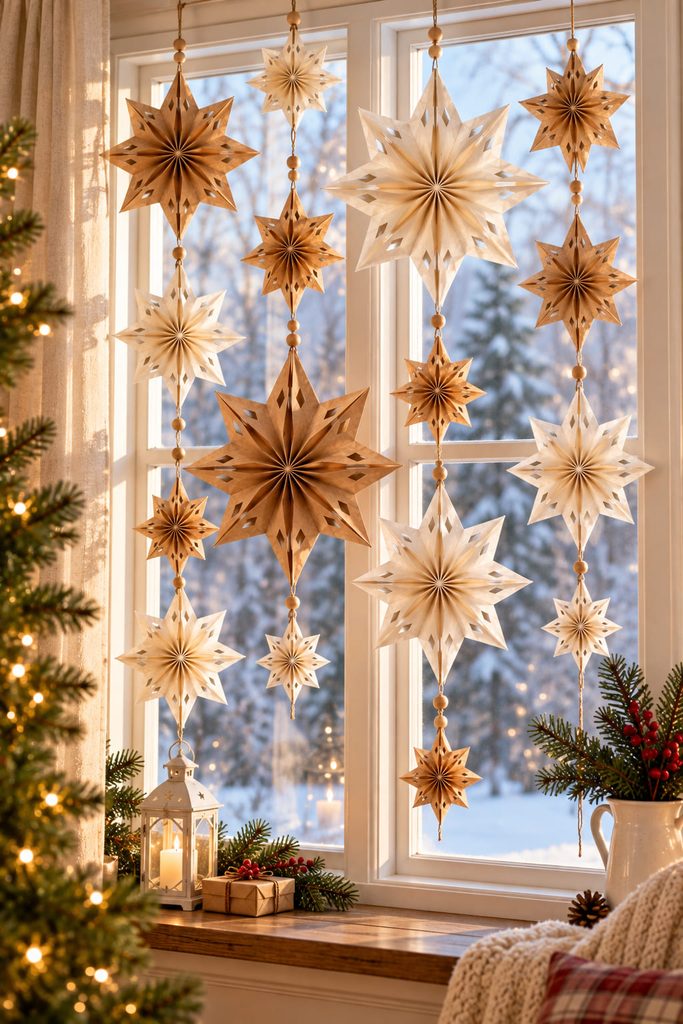
A vertical curtain succeeds by controlling overlap. Suspend small and medium stars on separate strands, staggering the heights so their points do not form rigid rows. Leave open areas between drops so daylight remains part of the composition.

Plan the strands on the floor before hanging them. Put the largest stars at a few focal points, then taper with smaller ones. If two finished stars collide at the window, move one strand sideways rather than shortening both and compressing the cascade.
9. Ceiling Cluster of Paper Bag Stars
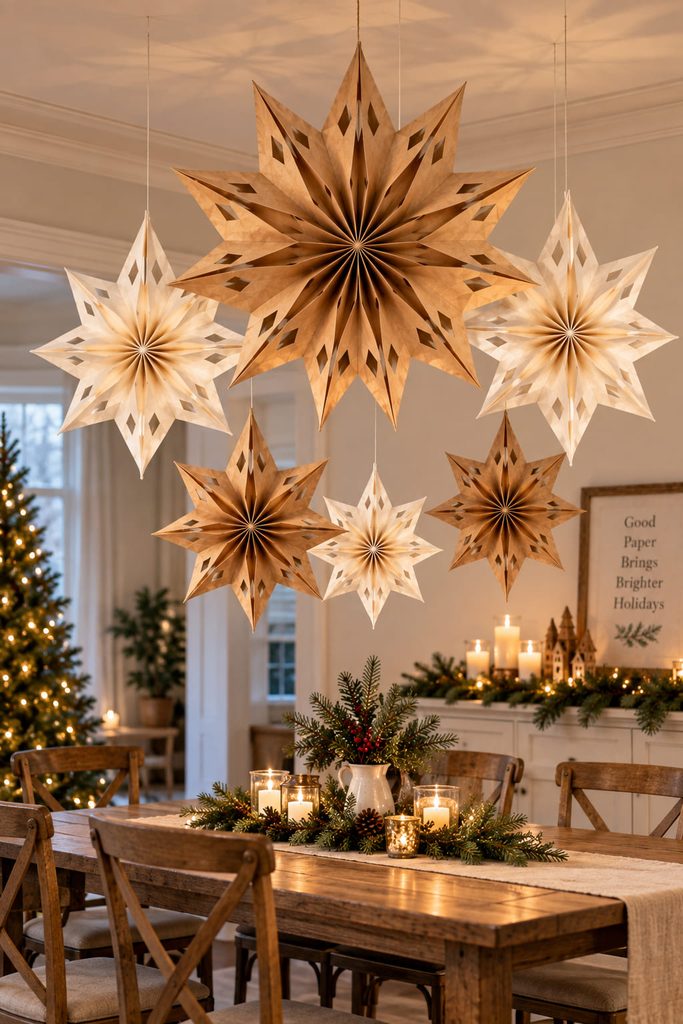
Ceiling decor gains impact through depth, not by making every star huge. Build a group in several sizes and suspend each star independently so the collection occupies a loose volume above a table, entry, or open corner. The largest piece can hang slightly higher while smaller stars drop around it, which keeps the cluster from feeling like one heavy object.
Use reinforced hanging points near a glued seam or added paper tab, and keep the suspension strings clear of cut openings. The stars should hang with enough space to turn a little without striking each other.
A useful installation sequence is to place the center star first, then add the farthest two, then fill the gaps. Step back after each addition. If the cluster looks dense from below, increase vertical spacing before adding another star; a ceiling arrangement needs visible air between forms as much as it needs paper.
10. Balanced Paper Bag Star Mobile for an Entry
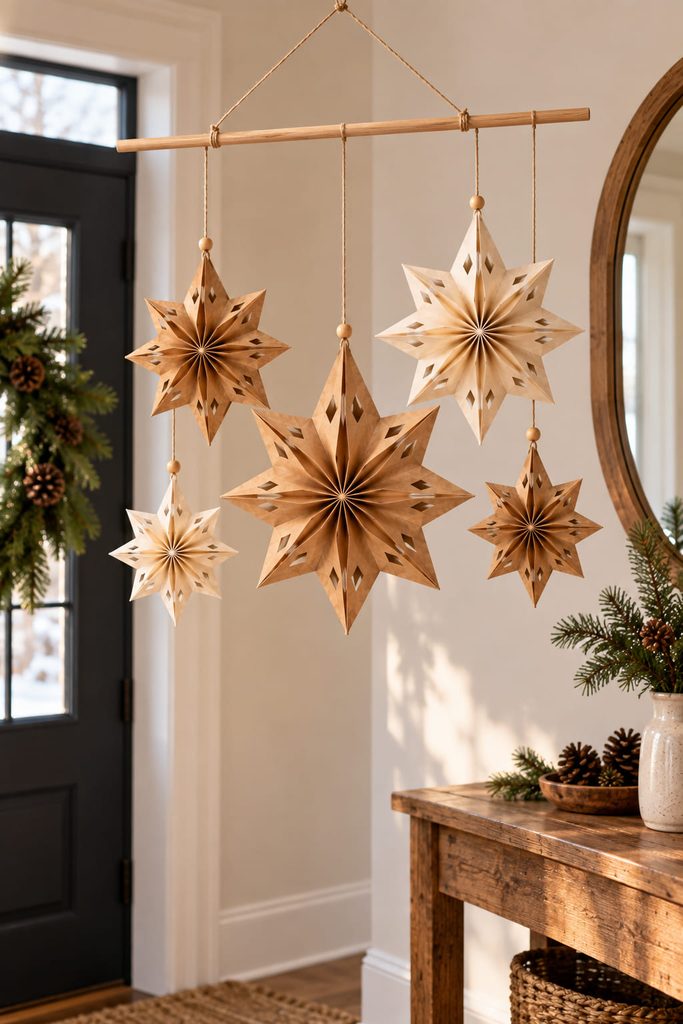
A mobile has to balance before it can look effortless. Use a lightweight hoop or horizontal dowel as the carrier and hang small paper bag stars from separate threads. Start with the heaviest star, let the support settle, then add the next star on the opposite side. Moving an attachment point along the support changes leverage; shortening thread only changes height.
If the mobile tilts, diagnose the cause before adding weight:
- One side drops immediately: move that star closer to the center or move the opposite star farther out.
- The support hangs level but one star twists: check the hanging loop and make sure the load enters near the star’s centerline.
- Two stars knock together: increase horizontal spacing or shorten only one drop.
- The whole mobile swings into a wall or curtain: relocate the ceiling point or reduce the outer radius of the arrangement.
The finished mobile should have clearance to move independently in a gentle draft without turning into one tangled cluster.
11. Freestanding Paper Bag Star Centerpiece on a Stand
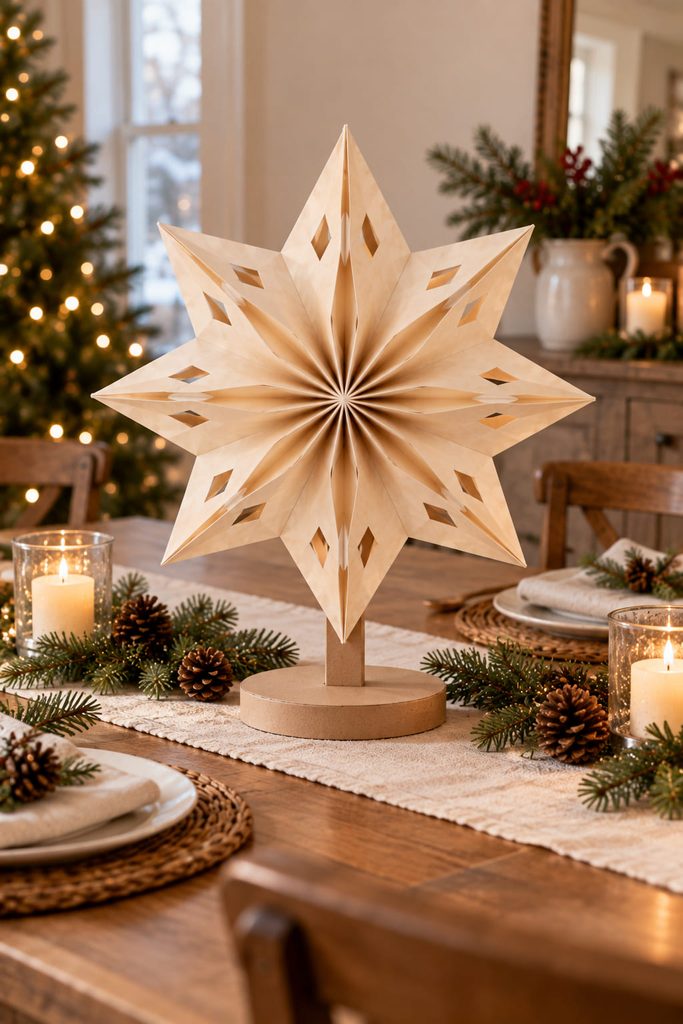
For a table centerpiece, the stand—not the paper points—has to carry the load. Build the star first, then add a narrow vertical cardstock spine across a strong seam on the back. Connect that spine to a dowel, folded paper column, or other lightweight upright support rather than hanging the entire piece from one point.
- Make a base with enough footprint to resist tipping; a broad folded cardstock box or covered low block works better than a narrow foot.
- Attach the upright support to the base and check it for wobble before adding the star.
- Fix the reinforced spine of the star to the support so its visual center sits over the base rather than far in front of it.
- Rotate the centerpiece and check the side view. If it leans, move the attachment point or widen the base before adding decorative surface details.
For a dining table, keep the star low enough that it does not block conversation across the table.
12. Paper Bag Star Place Cards with Folded Tent Bases
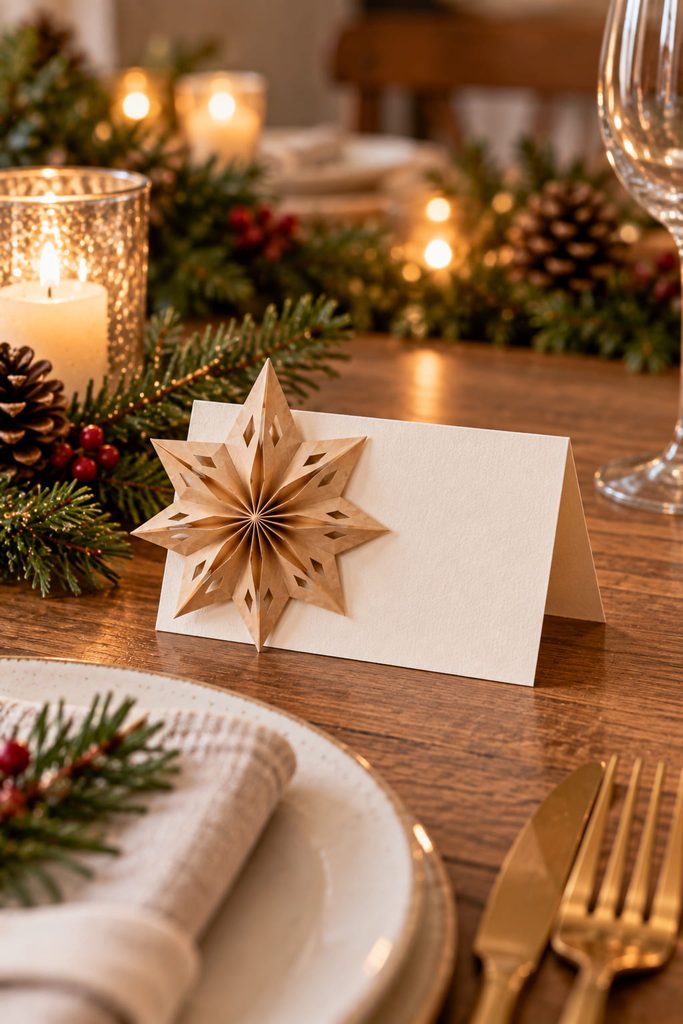
For individual place settings, let a folded cardstock tent provide the stable base and attach a compact paper bag star to one side. The star stays decorative instead of becoming the part that must hold the card upright. Leave a clear strip of cardstock for the guest name and keep the star above the table surface, where its points will not catch on plates or napkins. This is a good use for very small stars because repetition makes the table feel coordinated while the flat tent bases keep every place card predictable.
13. Paper Bag Star Chair-Back Ties for a Holiday Table
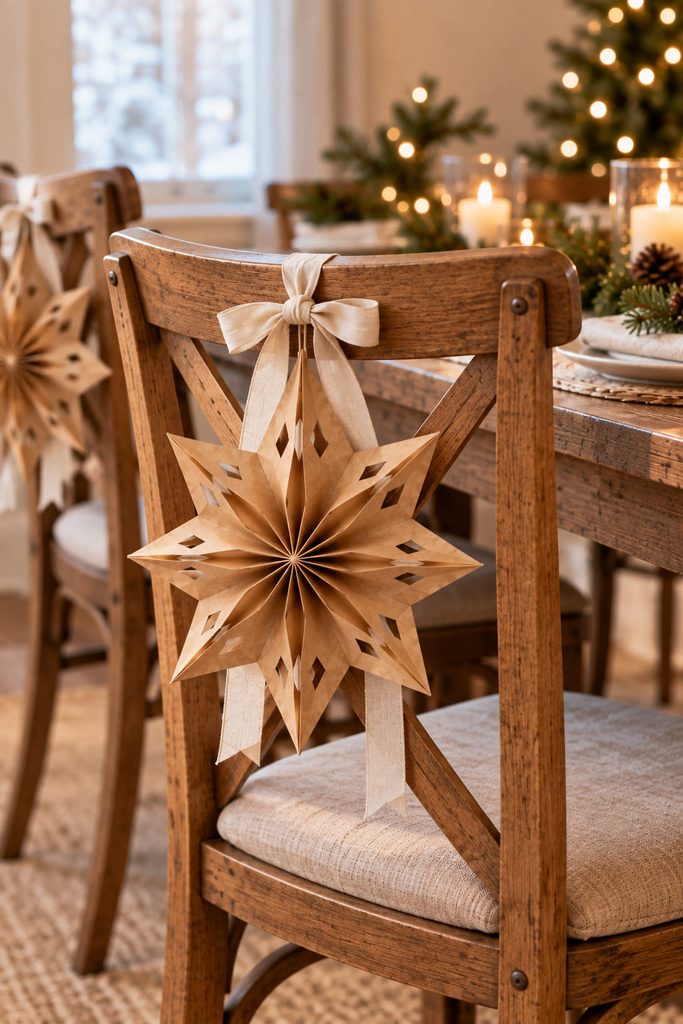
At the backs of dining chairs, larger stars stay out of the way of plates and serving pieces. Reinforce each star at one seam with a small cardstock tab, thread ribbon through that tab, and tie it to the upper rail or spindle rather than pushing ribbon through a fragile point.
Keep the knot independent from the paper so the chair can be untied without tearing the star. On upholstered or painted chairs, use the existing chair geometry for the tie instead of adhesive. A row of matching kraft stars can create a strong repeated line around the table while still leaving the center clear for serving pieces and conversation.
14. Mini Paper Bag Star Ornaments for the Christmas Tree
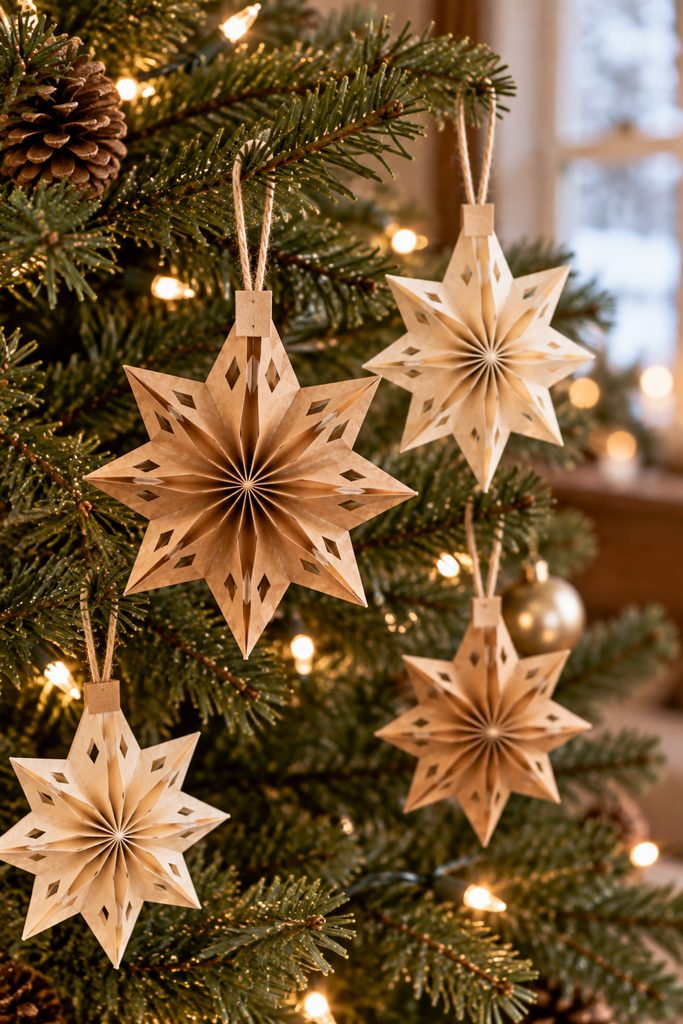
Tree ornaments need less diameter and a stronger hanging point than wall stars. Start with smaller bags or shorten the open end of the stack before cutting, then use broad point shapes so the ornament does not become all edge and no structure. A reinforced paper tab hidden near one seam gives the loop a better load path than a hole through the tip.
For efficient batch-making:
- Build one mini star completely and test its scale against a branch.
- Prepare the remaining bag stacks to the same length.
- Cut the stacks in small groups if the paper becomes too thick for clean scissors.
- Add hanging tabs before opening the stars, while the seam area is still easy to press flat.
- Fan each ornament open and check that it hangs without one side sagging.
A few mini stars grouped near the outer branches will usually read more clearly than crowding every branch with the same shape.
15. Backlit Paper Bag Star with a Cool LED Glow
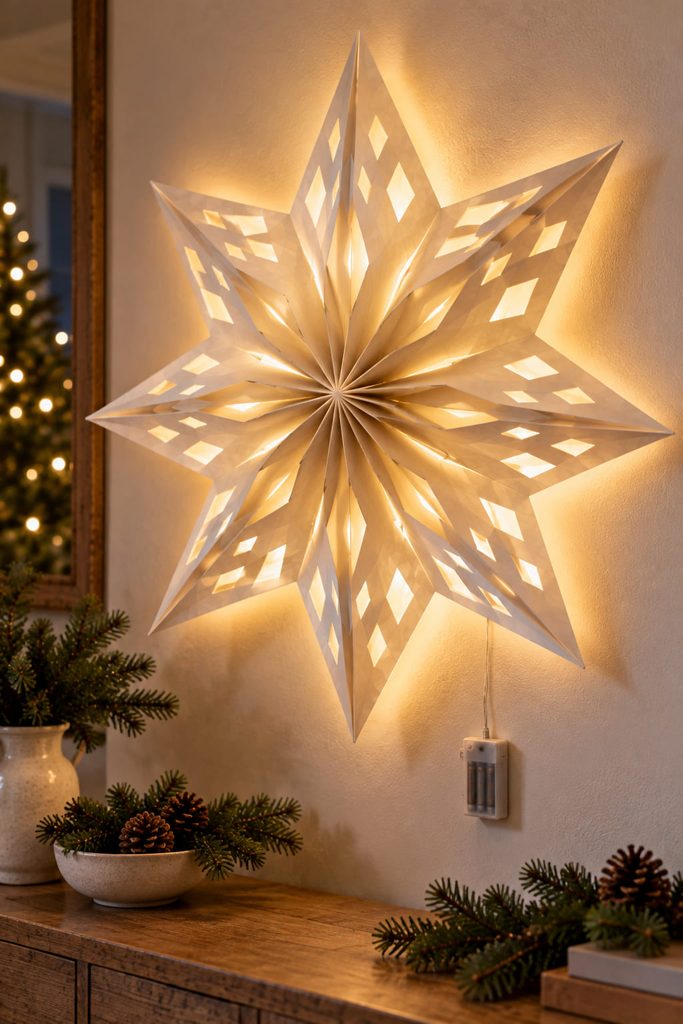
Backlighting works best when the star stays open enough for light to escape. Use a lacy cut pattern with generous openings, mount the finished star slightly away from the wall on shallow paper or cardstock spacers, and place a cool, battery-powered LED light source behind the center. The LED should remain separate from the paper structure, with the battery pack and switch easy to reach.
If the glow looks uneven, check the light path rather than adding more lights. A dense center cut, thick mounting pad, or opaque backing can block the brightest area. If the star sags toward the wall, reinforce the mounting seam or use a broader spacer so the paper cannot collapse onto the light source.
Light-Path Check: Do not enclose the battery pack or press the light source against the paper. Keep the LED cool, removable, and accessible, with open space around the glow.
16. Paper Bag Star Swag for a Stair Rail
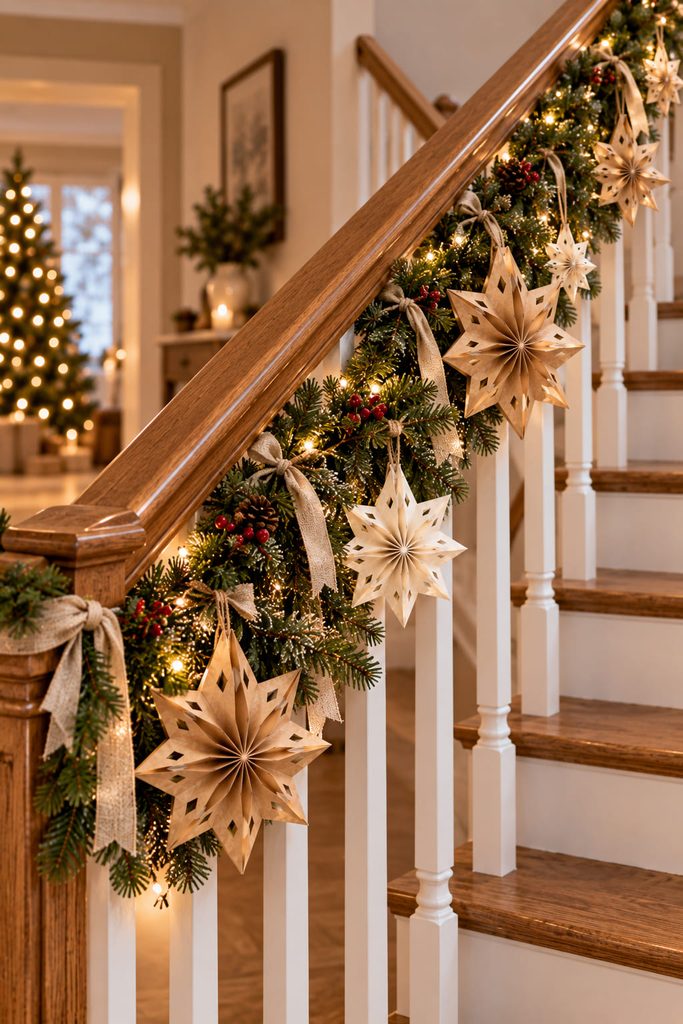
A stair rail benefits from stars that attach to the existing line of the banister instead of hanging as a loose second garland. Make small to medium stars and secure each one to ribbon, greenery, or the rail itself using removable ties around a reinforced seam. Space them where the rail changes direction so the points emphasize the diagonal rather than fighting it.
Two attachment routes work well. Ribbon-tied stars are easier to remove and reposition, especially on smooth rails. Stars tied to a separate garland base create a fuller look and keep the paper away from hands using the rail. In either case, leave the actual hand-grip area clear; holiday decor should not interfere with how the railing is used.
17. Holiday Card Display Built Around a Paper Bag Star
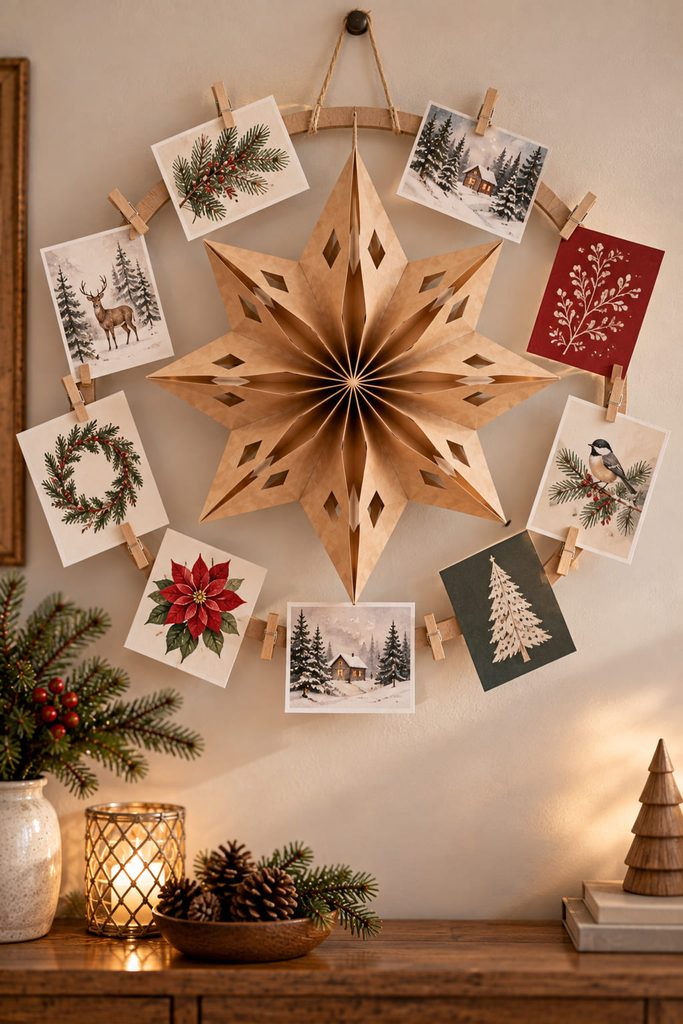
Holiday cards create repeated pulling loads, so the paper star should not carry them by itself. Build a lightweight ring or open frame from sturdy cardstock or thin chipboard, attach the star over the center, and place mini clothespins around the outer frame. The rigid carrier takes the handling while the star remains the dimensional focal point.
Lay the first few cards around the frame before fixing all the clips. Large cards can hide the star if the ring is too small, while tiny cards may leave the display looking empty. Keep several gaps open so the paper folds remain visible.
For the final wall test, load the display with a representative mix of cards and check the hanging point. If the frame tilts, move the wall loop toward the heavier side or redistribute the clips; do not solve the problem by pinning weight to the paper star.
How to Keep Paper Bag Stars Crisp and Easy to Store
The shared construction problem across almost every project is alignment. Stack the bags with the openings and folded bottoms facing the same direction, keep the central glue line straight, and avoid cutting so deeply that the remaining paper can no longer carry the fan shape. If the stack is too thick for clean scissors, cut it in smaller matched sections and join the sections afterward rather than forcing a ragged cut.
Before permanently closing any star, fan it open once and look for stretched folds, trapped gussets, or a gap at the final seam. Reusable projects can use clips at that seam; permanently installed stars can be glued after the fit is confirmed. For storage, collapse the reusable versions flat and keep them between larger sheets of cardstock so points do not curl.
Choose the Display Job Before You Cut the Pattern
Paper bag stars can be simple wall decor or part of a much more functional holiday installation. Start with the location: use broad, graphic cuts for walls, more negative space for windows and backlighting, reinforced hanging points for mobiles and ornaments, and real supports for tabletop pieces. Once the display job is clear, the cutting pattern becomes a finishing decision instead of the whole idea.
For more star constructions made from cardstock, tissue paper, quilling strips, and other paper formats, continue with 13 Paper Stars DIY Ideas for Easy Holiday Decorating.








